
The Legend of Zelda: Twilight Princess HD Guide Overworld: From Faron Province to the Goron Mines
Task 4: Find the Location of the White Wolf
Hunting Through Kakariko Village
By now, you know the village’s layout, so return to the various areas, starting with the graveyard. Push gravestones back and forth, run around the yard, and when you’re done, investigate the far end and steps.
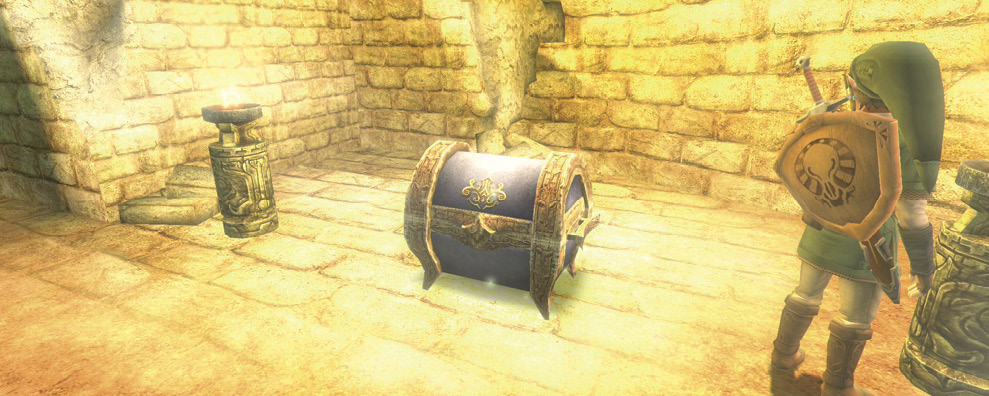
Bring out your Lantern and move to the unlit torch to the right of the set of steps. Light both the torches, and a previously invisible chest appears from the ether! Open it to claim your cash prize. Climb the steps.
Overworld Chest #9:
Purple Rupee (50)
Guay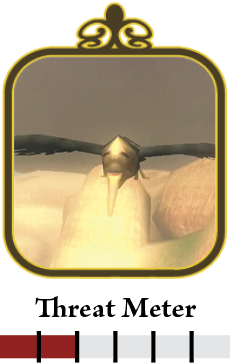
Guays are easy to defeat when one or two are encountered, but these usually fly in a flock. Each swoops down to dive-bomb you, then flies away while another attacks from a different direction. This keeps you constantly looking around, and the ambushes can take their toll. React by blocking with your shield, then slay the Guay as it flies away. Easier still, after you gain the Hero’s Bow or Clawshot, auto-target each bird and fire! 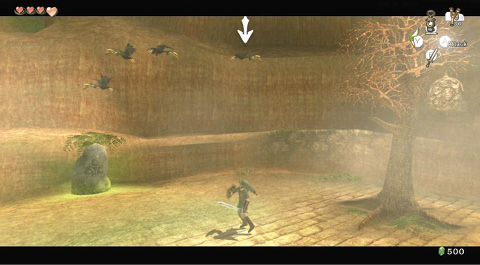
The Guay is a slow-moving dive bomber who is difficult to slay when out of sword range, unless you use a projectile!

|
Golden Bug: Male AntCollection: 3 (of 24)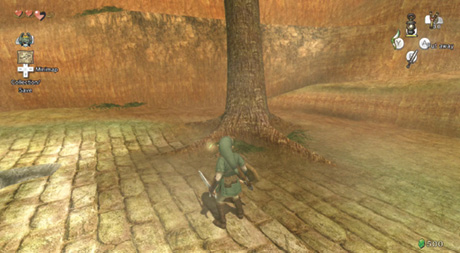
While you’re on the graveyard’s raised eastern part, check the tree on which some of the Guays were sitting. There’s a Male Ant sitting on the base of the trunk. Pocket it, and continue to build your Golden Bug collection!
|
 Male Ant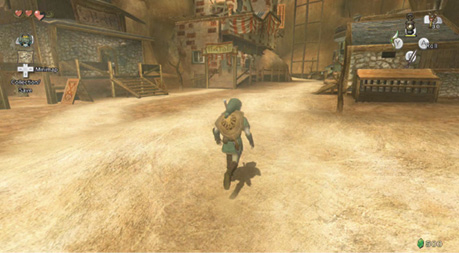
Golden Bug: Female AntCollection: 4 (of 24)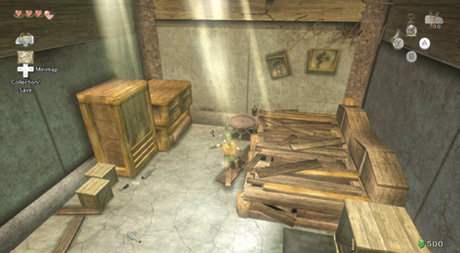
Run across to the thoroughfare’s other side, and enter the small building with the hole in the roof that you made earlier when searching for Twilit Parasites. On the floor in the middle of the room is the female partner to the Male Ant you found in the graveyard. Smash some crates in this room for Rupees afterward.
|
 Female Ant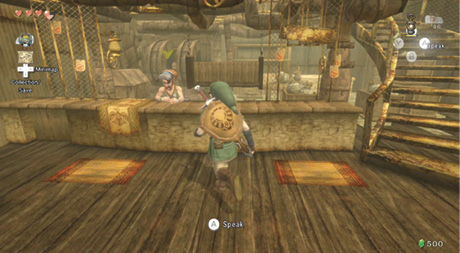
Test of Strength at the Trail
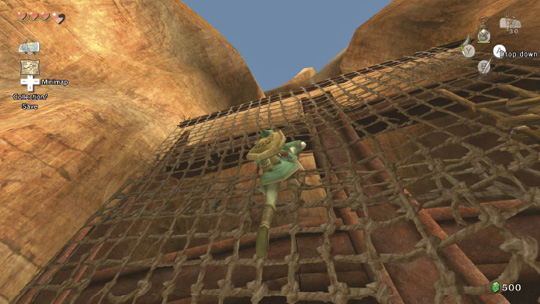
There’s little else to do in the village until you return here later in your adventure, so head toward Death Mountain at the trail’s foot. Run until you reach the giant barricade with the mesh on it. Climb to the top, and walk up the trail. A Goron at the top blocks your path. “The elder said no humans may pass!” he shouts, then he rolls into a ball and tumbles into you. The force knocks you off the trail, down to the barricade’s base! Your way is blocked. Retreat!
Author NoteWe didn’t take “no” for an answer. Through judicious skipping of cutscene information, we ignored the hints and continued to scale the mesh barricade (an agonizingly slow ascension), and tried to dive, catch, whack, and shout at the rolling Goron. We’re embarrassed to say that we did this 15 times until we decided that yes, perhaps it was better to leave…. |
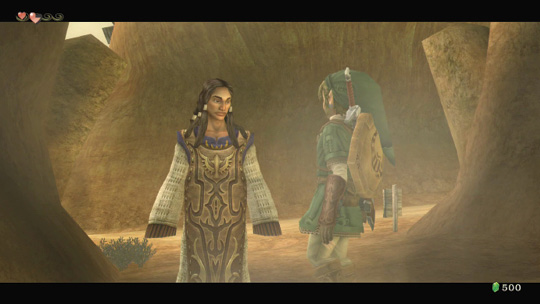
Head toward the village. You meet Renado at the junction, who explains humans can never beat a Goron in a rolling battle! In fact, only one person has been able to earn their trust: Mayor Bo from your village! He asks you to return to your village, talk to Bo, and tell the villagers their children are safe and will be returned after a horse and cart are found. Move into the village.
Horseplay
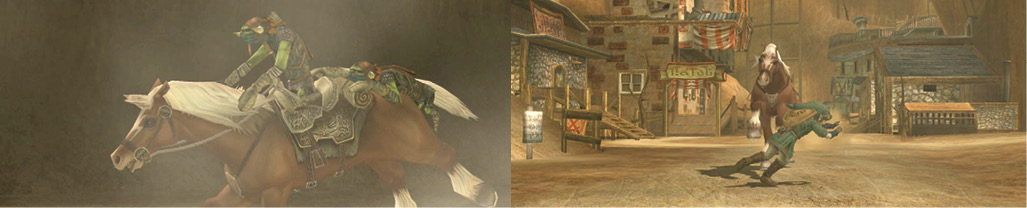
You hear a faint whinnying. Epona gallops down the rocky path to the village, with two Bulblins hanging on for dear life! The Bulblins go flying as Epona shoots toward you at a strong gallop. You have no choice but to dive to the side, then grab Epona’s saddle and ride this bucking bronco!
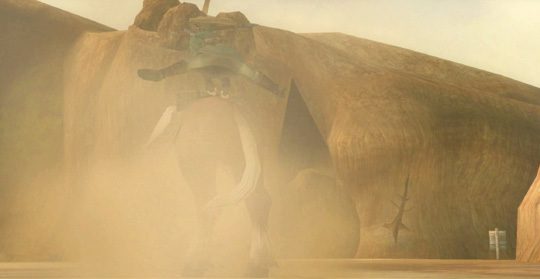
You must calm Epona down by remaining on her back while she bucks and gallops uncontrollably. Leap on and ride and immediately press left…
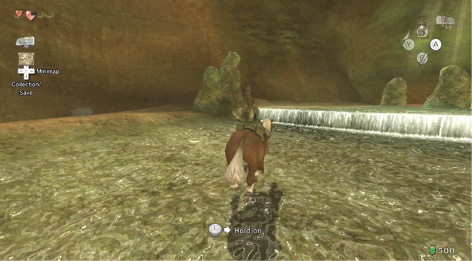
…then press right when you reach here and left again when you reach the short waterfall…
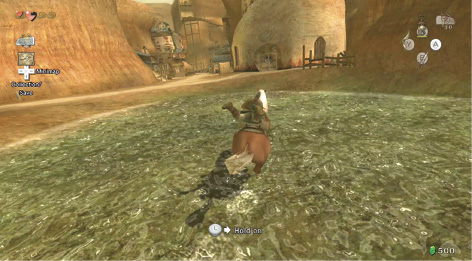
…and right after you emerge from the spring…
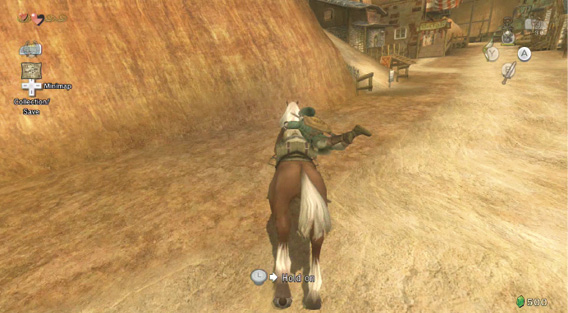
…and finally left again after you head north into town. Epona calms down and stops outside the sanctuary. Well done—you’re quite the wrangler!
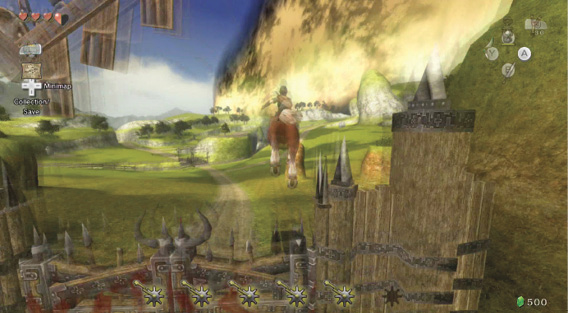
Midna thinks so too, and Epona will make returning to Ordon Village quicker. You can’t warp there, and there are a few special items to pick up on the way back, so race out of the village, and vault over the spiked gate, into Kakariko Gorge (face straight ahead and travel as quickly as possible; use the spurs).
A Thorough Search of Kakariko Gorge
|
“WAAAIIIT!” shouts the Postman, jogging toward you when you land in Kakariko Gorge. The Postman has a letter for you. Open it up and read it. It’s from Ooccoo, that strange bird you found in the Forest Temple. She’s off on a journey, and she also has a son!
|
 Letter #2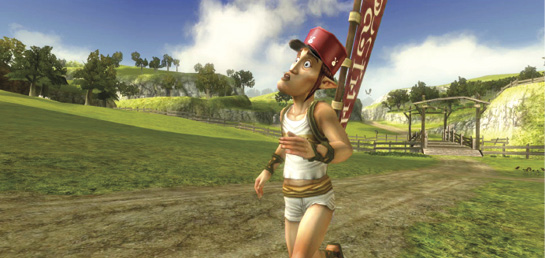
Golden Bug: Female Pill BugCollection: 5 (of 24)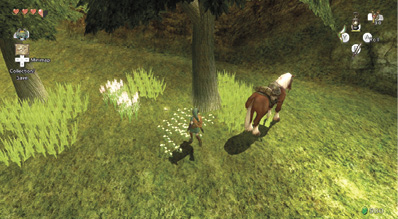
Ride to the small copse of trees, and halt your horse. Dismount and rummage around in the grass near the rock side. Something shiny is near the grass clump. Grab it, or cut the grass and stoop to take it. You’ve snagged your first Female Pill Bug! Ride to the bridge.
|
 Female Pill Bug
Golden Bug: Male Pill BugCollection: 6 (of 24)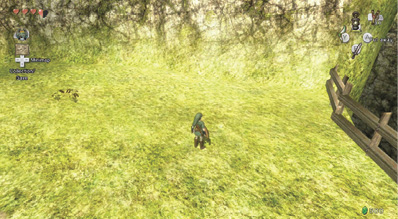
When you ride over the bridge to this area’s southern part, halt your gallop and dismount. There’s a Golden Bug in the grass. Face north, and it’s just left of the path, near the bridge.
|
 Male Pill bug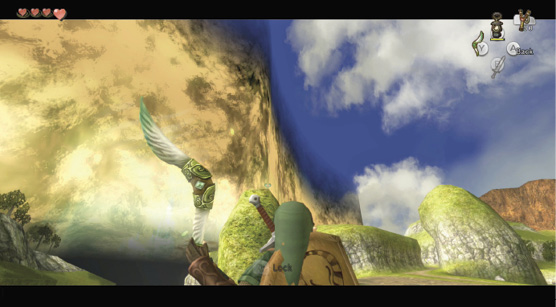
Before you leave for Faron Province, ride to Kakariko Gorge’s southwestern part, and look out over the large rock formation rising from the bottomless chasm. Defeat any Bokoblins or other foes in the area, bring out your Gale Boomerang, and target the Piece of Heart stuck atop the grassy rock. Throw the Gale Boomerang, and it brings this right back to you!
 Piece of Heart
You got a Piece of Heart. You collected Five Pieces and formed a new Heart Container. It also Filled Your Life Energy! Piece of Heart #5 of 45.
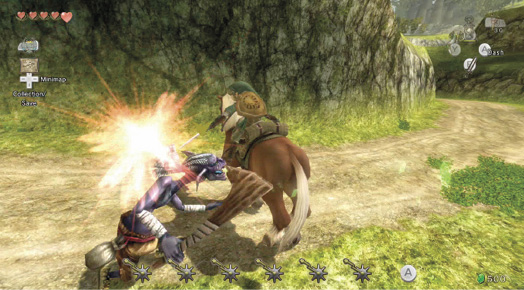
Optionally, you can recheck this section of Hyrule; Kakariko Gorge looks the same as when you entered it in wolf form (except the twilight has receded). The only difference is the arrival of a few Bokoblins scattered about the path. Optionally tackle them, either on or off your horse. Some Bomskits are also scuttling about here. If you need Worms for your hook, attack from range, or corner them with your sword.
Southward, Back to Your Home
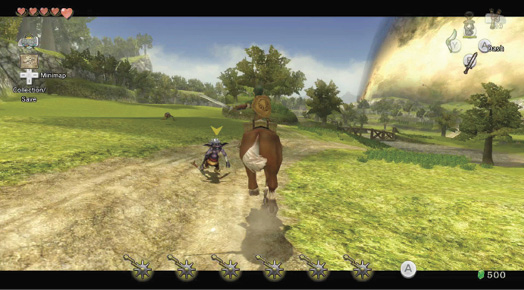
Locate your horse (use the clumps of Horse Grass if you lose her), and ride southwest, into Hyrule Field (south), aiming for the southern exit that takes you into Faron Woods.
|
When you’re spurring your horse onward, and know you’re about to enter a “loading” area (when the game loads between zones), spur Epona as fast as possible. Even if you empty your spurs meter, it is full when you enter the next area! |
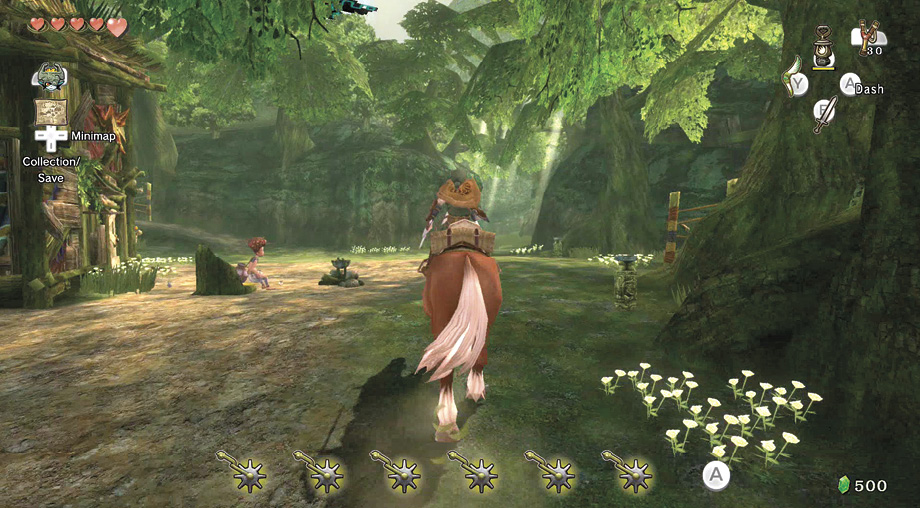
Head into Faron Woods, and pass Coro (you can refill your Lantern fuel if you wish). Follow the woodland path southward, snaking past the Dark Tunnel and Faron Woods Springs, and crossing the long bridge into Ordona Province.
Once over the bridge, check your map. You should see that the White Wolf, whom you summoned on the Death Mountain trail when collecting tears from Twilit Parasites, is waiting for you. If he isn’t, go howl at the Death Mountain trail whistling rock the next time you’re in wolf form; you’re at a disadvantage if you don’t learn this second Hidden Skill right now!
Hidden Skill #2: Shield Attack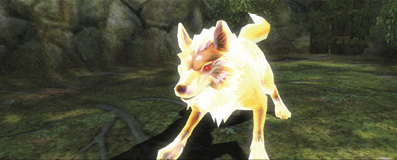
Head into the Ordon Spring, and look to your left, in a small alcove near the tiny tunnel entrance. The White Wolf waits for you to come, sword in hand! He growls at you, and you draw your sword. He pounces! You awaken in the ghostly ether. The undead hero forms and asks you if you wish to learn your next skill. The answer is yes! 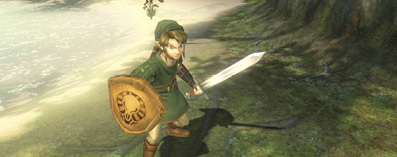
First, your teacher wants to verify that you learned the previous Hidden Skill correctly, and he tells you to come at him with the ending blow. Slash or spin attack until he falls, then target with ZL and press the A button. 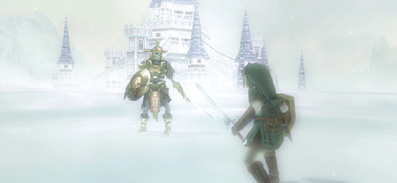
“Excellent!” remarks the warrior. “Let the shield attack be hewn into your mind!” This technique is useful if your foe is clad in armor and bears a shield. When facing such a foe, lock on with ZL and push your shield against your enemy’s defenses. Attack with any sword technique you wish. Try it! 
Shield Attack: Press ZL to target, then shield bash your enemy. Follow up with sword play. 
Shield Attack: Execute the same move when being struck by magical projectiles. Bounce them, and other ranged attacks, at the enemy.
|
 Hidden Skill