
The Legend of Zelda: Twilight Princess HD Guide Overworld: The Great Hylian Treasure Hunt
Task 2: Obtain the Master Sword
Journey to the Sacred Woods: Entering the Grove
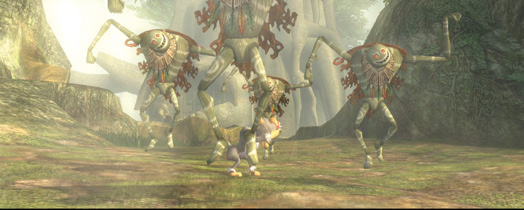
You arrive in north Faron Woods (and if you’re trying to cross the mist-filled woodland area, warp again). Head northward, past Trill’s Shop, toward the entrance to the Forest Temple. Your monkey chum leaps in but is waylaid by four strange mannequins!
Puppet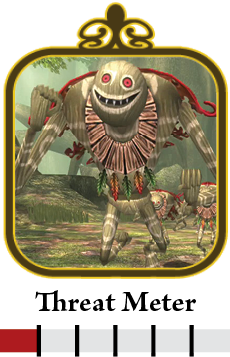
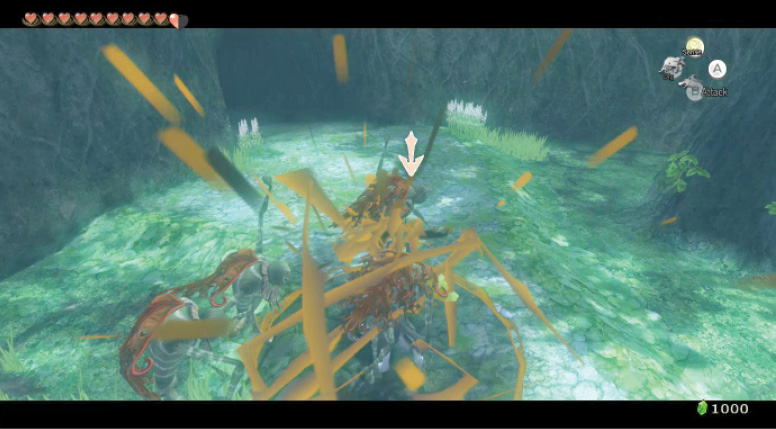
Puppets are strange, jerky creatures that exist when their master, Skull Kid, summons them. They usually appear in groups of four (sometimes more), and float eerily toward you, before swiping with bony fists. Fortunately, they are very weak and one spin attack flattens all of them. Or, you can ZL target one, leap and bite, and continue this technique to finish the rest off. Try this out now, and save that monkey! Other moves to try are Midna’s area-attack, and if you’re Link (and don’t have time to change), a spin attack. 
|
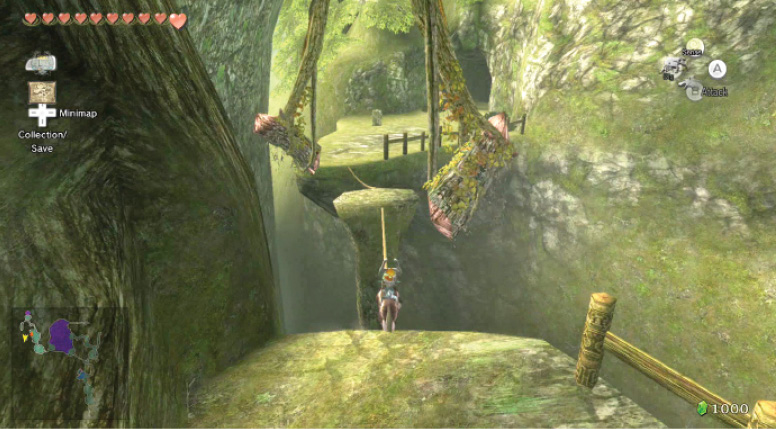
When the monkey has been saved, she points out the way to go. Stand on the flat stump platform, and Midna departs from you to a nearby landing spot. There’s another section of forest to explore. Leap three times to land on the floating platform. Then attempt three more ZL targeted leaps, to land on a hidden entrance to the Sacred Grove. Move toward two rotating bridges, and defeat a couple of Keese.
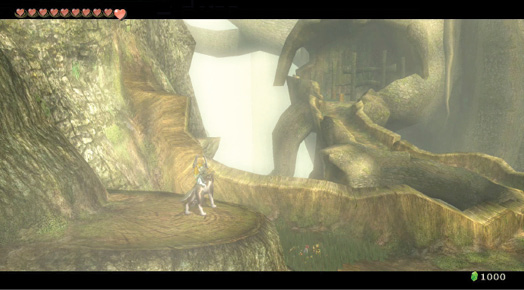
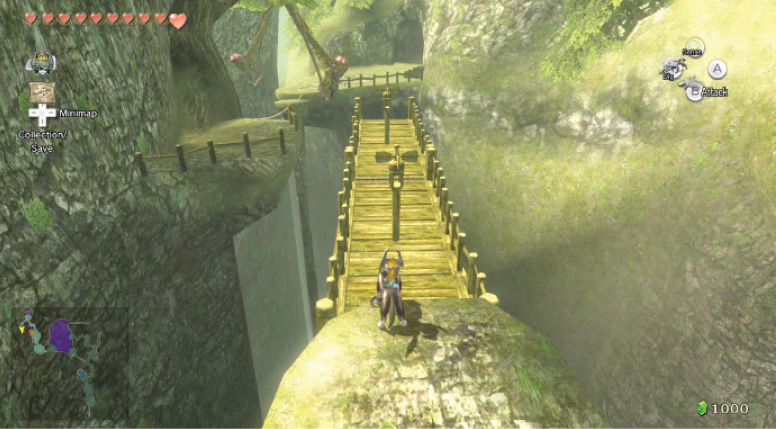
Wait for the wind to blow the bridge straight in front of you, then leap to it and bound to the second bridge. Wait until this second structure rotates 90 degrees, then run off onto a small grassy platform. Face the rope ahead, and wait for a swinging log to pass. Then quickly walk across the rope to a floating platform. Wait for a second log, and pass by that to a larger grassy ledge. Inspect the Wind Stone, then enter the cave ahead.
Hidden Skill
Howling for the White WolfBefore you continue, you must investigate that strange ceremonial stone on the grassy ledge you’re nearby. Listen and the wind whistles a tune through the hole in the rock. You must now recite the tune. Listen to the tune, then replicate it. The pitch is as follows: High, Low (hold), High, Low, Middle, High (hold). Press up to howl high and down to howl low on your Left Analog Stick. For mid-range howling, don’t move the stick. 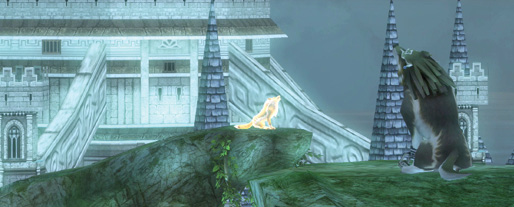
You appear as a wolf, high in the heavens near a sacred forest. The White Wolf appears at the end of a leafy edge, on the opposite side of the world. You howl the tune again. When you finish, the White Wolf tells you “Let teachings of old pass to you….” The wolf leaps down into the land.
|
Missing Links
1. Digging for Victory
The entrance to the Sacred Grove has a couple of places to find hidden Rupees and Hearts. Dig at dig spots on the grassy platform after the second rotating bridge for Rupee and Hearts, and just behind the Wind Stone for Hearts. Investigate the grassy ledge where the Wind Stone sits for Rupees and Hearts.
Sacred Grove: Stalking the Skull Kid
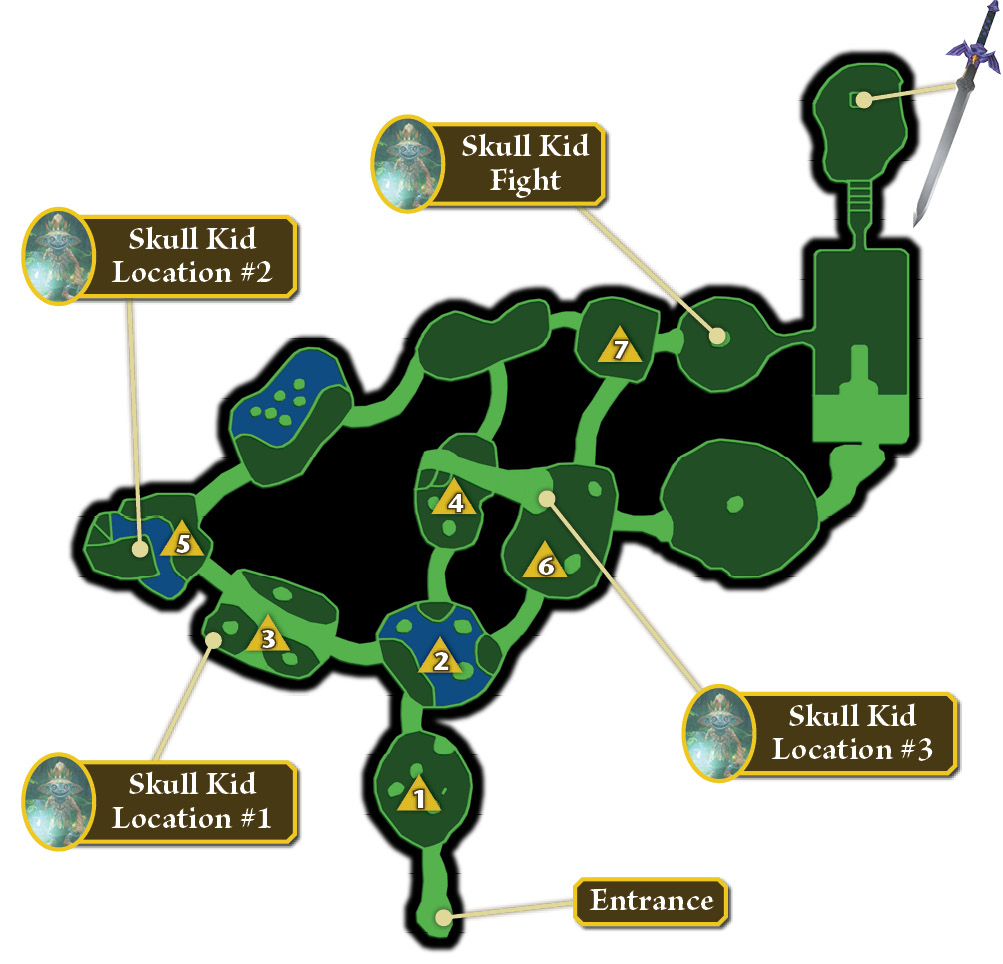
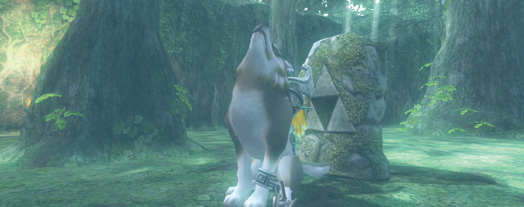
Enter a small grove that’s glistening with dew drops, and scamper around. Inspect a Wind Stone, much like the one you just listened to, but with a Triforce symbol carved into it. Howl along with the song: Middle (hold), High, Low (hold), Middle, High, Low (hold).
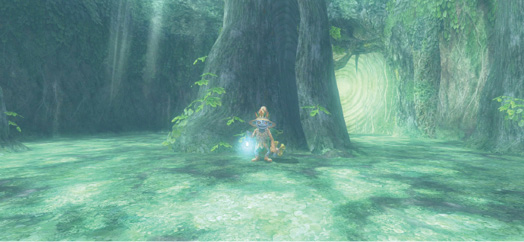
A strange little man descends from the trees and looks at you with an odd smile. He produces a trumpet and blows, giggles, and opens the sealed tree trunk doorway. Follow him into the Sacred Grove. As you do, four Puppets descend from the treetops and chase you. Stop and execute a spin attack to rid yourself of them.
|
The Puppets continuously appear and chase you throughout the Sacred Grove. Simply stop, wait for them to congregate around you, and then launch a spin attack. Rid yourself of them temporarily before you begin any difficult moves too, such as climbing large tree steps. |
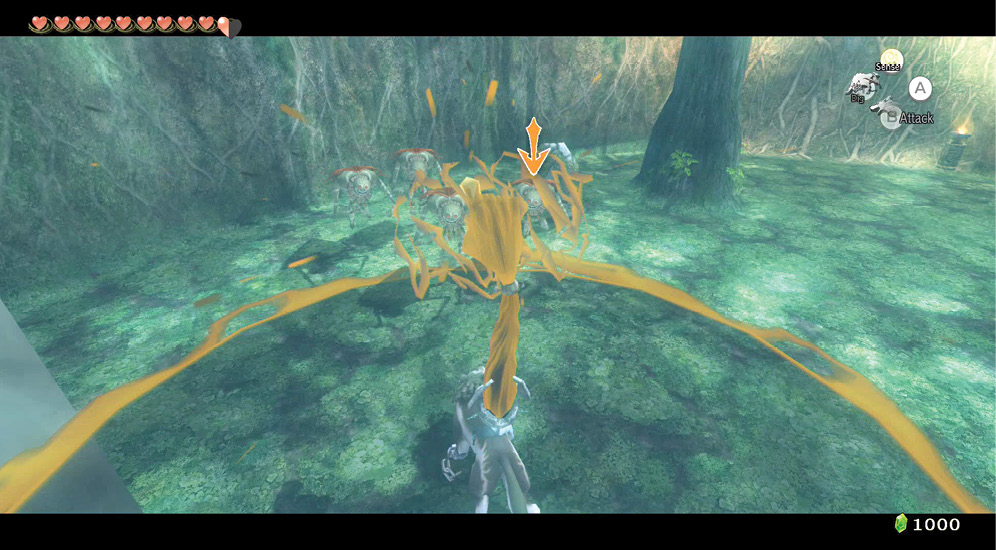
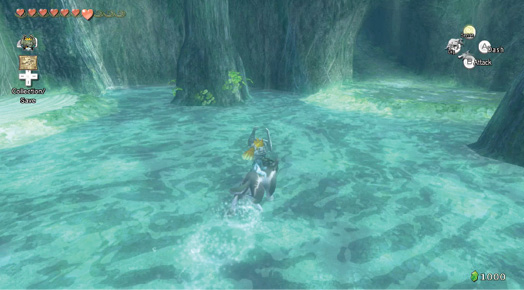
Scamper into the next linked Sacred Grove area (#2), and launch an area-attack on the Puppets. Or stick with your spin attack. Now try to head through this area without getting lost. Here’s how:
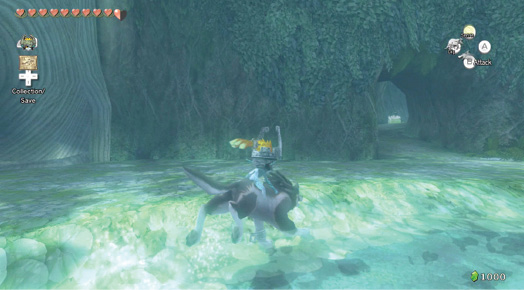
Head directly through this exit. You arrive in Area #3, which has butterflies flitting about. Run to the opposite end of this glade.
The Skull Kid is waiting in the raised area inside a giant hollowed out clearing. Defeat all the Puppets, then strike Skull Kid once. He laughs and flees the area!
Backtrack to Area #2 (with the shallow water in it), and find another exit, shown here. Defeat any Puppets, then head up inside a hollowed-out log to Area #4.
Area #4 has a series of large tree trunk steps leading to a fallen tree platform. Drop down from here after securing a load of Rupees and Hearts from the grass, then backtrack to Area #3. The passage near the tree clearing where you first hit Skull Kid is now open.
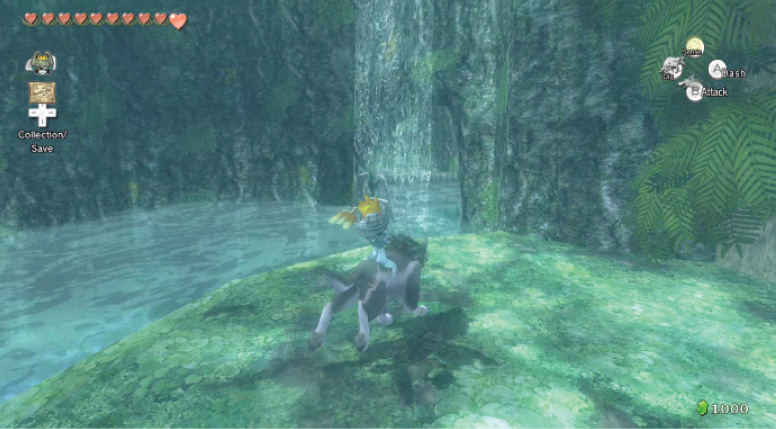
Enter Area #5, which has a small pool to one side. Swim here, to the archway through the small waterfall.
Attack the Puppets on the series of large stairs, and then make a leap for Skull Kid, who’s standing on the tree trunk platform overlooking the pool.
|
Follow the laughter and the trumpet-playing in your search for Skull Kid. If you can’t hear either, wander around until you can; he’s nearby! |
Head back from Area #5, toward Area #3 (which has the long grass and butterflies), and then back to Area #2 (with the shallow water). An all-new opening has appeared! Dart through to Area #6.
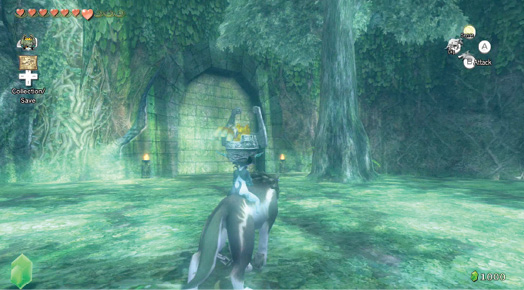
Area #6 has two torches and a sealed arch ahead. Look up, and you’ll see Skull Kid at the edge of a ledge! Dash to the opening just to one side of the sealed arch.
This leads to a new entrance into Area #4, and the ledge you saw Skull Kid on is up the tree trunk steps and across the fallen tree. Bound forward, target Skull Kid, and bite!
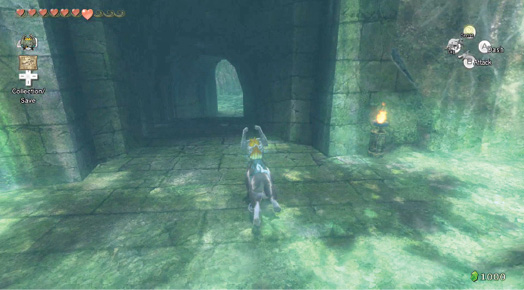
Skull Kid whisks himself away and unseals the arch with the torches either side. Follow him down to a new area, #7. This area has only one exit: into the Sacred Grove arena! Head through the torch-lit archway. You emerge on a high ledge, overlooking the arena. Drop down.
Missing Links
1. Digging for Victory
There are various grass clumps and spots in the Sacred Grove where you can scrabble for Rupees and Hearts. There’s no map to follow, so just do this in every area, usually at the foot of trees.
- Area #1: At the foot of a tall tree (Rupees and Hearts).
- Area #3: Grass throughout the area with the butterflies and tall grass (Rupees).
- Area #4: The foot of the tree trunk steps (masses of Rupees and Hearts in the grass, one Rupee from the dig spot).
- Area #5: Two dig spots on the ground next to the pool (Rupees).
- Area #6: The middle of the ground (Rupee).
- Area #7: In the corner, near the stone archway and skulls (Rupees).
Skull Kid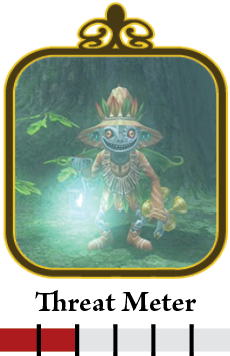
Step 1: The Skull Kid makes a stand. He drops down to one of the six or so platforms dotted around this arena and summons four Puppets. Use the spin attack to defeat all the Puppets. The area attack is less effective, as you can be stopped by the obstacles all around. 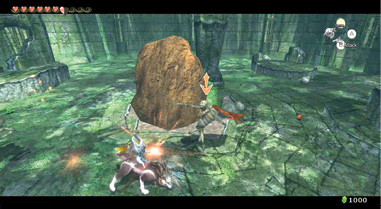
Step 2: The Skull Kid summons five, six, and even seven Puppets, and lets them loose on you! React by defeating them while prowling for Skull Kid, who’s randomly landed on one of the platforms. ZL target him and pounce with a leaping attack! 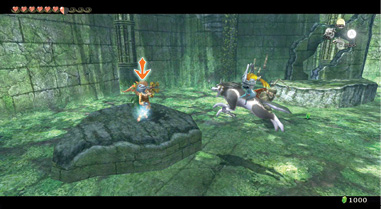
Step 3: If you’re too slow in finding him, Skull Kid teleports away from the platform he’s on, and lands somewhere else, so keep an eye always open for him! Continue to batter his Puppets, then leap and strike him three times. 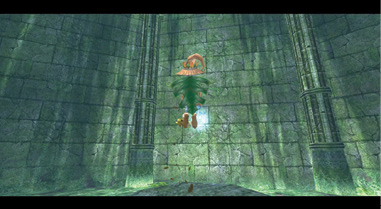
|
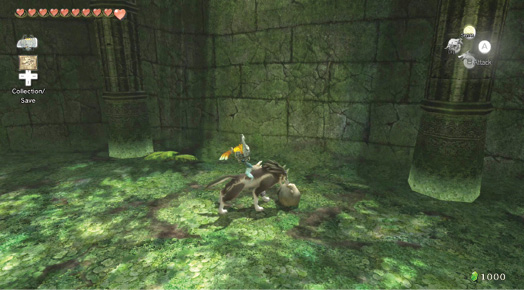
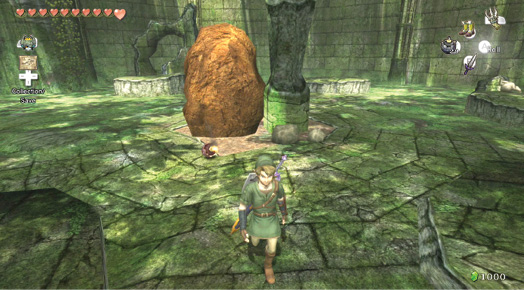
Skull Kid titters, and waves good-bye before disappearing and opening a doorway for you. Spend a few moments inspecting this arena; there’s a large Bomb Rock (with a dig spot under it) that you can’t move. However, you can roll small rocks and smash skulls for Rupees and Hearts.
The True Sacred Grove: Obtaining the Master Sword
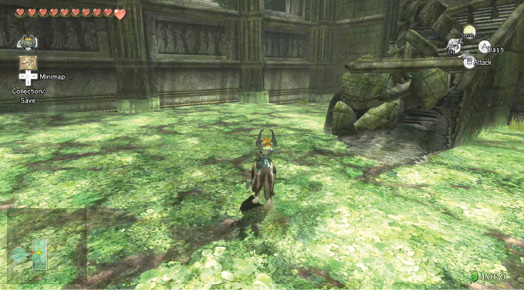
When you’re ready, enter the doorway that leads up to a large grassy clearing. Ignore the two large statues for the moment, and check the southern area out.
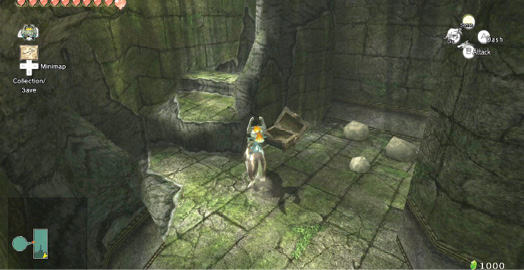
There are two cracks in the southern wall, and the one on the eastern side leads to a ruined set of steps, and a looted chest. Roll the nearby stones for Rupees and a Heart, then return. A shiny Golden Bug is here, but you can’t grab it with your paws!
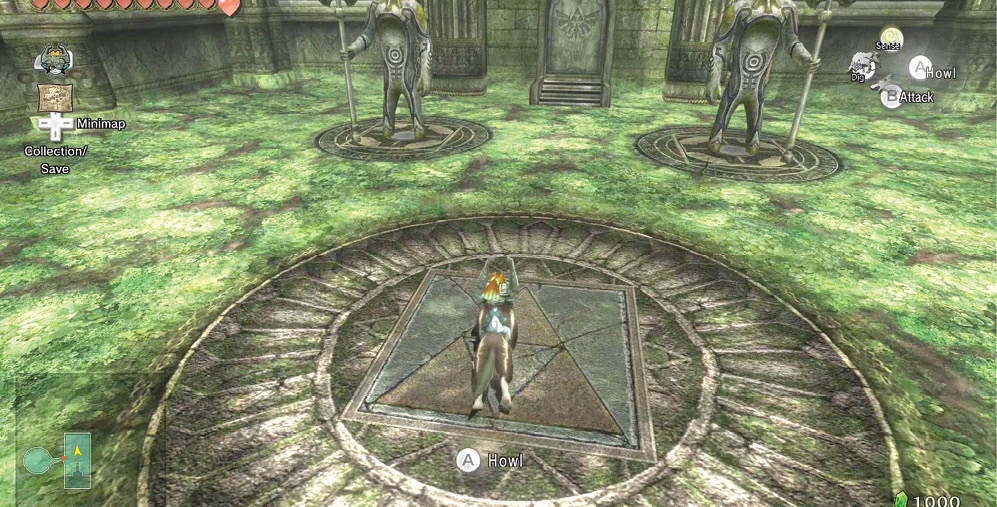
Once you’ve explored the area, run to the middle of the grassy area guarded by two statues. Stand on the Triforce carving on the ground between them, and howl the same melody you did to enter the Sacred Grove earlier. A magical incantation commences, and the arena falls away, the statues move, and a puzzle begins! You must guide the statues so they are placed where they once stood!
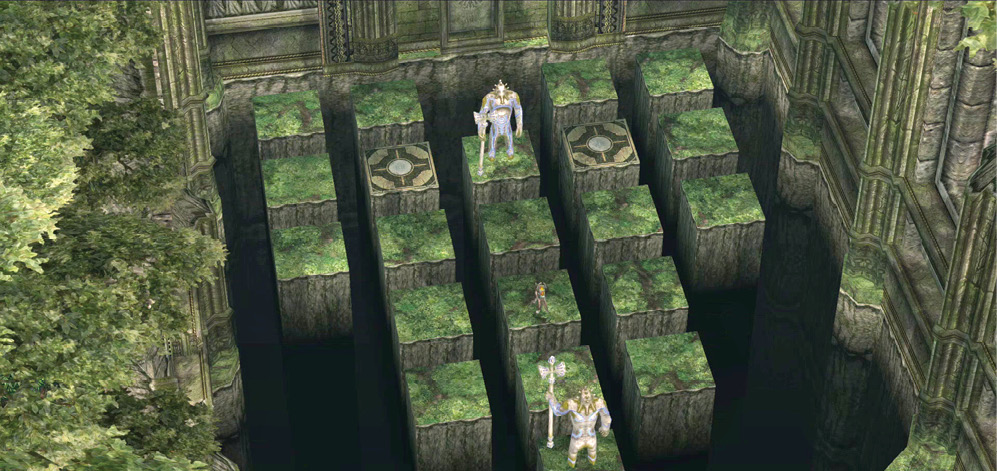
Guiding the statues back to the marked spots is a convoluted process. You mustn’t get stuck yourself or get the statues stuck so only one moves. And remember that each statue moves in the opposite direction from the other! However, there is a solution and here’s the quickest way to solve it:
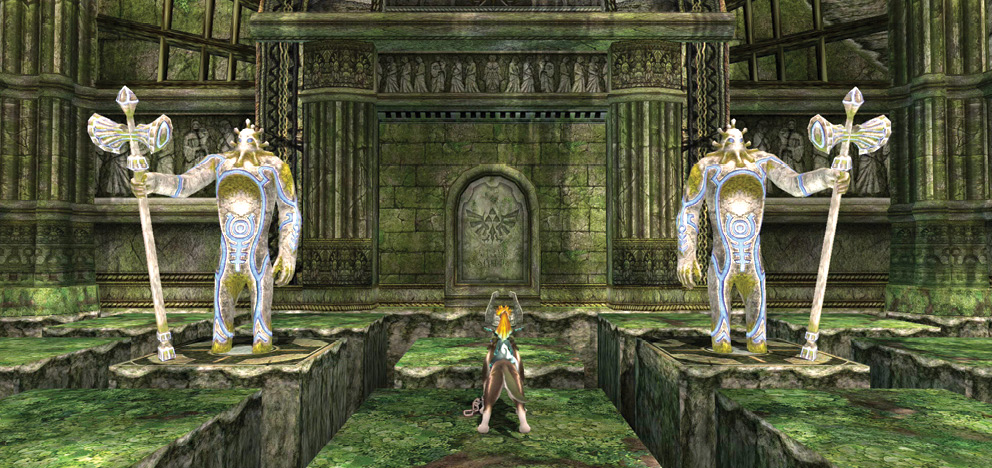
Move yourself: Right, Down, Left, Left, Up, Right, Up, Up, Right, Down, Down, Left, and finally, Up. The door to the true Sacred Grove opens!
Missing Links
1. Splendor in the Grass
The Ruins to the Temple of Time has a number of clumps of grass to chew on, spitting out Rupees and Hearts.
The True Sacred Grove: The Master Sword Returns!
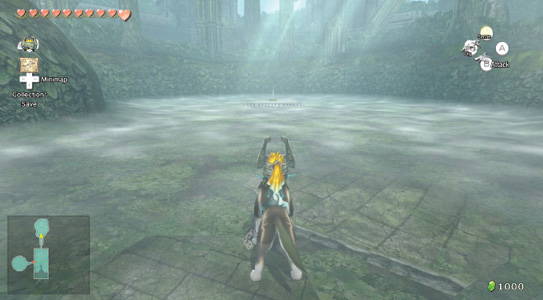
Bound through the door straight ahead of you, to a mist-shrouded clearing, where dappled sunlight beams down onto the blade of a large, spectacular weapon. Check it out.
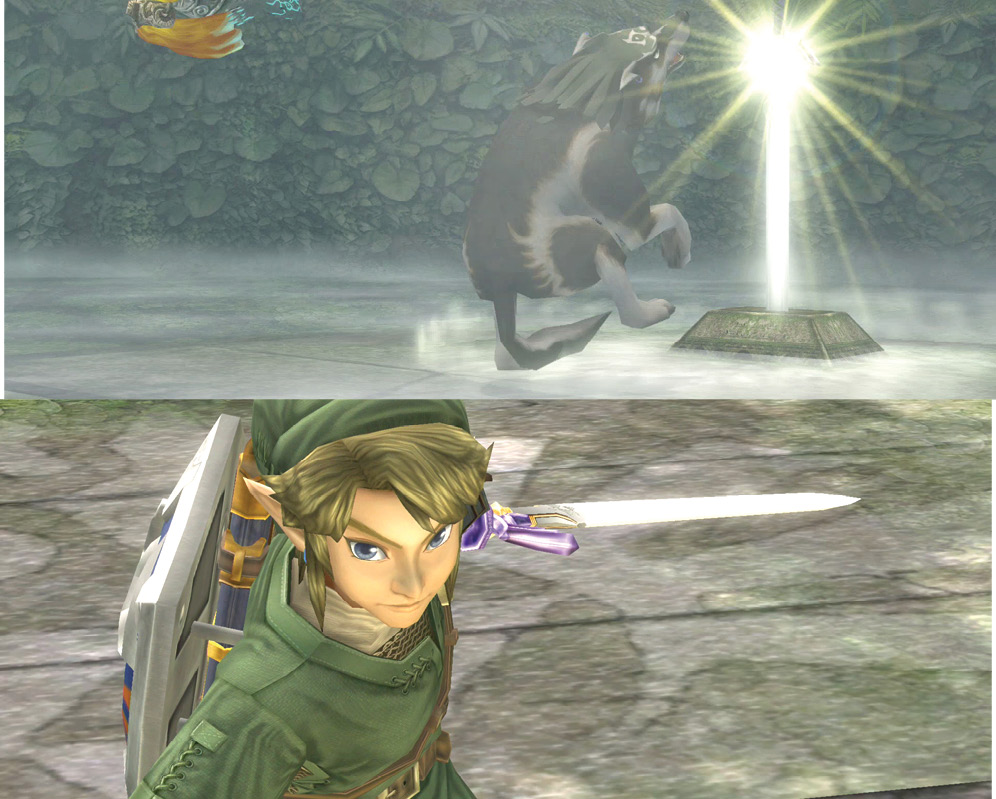
The sword glows a brilliant white and pulsates, enveloping you. Zant’s evil magic shard is cast from you. You remove the sword, and claim it! You can now turn from boy to wolf at any time!
 Master Sword
You got the Master Sword!
|
You can now transform into a wolf and back to Link at any time. Simply tap the wolf icon in the top-right corner of the Wii U GamePad screen or press the L Button to talk to Midna. This will transform you to and from wolf form, and warp you to nearly anywhere you wish! You now have complete freedom to roam about the countryside! |
Golden Bug: Male SnailCollection: 21 (of 24)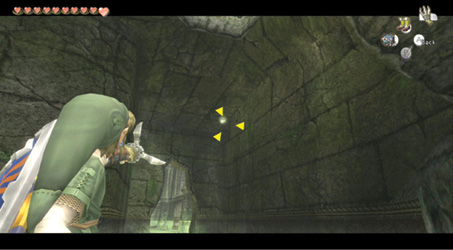
First snag the Golden Bug that’s nestled in the corner of the ruined passageway to the south. Use the Clawshot to pick the bug off the wall, maneuver to your feet, then sweep it up. The Female Snail is near here, but you can’t claim it yet!
|
 Male Snail
Now clear as much of this area as possible. Start with the arena where you fought Skull Kid. Head to the bomb rock in the center of the area, place a bomb next to it, and explode it.
Poe Soul #2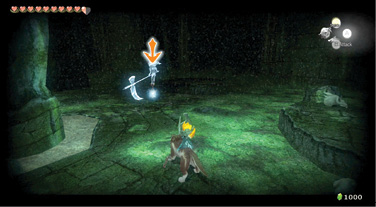
The Bomb Rock is hiding more than just a dig spot; another Poe lantern is here. Quickly transform into your wolf form, switch on your sense view, then leap and attack, or attempt Midna’s area-attack.
|
 Poe Soul
Dig Cavern #1The Bomb Rock also allows you to enter another dig cavern. Drop down, and defeat every single Baba Serpent in a small, single cavern. Change to Link and cut down the Serpent hanging from the roof to complete your combat. 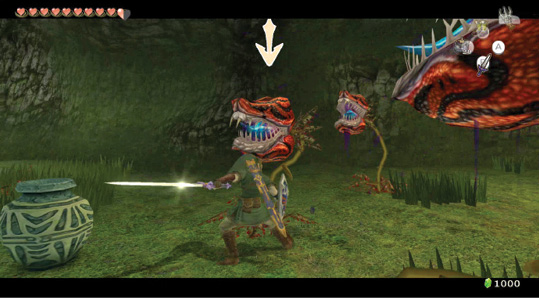
There are numerous Hearts and Rupees in the long grass, so slice this too! When every Baba Serpent is defeated, a chest mysteriously appears. Run to the ledge and open it; inside is a Piece of Heart! Claim it, then exit via the rock with the light shining on it. 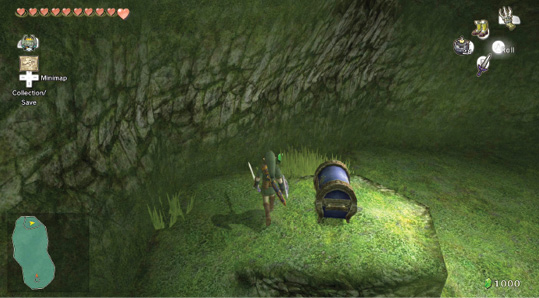
Overworld Chest #47:Piece of Heart #21
|
 Piece of Heart
|
There’s another Imp Poe in this area, in the clearing where you found the Master Sword. However, he only comes out at night, and it’s easier to return for him later. |
|
You can now freely explore the wilds of Hyrule! To aid in your progress, we’re covering every new area to explore in chronological order, based on when you first arrived. Let’s start with Ordona Province. Warp there now. |