
The Legend of Zelda: Twilight Princess HD Guide Overworld: A Wolf Howls in the Twilight
Task 2: Gain an Audience with the Twilight Princess
Climbing the Castle Tower
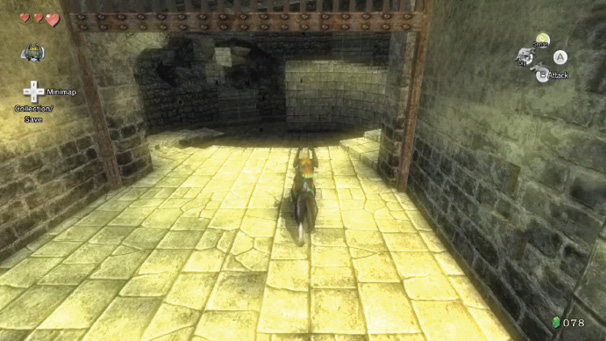
You arrive at the base of a tall tower with a winding staircase around the perimeter. First, optionally attack two Twilit Vermin splashing in the water at the tower’s base. Stay on the steps, wait until they leap on dry land, then snag them!
Follow the staircase upward, around the tower perimeter, and leap to a piece of loose masonry that collapses. Retrace your steps and stop at the edge. Midna decides to guide you. Target her with ZL, then press the A button to follow her. You leap across easily. Do this twice.
|
Using Midna to leap gaps is an incredibly important technique. Listen for her laugh at an area you can’t normally maneuver across. Then leap across as quickly as possible. Hold down the ZL trigger and you auto-target the next leaping spot. Press the A button quickly to complete the leaps fast; this prevents you from falling during a complex jump or climb. |
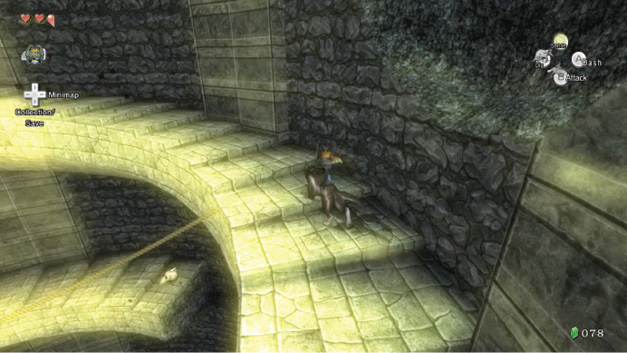
Continue to bound up the tower, leaping a couple of small gaps on your own, then using Midna again on a piece of fallen stairs to reach an upper area. Stop when you see a rope stretching out to the side.
This rope leads to the section of staircase you just avoided. Position yourself facing the rope directly, then walk onto it. Continue to the lower end of the staircase, then break the skulls and slay the Twilit Vermin. You can target it and leap from the rope if you’re daring! Find the Rupee prize in one of the skulls, then head back up the rope, and continue to ascend to a skull with a Heart in it, and a second rope.
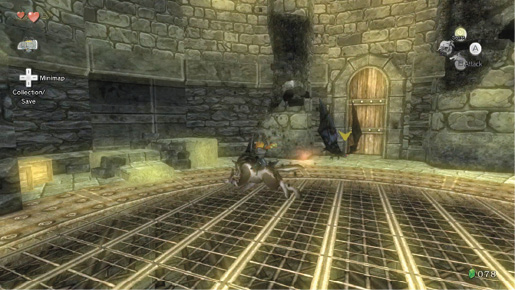
Cross the second rope, bound up and around the top of the staircase again, and use Midna to jump three long gaps until you reach the tower’s exit. Climb around the fenced stairs to the base of the tower parapet. A couple of dark, bat-like things appear!
Twilit Keese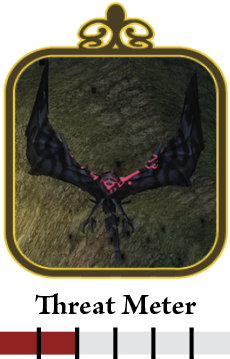
These are Twilit Keese. Target them at once, then leap back and forward to grab each of them. It only takes one bite to slay them. Spin attacks also work, providing the Keese are flying near you. 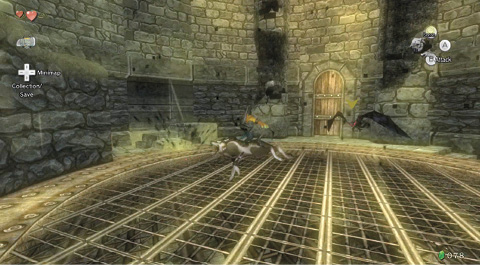
The Twilit Keese is longer and more fear-inducing than the regular Keese, but just as easily defeated! |
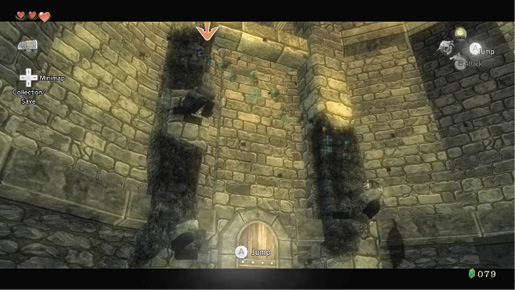
Spend some time smashing crates for Rupees and a Heart, and then inspect the door. It is firmly shut. Climb onto the rubble to the left of the door, hold the ZL trigger, and make a five-stage series of jumps up to an open door high above you.
Hyrule Castle Battlements
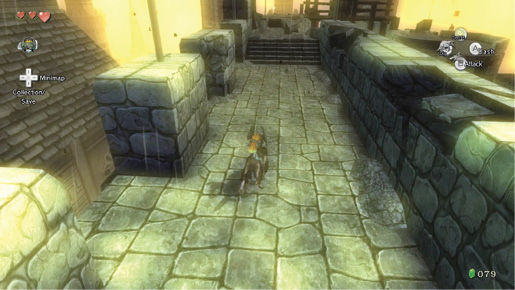
You’re traveling to another tower, where Midna wants to introduce you to someone. Bound out and down, onto the parapet. You can optionally turn south and head down the stairs to smash a skull or two for a Heart.
Head north. You can spend some time peering across to the castle’s main central keep. When you’re done, head to the corner of the dilapidated parapet section, where a soldier spirit waits to wail about monstrous birds. He confirms where you are: Hyrule Castle!
Midna urges you to the tower. Push the crate forward so it reaches a wooden blockade, then climb up and onto it, and drop onto a second stone parapet. Drop into the hexagonal stone area, and press the ZL trigger to target a massive, flapping monstrosity!
Twilit Kargarok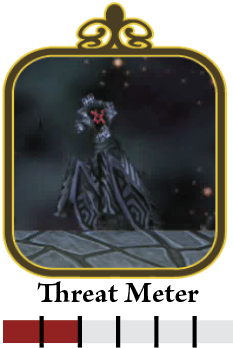
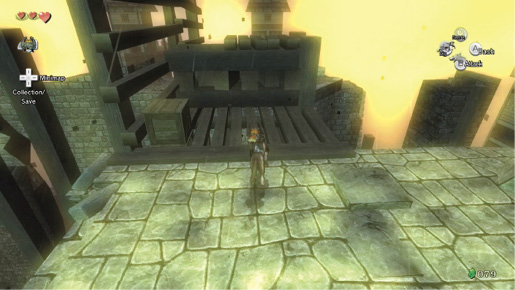
This wretched creature swoops in to attack, delivering a nasty swipe or nip that deals half a Heart’s worth of energy loss. Wait for this dive, while keeping a constant lock-on, and then leap and bite the bird. It lets out a yelp that sounds like a horn! It comes back for seconds, so strike it again, either with a leaping bite, or a spin attack (which is less effective). The horn noise is higher-pitched this time, so you know you’ve defeated it. Keep away from the sides when you’re attacking. Wait and let the Twilit Kargarok come to you, or you may leap to a bottomless plummet! 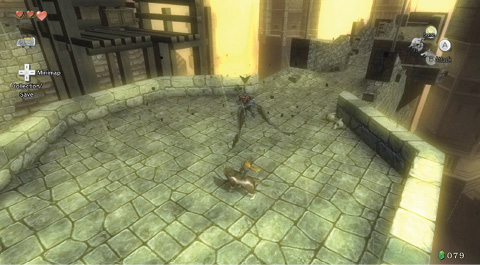
An otherworldly version of a hated Hyrulian carrion, the Twilit Kargarok should be struck twice. Listen for the horn! |
With the beast defeated, smash a skull, then ignore the small square tower with crates on it because it’s too far away to reach. Face north and walk along another crumbling parapet until the strange music sounds the arrival of another Twilit Kargarok. Stay away from the edge of the parapet as you defeat it!
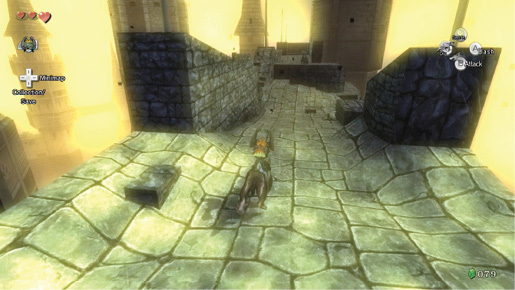
Continue to the far northern end of the parapet, where you can see another small square tower that cannot be reached because the bridge is out. Look left and smash the skull for a Heart. Midna offers to help you leap across to the rooftop nearby. Execute a quick three-jump maneuver.
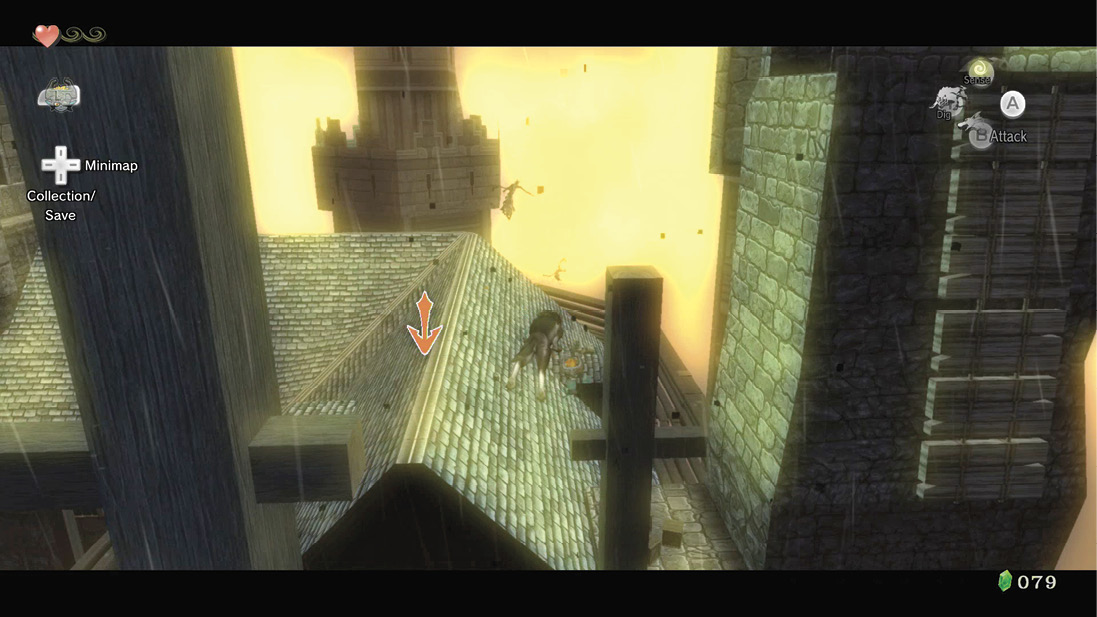
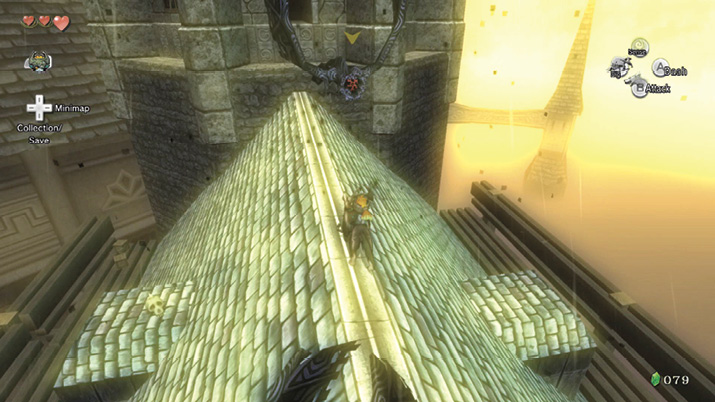
Now on a roof, canter forward, following the gable and making a turn before you’re assaulted by two Twilit Kargaroks. Stay in the upper middle part of the roof, and leap to grab both of them. Once they’re defeated, head directly to the ledge. Climb up and into an open doorway.
Missing Links
1. Up on the Roof
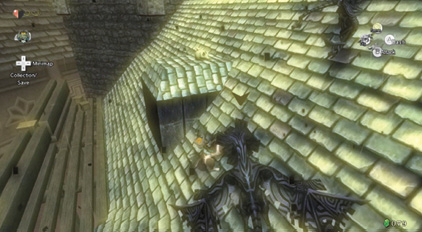
Clusters of crates dot this roof. Check for two sets to the right of where you landed, skulls on the small roof windows, and crates along the wooden fence perimeter. All carry Rupees, Hearts, or nothing!
Princess Zelda’s Private Quarters
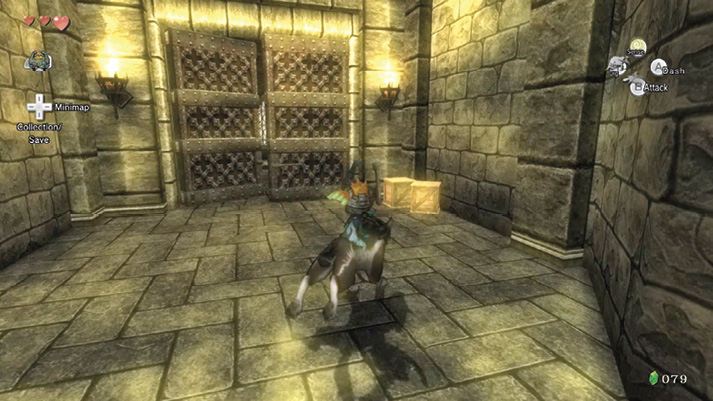
You appear in a small window halfway up a spiral staircase. Drop down and optionally head downward; there’s little here except a sealed door. Move to the top of the staircase, break open two small crates for Hearts, and nuzzle open the large arched door.

A hooded figure is watching the enveloping twilight. The figure turns. “Midna?!” she says. The figure kneels down next to you. Midna tells her she should explain what she managed to do…. “Twilight Princess!” she finishes.
The figure explains that the kingdom of Hyrule has been transformed by the king that rules the twilight. She recalls how Princess Zelda and her troops valiantly defended the throne from the creatures of shadow.

A figure strides to the throne, dressed in shadow armor and flanked by two Twilit Messengers. Princess Zelda drops her sword. The Triforce is cast in shadow. Castle Hyrule burns as the townsfolk turn to spirits.
The figure removes her hood, declaring “I am Zelda.” The princess explains that shadow beasts are looking for her. You must find a way to remove this permanent twilight!
Princess Zelda: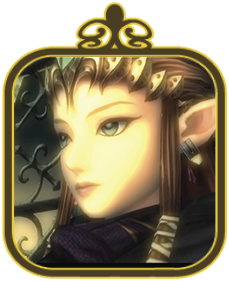
Princess Zelda is about 20 years old, and is the queen-in-waiting of Hyrule. Her kingdom was taken over by a strange man clad in shadow armor, who in exchange for the lives of her people, banished her to this castle. Zelda speaks with an intellectual and serene confidence, even in this darkest hour. She is strong and brave, and she would give up her life to bring peace to her kingdom. Like you, she has a strange power, known as the Triforce, that only a chosen one can achieve. |
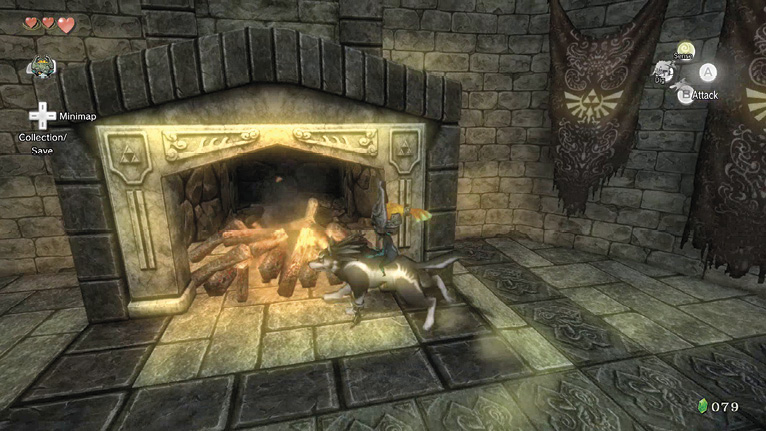
Although you can speak to Princess Zelda, she tells you to leave quickly before the guards arrive. She doesn’t mind you climbing on her bed, checking the book on the table, or even dousing the fire with a spin attack to claim a yellow Rupee (10)! Now leave, heading down the spiral steps.

A guard is coming! Midna transports you across the castle roof, where she asks you what you want to do next. Quickly transforming into the terrified forms of Colin and Ilia, Midna supposes you’ll want to help them. She’ll help, as long as you do exactly what she says! You land back at the Ordon Spring, still in the shape of a wolf!