
The Legend of Zelda: Twilight Princess HD Guide Overworld: Return to the Sacred Grove
Task 1: Thoroughly Hunt for Items Around Snowpeak Mountain
After Snowpeak Ruins: Minigame: Sledding to Victory
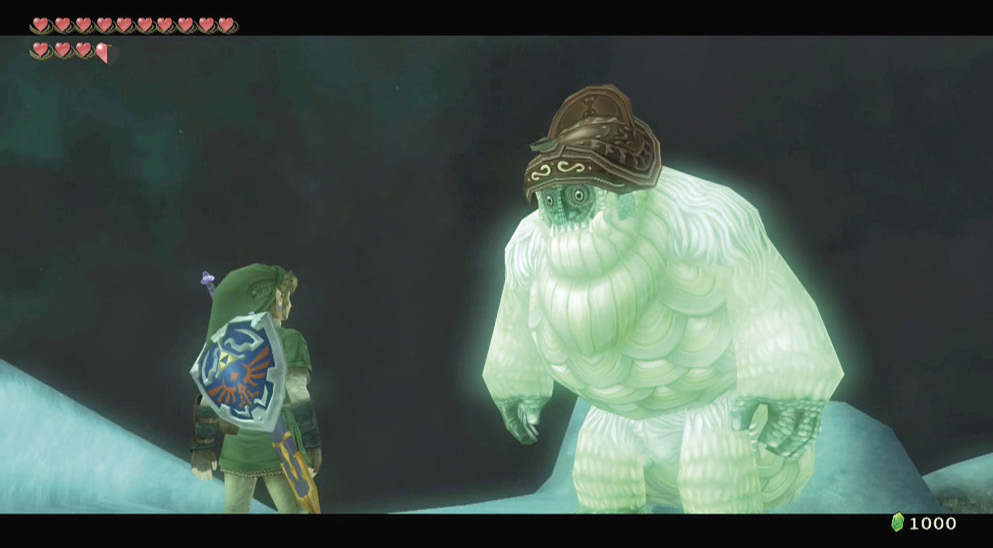
After you leave Snowpeak Ruins, don’t immediately warp away to the Hyrule Fields. Instead, climb to the top of the mountain and talk to Yeto, who asks if you want to race him. Agree to this challenge.
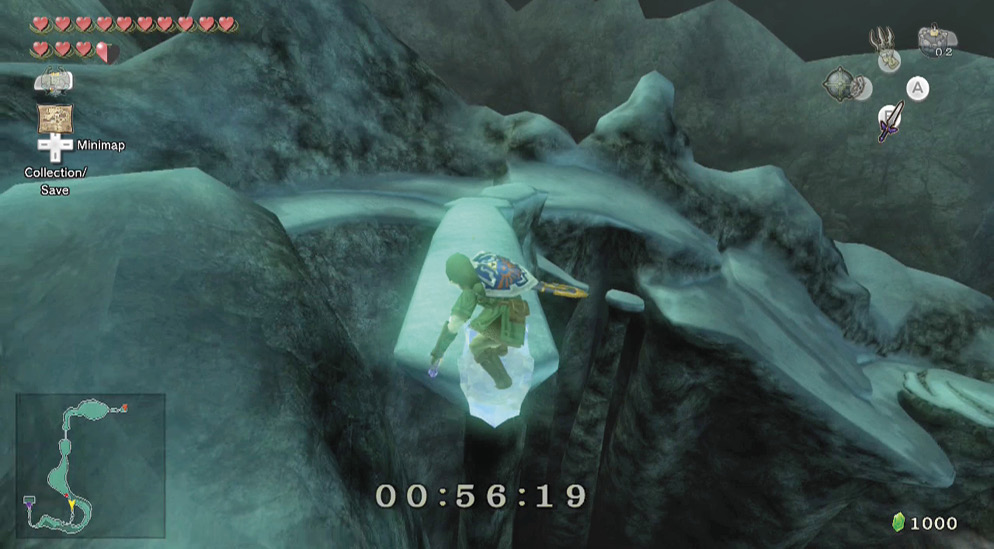
Begin your race, and follow the route as you did when you slid down here previously. Learn the shortcuts, and how best to take them, or even take the regular way around. You should easily beat him if you don’t fall! When you win, speak to Yeta, and she’ll tell you the best time.
Return to the top of the mountain, and speak to Yeta this time. She wants to race you too, and she’s incredibly skilled! Learn the following route to beat her:
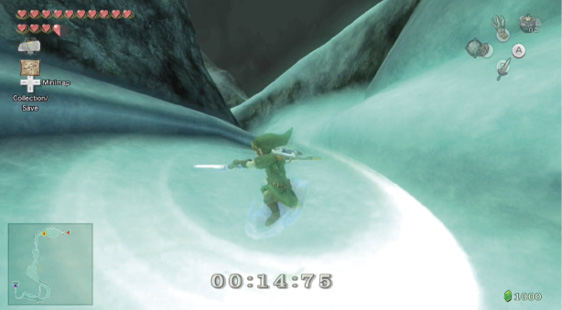
Perform a spin attack as you both meet after the first jump.
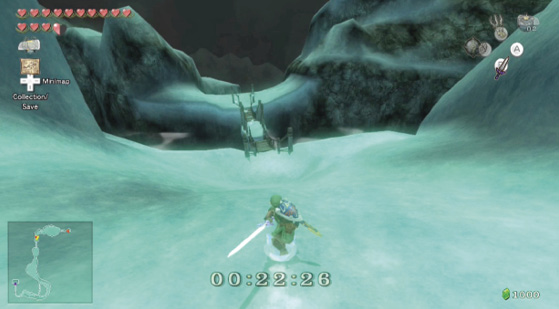
Press up on the Left Analog Stick and make smooth, subtle turns through the first snowbank, heading to the broken bridge.
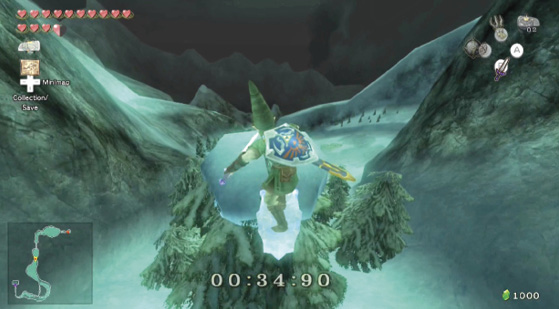
Launch off the middle of the ramp, and hit all three tree ledges.
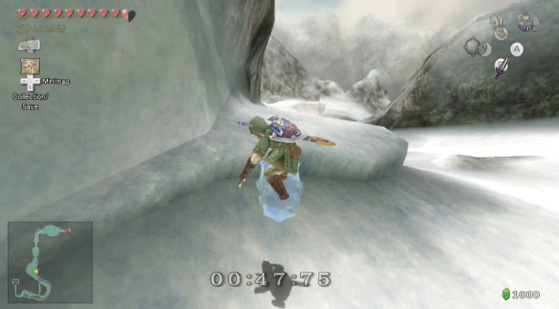
Crouch and leap onto this left snowbank here, preparing for the shortcut.
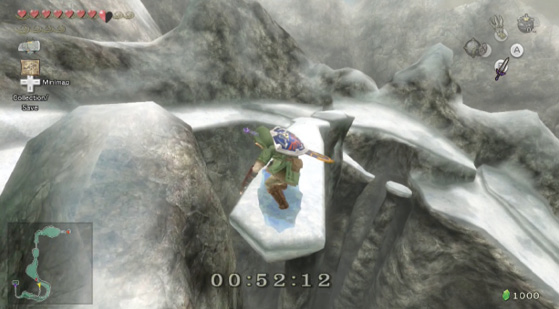
Jump off the edge, onto the shortcut, and stay on course!
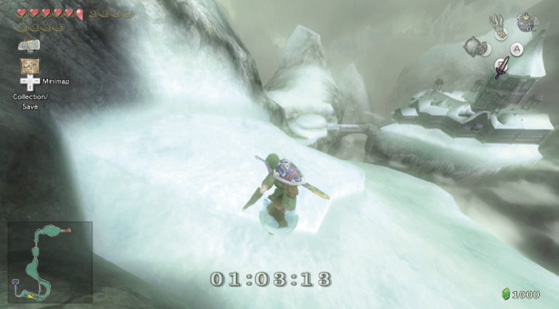
Stay on the left, high snowbank as you spot the mansion in the distance.
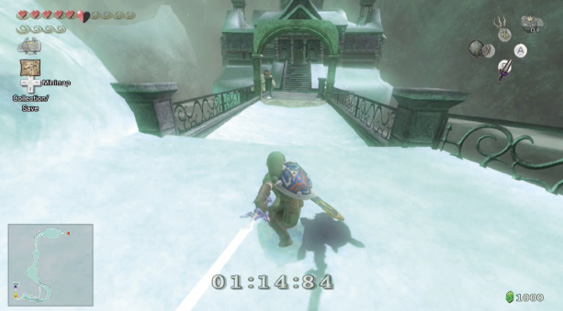
Stay crouched and press up on the Left Analog Stick, but don’t strike the sides on the last bend. Perform a spin as you finish, so you don’t get beaten at the post!
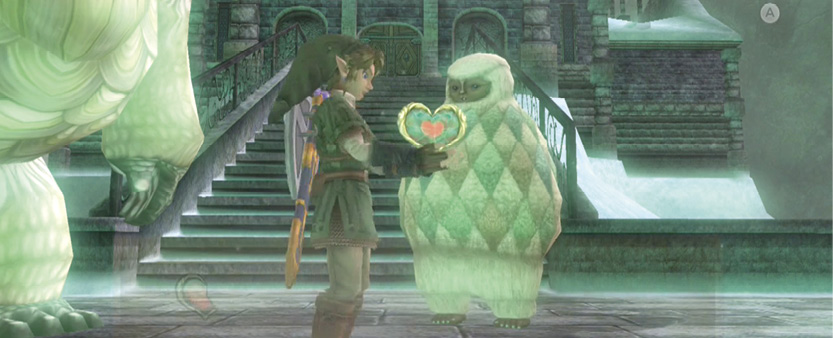
Providing you beat Yeta, she tells you how impressive you are and gives you a gift: a Piece of Heart! Add it to your collection, and wave good-bye to the Yetis!
 Piece of Heart
You got a Piece of Heart! Collect two more for another full Heart Container. Piece of Heart #33 of 45.
Author NoteWe managed a reasonably respectable time of 1:16 to beat Yeta, but we’ve heard tales of skilled sledders managing a time of 1:12! Can you beat that? |
After Snowpeak Ruins: The Final Reconnoiter
Poe Soul #49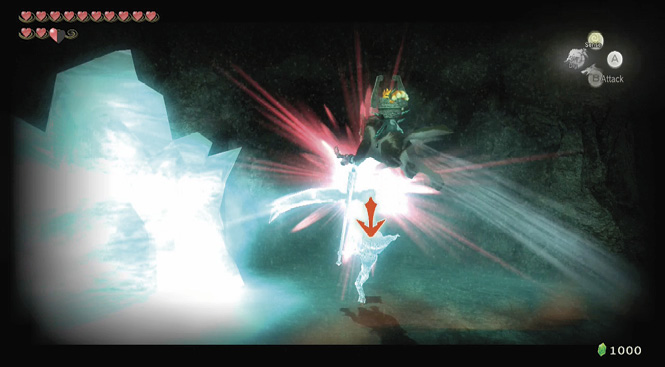
Backtrack into the cavern with the ladder that you climbed to reach the top of the mountain. Open the round door with the hand prints on it, head down to this point, where a couple of ice blocks remain, and smash them. One contains a Poe, and the other an unlit torch. Change to wolf form and bring that Poe down!
|
 Poe Soul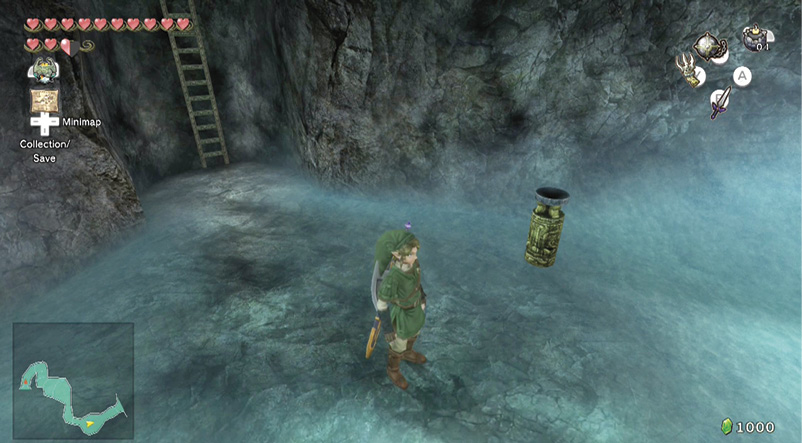
Now inspect the unlit torches. There are two, and as you’d expect, lighting both of them produces a reward in the shape of a treasure chest. Look inside for an orange Rupee.
Overworld Chest #83:
Orange Rupee (100)
Dig Cavern #16Now return to this dig cavern, on the way up Snowpeak Mountain (follow the Reekfish trail to a snowy plateau), looking for the lone pine tree and dig spot nearby. Once you drop in, smash the Ice Keese and then destroy one of the ice blocks making up the wall ahead of you. There are four Freezards here, and if you had bashed all the ice blocks, you wouldn’t be able to use them as cover! After some freezing fun, bash the last Freezard into pieces and open the chest he was sitting on. 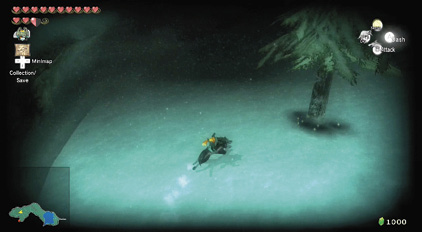
Overworld Chest #84:Orange Rupee (100) |
After Snowpeak Ruins: The Crate Escape—Ice Block Puzzle Cavern
Next warp back to Hyrule, and head to the north field, and the north section of the field. Enter the cave whose Bomb Rock you destroyed a while ago. Now that you have the Ball and Chain, you can enter this area.
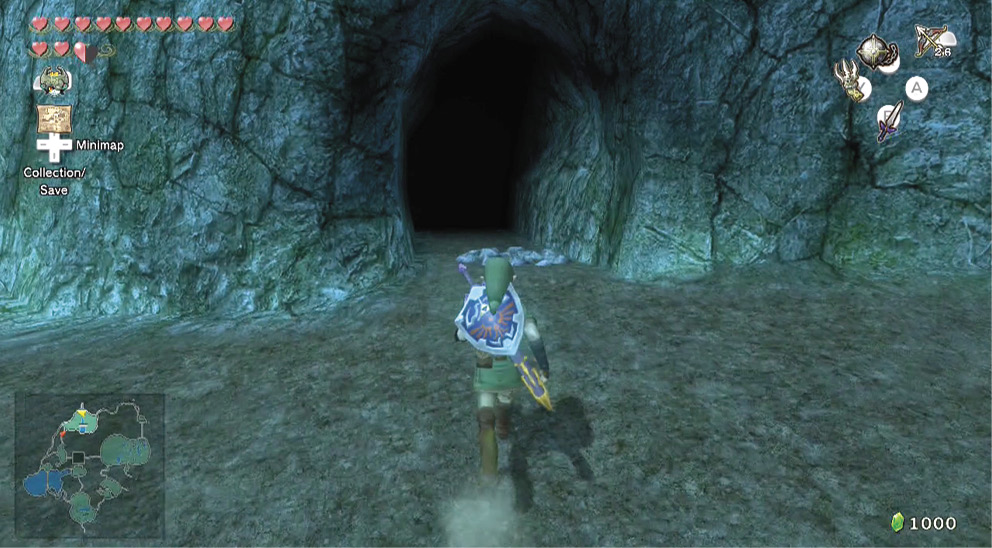
Ice Block Puzzle
You must smash through a giant block of ice to reach the Ice Block Puzzle Cavern’s first room, and the only way to do that is with a little help from the Ball and Chain. Smash through the ice, then enter the first room and prepare to use your noodle.
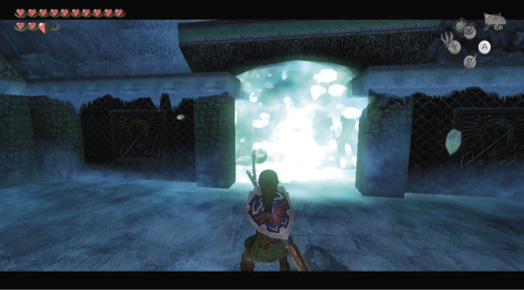
Room 1: This Ain’t So Bad!
Here are the steps to solving the first room:
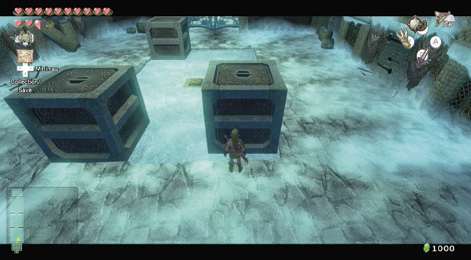
1. Push the southeast block to the north.
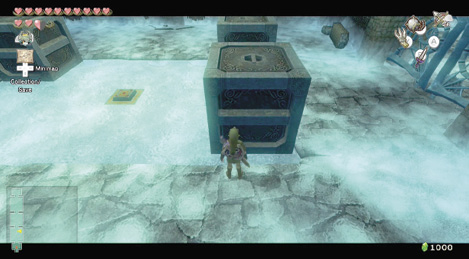
2. Push the same block to the west.
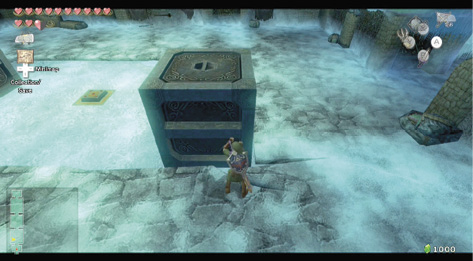
3. Slide the southwest block to the east.
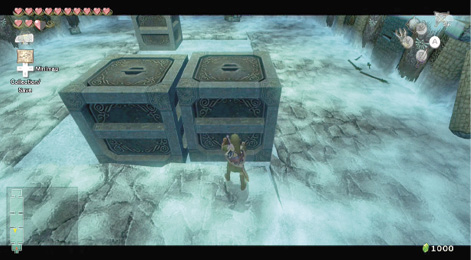
4. Shove the northwest block to the south.
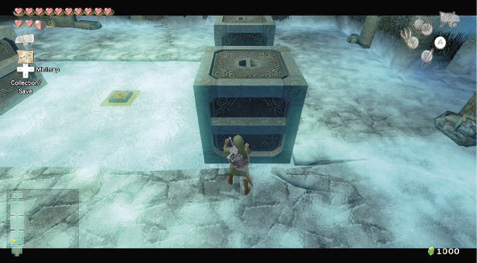
5. Shove the same block to the east.
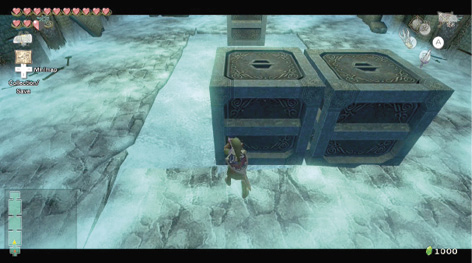
6. Push the same block to the north.
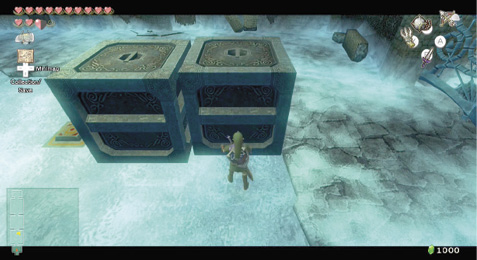
7. Slide the northernmost block to the west.
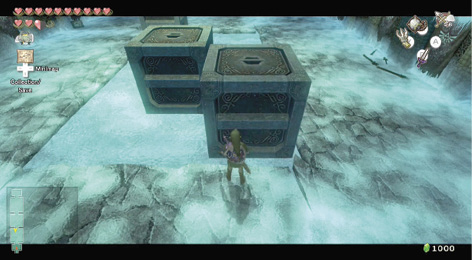
8. Slide the same block to the south.
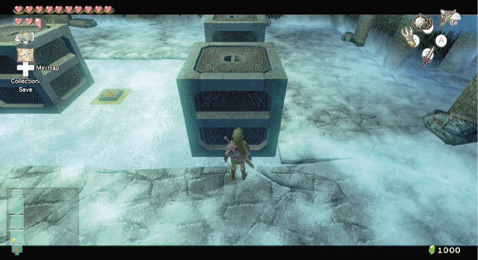
9. Push the same block to the east.
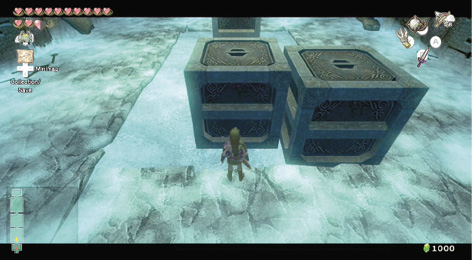
10. Finally, shove the same block to the north.
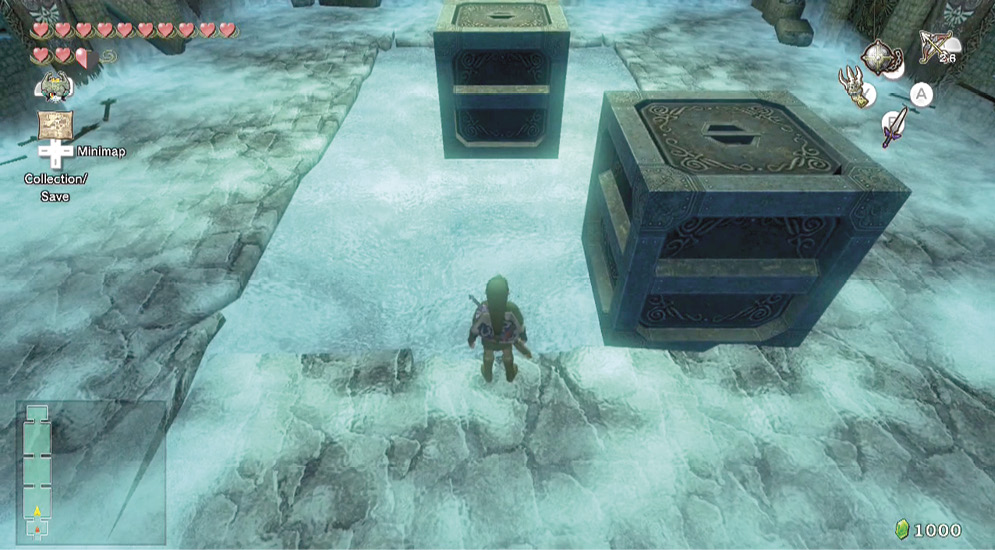
The block lands on the room’s pressure switch, opening the north gate.
Room 2: Okay, This Is Tough
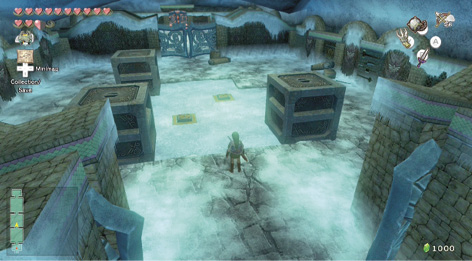
The second room’s far more challenging. Here’s one way to solve it:
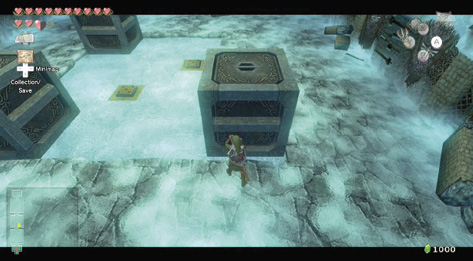
1. Push the southeast block to the north.
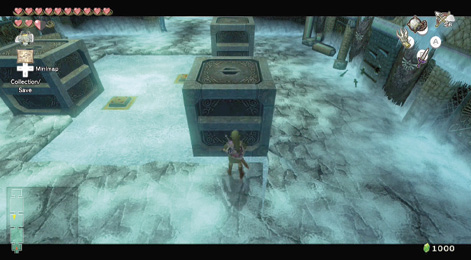
2. Slide the northwest block to the south.
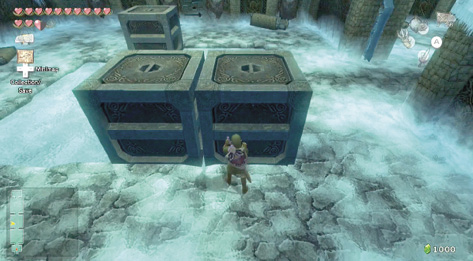
3. Push the southwesternmost block to the east.
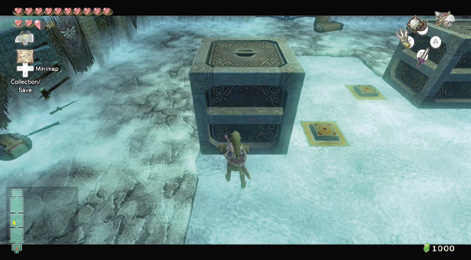
4. Shove the west block to the north.
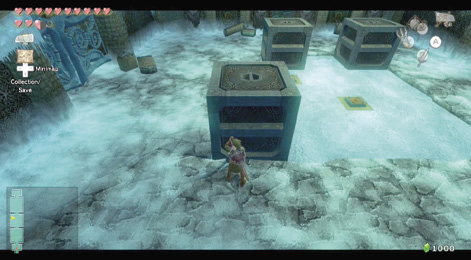
5. Slide the same block to the east.
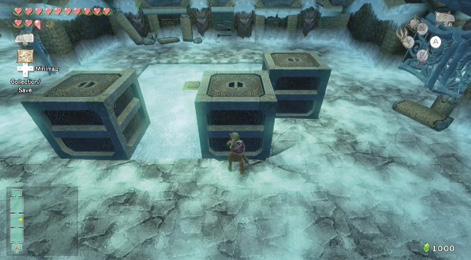
6. Push the middle west block to the west.
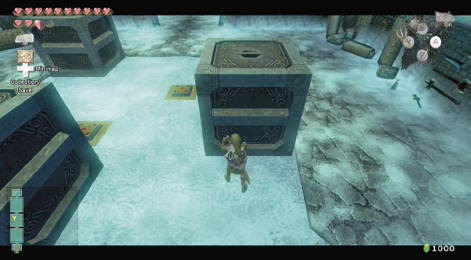
7. Push the same block to the south.
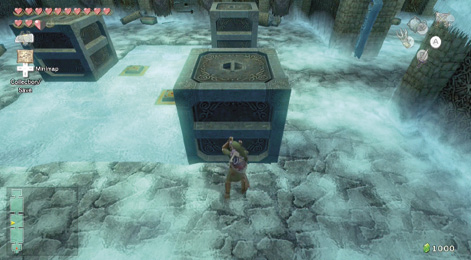
8. Shove the same block to the east.
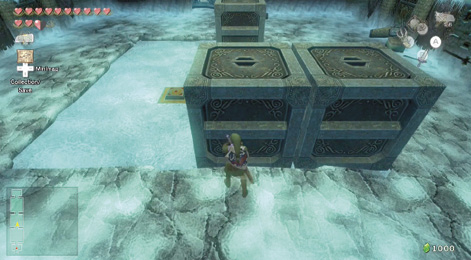
9. Slide the same block to the north. The room’s northernmost pressure switch is now depressed.
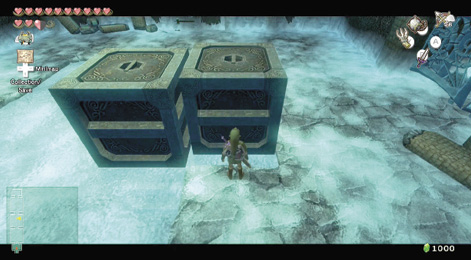
10. Push the northernmost block to the west.
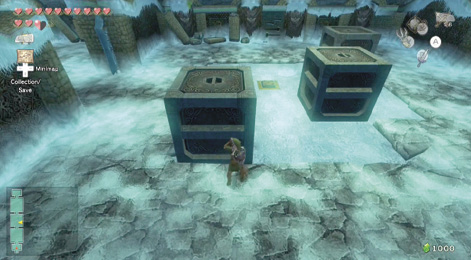
11. Slide the southwest block to the west.
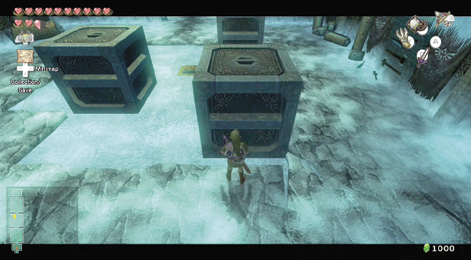
12. Shove the northwest block to the south.
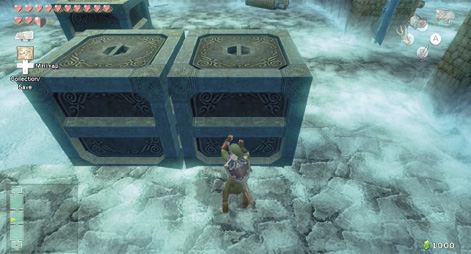
13. Slide the southernmost block to the east.
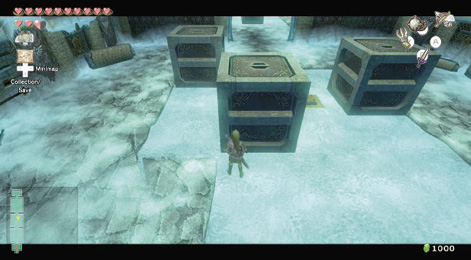
14. Push the northernmost block to the south. This releases the northernmost pressure switch.
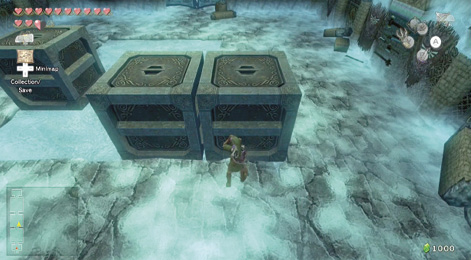
15. Slide the southeast block to the north.
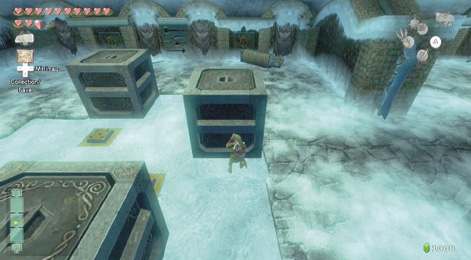
16. Shove the southernmost block to the east.
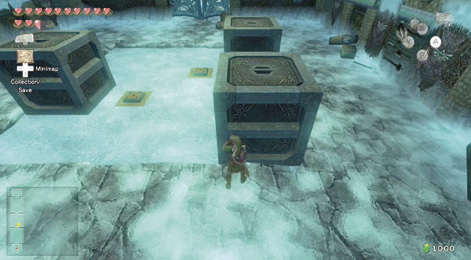
17. Shove the same block to the north.
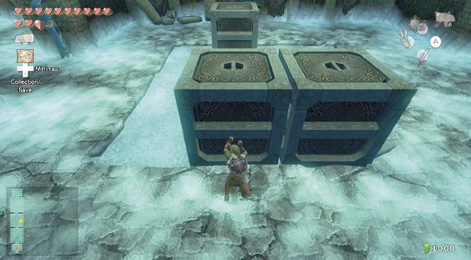
18. Push the same block to the west. The room’s southernmost pressure switch is now depressed.
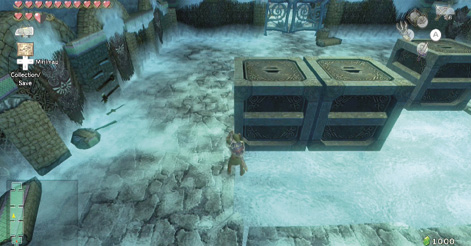
19. Slide the westernmost block to the north.
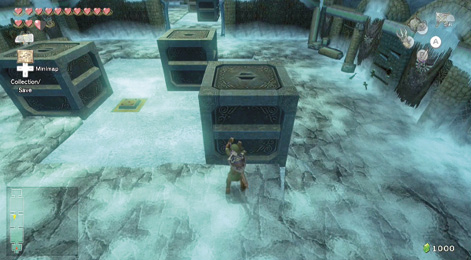
20. Oops! Slide the same block to the south.
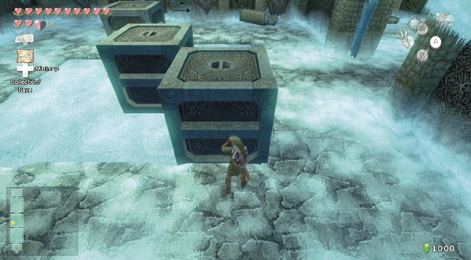
21. Shove the same block to the east.
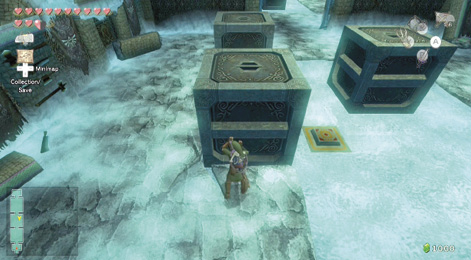
22. Push the northeast block to the south.
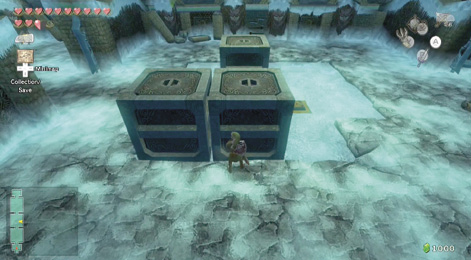
23. Push the same block to the west.
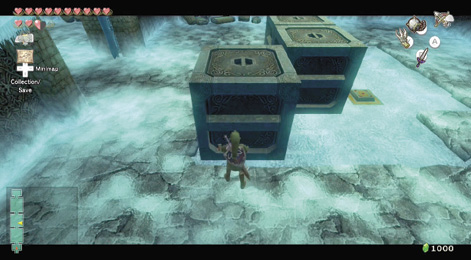
24. Slide the southeast block to the west.
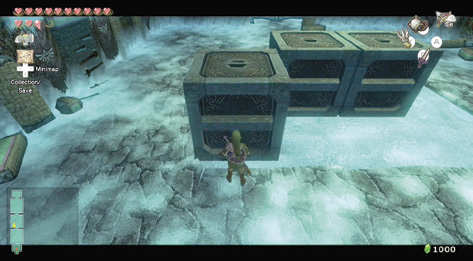
25. Slide the same block to the north.
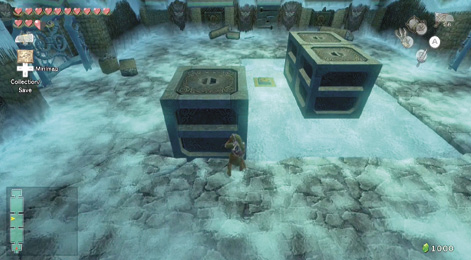
26. Shove the same block to the east.
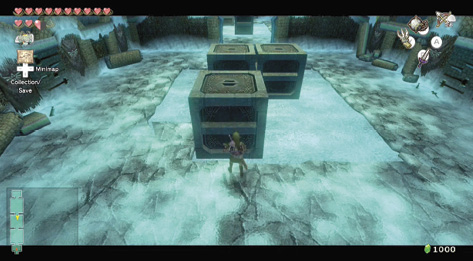
27. Finally, push the southeasternmost block to the north.
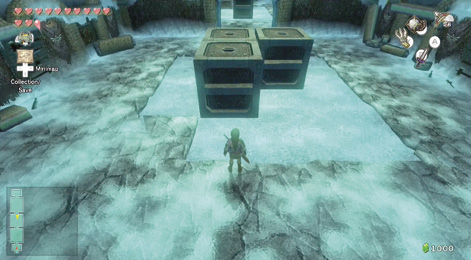
28. The room’s two pressure switches are now depressed. The north gate swings open.
Room 3: Gaaah! My Brain!
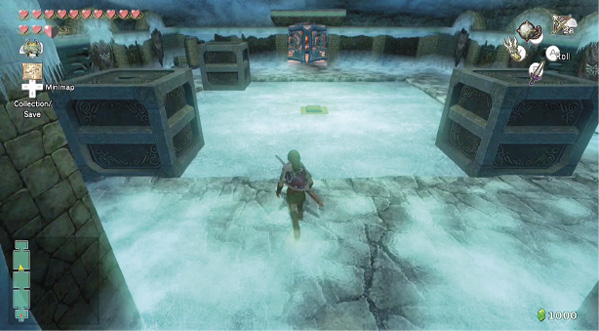
The third room seems simple at first, with only one pressure switch to activate. Yet it’s surprisingly tricky! Here’s one solution:
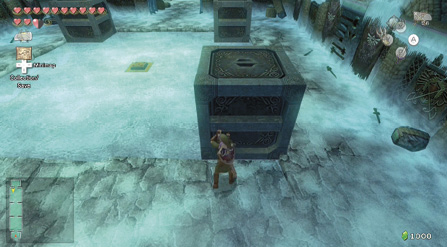
1. Push the northwest block to the south.
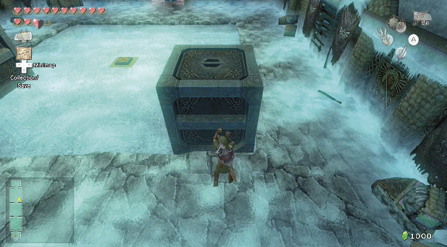
2. Shove the southeast block to the north.
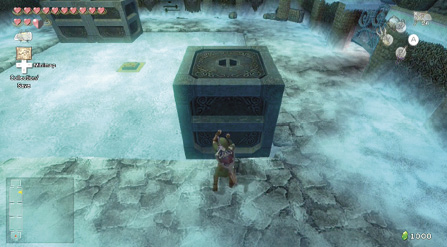
3. Shove the same block to the west.
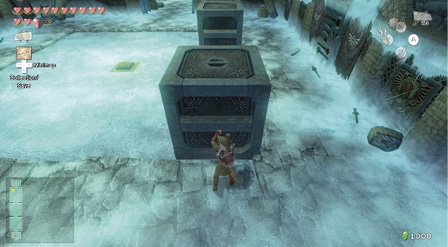
4. Push the same block to the south.
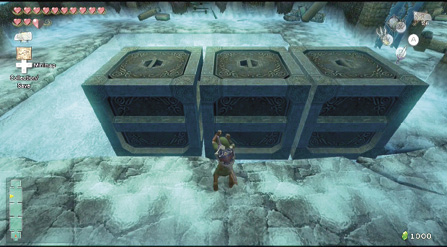
5. Slide the middle block to the east.
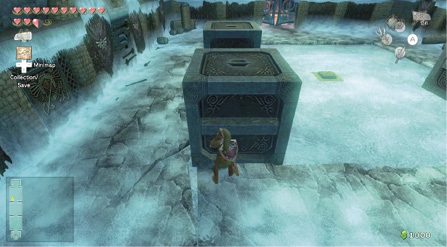
6. Shove the southwest block to the north.
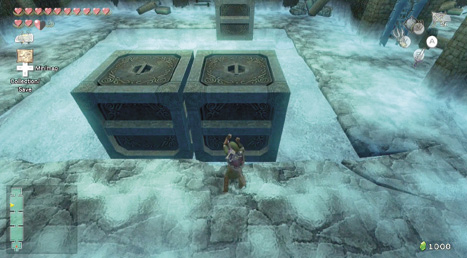
7. Shove the same block to the east.
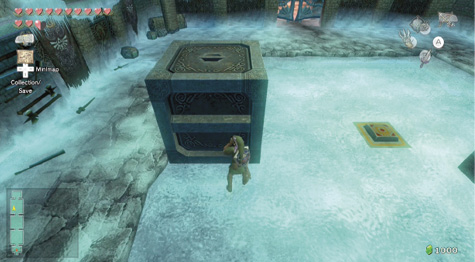
8. Push the west block to the north.
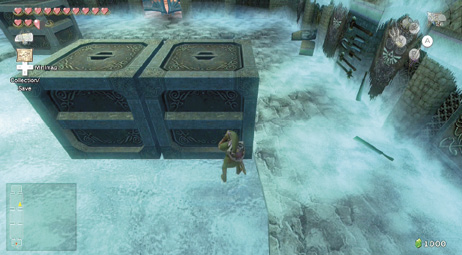
9. Push the southeast block to the north.
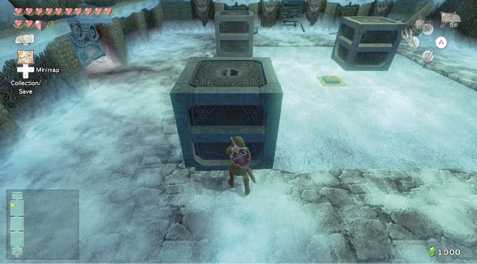
10. Slide the northwest block to the east.
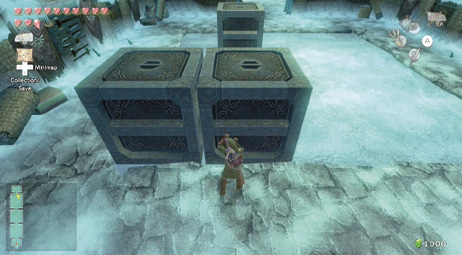
11. Slide the same block to the south.
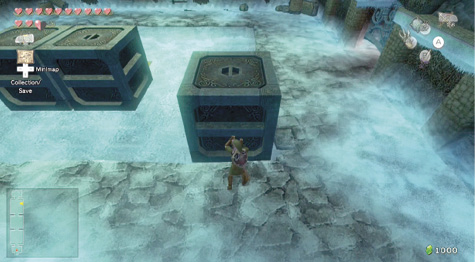
12. Shove the northeast block to the west.
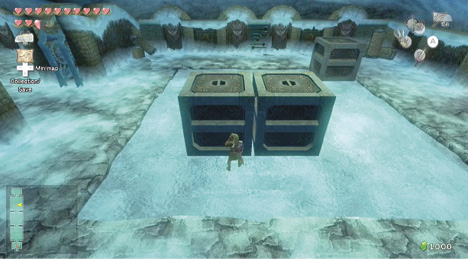
13. Slide the southernmost block to the west.
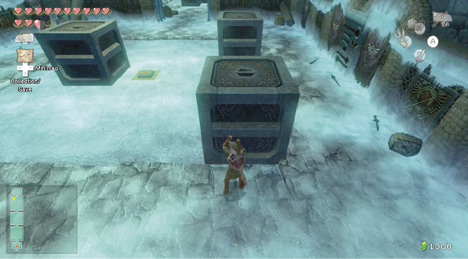
14. Push the northwest block to the south.
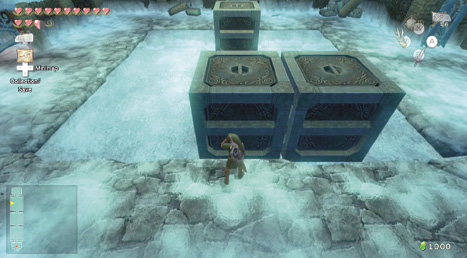
15. Finally, slide the northwest block to the east.
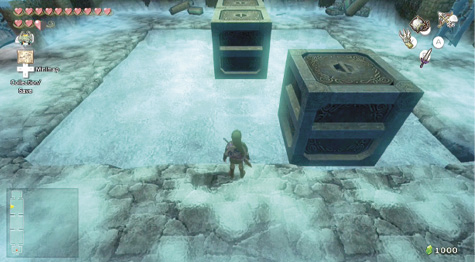
16. The room’s central pressure switch is now depressed. The north gate opens up.
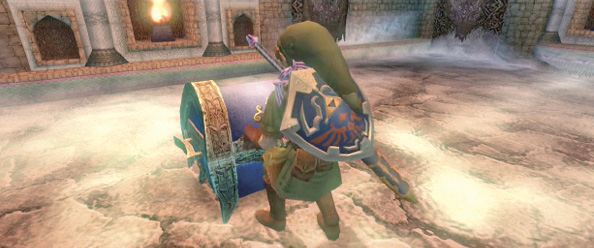
Excellent work! Now hurry into the north chamber and crack open that Overworld chest to claim Piece of Heart #34!
Overworld Chest #85:
Piece of Heart #34
 Piece of Heart
You got a Piece of Heart! Collect one more for another full Heart Container. Piece of Heart #34 of 45.