The Legend of Zelda: Twilight Princess HD Guide Dungeon 5: Snowpeak Ruins
Task 6: Remove the Freezard from the Bedroom Ledge
Chamber 5: (2F to 1F) 2nd Return to Cold Storage Crate Room
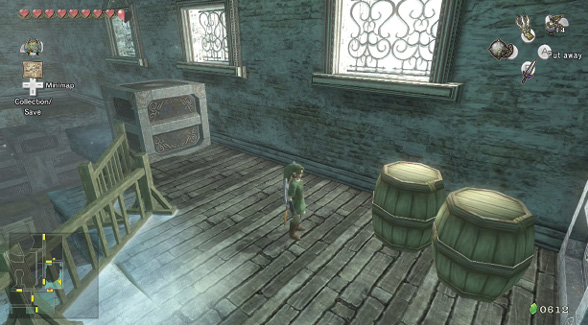
While in the reception room, you can smash the rest of the ice at the alcove, but there’s only Ice Keese to defeat. Instead, turn and exit via the north door, back into the Cold Storage Crate Room. Now you can shove the metal crate along the ledge and down to the ground. This allows you access into the room from all floors. Descend to the first floor, and smash the ice from the metal crate and middle floor switch.
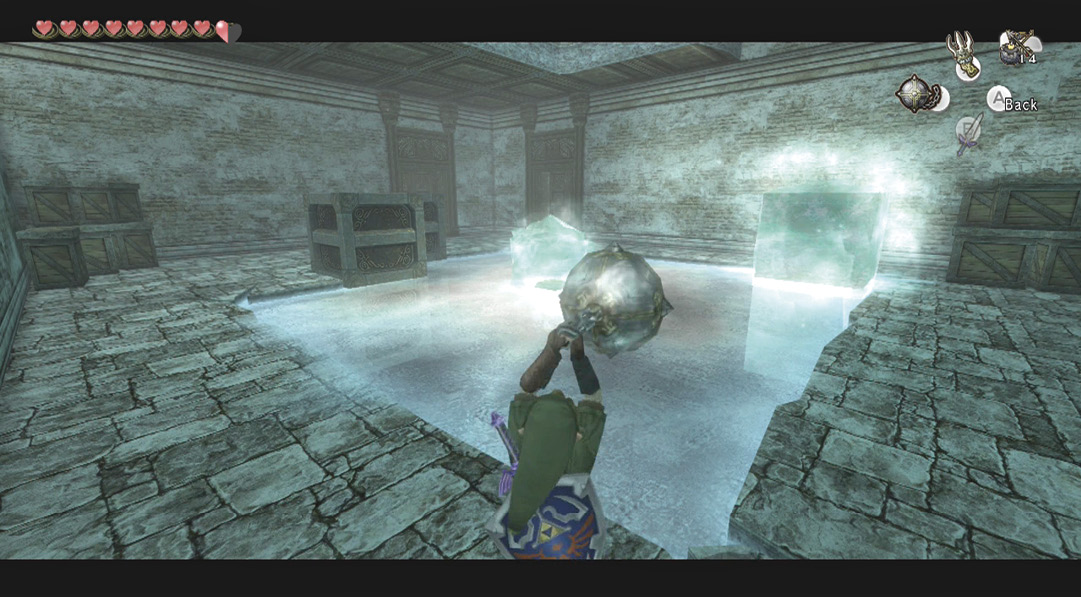
Time to solve another sliding puzzle! You need move only two crates: Start by pushing this crate from the north to the south.
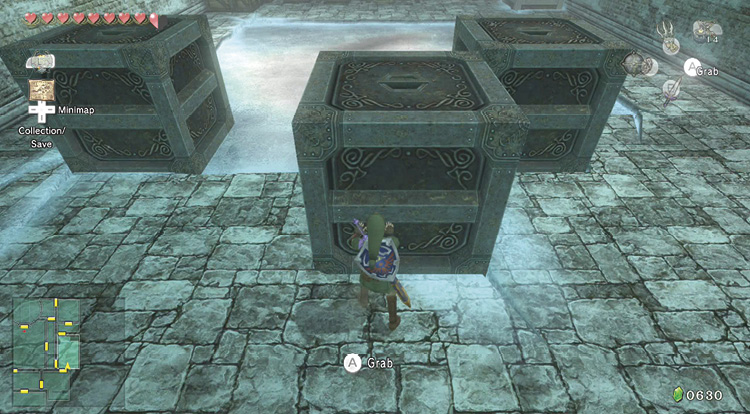
Now run to the south, face north, and shove this crate up the middle of the puzzle so it passes over the middle floor switch.
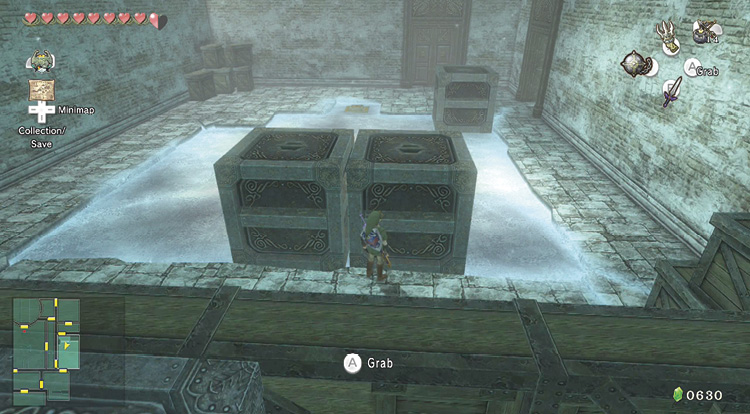
Now shove the first crate east and then north, so it’s sitting adjacent to the middle floor switch.
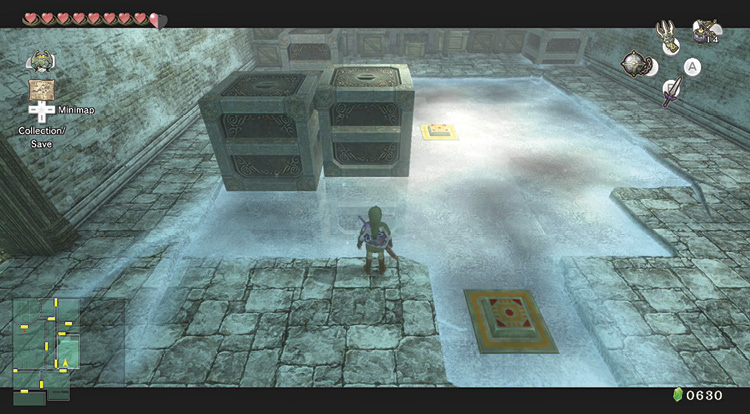
Run to the crate that’s the farthest north, in the middle, and push it counter-clockwise around the rim of the puzzle so it hits the crate you haven’t moved yet.
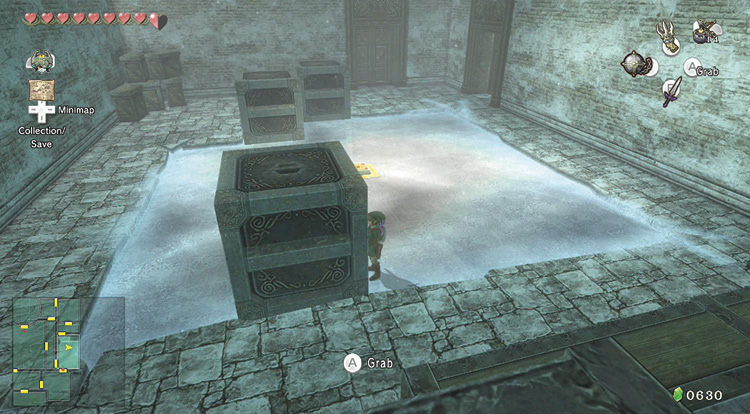
Finally, face north and push the crate against the one adjacent to the floor switch. It lands on the switch, unlocking a door on the second floor. Climb onto the crate you pushed off the second floor ledge, and exit through this newly unlocked door.
Chamber 6: 1st Return to (2F) Eastern Walled Courtyard Passage
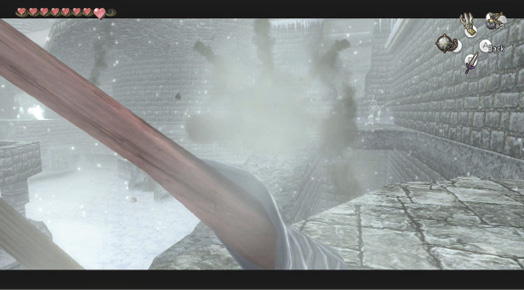
You emerge on the battlements outside and above the courtyard passage. Quickly aim your Hero’s Bow at a Chilfos, striking it twice with Bomb Arrows. Do the same with two more Chilfos in the chamber’s northeastern corner.
|
You can drop down from this area’s southeastern section and smash the ice block so you don’t have to tunnel between Chambers 6 and 7. |
If you don’t have long-range capabilities, run along the top of the broken wall and smash both Chilfos with a whirling Ball and Chain.
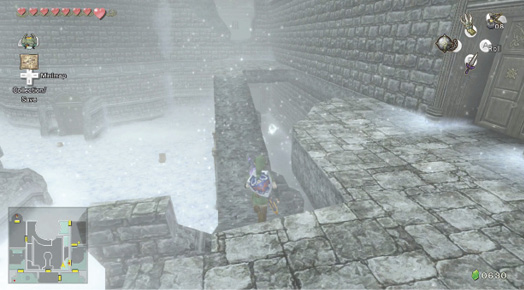
There’s a cannon overlooking the courtyard, above the cannon you used to reach Darkhammer’s jail, but you can’t reach it yet. Instead, walk to the top of the broken wall to where the two Chilfos were standing. Your way onward is tricky to find; look north through the ruined wall, into the room beyond: there’s a Clawshot medallion you can aim at!
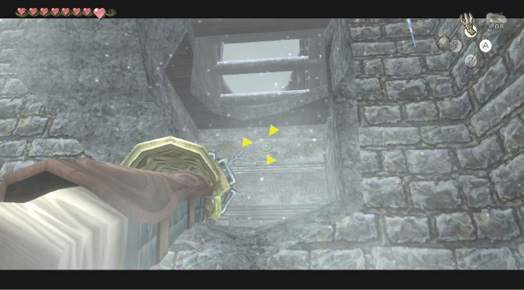
Chamber 19: (2F) The Gray Room, to Chamber 9 (2F to 1F) 1st Return to the Empty Study
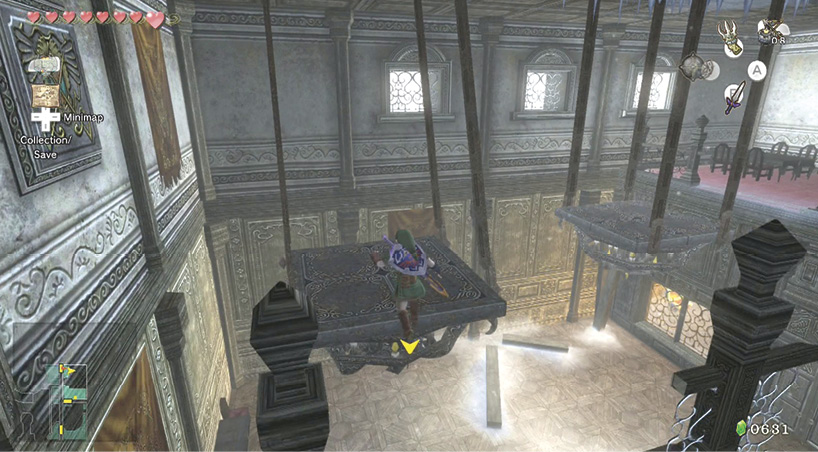
Treasure Chest: You land in a stone chamber. Leave immediately via the only door. This leads you into the room where you first fought two Chilfos, shortly before you discovered your Pumpkin prize. Begin by smashing the ice on the wall to reveal a Clawshot medallion (so you can return here if you fall). Then smash some barrels for Rupees. When you’re finished, bash a chandelier, leap onto it, and turn south. Bash a second chandelier, leap to that, and across to the ledge opposite. This holds some destructible furniture and a small chest.
Treasure Chest #16:
Small Key
 Small Key
You got a Small Key! This will open a locked door, but only in this area.
Chamber 5: (2F) 3rd Return to Cold Storage Crate Room, to Chamber 18 (Icy Reception Room)
Take the door on the south wall back to this Cold Storage Crate Room. Climb the crates in the southwest corner, and run across the icy ledge, back to the Icy Reception Room.
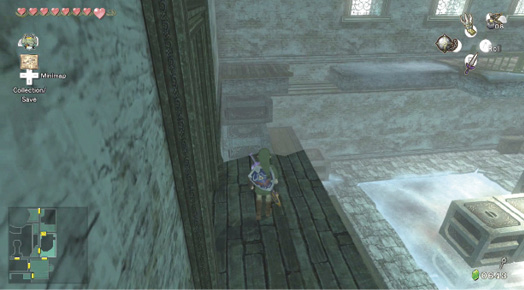
The gaggle of Mini Freezards have returned. Break out the Ball and Chain again and defeat them all. When you’re done, slide to the western wall and unlock the door.
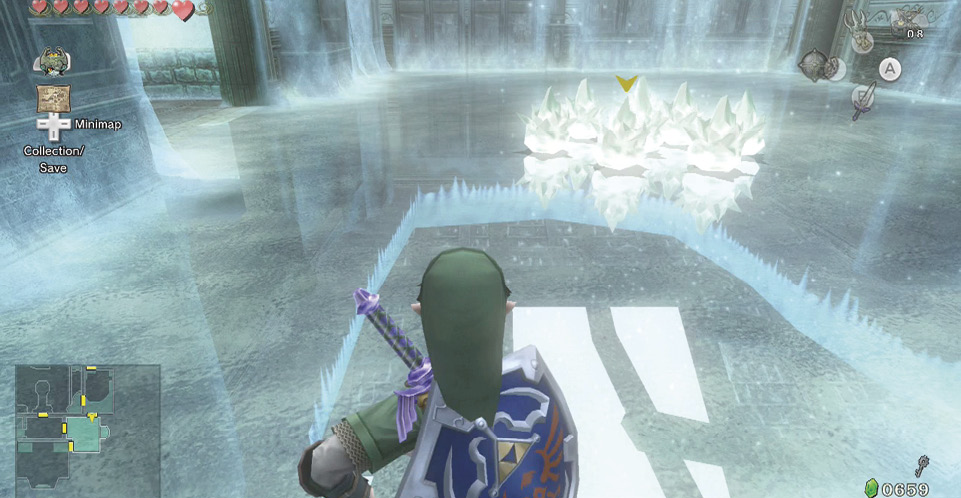
Chamber 20: Freezard Lair to Chamber 17 (2F 4th Return to Freezard Pens and Alcove)
The next room houses two large Freezards. Run toward them until they begin spraying their icy breath, then back up. The Freezards spray in a circular motion, so dash in when they turn away from you, and bash them with two Ball-and-Chain strikes. Tackle them one at a time, as Mini Freezards are created after you shatter each Freezard. Then bash any barrels for some Rupees.
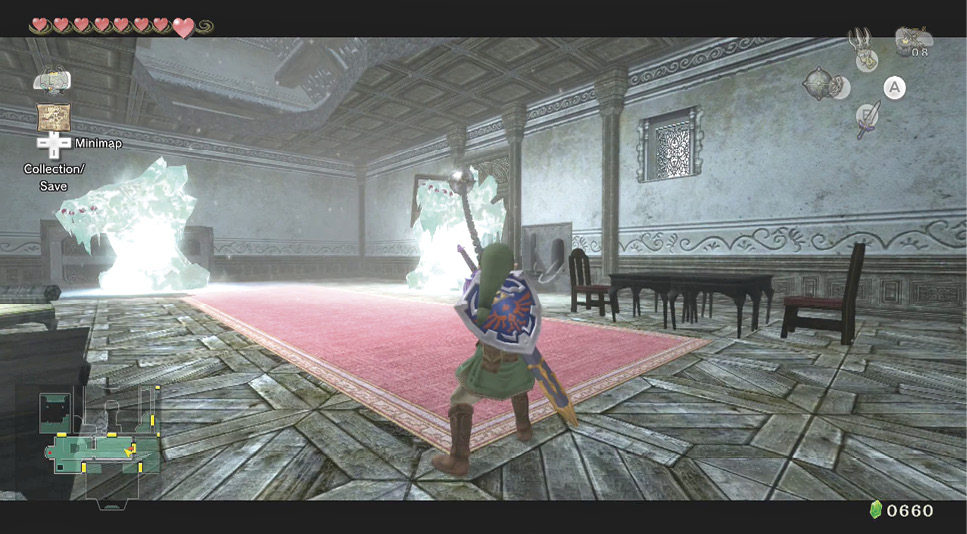
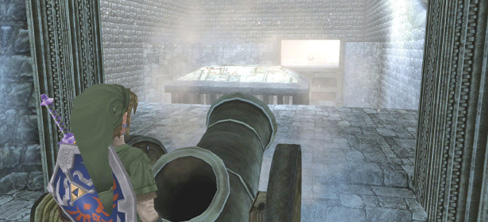
Move to the chamber’s western section and inspect the two metal crates. Push them from this direction, and they fall into the Freezard Pens! You can now easily access the pens and the Freezard Lair, which is perfect, as you require a cannonball and can easily carry the cannonball up to the second floor without being frozen. Head to the alcove where you placed a cannonball earlier, turn it to face east, and fire!
|
If you haven’t prepped this cannon yet, head to Chamber 14 on the first floor and grab a cannonball, then ferry it to this cannon. |
Chamber 7: (2F) 5th Return to Central Outer Courtyard
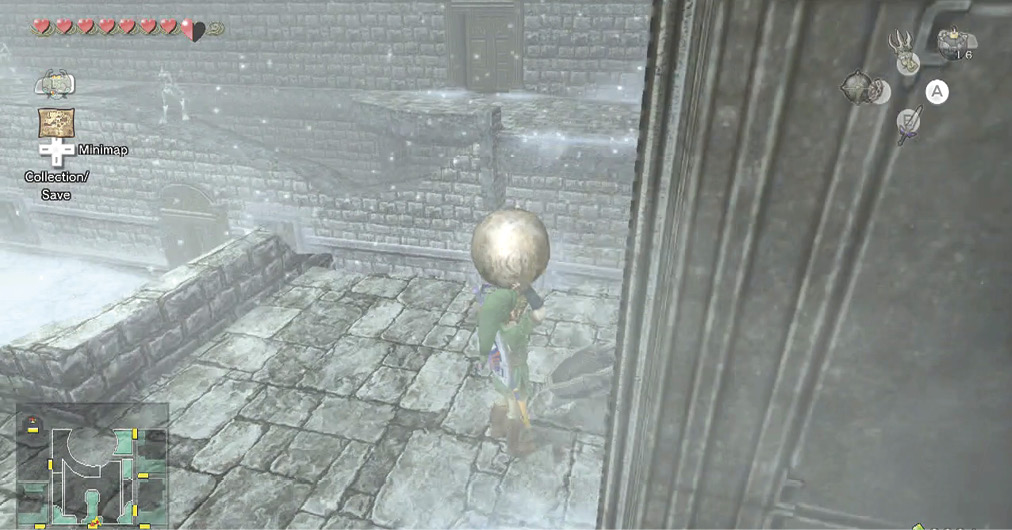
Pick up the cannonball from where it landed, and slot it into the holder next to the north door. Open the door, and head onto the ledge above the Central Outer Courtyard. You’re now in the same place as the cannon. Turn and pull the lever so the cannonball rolls out. Also, smash the ice on the wall to expose a Clawshot medallion (useful if you wish to return here from the lower ground).
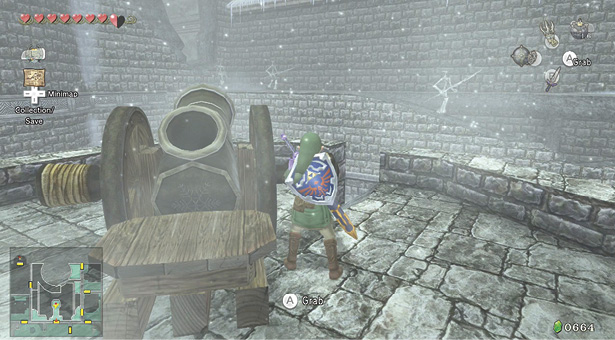
Run with the cannonball to the cannon on the circular ledge, and deposit the ball into it. Place a bomb into the cannon, and watch as the ball smashes the Freezard, allowing you to continue on your way. Now drop down, enter rotate the cannon to face the northwest, enter through the door to Chamber 14, and climb the ladder. At the top, block with your shield, then use the Ball and Chain to crush the remaining Mini Freezards. Open the door on the west wall.