
The Legend of Zelda: Twilight Princess HD Guide Dungeon 3: Lakebed Temple
Task 8: Defeat Twilit Aquatic Morpheel
Chamber 4: Fourteenth Return to Connecting Bridges (1F); to Eighth Return to Lakebed Column Hub (1F)
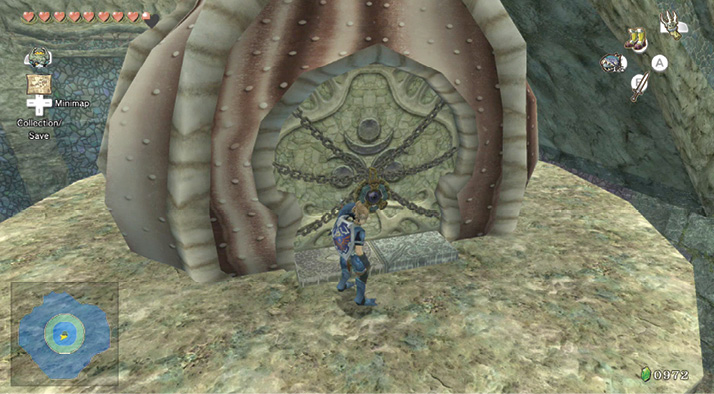
With the Big Key in your possession, you can challenge a vicious dungeon boss! Check that you’ve collected all the treasure chests (especially the two containing Pieces of Heart), then return to the Lakebed Column Hub. Dive into the middle and swim to the pillar holding up the stairs. The door requiring the Big Key is here. Once inside, smash some pots and equip an empty Bottle. There’s a Fairy to scoop. Descend into the ominous hole!
 Fairy
Fairy
You caught a Fairy in a Bottle. When you fall in combat, this faithful friend gives you Hearts.
Chamber 14: Boss Battle! Twilit Aquatic Morpheel
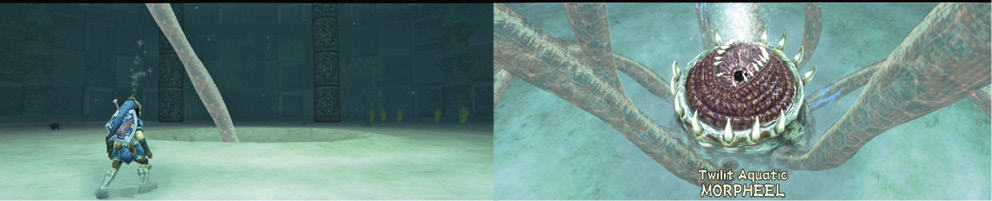
After Midna encourages you to dive down to the depths of a huge circular subterranean temple arena, you don your Iron Boots and land with a heavy thud. A strange tendril flaps from a hole in the ground. Others soon snake out, followed by a gigantic roaring mouth! Behold the Twilit Aquatic Morpheel!
Twilit Aquatic Morpheel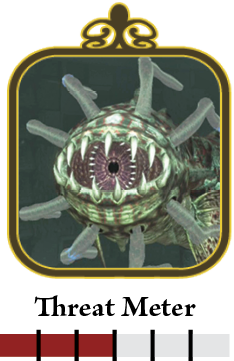
Step 1: You’re wearing your Iron Boots, and this makes you a target for the beast’s tendrils. Expect to be scooped up by one, then dropped into its giant maw! If this happens, take off your boots, and swim away from the creature. 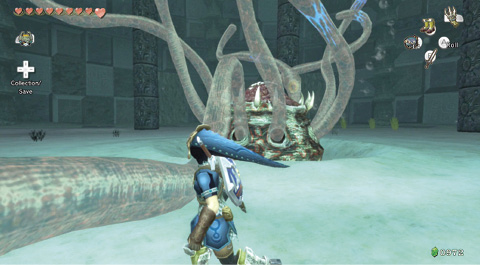
Step 2: Ready your Clawshot, and ZL target onto the gruesome eyeball that’s running up and down the inside of one of the tendrils. Shoot the Clawshot when you get a lock. The eyeball pops out, and lands at your feet! 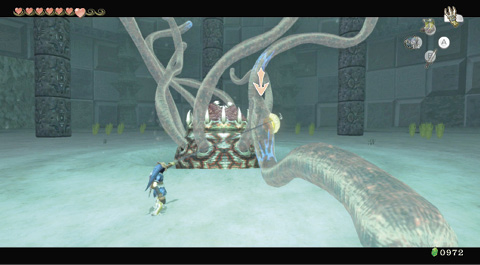
Step 3: The eyeball bounces erratically, trying to get away. As you reel it in with your Clawshot, bring out your sword, and slash the eyeball as many times as you can before it floats inside the Morpheel’s tendril. 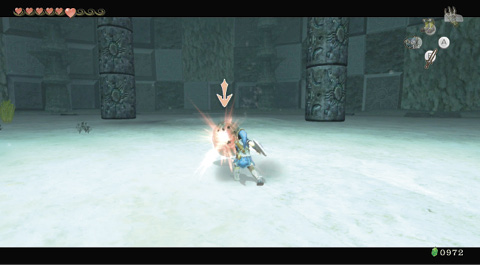
Step 4: Beware! As the eyeball is being struck, the Morpheel releases four or five Bombfish, which swim directly toward you! They land at your feet. Spin attack so they flash red, then swim away from them. If you don’t, you’re caught in the explosion. Repeat all steps until you’ve struck the eyeball a good 10 or so times. 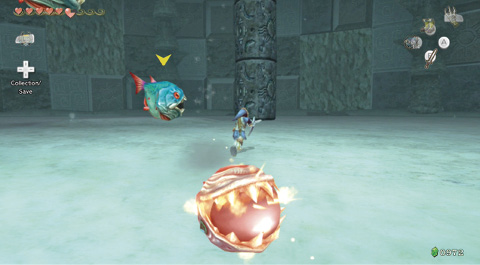

The tendrils and mouth snake back into the hole. Congratulations! You’ve…what’s that rumbling? The ground shakes as the Twilit Aquatic Morpheel roars out of the hole, revealing itself to be a gigantic snaking creature as fearsome as a thousand charging Ordon goats!
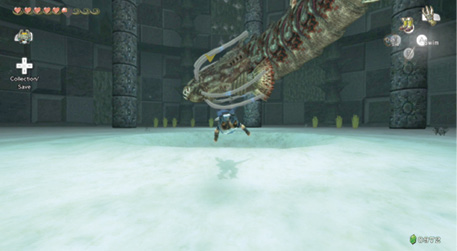
Step 5: The Morpheel swims about this arena in a rage, knocking over the finest Zora columns. Watch for chunks falling near or on you. Swim away from the Morpheel until it finishes ramming the scenery. Talk to Midna and she recommends some tactics. 
Step 6: Swim alongside the Morpheel, or over the top of it, and attempt to secure a ZL target. With your Clawshot, aim at the eye, propel yourself onto the beast’s back, then take out your sword, and stab it consecutive times into that eyeball! Repeat Step 6 until the Morpheel gives up the fight, and the eyeball spills the last of its ink. 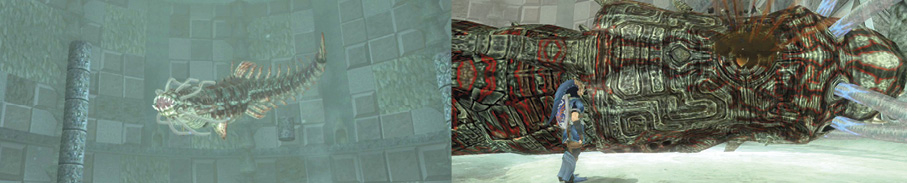
The Twilit Aquatic Morpheel swims erratically, slamming into columns, and thrashing through the water until it falls forward, and rams maw-first into the side of the arena wall. This springs a large leak, and the entire arena drains away in seconds. The eyeball explodes, and the beast disintegrates in a shower of shadows. 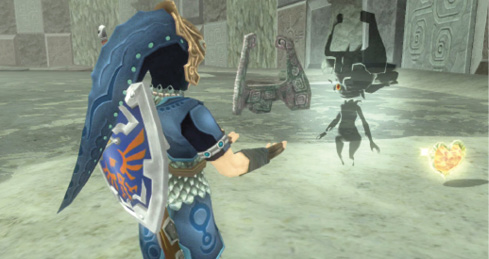
Midna appears, as the shadows form the last part of the Fused Shadow she’s been after. She’s now ready to face Zant, King of Shadows. She apologizes for ordering you around Hyrule, and creates a warp portal out of here. She’s ready when you are. Walk over to the Heart Container and pick it up. Now you’re ready to leave!
|
 Heart Container
You’re transported to the spirit cave near Lake Hylia. You turn around and are shocked to see a giant armored figure behind you! Clad in ceremonial shadow armor, Zant remains motionless as the Spirit Lanayru rises from his lake.

Zant releases a shockwave of energy that knocks you off your feet and strikes the Spirit Lanayru with the full force of a tyrant magician. Lanayru loses power, and the light sinks into the lake. The cave is bathed in twilight!

“Zant!” Midna appears, clad in Fused Shadow armor, which is promptly disassembled by Zant’s power. An ancient and withered power cannot match Zant! He wonders why Midna has become a traitor. She has no alliance to one who abuses his tribe’s magic!

Zant’s power is different. It has been granted to him by his god. It will be respected! A fireball is summoned. Your wolf form blocks it, and a piece of the magic dissolves into your head. Zant draws Midna near. He needs her, so that sweet darkness will blot out this harsh light!
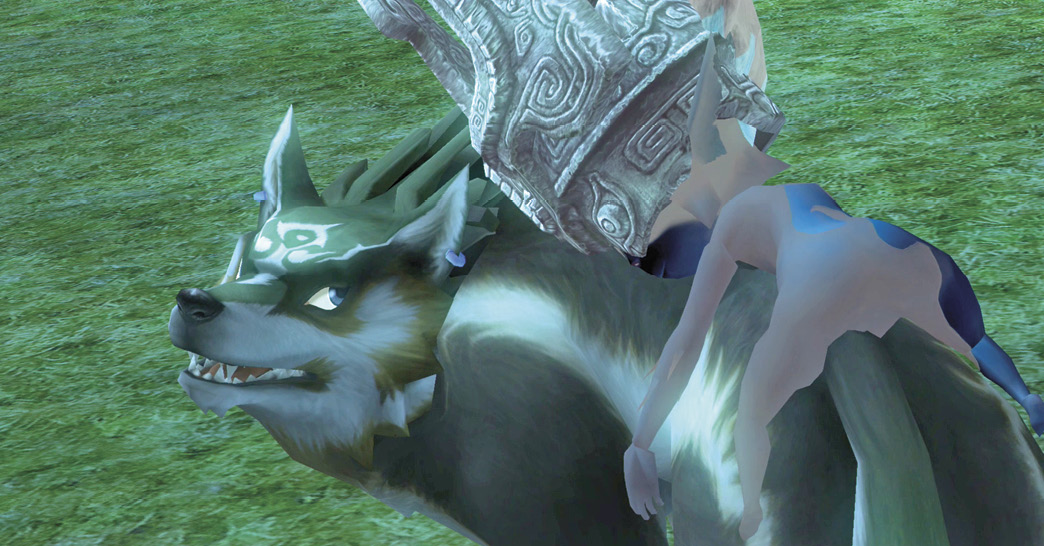
Midna turns to help you. She will then, says Zant, learn the error of her ways. He summons Spirit Lanayru, who blasts the full force of light at her! She collapses. You are transported to Hyrule Field. The shard of magic embedded in you…. Midna’s weakened state…. Princess Zelda will know what to do!