
The Legend of Zelda: Twilight Princess HD Guide Dungeon 1: The Forest Temple
Task 2: Free the Third and Fourth Monkeys
Chamber 4: Second Return To Step-stones Cavern
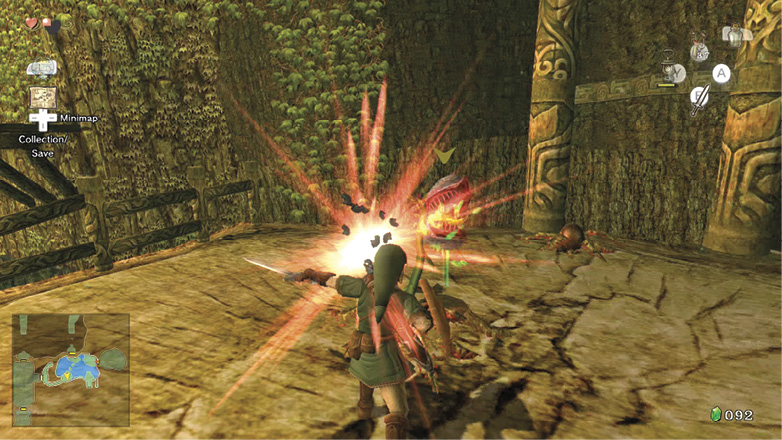
With two monkeys in tow, leap across the gap where you fought the Skulltula, and ignore the door leading to the Wind Gorge. Instead, move southward, slaying the reappearing Deku Baba and heading out of the Step-stones Cavern the way you first came in.
Chamber 2: Second Return to Crossroads Hub
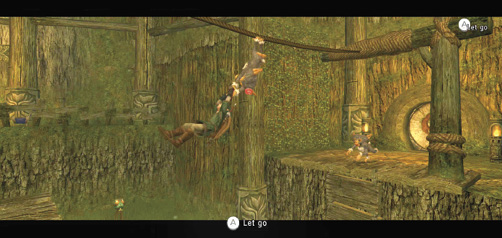
Your monkey chums arrive at the hub with you, and one makes a swing so you can get back onto the middle platform (or drop and run around, and up the steps). The second monkey attaches to the rope leading across a gap to the west. Swing across, and bring out your Lantern. Burn the web, then open the door.
Chamber 7: Staircase Cavern
Baba Serpent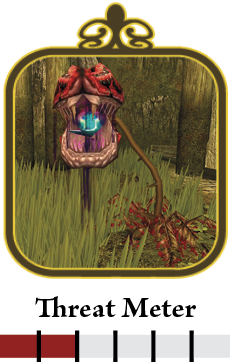
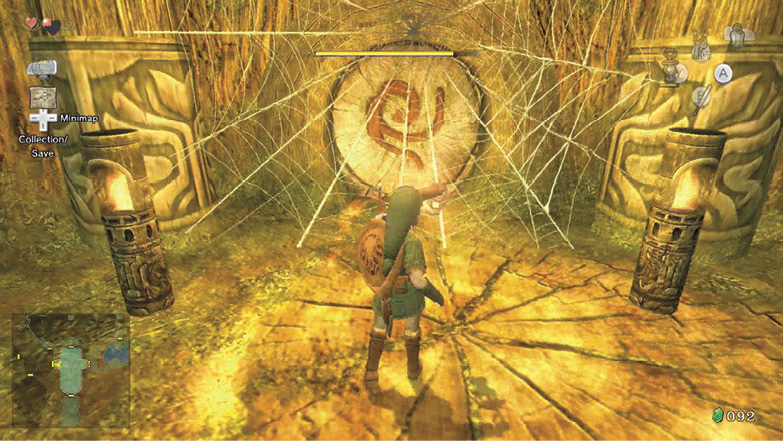
Head down into this large open chamber with a giant staircase in front of you. Move along the path, then be ready to attack a larger, more ferocious Baba plant; the Baba Serpent! This fearsome foe’s head is invincible—no amount of hacking stops it. Instead, wait for the creature to rise up and expose its neck, then either slice it with your sword, or fire at it with a ranged weapon. After you separate the Baba Serpent’s head, shoot it again, or finish it with a flurry of stabbing sword swipes. If you’re caught in its mouth, as shown above, the damage is light, and you can escape with a spin. There are two Baba Serpents in this chamber; watch for the one in the long grass to your left! 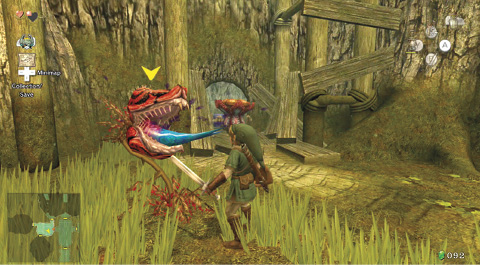
Meet the Baba Serpent! Separate the stalk from the head, or your combat never ends. 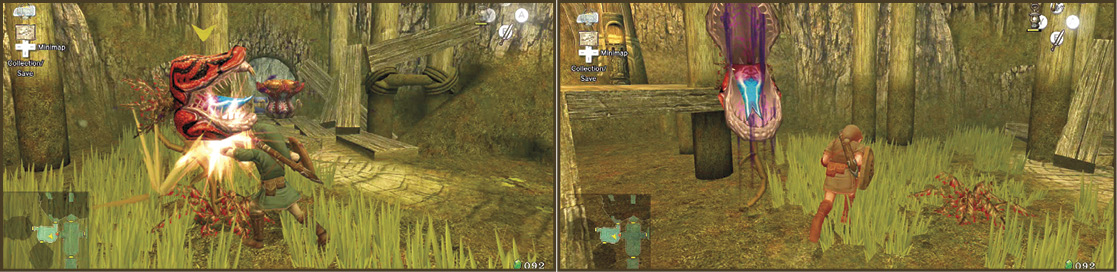
|
Complete a check of the ground level, and you’ll notice a second strange creature: the Deku Like. It’s in front of a chest in this room’s southern part, and it’s impervious to your sword and Slingshot. You must defend it in another manner.
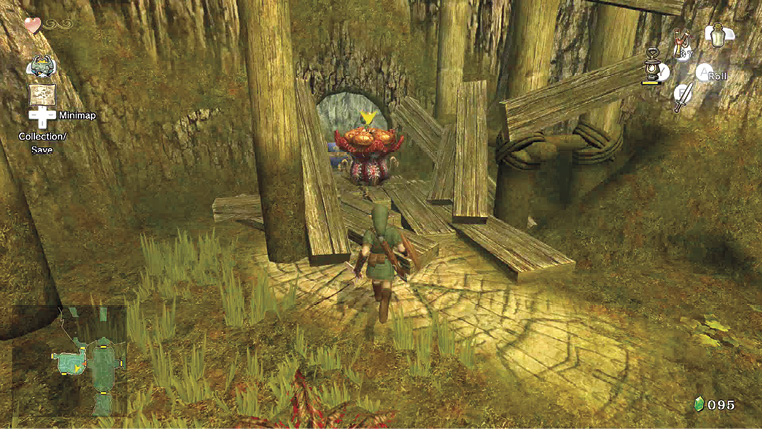
Climb the stairs to discover a second of these stationary creatures. Ignore it for the moment, turn right and run up these stairs, taking care to dodge around the Bombling. The Bombling is your clue to finishing these Deku Likes.
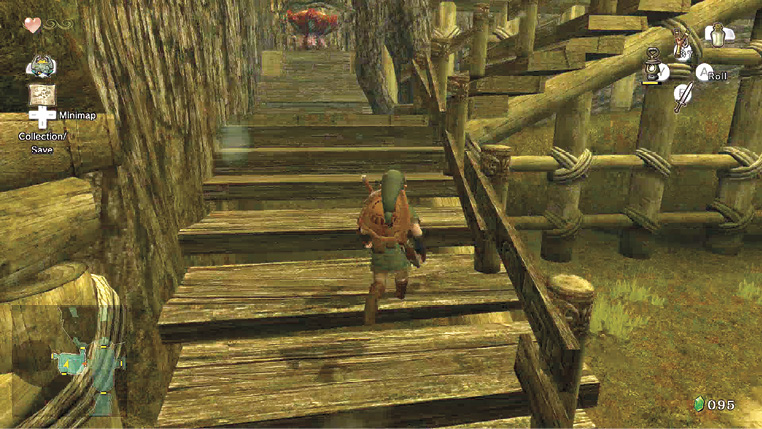
Deku Like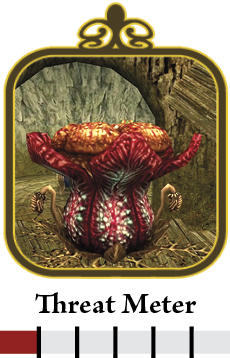
The Deku Like can’t move and you can harm it only if it swallows something explosive. Use the nearby Bombling. Slice it until it forms into a bomb, pick it up, and carry it to the wooden structure’s edge, above the second Deku Like you saw. Drop the Bombling into the Deku Like’s gaping maw. It chews on it, then succumbs to indigestion! Any other plan—like using your sword, flinging projectiles, or jumping the gap—results in a quick meal at your expense. Collect the three Hearts the Deku Like emits after it explodes. 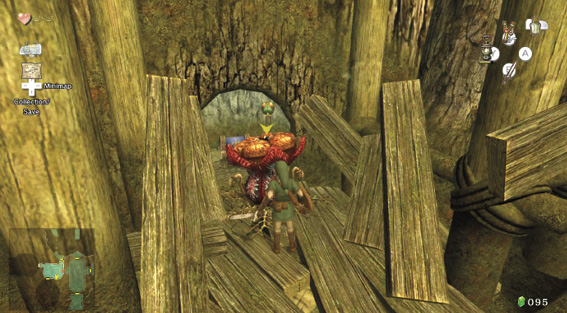
The Deku Like is a plant impervious to slicing. It loves to feast on adventurers! 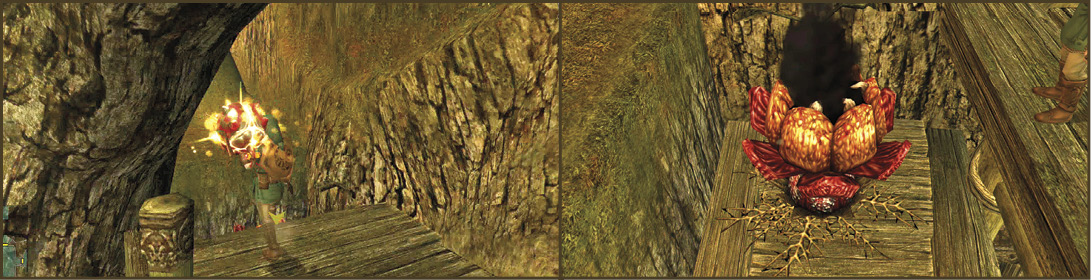
|
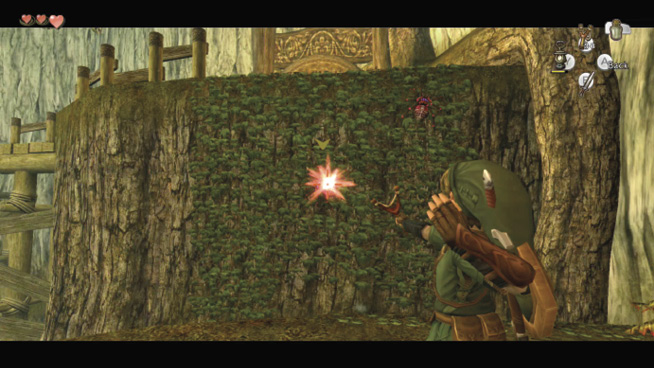
After you take out the Deku Like on the upper area, jump over the gap to the rocky ledge in the chamber’s northwest corner. A boulder blocks a cave entrance. Return here in a moment; there’s a second Deku Like to tackle! Turn and face south, and check out the vine wall. Produce your Slingshot and drop the two Walltulas, then jump and climb up.
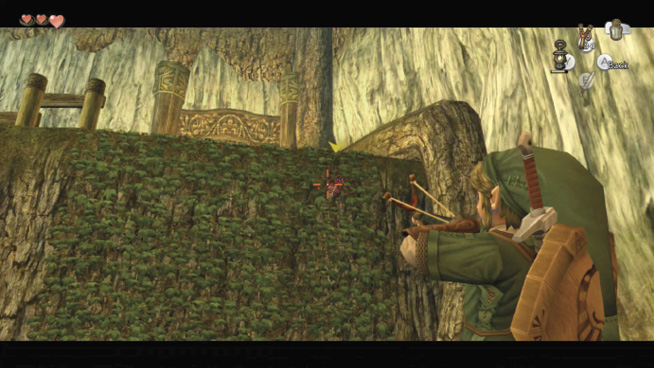
|
Drop and collect the items the Walltulas drop if you wish. |
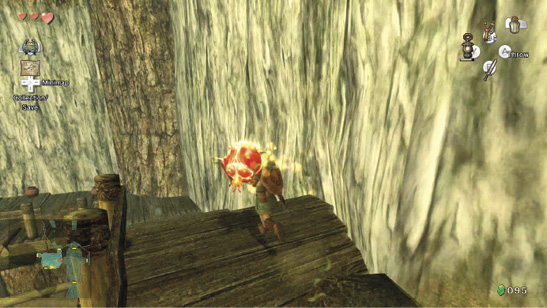
Don’t exit via the southern upper door yet! Instead, face east and chop down a nearby Bombling. Pick it up as it’s flashing, and walk forward to the gap at the ledge’s edge. Drop the Bombling onto the first Deku Like you saw. That’s both of them defeated!
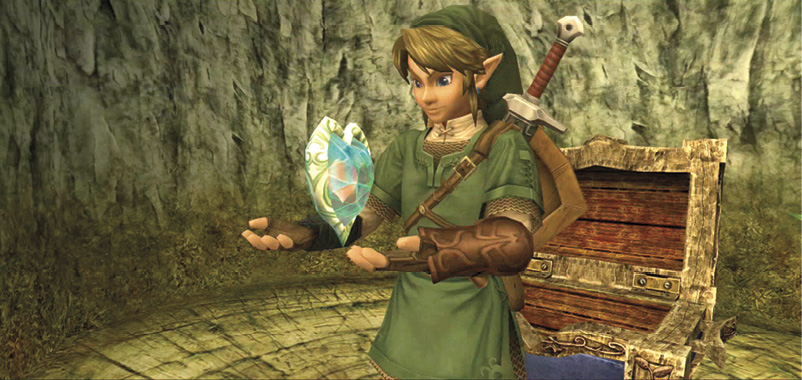
Treasure Chest: Drop from this ledge (press up on the Analog Stick to roll), and enter the small alcove you couldn’t reach earlier. Ignore the Bombling here and open that chest! Inside is a Piece of Heart. The Deku Like slaying was well worth it!
Treasure Chest #6
Piece of Heart
 Piece of Heart
You got a Piece of Heart! Collect three more for another full Heart Container. Piece of Heart #2 of 45.
|
Double-check your Collection menu; do you have two Pieces of Heart? You should, if you’ve been following this walkthrough! If not, check back on where you missed it; it’s to your advantage to collect Pieces of Heart as early as possible. |
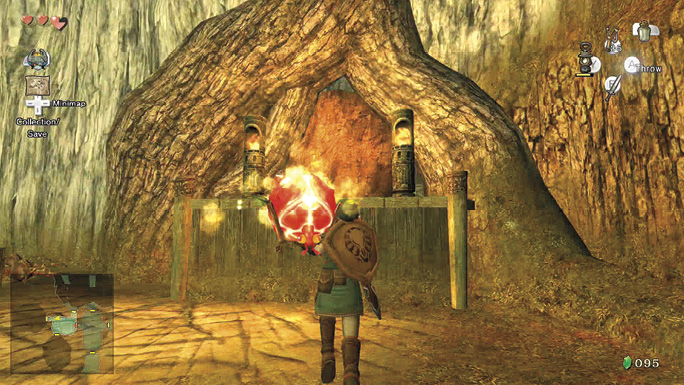
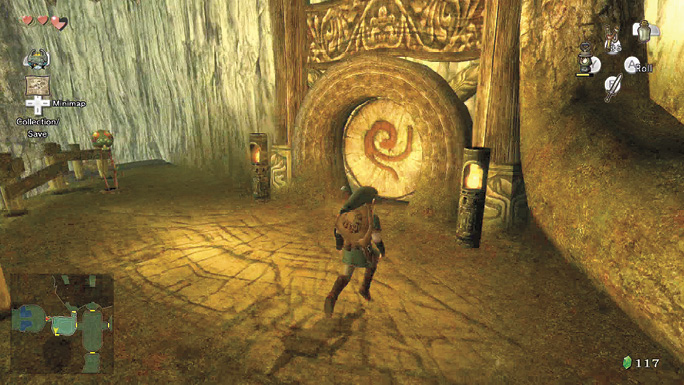
Now comes the tricky part: which exit to choose! To complete this dungeon in the fastest time, either destroy the boulder blocking the northwest corner’s door, or head through the upper door in the southwest corner, at the top of the long vine climb. Do one, then the other.
Missing Links
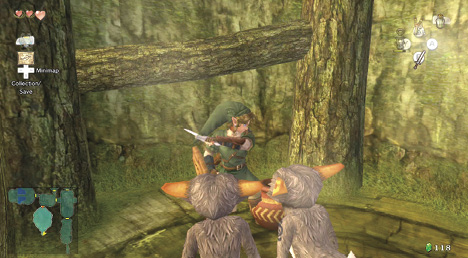
1. Grass, Pots, and Deku Nuts
As usual, the grass can be cut down for some Rupees (and to help spot that Baba Serpent). Also smash the pots (for Rupees) and slice grass on the eastern wooden platform. On the western side, there are Deku nuts to smash, too.
Chamber 8: Lair of Big Baba
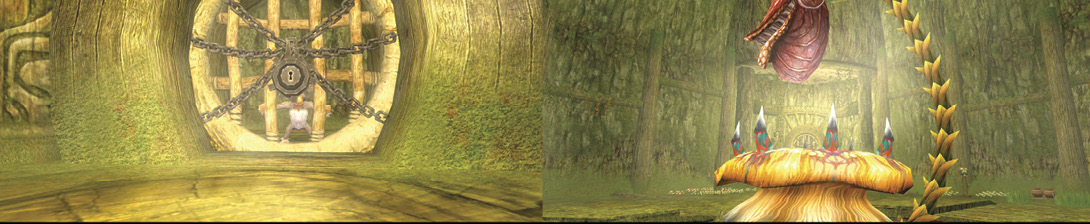
As you enter this large, arena-like chamber, you spot a monkey imprisoned behind a locked door. The key is on the ground in front of you, but the biggest Deku plant you’ve ever seen swallows it; the beast drops the key into its massive sack. Welcome to the home of the fearsome Big Baba!
Big Baba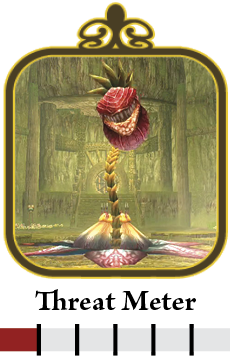
Step 1: Fighting Big Baba means using your shield to block and target (both with ZL). With your shield out, advance on this frightening foe, and sidestep when it slams its head at you. Block, and as the head reaches the ground, spin or slice it! 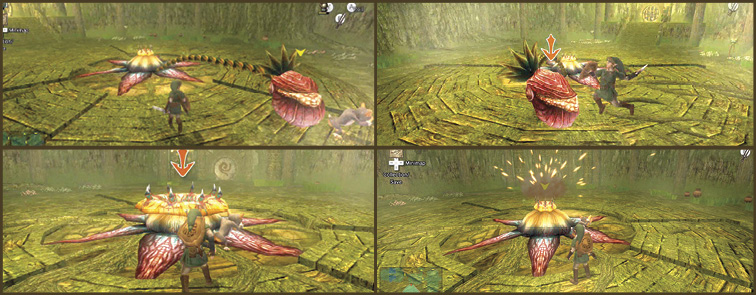
With the head destroyed, the sack shuts and refuses to cough up that key. However, two Bomblings stand at the room’s southern end. Slice one, pick it up, and carry it toward the sack. Then ZL target, and throw the bomb into the maw. The beast gets blown up, and the key is yours! 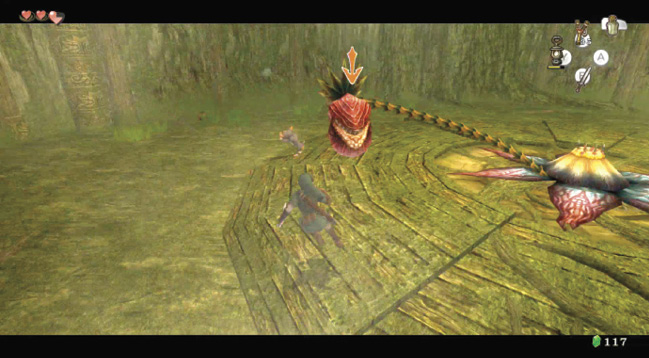
A giant among Baba plants, this big boy is slain in the usual way: slice the stalk and head, then bomb the base! |
Author NoteThroughout the adventure, we were constantly attempting to make our explorations even tougher, so we instigated a “manual targeting” policy, where anything that required throwing couldn’t be ZL targeted. Of course, we missed the open maw numerous times, leading us to question our gaming prowess! |
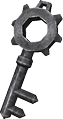 Small Key
You got a Small Key! This opens a locked door, but only in this area.
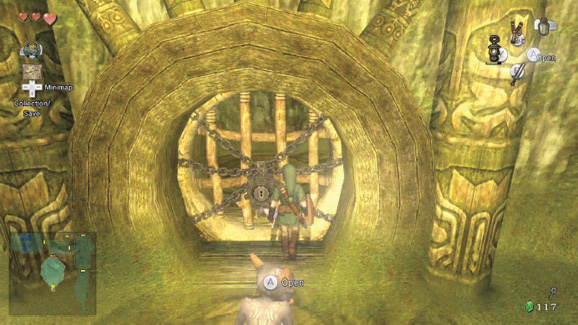
Pick up the Small Key from Big Baba’s remains. Run south and use it to unlock the door to the captured monkey. After it’s freed, you can both leave via the north door. It’s time to locate your next trapped simian.
Missing Links
1. Grass and Pottery Slicing
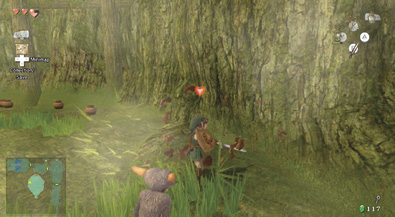
Before you leave the room, or during the fight with Big Baba, scour the perimeter. There are pots with Hearts in them, and grass to mow down. The cave the monkey was held in has pots containing Rupees.
Chamber 7: First Return to Staircase Cavern
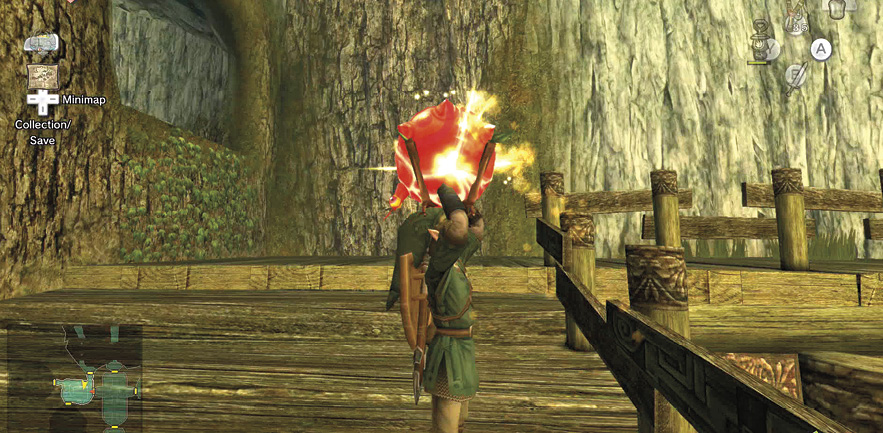
Your next task is to secure another monkey. This one is trapped in the room west of you. Return to the Bombling on the wooden plank platform and slice it. Pick it up and run along the wooden platform. Leap the gap while carrying the Bombling, then lob it so it lands on the upper ledge, right next to the boulder. This might take a few tries! As long as the Bombling lands next to the boulder, both explode, allowing you access to a previously hidden door.
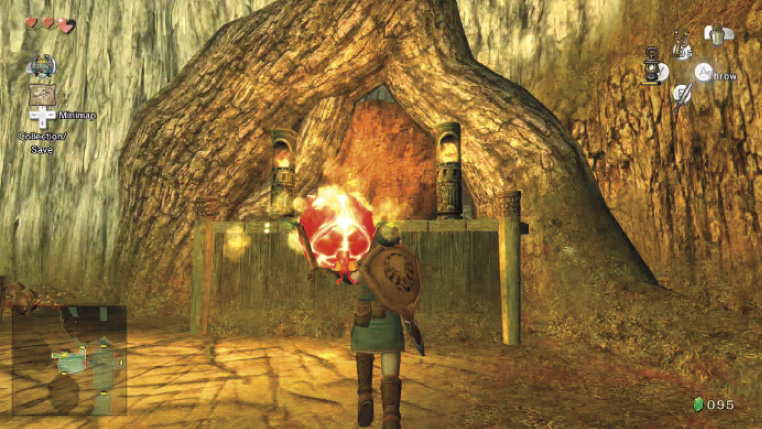
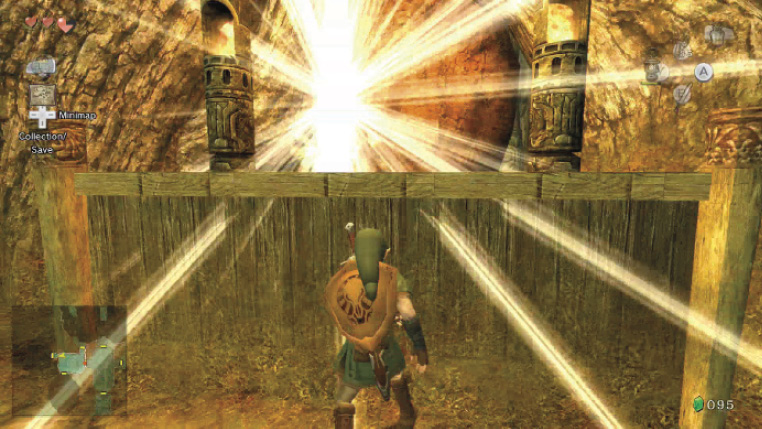
Author NoteWe spent an inordinate amount of time stuck on this puzzle, until we realized we could leap that gap with Bombling in hand! We blew ourselves up countless times, but our favorite demise came when we were caught in a Bombling explosion, flew off the side of the ledge, and got eaten by a Baba Serpent. |
Chamber 10: Room of the Tile Worms
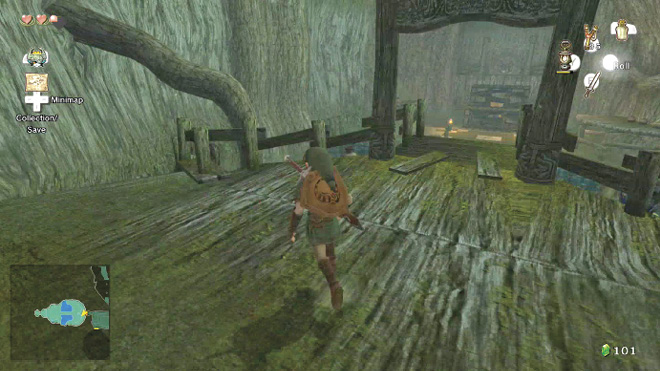
You enter a green and dank chamber, with two bodies of water on each side of a tiled path. Take a moment to oversee the entire area. The steps across the way lead to a locked door with a monkey behind it. Most interesting though, is that chest!
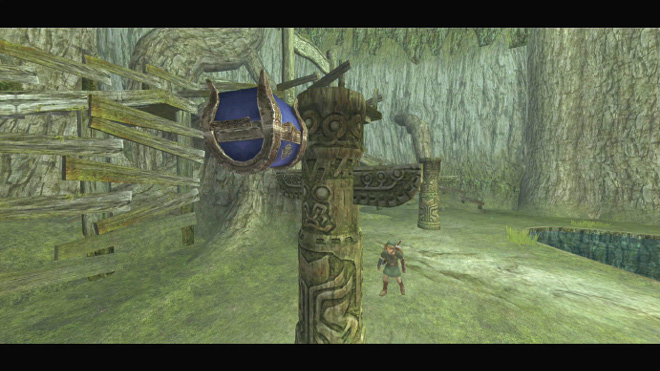
Treasure Chest: Did you see it? The chest is on top of that totem pole! Drop down and then roll into the pole to dislodge the chest. It comes crashing to the ground. Open it up to discover a Small Key. Grab this before proceeding.
Treasure Chest #7
Small Key
Small Key
You got a Small Key! This opens a locked door, but only in this area.
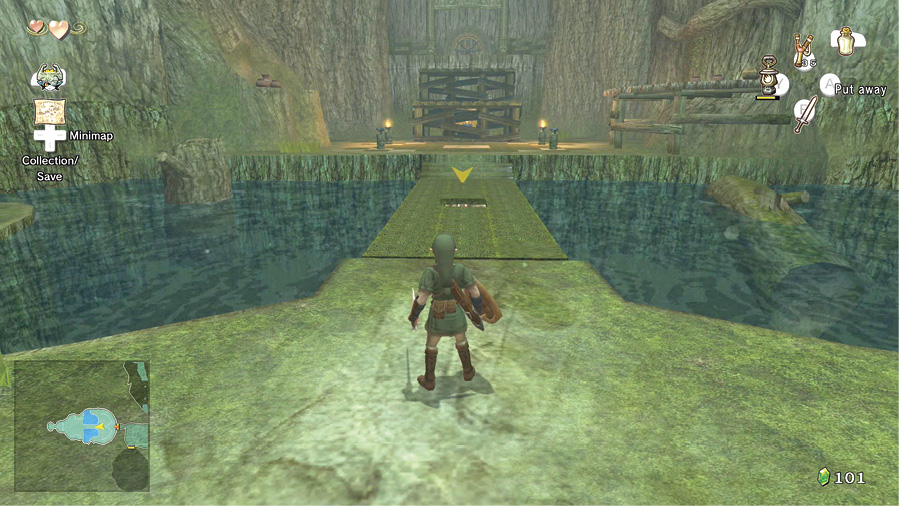
Your eyes didn’t deceive you; some of those tiles up ahead seem to be moving! Three of them on the passage between the pools of water have a nasty new critter—the Tile Worm—lurking beneath them. You can easily ignore them by running along the left side of the three-tile wide passage!
|
The tiled passage between the water hides three Tile Worms. There are two on the right line of tiles (one under tile #1, and one under tile #10) and one under tile #5 in the middle line of tiles. |
Tile Worm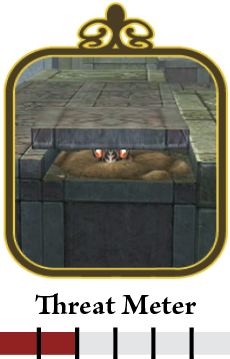
The Tile Worm is a real menace. It hides so you can’t slice it when you close in, and your Slingshot doesn’t help, either. In fact, Tile Worms are pretty much invincible at the moment; simply maneuver around the moving tiles, and return here with a Gale Boomerang for a spot of revenge! 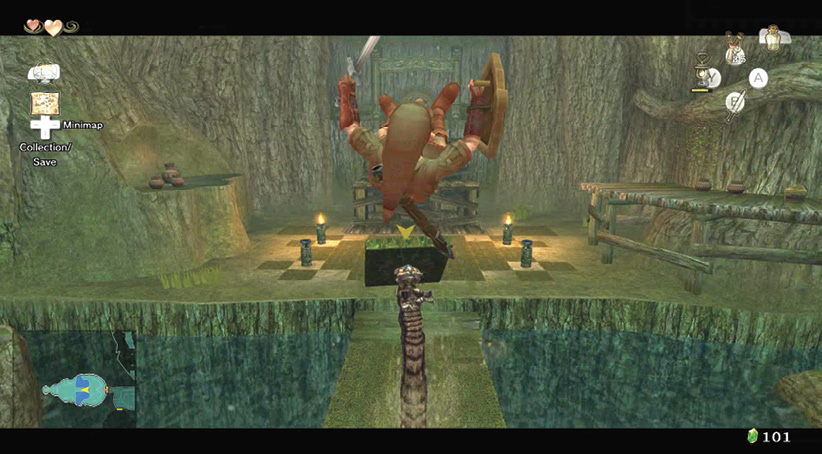
Don’t stand near this sneaky snake; he knocks you high into the air and disorients you! |
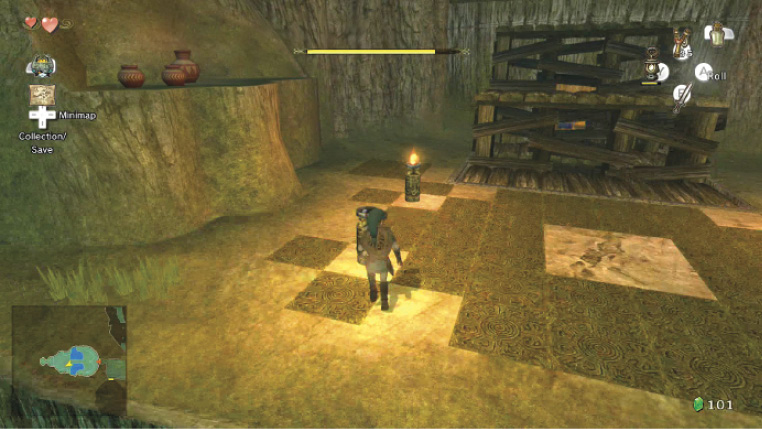
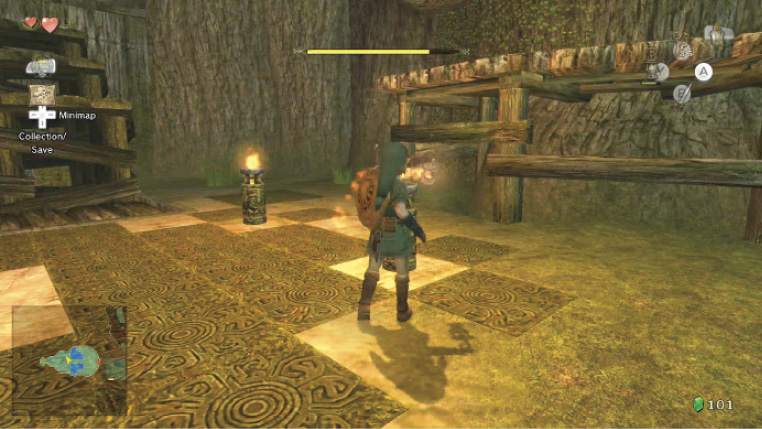
Once on the other side of the tile passage, don’t stand on the ground tiles with the four torches at each corner. This avoids the waiting Tile Worms entirely. Instead, bring out your Lantern, and light the two unlit torches. This raises the large set of steps at the far end of the room. Leave the remaining two lit torches untouched.
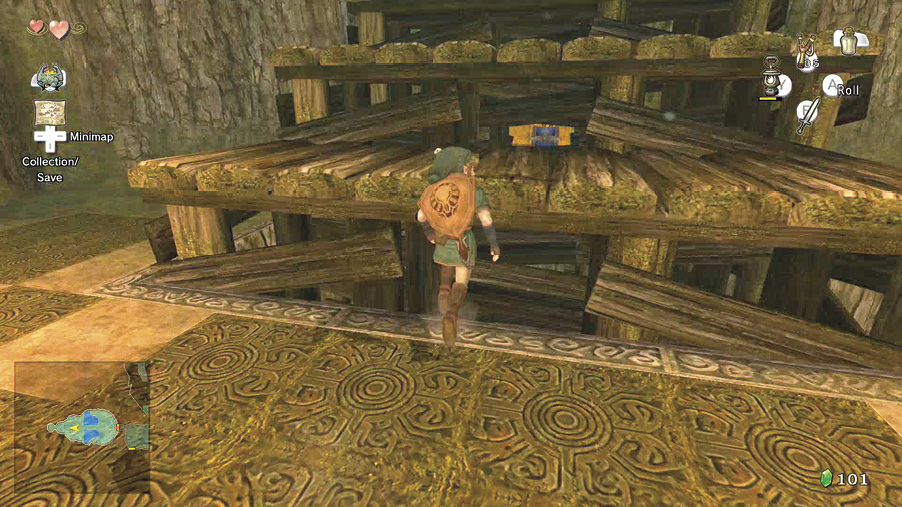
Run around the tiled floor avoiding the lurking Tile Worms, or pass through the middle of the floor (there are none there), and clamber up onto the giant steps you just raised. On the way, notice a chest behind these steps, and a Skulltula hanging from the ceiling above the locked door.
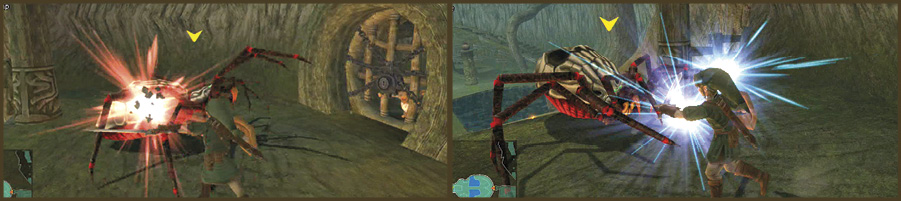
You can’t access the chest yet, so return here later. However you can shoot the Skulltula from the steps with your Slingshot, or attack it when it drops to the ground. Be sure to finish with a leaping stab!
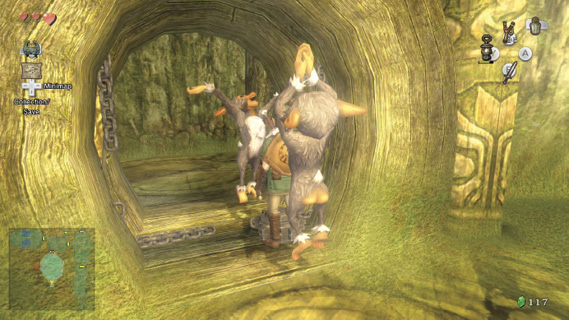
Use the Small Key you grabbed from the chest you knocked off the totem pole to free the fourth monkey, and retrace your steps out of the room. Make a mental note to return here later to collect the items you left.
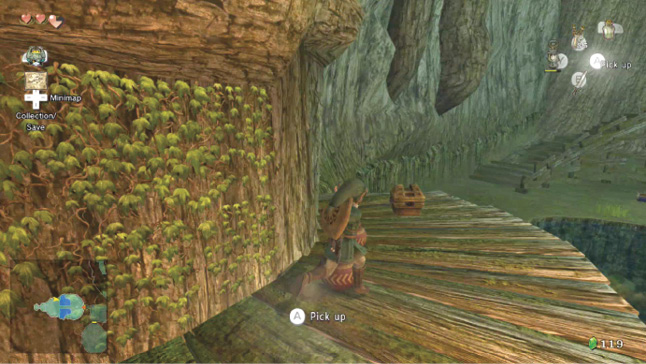
Treasure Chest: Before you leave this chamber, get the one chest you can reach. Near the torches and tiles on the right side of the room is a vine wall. Climb it and edge along, then go down onto a curved platform. After smashing some pots for Rupees and a Heart, open the chest for a cash infusion.
Treasure Chest #8
Red Rupee (20)
|
You may be experiencing “full wallet syndrome,” as you fill up your wallet and can’t carry any more Rupees. Have no fear! As soon as you grab a bigger, better wallet while on your quest the Rupees that you picked up while your wallet was full will be added automatically. Talk about convenience! |
Missing Links
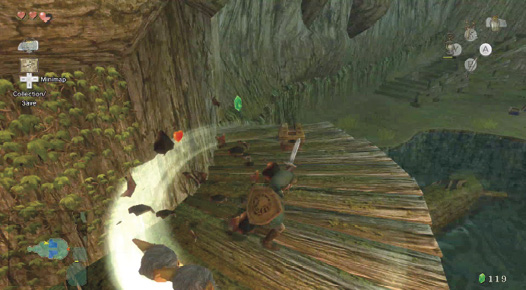
1. Ground Floor Grass
As usual, there’s grass everywhere to slice and dice, including near the tile floor.
2. Totem Pole Pottery
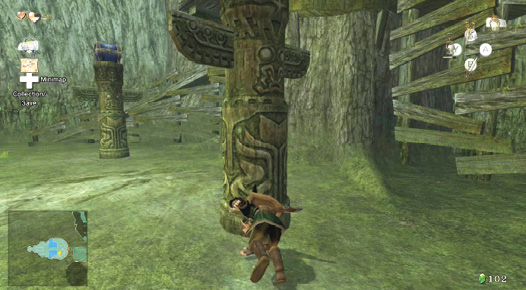
One of the totem poles has a chest, and the other holds a pot with a blue Rupee (5) inside. Simply roll into the totem pole and grab the Rupee after the pot falls and smashes.
3. Pulverizing Pottery
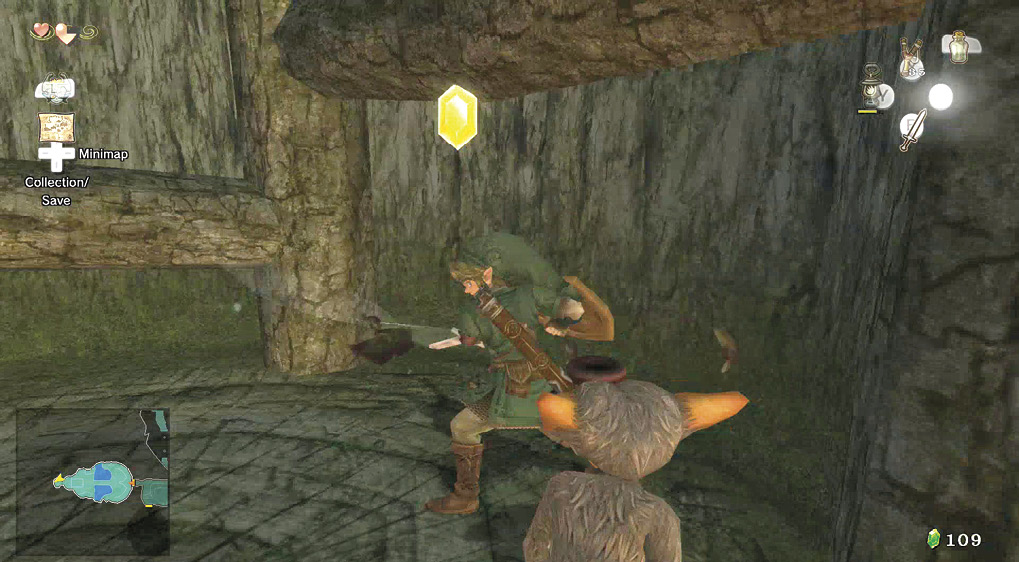
Numerous pots are scattered about here, including some near chest #8, some on the opposite earthen ledge, also accessed via a vine, and some in the alcove you freed the monkey from.