
The Legend of Zelda: Twilight Princess HD Guide Dungeon 7: City in the Sky
Task 1: Enter the Central Fan Chamber
Chamber 1: Outer Ledges and Shop (1F)
|
You might wish to bring along the following:
|
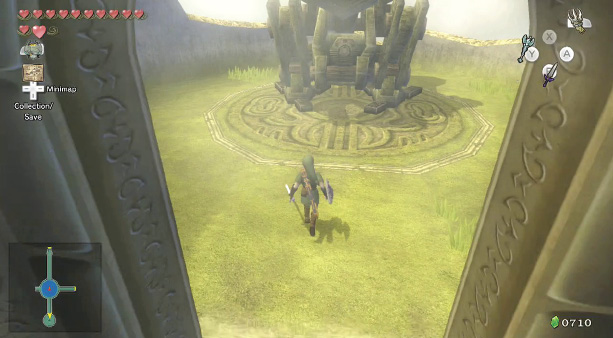
Ooccoo and her son meet another Oocca and flee to the shop. Meanwhile, you should head south and check the location of the cannon. This is your method of leaving the dungeon. There’s a Baba Serpent to test your new great spin attack on, resting on the ledge.
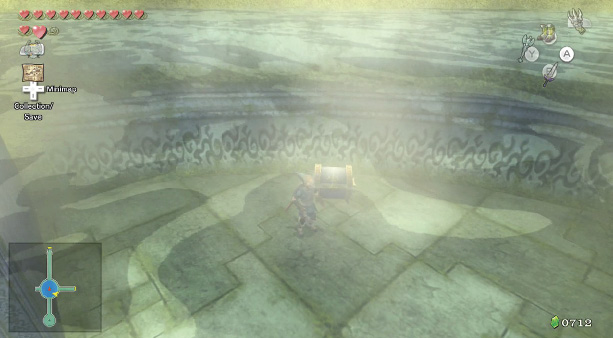
Treasure Chests: Head to the water pool, and inspect the area underwater. A chest in the southwest houses Water Bombs. Pack them in your bag if you need them, and swim to the southeastern side. A second chest here contains a red Rupee (20).
Treasure Chest #1:
Water Bombs (15)!
 Water Bombs
You got Water Bombs! You can use these bombs in water, but not while swimming.
Treasure Chest #2:
Red Rupee (20)
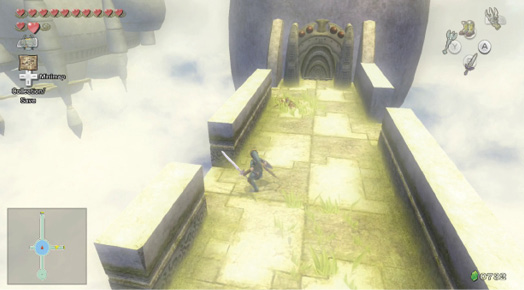
Turn east, and run along the windy ledge. As you reach the pod-shaped building at the end, slice the Baba Serpent and watch that the wind doesn’t push you off the gaps between the low walls!
|
Having problems with your footing? If you’re about to be blown off a ledge and into the sky, put on your Iron Boots. You remain stationary, but your movement is slowed. |
Enter the Ooccoo shop. The prices are reasonable, though the proprietor is selling items you don’t need (like the Lantern fuel) or have a preferred elixir of (like the Red Potion).
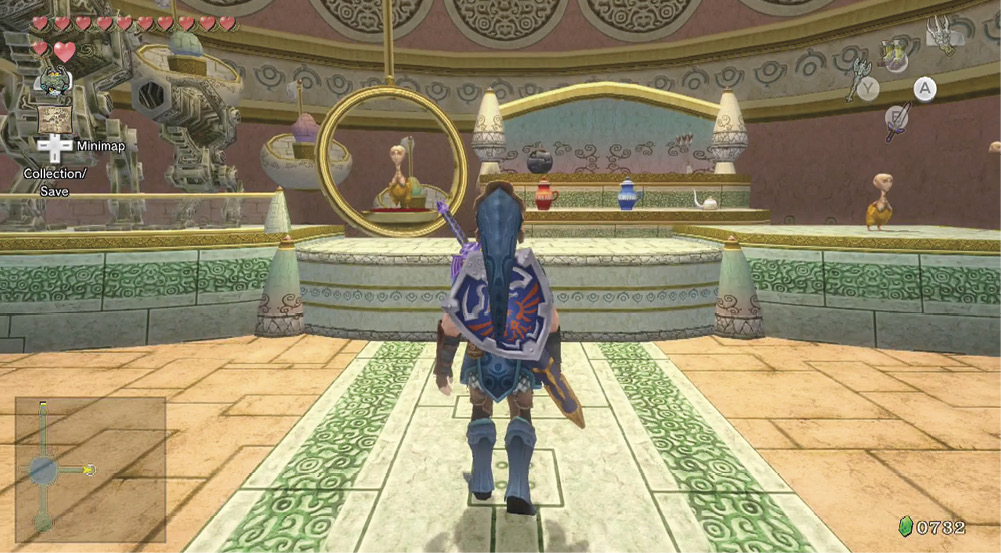
Store
Oocca Pod Shop
| Item | Name | Price | Effect |
|---|---|---|---|
 |
Bombs (30) | 90 Rupees | Why did I invest in stock that the Oocca can’t use? |
 |
Arrows (30) | 30 Rupees | I figured out that Oocca don’t have bows AFTER I ordered these…. |
 |
Lantern Oil | 20 Rupees | If you have an empty Bottle, you should buy some. |
 |
Blue Potion | 100 Rupees | When you’re out of strength, drink this and you’ll be fine. |
 |
Red Potion | 30 Rupees | This makes 8 Hearts beat healthily. |
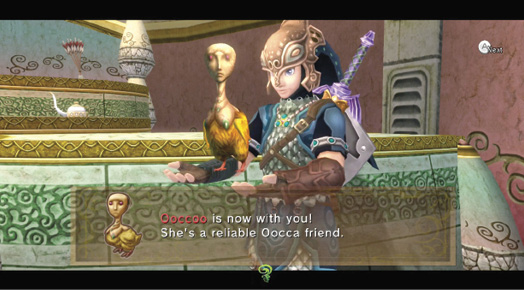
Ooccoo and Ooccoo Jr. wait for you. Ooccoo says she can’t whisk you to Hyrule, only to this shop. Take her with you, and leave the premises.
 Ooccoo
You are reunited with Ooccoo! This kind character can let you out of dungeons and return you to where you were.
Ooccoo Jr.: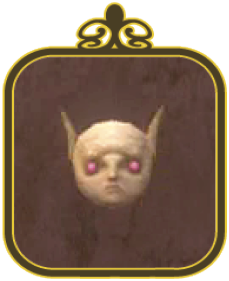 Available after the first time you use Ooccoo to remove yourself from a dungeon, Ooccoo Jr. makes his first appearance in the City in the Sky. He’s three years old, sits on his mother’s back, and has a limited vocabulary (and no body). He can provide transportation to the store if you wish. |
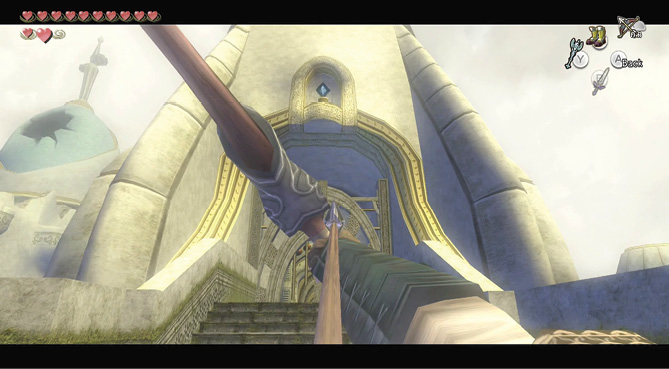
Leave the store and head to the pool, then go north to reach this ledge’s end. A Baba Serpent rises to strike as you near some steps, so react with a spin, and slash it. Place your Iron Boots on if you slip in the wind. After the coast is clear, bring out your Hero’s Bow and aim at the diamond switch above the entrance gate. Shoot it, and the gate opens, allowing you into the first main building.
Missing Links
1. Cutting the Grass
The outer sections of this windswept city have a few thickets of grass growing around, particularly near Baba Serpents and the cannon. Slice them for Rupees and Hearts.
Chamber 2: Cannon Bay (1F)
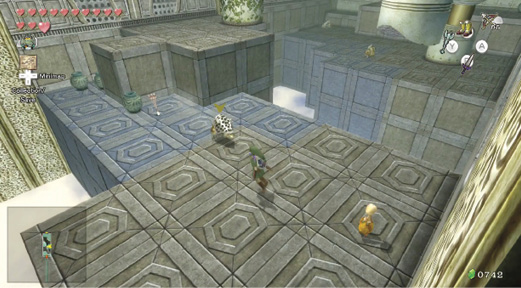
Walk forward, into a room with blocks of blue and gray stone flooring, and cannons racked up to the side. After smashing a couple of pots in the southeast corner (one contains a Heart), grab an Oocca and float down to the central part of the room. They fly in the same way as Cuccos—under protest!
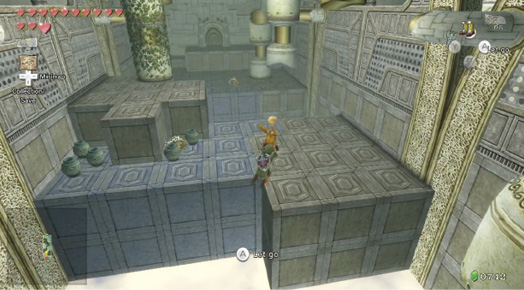
Land on one of the blue cubes, and it shudders, then drops out of the sky! You have a couple of seconds to move before you fall too, so use these to reach the gray-floored area adjacent. A Helmasaur charged you when you landed, but it fell into that falling cube!
Missing Links
1. Clawshot Crockery
While you spot a pot on a blue section of floor, don’t head over to smash it and let the floor give way. Instead, produce your Clawshot and smash each pot, then use the Clawshot again to grab the item and transport it to you. The Gale Boomerang achieves the same effect, but it isn’t as exact.
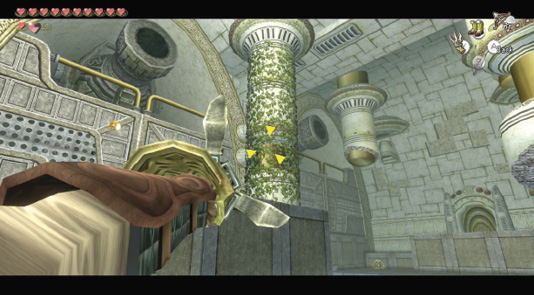
It’s time to reach this chamber’s northern exit, so aim at the pillar with the vines growing on it, above and to the west. Clawshot to it, shimmy to the outer wall area, and drop. Grab a nearby Oocca and float to this chamber’s final part. Land, avoid the Helmasaur or grab its armor with the Clawshot, and leave. You can fight the Helmasaur, but this is dangerous because it could charge and bounce you off the edge! Exit via the door. One of the pots in the corner contains a Heart.
Chamber 3: Central Fan Chamber (1F)
Helmasaurus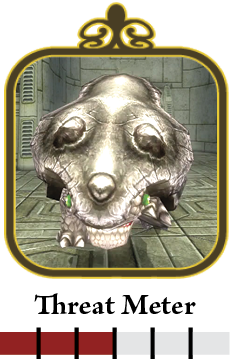 Enter the Central Fan Chamber, and a larger beast with hardened armor charges you. This is the Helmasaurus, the larger cousin to the Helmasaur, and it can withstand a Clawshot on its carapace without being parted from it! Use the same tactics you employed on Helmasaurs before you got the Clawshot: jump around the beast and attack its exposed rear. You can also stand with a blue floor tile between it and you. The beast thunders in, you block or leap away, and it falls out of the sky! |
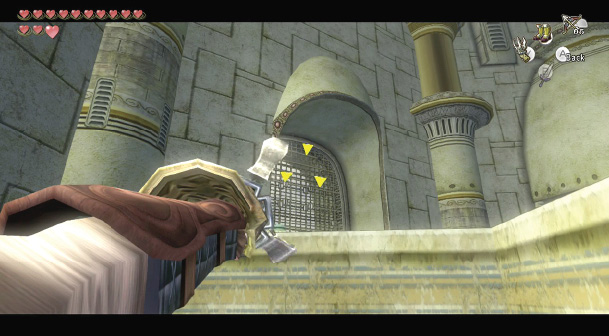
Run into this chamber and explore it. It has an extremely high ceiling with a fan in the center. Is that a vine wall growing down? No matter; it’s too high to reach. There are pillars with vines growing on them, and falling floor tiles to avoid. Head up the northern steps and Clawshot to the grated window on the northeast corner of the room. There’s a yellow Rupee (10) in a pot for you. Leap down onto this blue tile, and roll onto firmer ground. Do the same in the southeast corner. The pot here holds arrows.
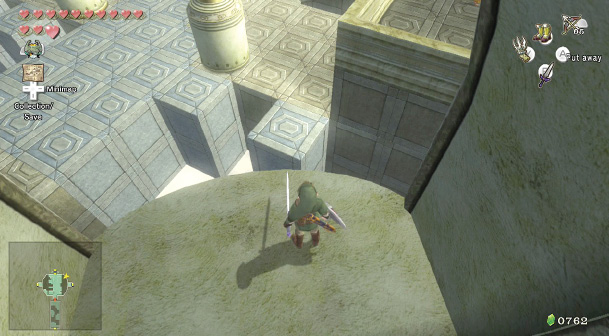
Run to the southwestern window and Clawshot up to it; the Rupee in the pot there is green (1). There’s an opening in the grating you can walk through. This is one of two ways to reach Chamber 4.
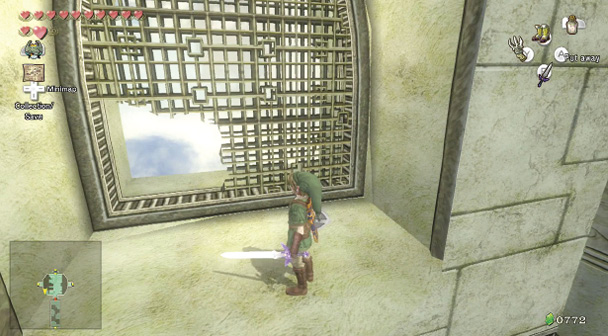
The last of the four window ledges in the northwest is of particular interest. Clawshot to this ledge, and inspect the pot here. Inside is a Fairy whom you can scoop and place in an empty Bottle. If you don’t need this now, remember it for later.
 Fairy
Fairy
You caught a Fairy in a Bottle! When you fall in combat, this faithful friend gives you Hearts.
|
To return to this chamber’s center at any time, Clawshot to any pillar with vines on it within reach, shimmy to solid ground, and drop. |
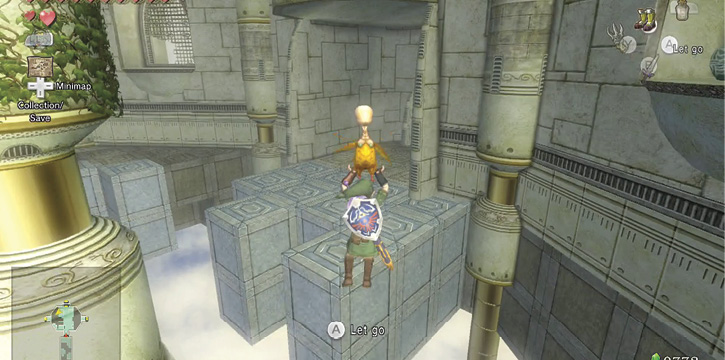
The final part of this initial exploration is to head into Chamber 4. You’ve found one way (through the open corner of the southwest window’s grating), but you can also grab an Oocca from the northern door area and float across to the western exit.