
The Legend of Zelda: Twilight Princess HD Guide Dungeon 2: Goron Mines
Task 2: Find the First Key Shard from Gor Amoto
Chamber 2: Volcano Forge

You emerge inside the active volcano, with the Hylian sky visible above you! A giant forge the Gorons constructed, now populated by the hated Bulblins, is ready for you to traverse it. After you take in how huge this volcano is, head up the metal ramp.
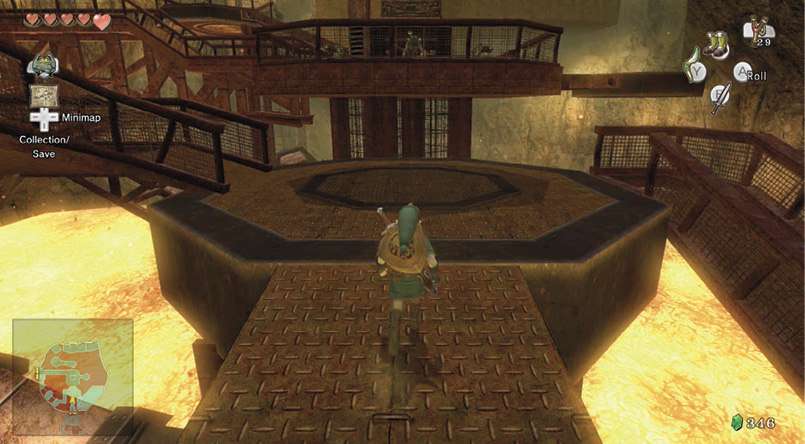
Make a right turn at the octagonal platform at the ramp’s end. There are Bulblins here—green-skinned fellows with an evil temperament. You can target them with the Boomerang, but it’s best to leave them alone for the moment. Your stay in this active volcano is brief, for now.
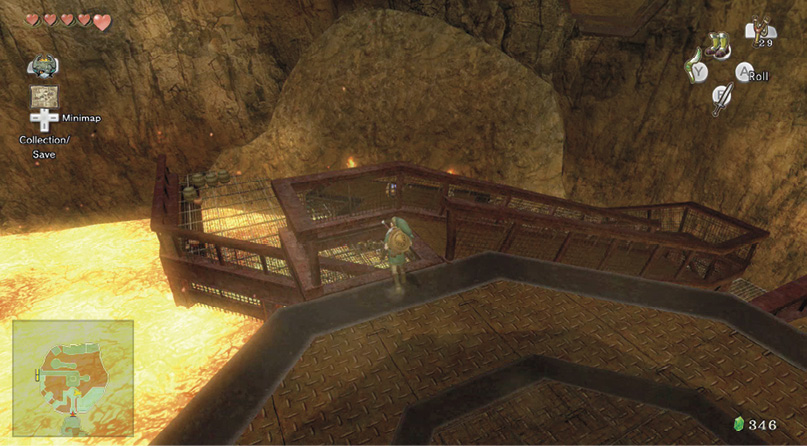
Turn right and head onto the gantry that slopes down, near the initial ramp. Follow it as the gantry turns left, then descends to the lava surface! Draw your weapon as you head onto this platform; Bulblins are here.
Bulblin Infantry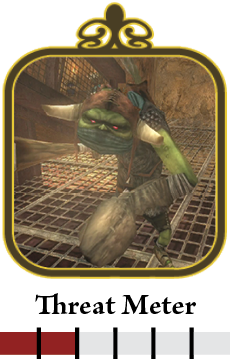 Bulblins are devious, stupid humanoids who love to inflict pain. They took Ilia from the Ordon Spring earlier and haven’t learned any manners since then. These foot-soldiers carry primitive clubs. Attack them with a flurry of regular sword slices. Use your shield and ZL target, and push back the initial attack. Counter with three regular slices, comboed into a spin to finish them off. You can take down two or more Bulblins at once with this technique. Or, you can knock the Bulblin back with your shield, leaping and striking with a sword slice, then (with the Bulblin lying on his back) finish him with your first Hidden Skill; a nasty skewer! Combat with Bulblins is entertaining and easy. 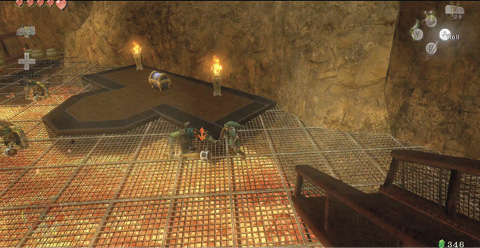 As the heat intensifies, bring out your sword and begin to slice some Bulblin hide!  |
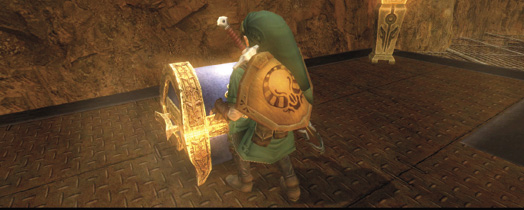
Treasure Chest: See what those Bulblins were guarding. After barrel bashing and pot smashing (for Rupees and Hearts), inspect the chest between the two torches. Inside is a handy key.
Treasure Chest #2:
Small Key
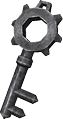 Small Key
You got a Small Key! This opens a locked door, but only in this area.
Run up the gantry to the octagonal platform, and straight across, with the entrance ramp on your left. Head up a second, ascending gantry that turns left almost immediately. After an incline, it turns right.
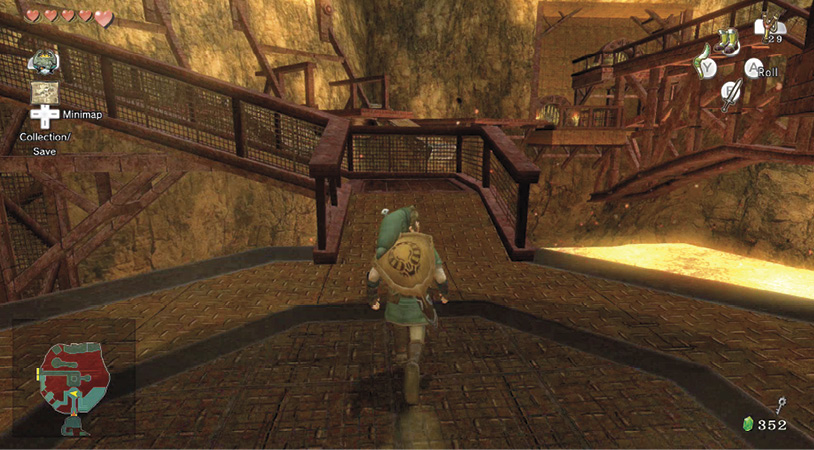
You’re now in the northwest part of the volcano forge, and you must traverse two rotating platforms. Stand on the gantry platform’s right side, and move forward after the platform completes a rotation. Hop on, then off. Stop at the small gantry platform, wait for the second platform to finish a 180-degree turn, then hop on and off it.
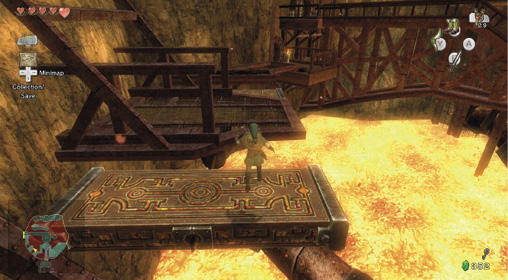
Once past both the rotating platforms, you reach a locked door with a torch near it. Fortunately, you took the Small Key from the chest the Bulblins were guarding, so use it to exit.
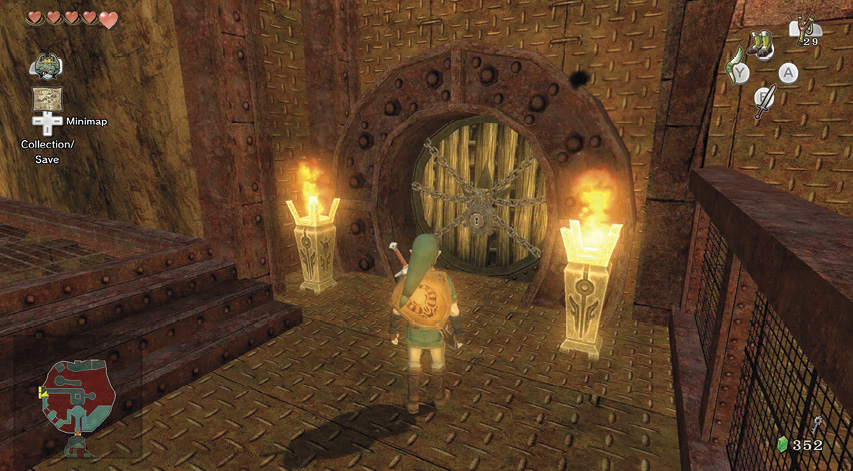
Chamber 3: Domain of the Dodongos
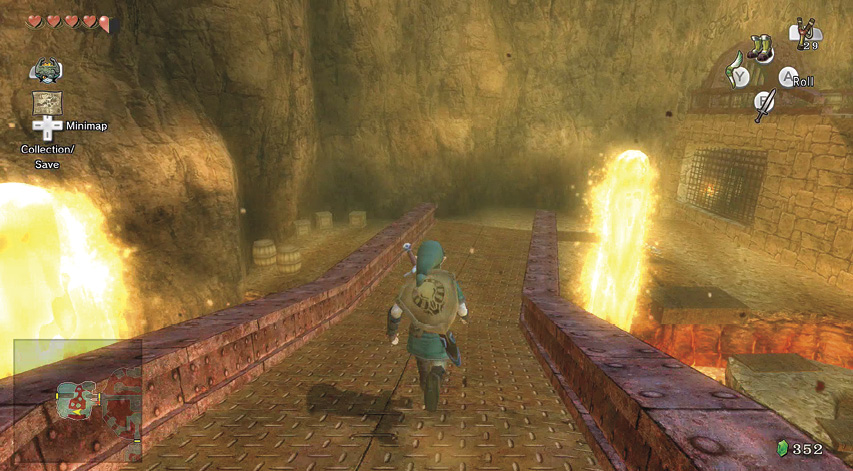
You appear in a smaller chamber. There is a fearsome lizard-like creature scuttling about below. This is the deadly, fire-breathing Dodongo! Turn left, and run down the ramp to the earthen floor to engage this menace.
|
Look closely at this chamber’s ceiling to see that sections of it are turquoise colored. You’ll find out why in the next room. |
Dodongo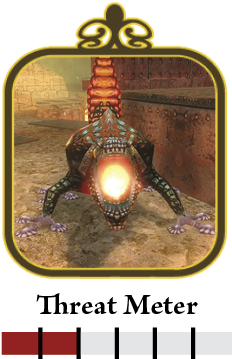 The Dodongos are a real problem when you don’t have room to maneuver, as they breath fire in a wide arc toward you. They are impenetrable from the front, too; many an unwary adventurer has paid the price for doggedly attacking the head, when the tail is this beast’s weak spot! Until you receive a powerful ranged weapon, you must finish Dodongos with your sword: use the ZL to target; you can target either the head or the tail. Choose either, then circle around the Dodongo. Retarget the tail. Three slices at the tail finish off this scaly threat, and you can round behind, then target, or jump or walk around while targeting. A spin attack works well at hitting multiple Dodongo tails. Keep targeting the back ends of the beasts! 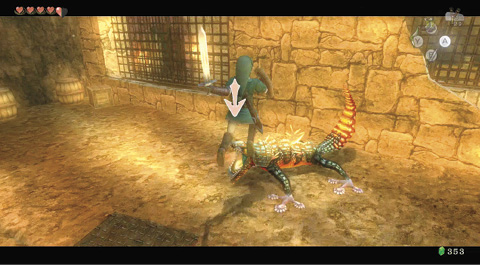 The Dodongos have an Achilles heel, although it’s actually their tail. Hack there for best results!  |
|
The reason to enter the Goron Mines with the Hylian Shield becomes obvious if you try to attack a Dodongo using the Wooden Shield. After a couple of fiery attacks, the shield burns to a crisp, leaving you defenseless! 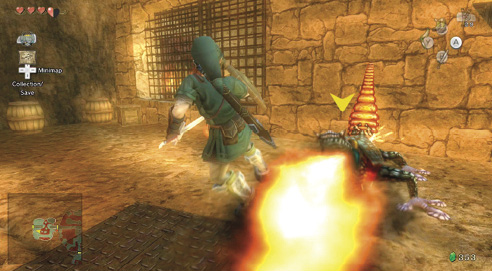 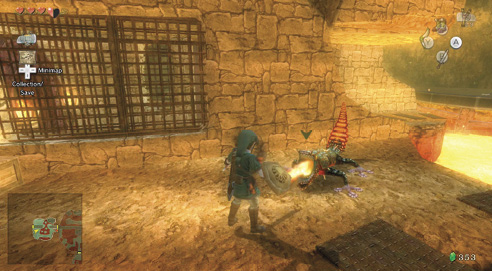 |
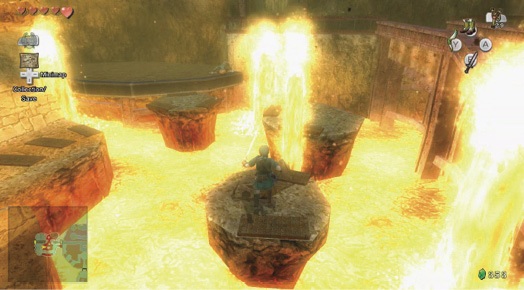
With your first Dodongo finished, move to the metal plate embedded in the rock, and leap across the gap to the first of three round islands in the middle of this lava. Wait for the lava fountain to subside, and leap to the second island. Turn left, locate the metal plate, and leap from there to island platform three. Hop to an upper metal platform, where you fight a Dodongo; defeat him before you continue.
|
The difference between a Wooden Shield and the Hylian Shield are obvious. The Hylian Shield remains intact under even full heat and halitosis of the Dodongos’ most vicious attacks. Shield block with impunity! |
|
Look toward the room’s western part from here to see a large stone wall blocking your path. Head around this for the moment. |
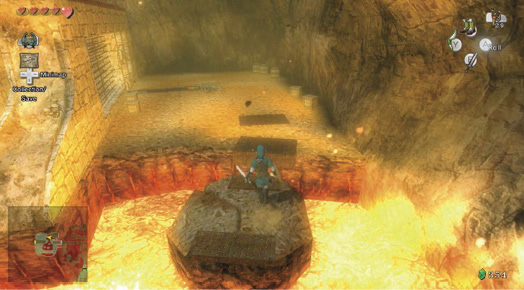
Face west from the Dodongo platform and jump to a new island, wait for a final magma plume to fall, then land on solid ground in this chamber’s northwest corner. There’s a Heart in one of the crates on either side of this area.
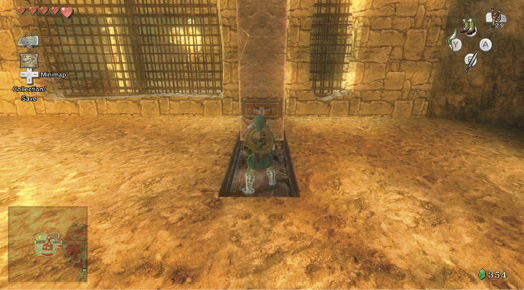
Spend a few moments introducing a Dodongo to the sharp end of your sword, and after the coast is clear, check the chain handle sealed into a large wall chunk. Grab it, and pull it backward. The wall moves along the groove in the ground! Let go, and the wall moves back to where it was originally. Pull the wall back as far as it can go.
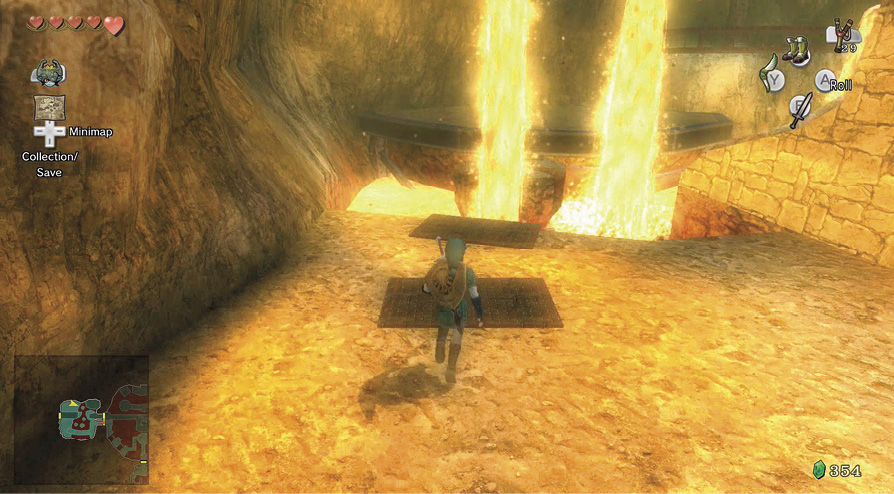
When the wall is back in the groove, let go, turn left and run to the metal plate, leaping to the island, and onto the platform where you fought the second Dodongo. Jump off this platform’s southwestern corner, onto the third island, then turn right 90 degrees, and leap across to the central corridor, looking for metal strips in the earth to guide you.
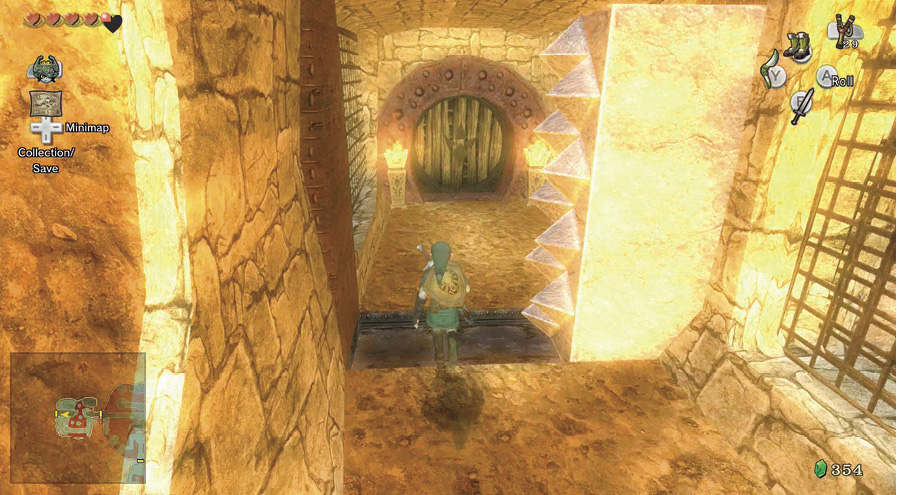
Roll down this corridor, keeping to the left so you squeeze past the spike-tipped wall before it closes. If you aren’t fast enough, retrace your steps and try again. Once past the moving wall, open the door and exit.
|
Traversing the islands while the lava fountains spit is treacherous. Here are some plans to help you:
|
Missing Links
1. Barrel and Crate Bashing
There are rocks, crates, and barrels on the way to the first Dodongo, and on the flat area nearby, as well as by the moving wall. Expect small cash prizes and Hearts as your reward for hitting the barrels and crates.
Chamber 4: Magnetic Pool
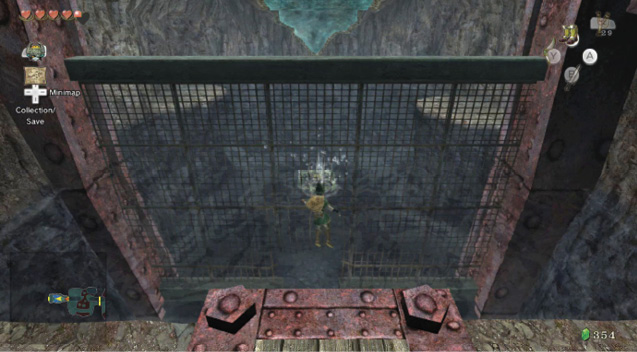
Step through into a small connecting chamber containing water in front of you. A sturdy metal fence prevents you from swimming to the other side. Step off the metal platform’s end, and into the water, and swim to the fence.
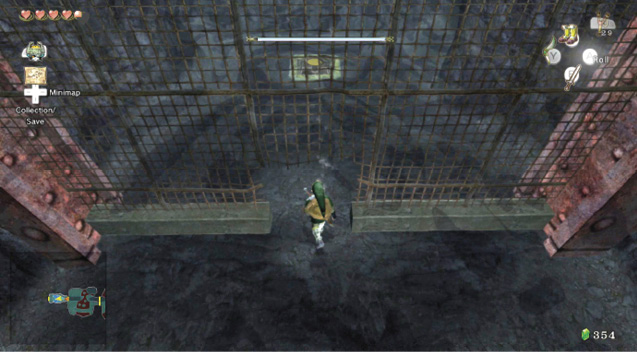
Your way forward is blocked, so you must locate a different path by heading downward. Without a suit of Zora armor, you cannot swim underwater, so put on your Iron Boots and sink to the pool’s bottom! Slowly clump through the gap in the fence.
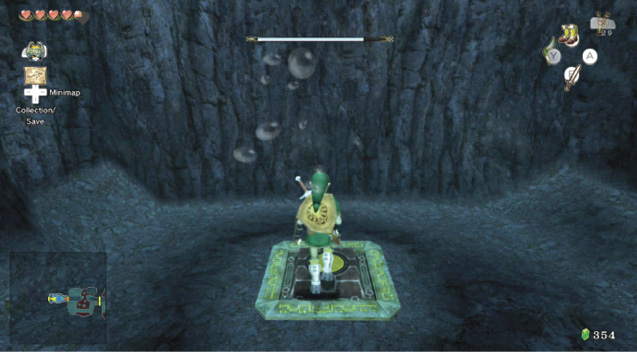
An oxygen meter appears below your Heart energy bar, but don’t worry about that yet; you have plenty of time. You can’t access the door on this room’s opposite side if you swim to the surface, so clump forward, toward a ground switch. Take off your boots if you’re moving too slowly, then put them on when you’re over the switch.
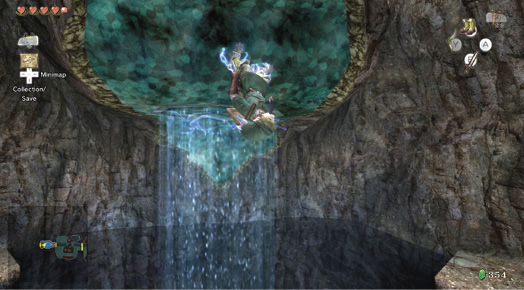
The switch activates a magnetic beam that sucks you up and onto the turquoise channel on this room’s ceiling. This is also magnetic, and you can walk here, upside down, as long as you’re wearing the boots. Don’t take them off! Walk up and around to the exit door so you’re standing right side up, and head into the elder’s chamber.
Chamber 5: Gor Amoto’s Shrine Room
Step forward into the chamber, which has the familiar look of Gor Coron’s wrestling ring. An exceptionally old Goron is standing with the help of a cane. His head has taken the shape of a tiny, steaming volcano! This is the room of Gor Amoto, Goron elder.
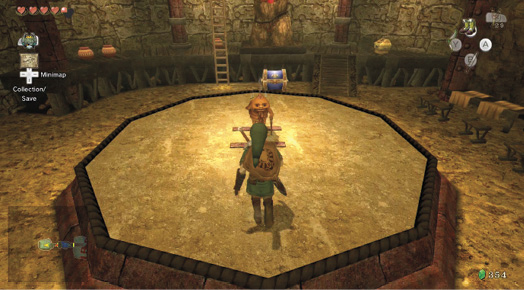
Gor Amoto: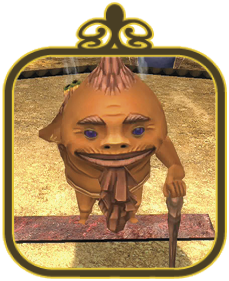 Incredibly ancient, Gor Amoto appears to you only briefly. Shaky, and emitting steam from his head and back, he is the fourth most powerful elder in Goron society. He is easygoing and short, and he carries a device to help you on your way. |
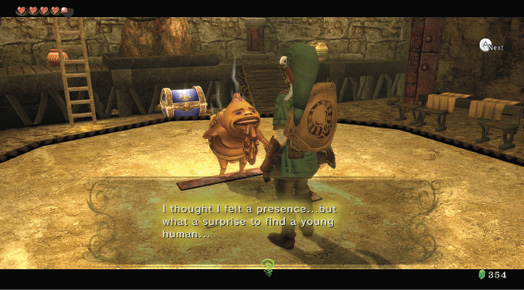
Speak with this steaming Goron and the fine old fellow wishes you well on your quest. In fact, he’s extra helpful, as he provides you with a Key Shard after you talk to him! The others are entrusted to the two other elders you’ve yet to meet.
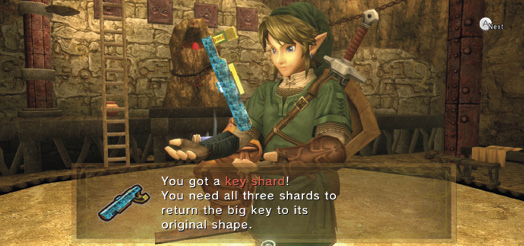
 Key Shard
You got a Key Shard! You need all three Key Shards to return the Big Key to its original shape.
After you take the Key Shard from Gor Amoto, he says you must merge it with two others to form a key that opens the room where Darbus is being held. You can find the Key Shard, and how many of the three pieces you’ve collected, on your Dungeon Map menu.
Treasure Chest: When you finish with Gor Amoto, step off his ring and open that chest behind him. You now can pore over both floors of this dungeon using the map.
Treasure Chest #3:
Dungeon Map
 Dungeon Map
You got the Dungeon Map!
Treasure Chest: Hold on! Gor Amoto has a second chest in this room, too. Behind the first chest, head up the three steps onto the wooden shrine platform, and check out the chest in front of the hieroglyphic wall. Open it for a Rupee reward!
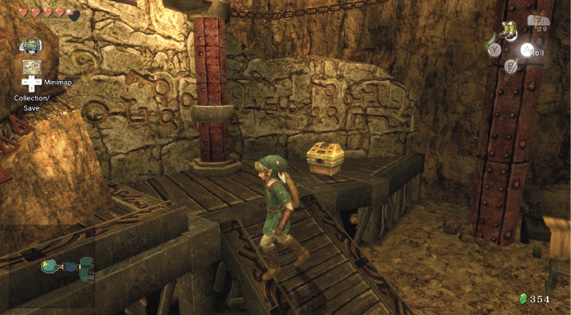
Treasure Chest #4:
Red Rupee (20)
The shrine holds a brightly colored gem, but you can’t grab it, no matter how hard you try! It’s time to leave this place, but you must climb up to the second floor. Use the ladder to the shrine’s left.
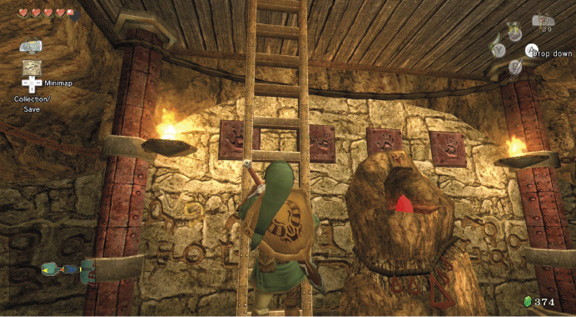
Climb to the top, and turn left. Run along the upper ledge, overlooking the wrestling ring, and inspect the pots by the upper exit. One of them is shaking suspiciously. Pick it up to discover that strange old bird, Ooccoo, again! When you’re done, exit via the doorway to the left of her pot.
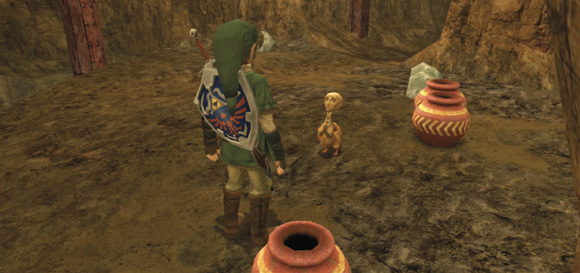
 Ooccoo
You reunited with Ooccoo! This kind character can let you out of dungeons and return you to where you were.
Missing Links
1. Pottery Pulverizing
Although Gor Amoto doesn’t allow weapons in this room, you can still smash his collection of pots to the left of the shrine. There’s a Heart in one of them. Up by Ooccoo, one of the pots holds a green Rupee, too!
2. Rock and Roll!
Finally! After receiving nothing from most of your previous rock lifting, if you pry up the rock near the upper exit, you discover three Hearts inside! What a bonus!