
The Legend of Zelda: Twilight Princess HD Guide Dungeon 2: Goron Mines
Task 5: Battle the Feared Goron Dangoro for the Hero's Bow
Chamber 8: First Return to Mine Reservoir
You’re back inside the large Mine Reservoir, but on an upper doorway ledge. The only place to explore is the door on the southern wall, so don your Iron Boots and stride along the magnetic wall to the corner. Drop down; don’t waste time trudging to the magnetic strip’s end.
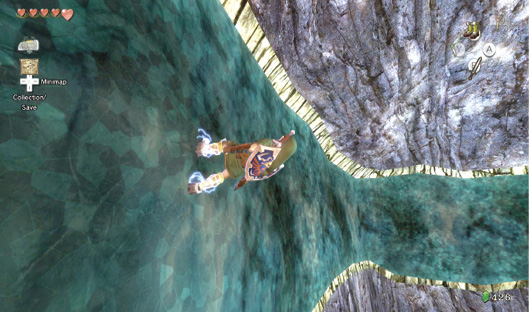
Author NoteOnce again, removing our Iron Boots too soon resulted in Link landing not on the southern ledge, but in the water. We then had to repeat the maneuvering across the rotating platforms to Gor Ebizo’s shrine and back again. Don’t repeat our mistake! |
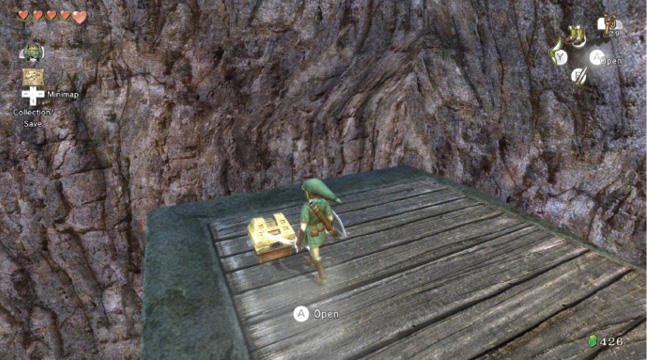
Treasure Chest: Land on a wooden ledge right next to a chest and kick it open; the prize isn’t going to set your heart a-flutter, but you’re still making money in this expedition. Head along the ledge toward the south wall’s exit, and open the door.
Treasure Chest #12:
Yellow Rupee (10)
Missing Links
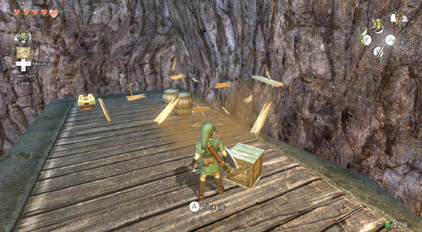
1. Barrels and Crate Smashing
If you’re looking for a couple of extra energy Hearts, spin into the scenery on this exit ledge before you leave.
Chamber 10: Dangoro’s Stomping Grounds
Enter this circular lava pit, but beware of the great Goron awaiting on the opposite side! Optionally bust the pots and wooden containers, and do it now, as you won’t be able to return here in a moment. Stride toward the circular arena, and watch as the massive Goron, who obviously didn’t get the Gor Coron memo, rises up to challenge you, then butt-stomps the arena into the lava pit below!
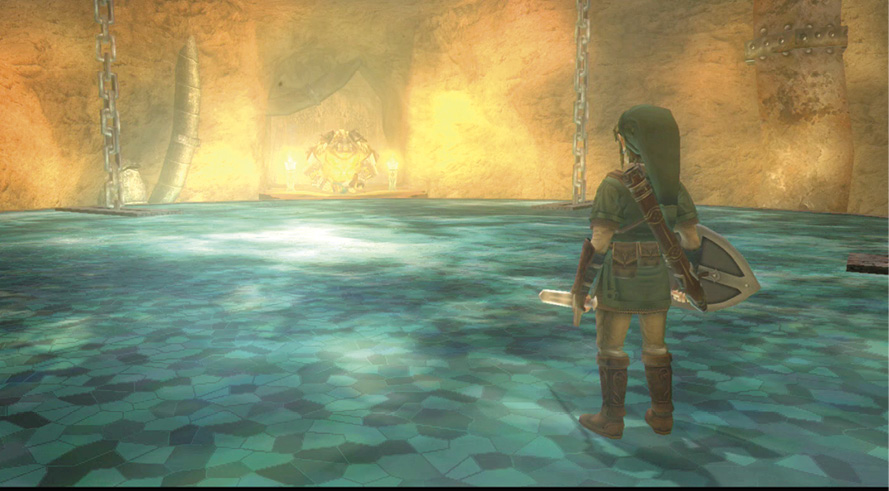
Dangoro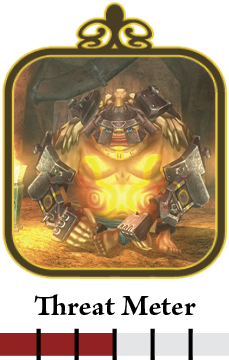 He’s powerful and coated in armor, but he feasted too heavily on Bullbo. Dangoro’s weak spot is his stomach! 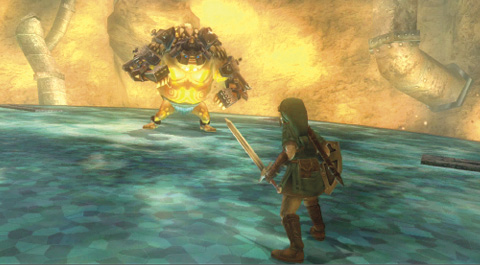 Step 1: Fighting Dangoro is all about timing. Run within sword-swiping range, and block his attacks. When he raises both arms, target and slash that stomach with three strikes, and finish with a spin attack. If you hit with all attacks, Dangoro spins into a ball. 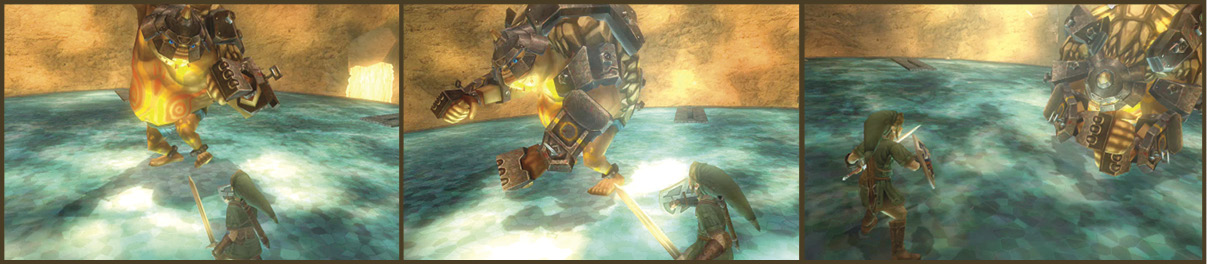 Step 2: Don your Iron Boots or you won’t have a hope of defeating this hulking brute! When Dangoro rolls into a ball, he attempts to rumble straight over you. When you’re prompted, grab Dangoro with your boots on, swing him around, and throw him across the arena! He flies off to the arena’s edge. Combat begins again. 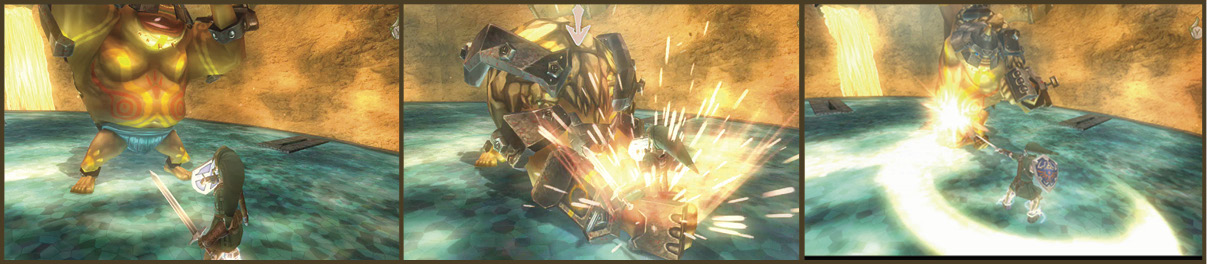 Step 3: Run to the arena’s edge, and turn so your back is to the edge of it and you’re near the lava pit below. Dangoro raises one arm for a massive punch attack; this is your cue to attempt a second four-hit combo with the spin finish! After Dangoro rolls into a ball, grab and throw him; if you positioned yourself correctly, the 180-degree throw lobs Dangoro into the lava. Remember those Iron Boots, or you’ll be the one taking the magma bath! 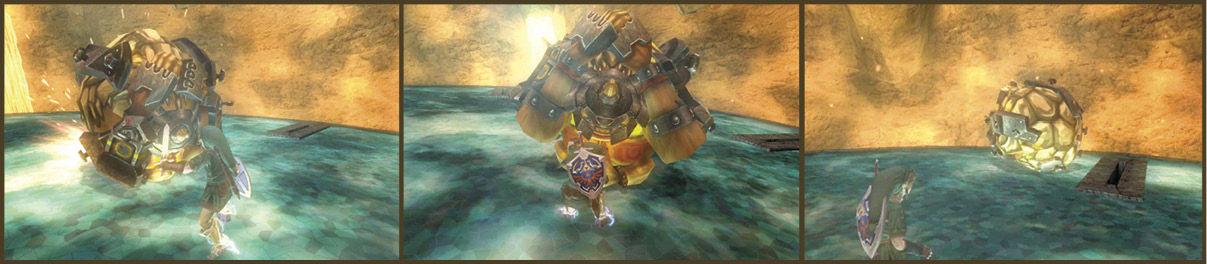
|
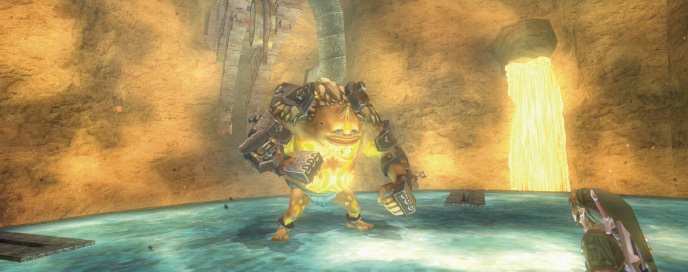
It takes three dips in the lava pool for Dangoro to realize who he’s dealing with! Dangoro’s helmet flies off, and he understands why you’re here: to reach and help the Goron patriarch. He offers you a weapon in exchange for your help, then raises the arena to connect with the path.
You may be disorientated after this battle, so check your map to ensure you’re heading south, and stride off the arena, through the door that’s now unlocked. Or, head north to claim the three Hearts from the scenery, if you need them.
Chamber 11: Dangoro’s Treasure Hole
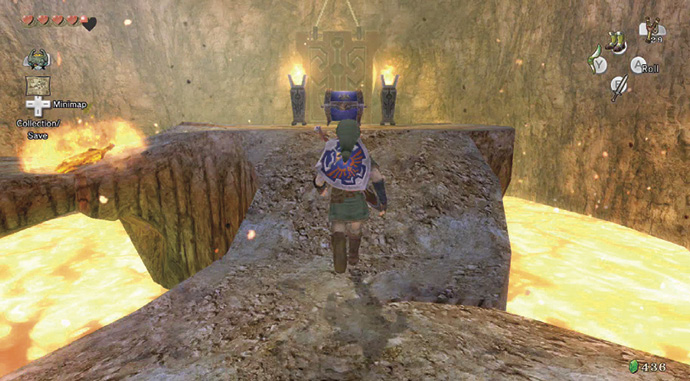
Treasure Chest: Step into a small, circular lava pool with a narrow stone pathway. There is a treasure chest in its center. Dangoro wasn’t kidding; pry open the chest for a piece of useful equipment!
Treasure Chest #13:
Hero’s Bow
 Hero’s Bow
You got the Hero’s Bow! This Goron treasure once belonged to a hero of legend.
The Hero’s Bow The Hero’s Bow is one of the most useful and important pieces of equipment you’ll ever receive! Set it to the Y button on the Wii U GamePad menu screen. When you wish to use the Hero’s Bow, press Y. Aim at targets with either the Left Analog Stick or by moving the Wii U GamePad around, then press the Y button to shoot. You can hold up to 30 arrows. 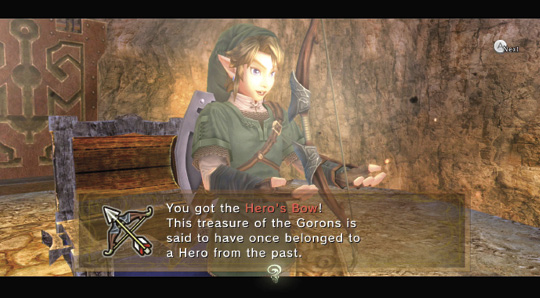 With the new Hero’s Bow in your inventory, you may be tempted to use it on the Torch Slug that dropped from the ceiling, but sword slashes are easier. Destroy the crates for a Rupee and Heart too. The Torch Slug gives you more arrows. When you’re done, exit via the south door. Aim your target at either piece of rope, and fire an arrow to cut the drawbridge down. 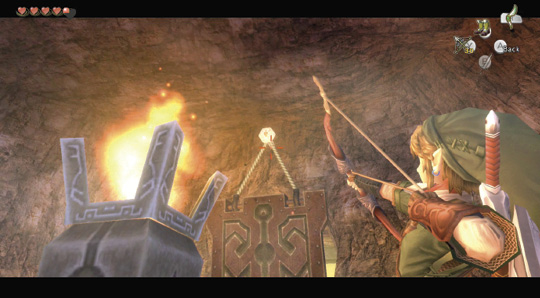
|