
The Legend of Zelda: Twilight Princess HD Guide Dungeon 3: Lakebed Temple
Task 5: Open the Floodgate in the Second Reservoir Tower
Chamber 8: Second Return to Crescent Cavern and Snaking Waterway (1F)
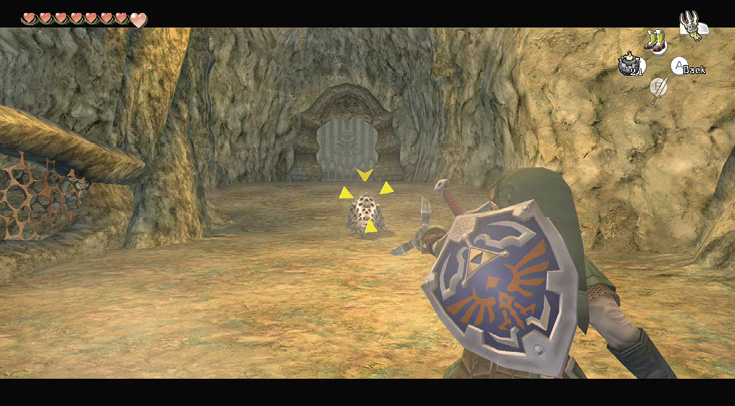
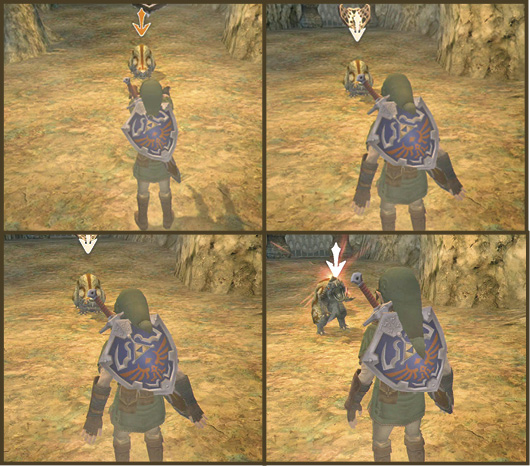
Exit into the dirt-floored Crescent Cavern, and prepare for combat with Helmasaurs. However, now that you have the Clawshot, you can easily remove their armor. ZL target the beast, avoiding the charge, and fire the Clawshot. The Clawshot rips the armor off the beast’s back. Throw it away or back at the creature, then finish the Helmasaur off, attacking any part of it!
Chamber 6: Fifth Return to Single Cog Cavern (1F)
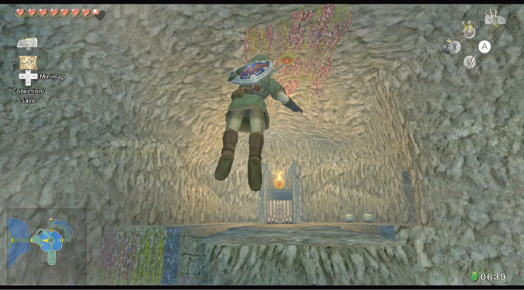
Head south, back into the Single Cog Cavern, and use the Clawshot after riding the rotating platforms around, to aim at the vines on the ceiling, just above the exit door. Grab the vines, drop down, and exit, without climbing the granite ledges or running through the tunnel.
Chamber 4: Eighth Return to Connecting Bridges (1F to BF)
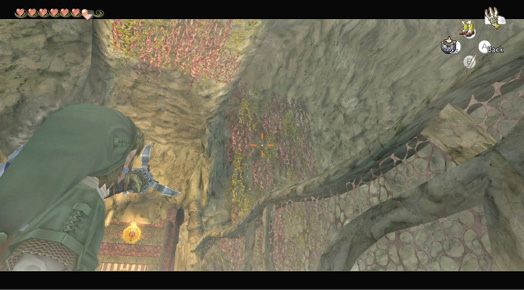
Enter the connecting bridge area, and defeat the Helmasaur with a hilarious armor-removal attack, then wait before you return to the central hub. A vine wall above and right of the exit door allows you into the large pool below the bridges. You land in the basement level.
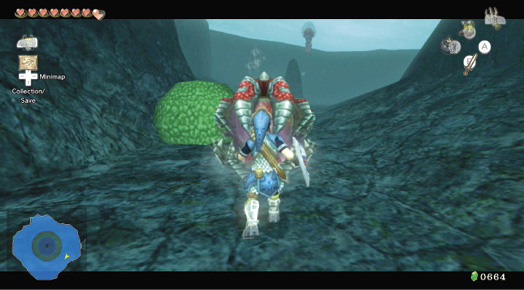
Drop into the water, wearing your Iron Boots, and you can search around the rocky pool surrounding the central column. Bring out your sword and slice the Shell Blades.
Farther along the rocky pool (southeast area) is a column with a pot next to it. Smash the pot with your sword, and discover a yellow Rupee (10) inside. There’s another in the south area.
Bari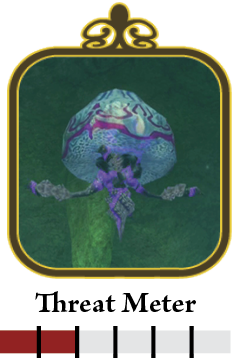
You can easily defeat the otherwise impenetrable Bari. Target (or ZL target) the creature with your Clawshot, and fire! The Clawshot grabs the creature’s brain, and brings it to you! Both brain and outer tendrils then explode! 
|
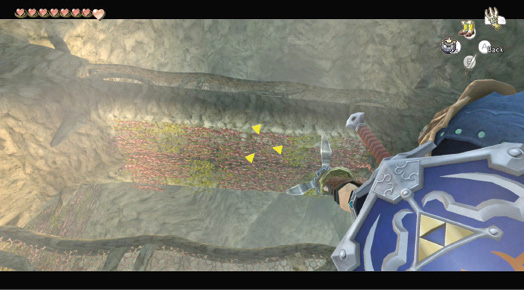
When you’ve finished fooling around in this dead-end rock pool, locate the stepping stones near the eastern bridge, and Clawshot up onto some vines, and back down to the first floor bridge platform. Head for the hub now.
Chamber 5: Fifth Return to Lakebed Column Hub (1F)
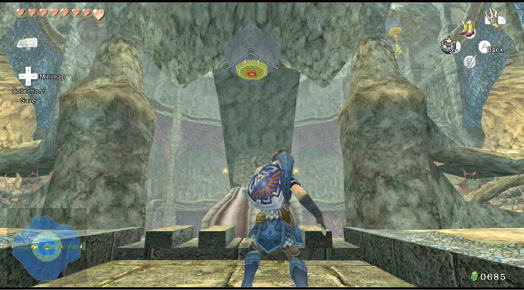
With the Clawshot, you can activate a medallion in this chamber that was previously impossible to trigger. You begin in the room’s eastern part, so use your Clawshot and launch yourself onto the exterior wall, over the chest that contained the Dungeon Map, and run to the western area. Look into the middle, and up. Clawshot and hang from the medallion. This reroutes the water flow, allowing you access to this dungeon’s unexplored area. Enter the door behind you.
Chamber 4: Ninth Return to Connecting Bridges (1F)
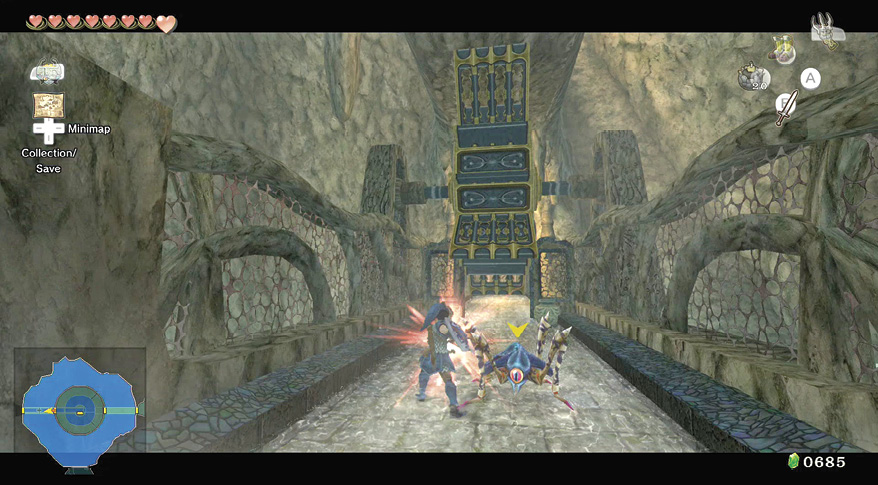
Move along this passage, with your sword ready to strike the Tektite here, and the pots you already smashed once (for a Heart and Rupee). Now though, the waterwheel is moving, and you can roll through the gap and exit via the western door.
Chamber 10: Double Cog Cavern (1F to 2F)
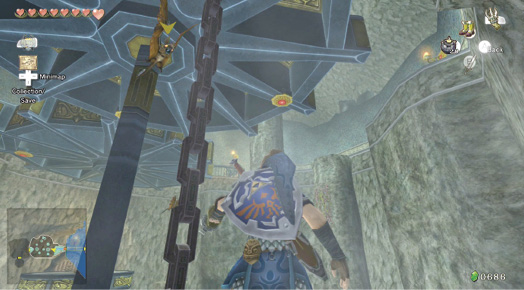
Treasure Chest: Enter this large, gray cavern containing Keese fluttering about, and two gigantic cogs. Jump to the first one, then look up and right, locate a medallion, and Clawshot up and onto it. Descend on the Clawshot until you spot a tiny plinth below. Drop onto it, and inspect the chest.
Treasure Chest #15:
Water Bombs (10)
 Water Bombs
You got Water Bombs (10)! You can use these bombs in water, but not while swimming.
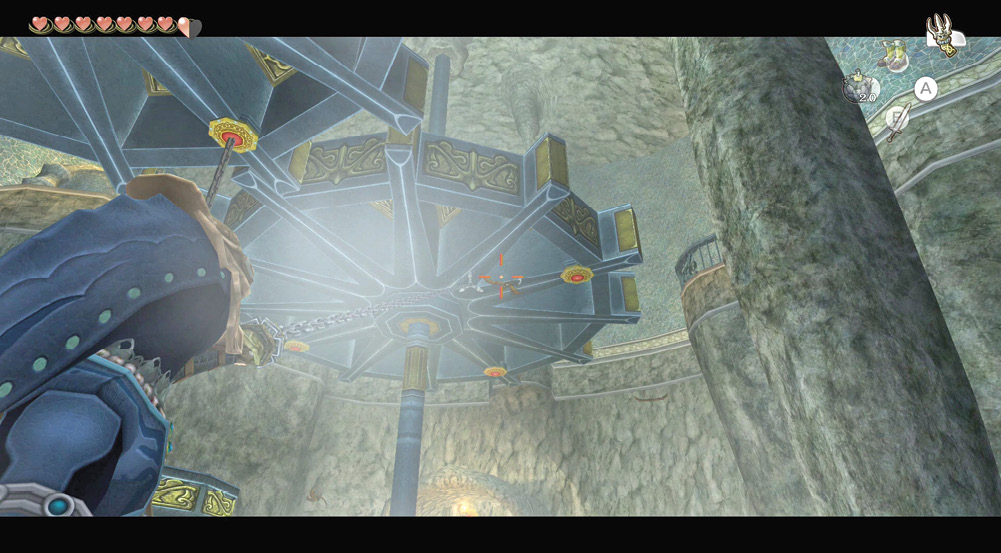
Stand on the plinth, and look up and around. If Keese are hassling you, ZL target with your Clawshot, and punt the Keese across the room, into a wall! This works well with any small flying creature.
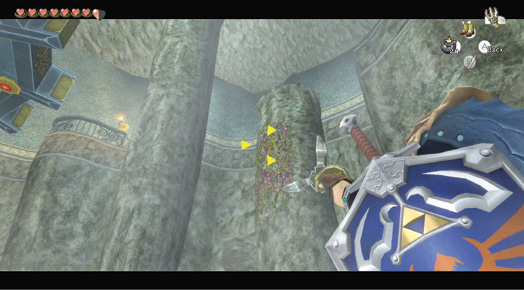
Cross this chasm. Unlike the other room containing a rotating cog, if you fall here, the drop is permanent. Look to the north, and you’ll spot some vines on the bumpy wall. Aim and fire at them, then propel yourself across. Shimmy around the corner, and drop onto a small ledge. From this ledge, look up at a tall pillar with more vines on it. Propel yourself up here, and drop down onto the next small ledge.
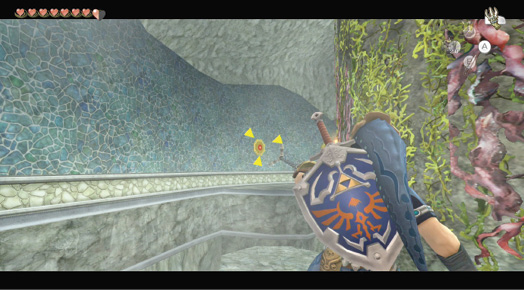
Treasure Chest: Continue on your chest hunt by looking to the left of the ledge you’re on, around the pillar. From here you can launch to a medallion, which leads to a small chest. The reward is a red Rupee (20).
Treasure Chest #16:
Red Rupee (20)
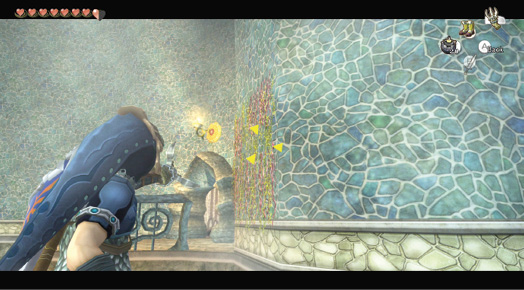
Now to find a way out! Head toward the ledge with the vines from which you launched. Propel yourself there, then look northwest at the door with the ledge in front of it. Fire yourself to the vines, shimmy to the ledge, and leave.
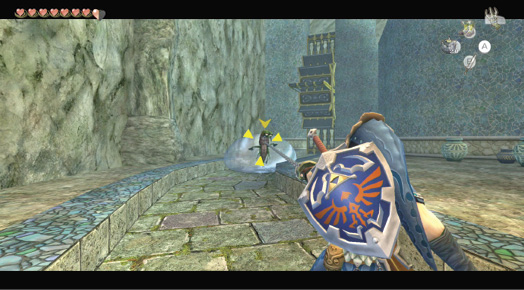
You’re still in the Double Cog Cavern, but you’re wandering the perimeter, as you did on the other side of the dungeon. Turn right, and you’ll encounter another Chu Worm. However, with your Clawshot, you can ZL target, fire at the worm, and wrench it out of its bubble: finish it with sword swipes!
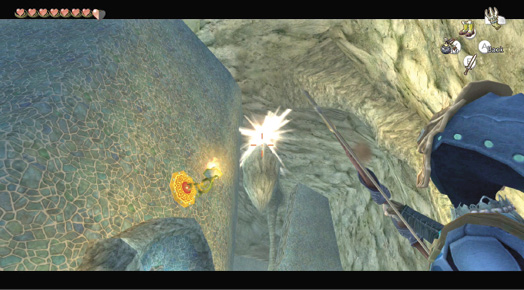
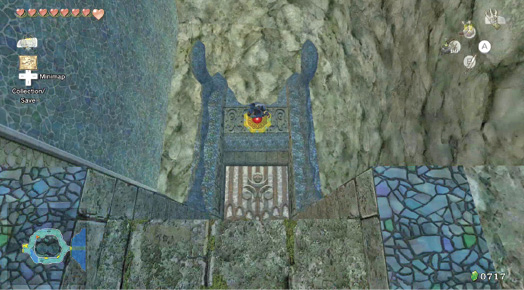
Behind the Chu Worm’s remains is a waterwheel, without the water to drive it. Turn around and inspect this passage’s opposite end. Two waterspouts jet from the ground. Look up and shoot a Bomb Arrow into the stalactite, and you create a floating platform. Wait until the platform descends, climb on it, then jump across the gap in the wall, avoiding the sealed door. Drop into this perimeter area’s western part, and dish damage on a couple of Tektites. The way is blocked with a channel and a wall, but there’s a Clawshot medallion! Use it.
Missing Links
1. Pulverizing Pottery
This cavern has a number of pots to shatter.
- On the left side of the entrance area: arrows and Hearts
- In the northern part of the perimeter, near the Chu Worm, inside alcove: arrows and Rupees
- The eastern small ledge: yellow Rupees (10)
- One of the small plinths (1F); use the Clawshot: yellow Rupees (10)
- The southern perimeter area, just after the waterwheel (first return): Rupee and Heart
- The northeast perimeter area, after the waterwheel (first return), near Treasure Chest #20: Rupee and Heart
Chamber 11: Western Reservoir Tower (2F to 3F to 4F)
Enter a similarly shaped cavern to the one you were in earlier, complete with two Chu Worms. (Clawshot these hapless invertebrates!) After pottery slaying for a blue Rupee (5) and Heart, look for the way into the tower chamber. There are no doors, so Clawshot to a set of roof vines.
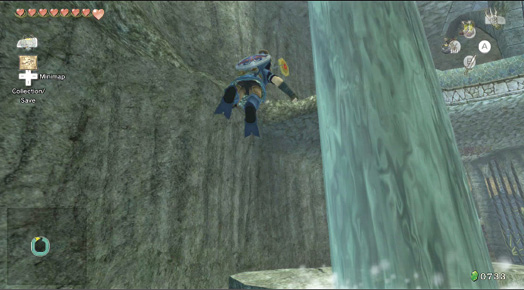
Drop into an almost identical tower area as the one before, except this one has a waterspout. From this position, turn and look for a Clawshot medallion, shoot at it, then launch yourself onto the water chute.
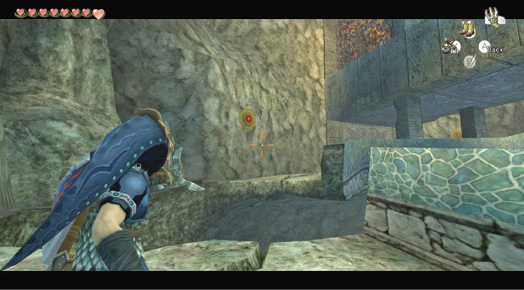
Treasure Chest: After attacking a Helmasaur, run to the gap in the chute, and Clawshot to the medallion on the other side. Continue your ascent, tackling three more Helmasaurs on the way to the top. When you reach the flat channel and square arch, head over and open another treasure chest. These contain bombs (if you’re full of Water Bombs) or Water Bombs (if you’re not).
Treasure Chest #17:
Bombs (10)
 Bombs
Bombs
You got bombs (10)!
It’s time to release the other floodgate, and crank the waterwheel in the Double Cog Cavern. Climb up either ladder of the square arch and leap onto the gold handle, pulling it down. Water streams down from above.
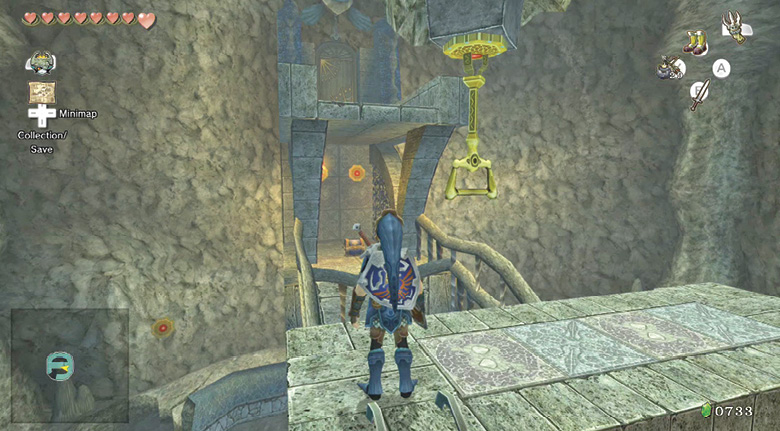
Treasure Chest: Before you leave, definitely check the opposite ledge, where a chest is sitting. Use your Clawshot and propel yourself through the waterfall (if you activated the handle), and then drop down.
Treasure Chest #18:
Compass
 Compass
You got the Compass! This tool shows you where to find objects hidden in this dungeon.
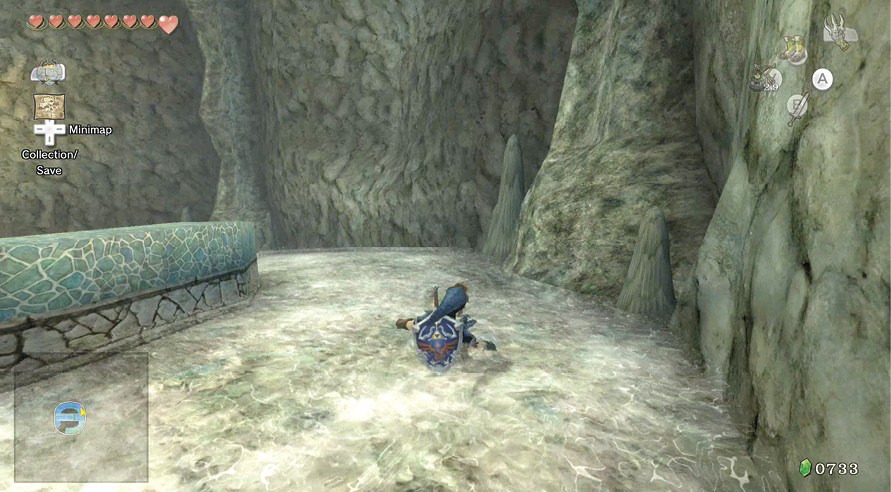
Drop off the ledge, then ride the chute to the hole, drop, and ride it the rest of the way to the lower level (2F). Swim across to the gold handle that opens the floodgate to the rest of the dungeon, and leap to activate it. Skullfish swim in this reservoir pit; use the Clawshot to catch them if you wish.
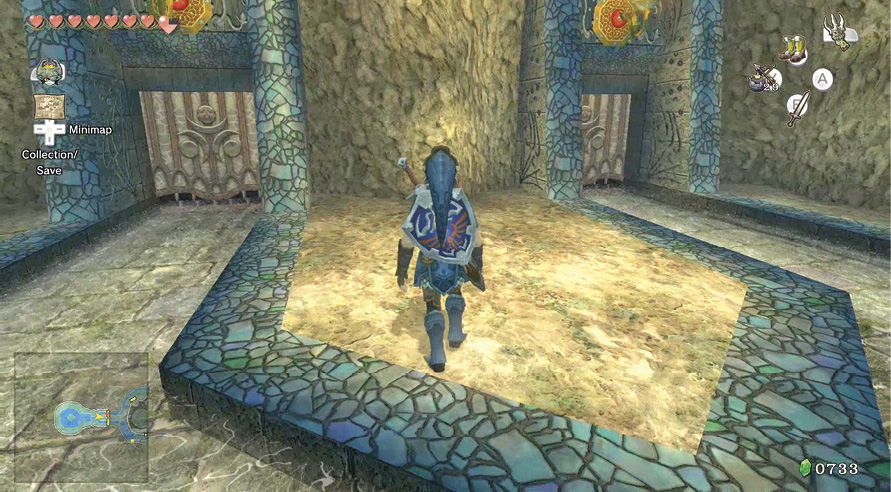
Exit this chamber by running to the entrance wall, using your Clawshot to reach the ceiling vines on the wall’s other side, dropping down (there’s no need to hand-over-hand on the vines if you aim farther than the wall), and then check the right exit, which you haven’t been through yet.
Missing Links
1. Pulverizing Pottery
The two pots outside the tower room aren’t the only pots you can disintegrate. Three pots on the chamber’s north side, near the waterspout, contain blue Rupees (5) and a Heart. Three crates in the alcove beyond that are empty. A pot in the reservoir pit yields a blue Rupee (5).