
The Legend of Zelda: Twilight Princess HD Guide Dungeon 2: Goron Mines
Task 8: Change the Fate of the Gorons: Fight Fyrus!
Chamber 15: Grand Volcanic Passage
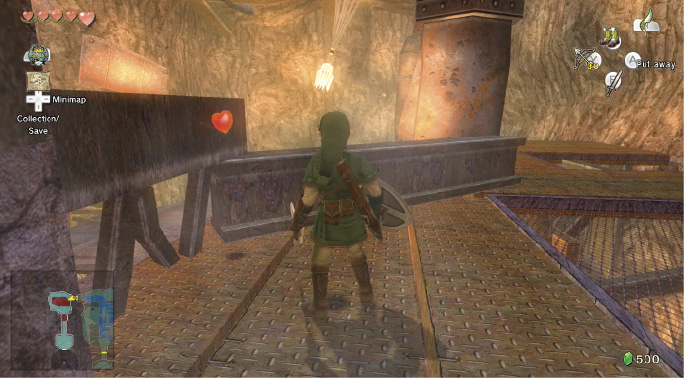
Stride into a lava pool with a metal ledge wrapping around it, and smash the pots as you enter. A Heart and arrows fall out, allowing you to use the Hero’s Bow. Aim, then hold ZL so you can move and aim.
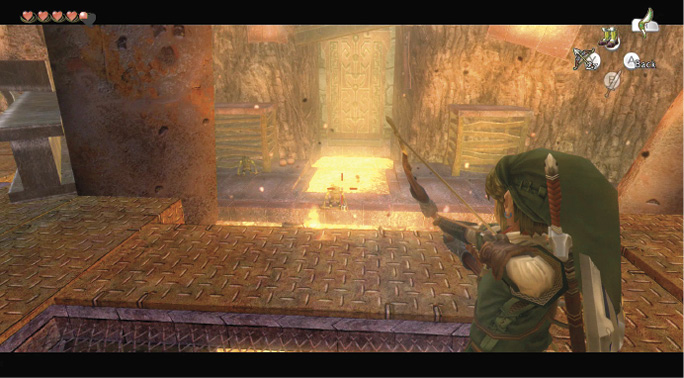
Begin a sniping session from behind the metal beam, and aim across the lava pool. Drop the Bulblins standing on a metal ledge to the right and the left of a giant drawbridge. Finish a third archer standing on a see-through metal grating floor, and two Bulblin warriors without ranged weaponry. You decimate the Bulblin force in moments using this plan!
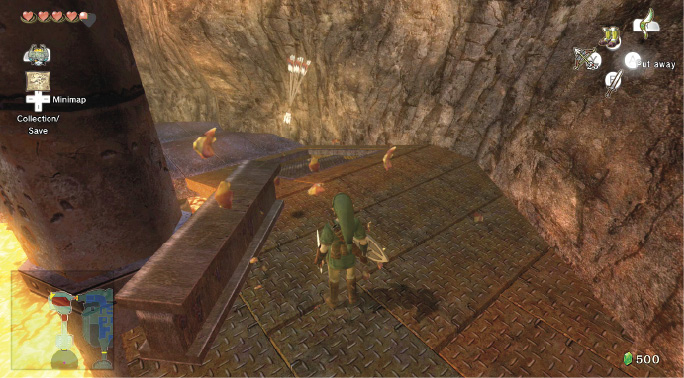
Run down the ramp, smashing pots on the way for more arrows and a Heart. Find more arrows in one of two pots just left of the drawbridge entrance. When you’re standing on the see-through metal grate floor, look south, and look up!
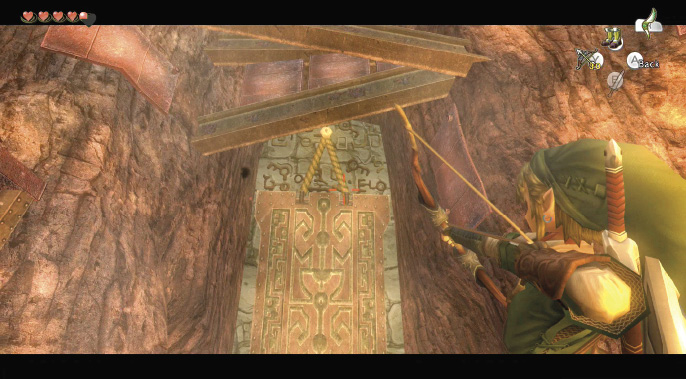
Pierce the rope with an arrow to drop the drawbridge, then adjust your aim as seven Bulblin solders trot toward you. It’s a trap! If you’re fast, you can rattle off arrows and catch them before they reach you. You can ZL target and run about them, plugging them with arrows! Or, switch to your trusty sword and slice your way out of this fix.
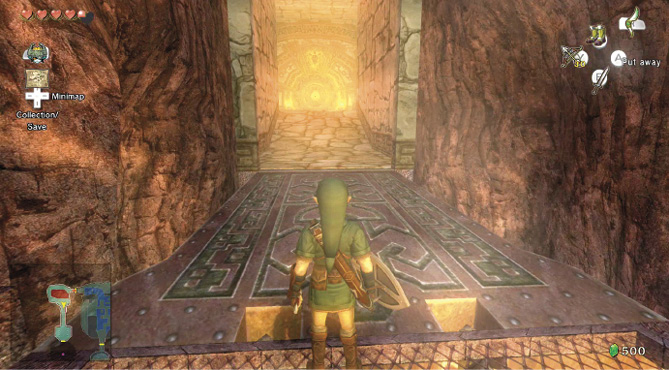
After you defeat the Bulblin welcoming committee, head up the passage to the giant door and produce the Big Key you assembled earlier. The lock spins apart and drops, and the door is shoved open. It’s time to face the possessed patriarch!
Missing Links
1. Pulverizing Pottery
There are four groups of pottery in this last grand entranceway, behind the columns. They yield a couple of Hearts and some arrows, so grab them before you engage the boss.
Chamber 16: Boss Battle!
Twilit Igniter: Fyrus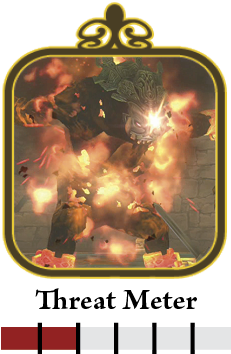
You enter a serene and green circular chamber, where you can hear some monstrously heavy breathing. Restrained by two huge chains is a black form. Only a tusk-shaped carapace head can be seen. A gem in the carapace glow. The beast awakens! 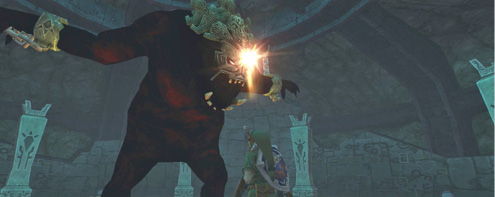
Roaring and growling, the monster struggles at the huge chains before bursting out of them and bellowing in rage at you. The previously dark form bursts into fire, with flames coursing up and down the massive figure. Fyrus, the twilit alter ego of Darbus, is here! 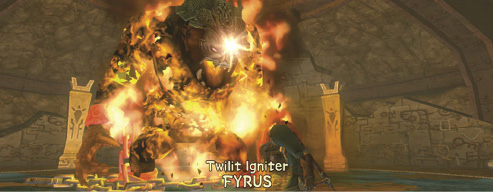
Step 1: Approach combat with Fyrus methodically, and use the Hero’s Bow almost exclusively. First, flee the beast as he strides forward toward you. When he stops, he lets out a fire wave that burns you and can destroy the pots surrounding the combat arena. 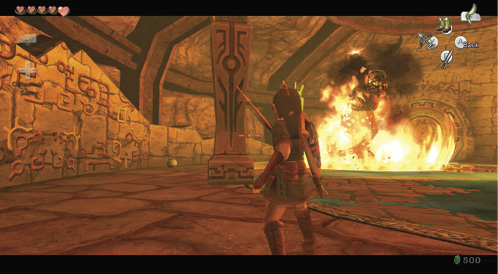
Step 2: Get far enough away, but face Fyrus, then aim one arrow into that brightly lit gem between his eyes. You can tell when you hit, as he reels back and the gem sparkles. 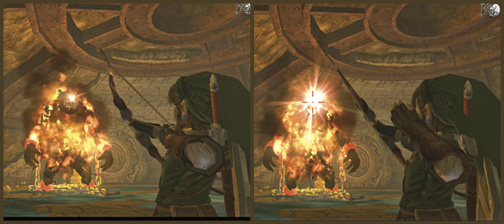
Step 3: While he’s stunned and stumbling about, run to Fyrus’s feet, and pick up one of the trailing chains with your hands. When you grab it, don your Iron Boots or he’ll toss you around. Pull back in the opposite direction. 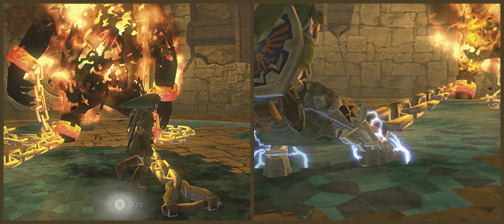
Step 4: Fyrus takes a tumble and falls onto the floor for a moment or two. Seize this chance! 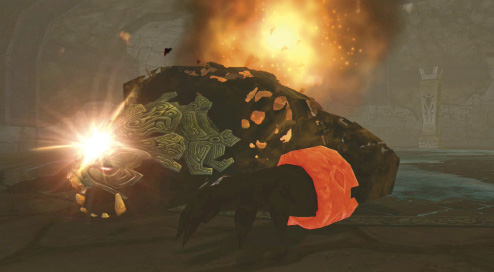
Step 5: Remove your boots, run around to the fallen Fyrus, and begin a sword combo targeted at the gem on his carapace head. Continue this until the beast rises to his feet. 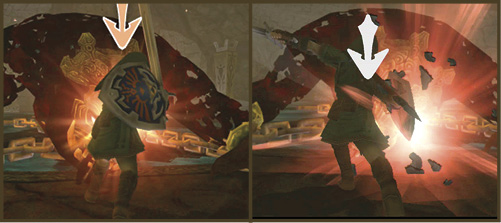
Rage and heat may be consuming this bellowing fellow, but he’s confused by ranged attacks on his twinkling weak spot. 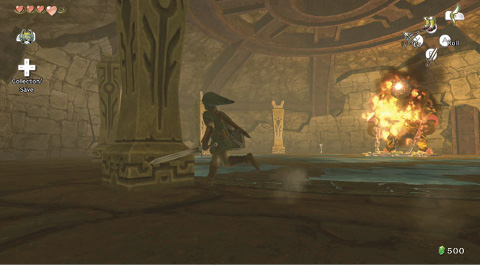
Step 6: To defeat Fyrus with extreme skill, watch him as he sets himself aflame, but have your Hero’s Bow already targeted at the gem weak spot. When Fyrus regains strength, the gem glows orange. This is the first opportunity to stick an arrow in there! 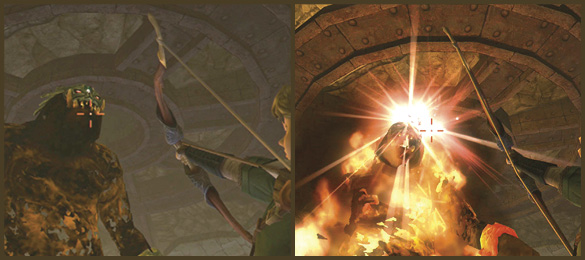
Repeat steps 3, 4, 5, and 6. If you’re quick with your arrow shooting, Fyrus can’t attack you! As long as you combo the gem with your sword as Fyrus lies on the ground, it takes three rounds to defeat him. 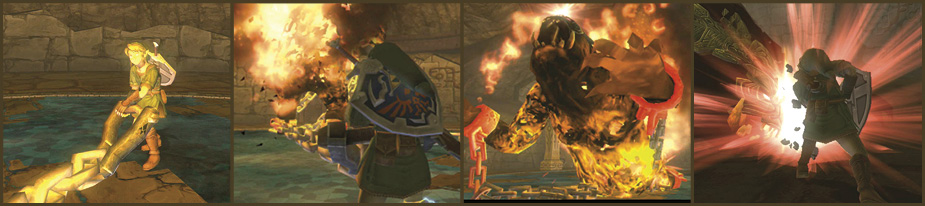
|
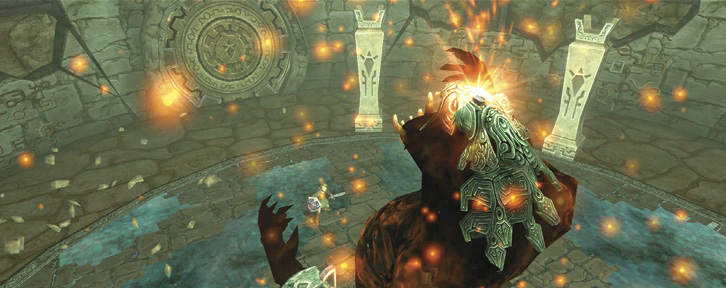
Fyrus staggers back after your third barrage of sword strikes. The gem on the carapace helmet glows before Fyrus explodes into shards of twilight, and a Heart Container falls at your feet!
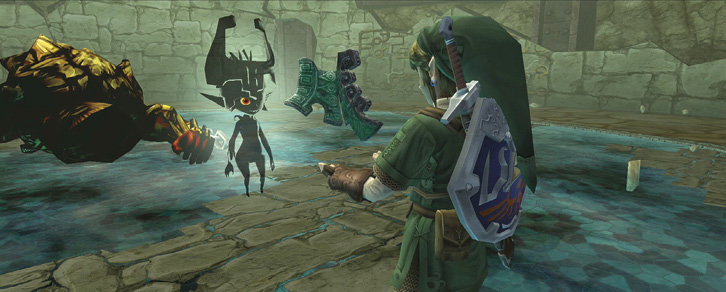
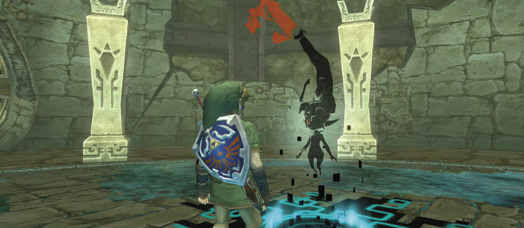
The Fused Shadow’s second part coalesces in front of you. On cue, Midna appears, and tells you a story. A King of Shadows named Zant has cast this pall of shadows over your world. Midna has nothing but scorn for him, much as she has for Princess Zelda.
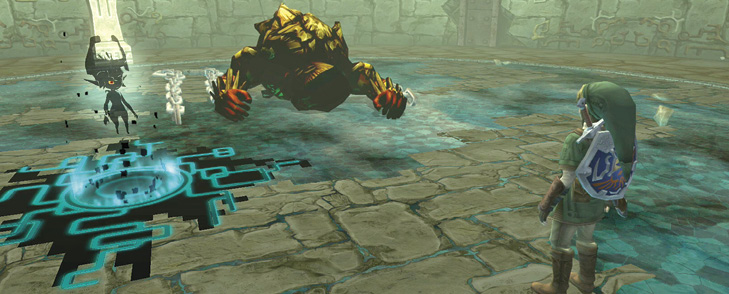
Two Fused Shadows have been collected. Midna forms a portal, as the last of the twilight drains from the defeated Fyrus, now changed to Darbus.
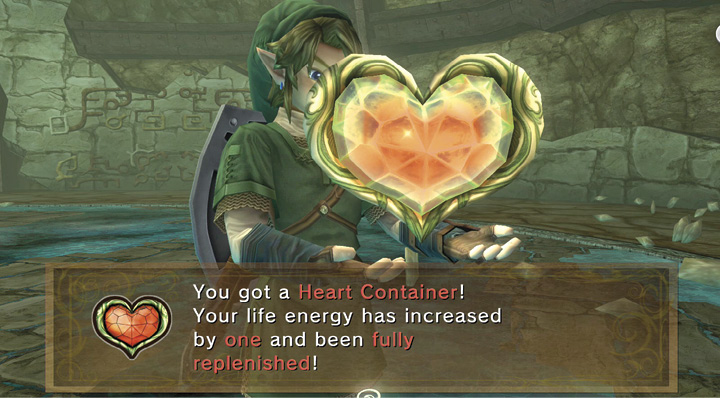
With combat over, inspect the arena chamber as there are pots full of Hearts and arrows to collect. Ignore them unless you need more arrows, and instead pick up the Heart Container! You’re now at six Hearts’ worth of energy.
 Heart Container
You got a Heart Container (#2 of 8)! Your life energy has increased by one and been fully replenished.
Before you warp out of here, move to the groggy Darbus, and speak to him. The Goron can’t remember anything, except that he’s been in constant pain and his head hurts. However, the patriarch has been saved, and you’ll gain your thanks if you revisit the top of Death Mountain.
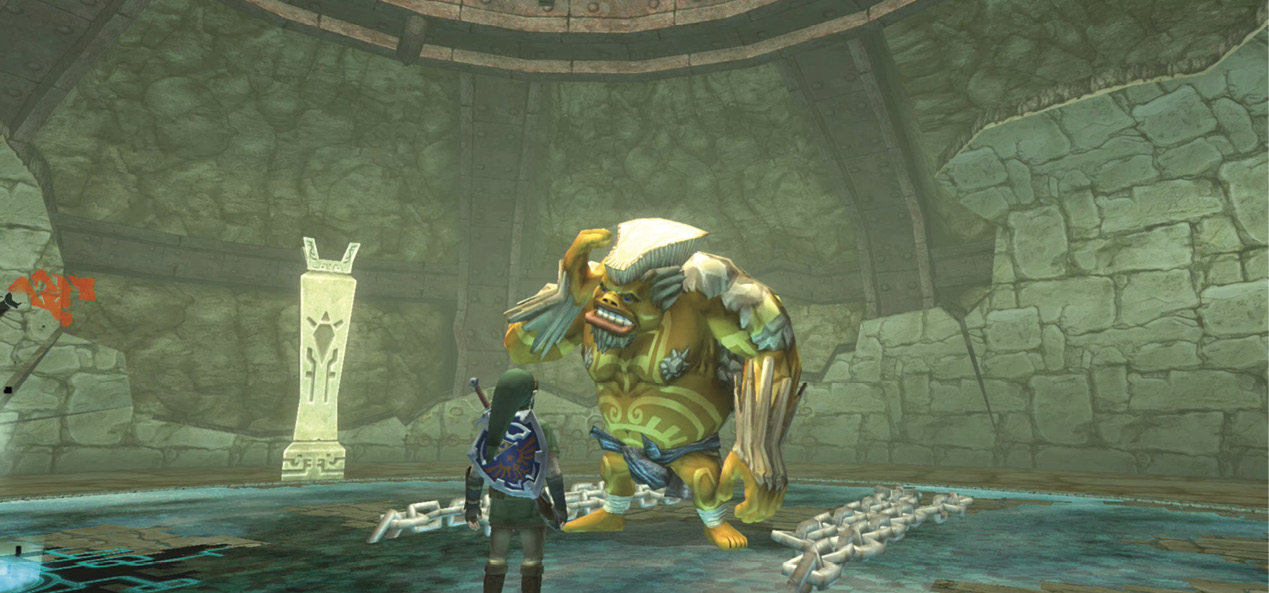
Darbus:
Leader of the loincloth-wearing rock creatures known as Gorons, Darbus is a towering and muscular figure. Although he has strength unimaginable to most humans, he is on friendly terms with the nearby villages and wishes to create a joint society with them. At least this was his goal until a king named Zant transformed him. Darbus is between 30 and 40 years old. |
After speaking with Darbus, use Midna to warp out of here and save your progress. You return to the Kakariko Springs. The spirit calls to you, telling you that north of here, past a great stone bridge, lies the lands guarded by the spirit Lanayru. You shall find the one you seek there.
The Final Dungeon Chest-Chamber 7: Second Return to Mine Loading Dock
|
You cannot retrieve this chest until you obtain the Clawshot! Also note that this is the only chest you cannot reach on the first playthrough of a dungeon; you can open all other chests in every other dungeon the first time you play. |
After you receive the Master Sword, return to Death Mountain (the exact time is shown later in this walkthrough). Locate the mesh draped over the upper platform in the Mine Loading Dock near the eastern exit, and defeat all Bulblins.
Clawshot your way up to the platform, scramble onto it, and run to the chest.
Treasure Chest #17:
Hylian Letter Stamp U