The Legend of Zelda: Twilight Princess HD Guide Dungeon 7: City in the Sky
Task 3: Defeat the Dynafols Duo
Chamber 4: First Return to Peahat Wind Gorge (West) (1F)
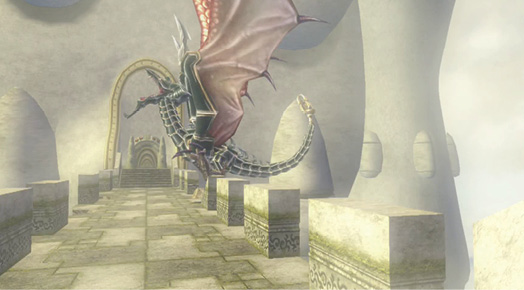
Cross the Wind Gorge bridge, rolling to quicken your pace so you don’t fall off. As you reach the opposite side, the great dragon you saw earlier swoops down, and collides with the bridge, sending pieces of stone flying!
Chamber 3: First Return to Central Fan Chamber (1F)
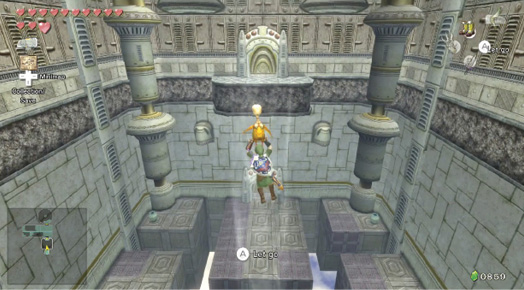
Enter the Central Fan Chamber, point your Clawshot up at one of the vine pillars, and let it loose to be pulled up there. Shimmy to the safe ground, drop, then plan your next move.
Chamber 3: Second Return to Central Fan Chamber (1F)
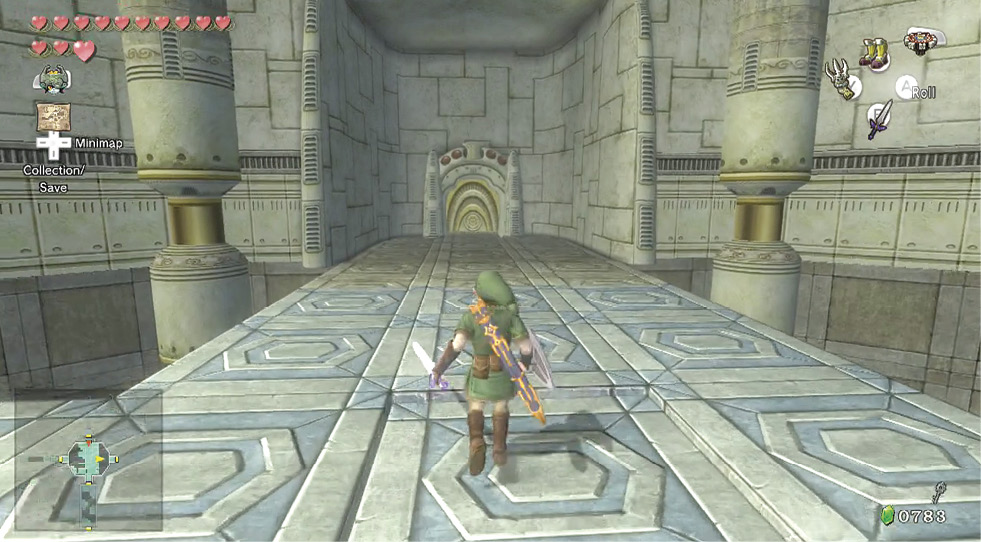
The only other possible way forward is to run east. Head down the steps, turn, and dash over the falling floor to the door in this side of the Central Fan Chamber, and open it.
Chamber 7: Central Sky Bridge (1F)
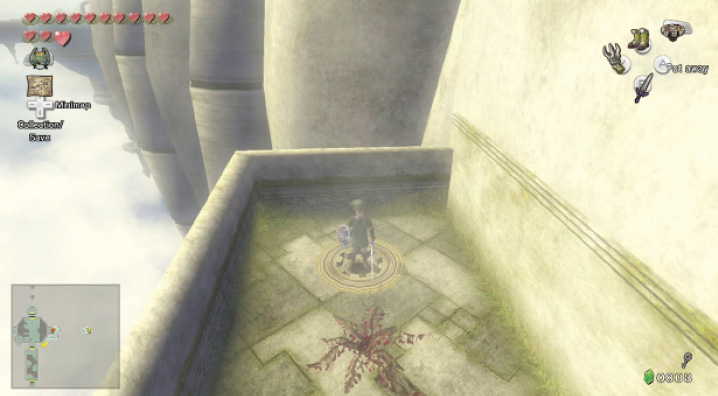
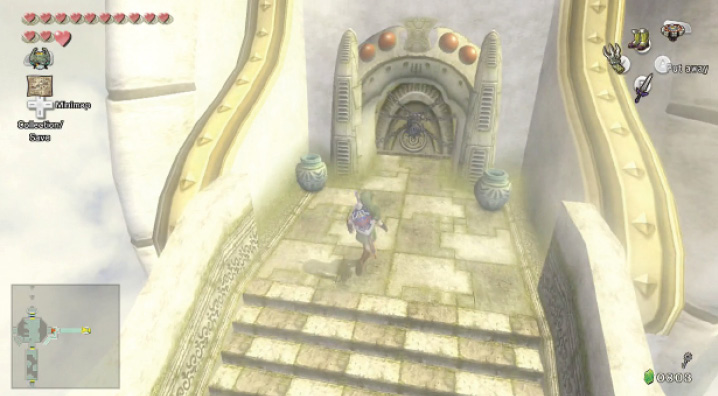
Step into a windy zone, with a large gap stretching ahead of you. Turn right, draw your sword, hack at Baba Serpents along a walled ledge until you reach the structure’s southern end. Clawshot up to smash the pots at the grated window, then use your Spinner, slot it into the groove, and press the Y button until a sky bridge extends to the eastern side.
Run along the ledge, and cross this newly formed bridge, rolling quickly after a jet of wind has subsided. As always, if the wind catches you, don the Iron Boots. At the far side, watch for a Kargorok or two sneaking up behind you. Shield bash them so they’re stunned, then finish them! Smash the two pots (there are Heart and arrows in them), and open the door.
Chamber 8: Wind Room (1F)
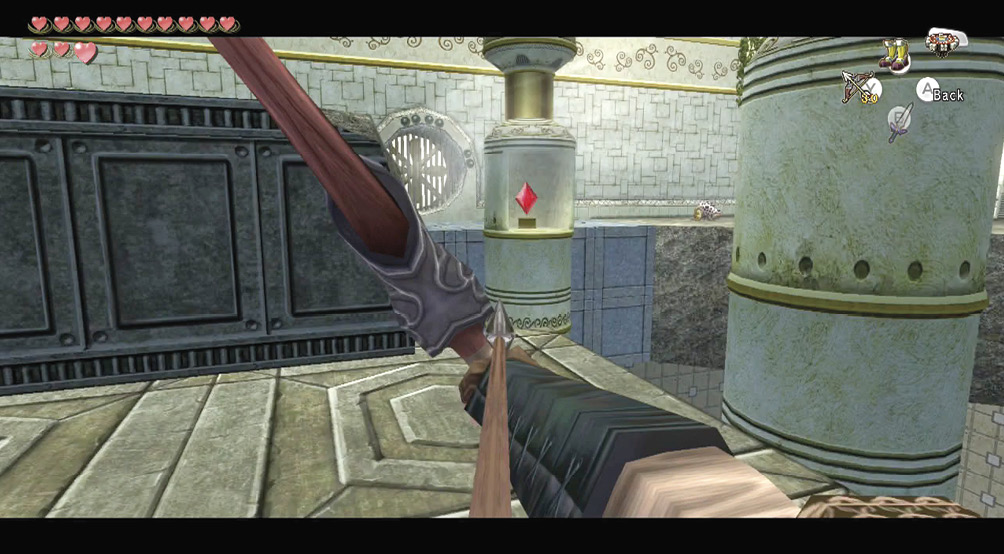
Enter a large, long corridor, and sidestep a couple of Helmasaurs that trot in toward you. Dispatch them with the usual vigor. Then head around to the room’s south side, and dispatch some pottery.
Move to the edge of the floor and look north. Two large fans are blowing a gale, but it’s the diamond switch that’s of real interest. Bring out your Clawshot and tag it. The far fan on the south wall, blowing wind north, shuts down.
Now run to the north side and face east. You must negotiate the two remaining wind fans. Start by running along the north wall. When you’re hit by the wind, switch to your Iron Boots, and plod through the gust.
|
Running into the gust far from the dangerous floor edge, then putting boots on as you’re caught, is the fastest way to negotiate this. Otherwise, you’ll be cautiously treading forward until you’re struck. |
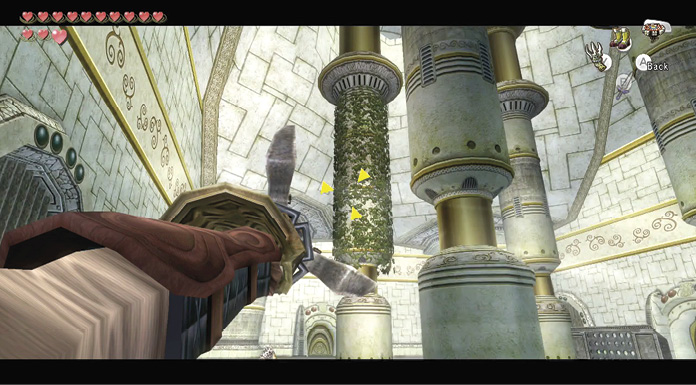
Once you’re past the first fan’s gusting breezes, take off your Iron Boots. This time bring out your Clawshot, aim at the vines on the pillar ahead, and land on them. Shimmy around to the left, and drop. Defeat the Helmasaur, then open the door to the east.
Chamber 9: The Great Wind Tower (East) (1F)
Enter the door into an enclosed ledge. Whack the pots to your left, collecting blue (5) and yellow (10) Rupees, then turn and open the chest in the opposite area. It contains your Dungeon Map.
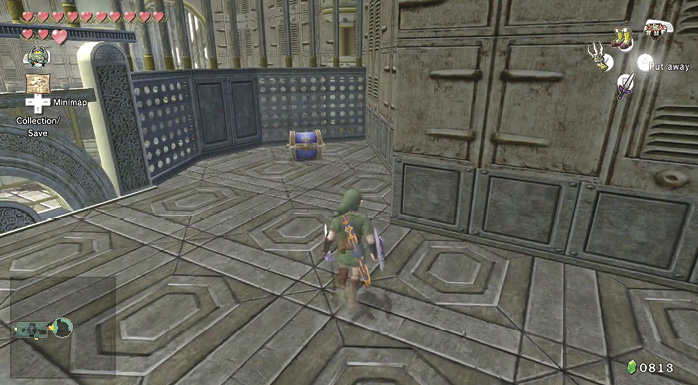
Treasure Chest #4:
Dungeon Map
 Dungeon Map
You got the Dungeon Map!
Chamber 8: First Return to Wind Room (1F)
Now return to the Wind Room, and run south, across the falling floor pieces, and turn right to reach the exit door. If the fan isn’t stopped, retrace your steps and activate the diamond switch. Smash the pots and leave via the south door.
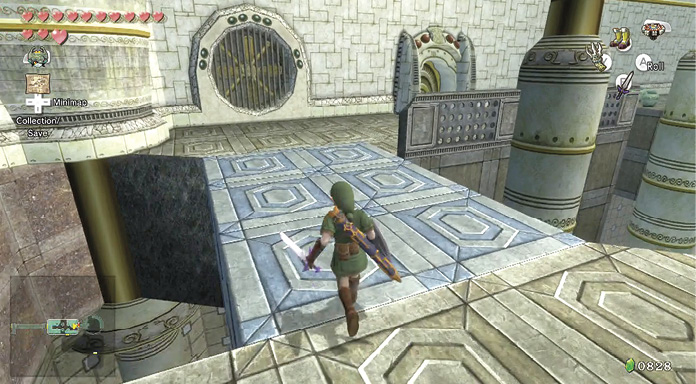
Chamber 10: The Floor Maze (1F)
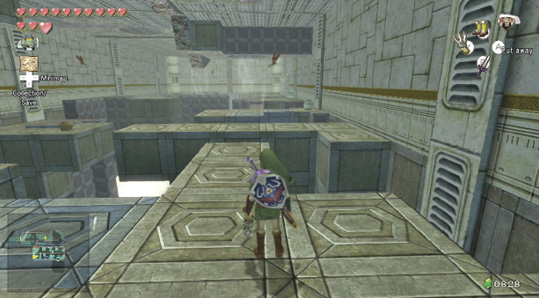
You enter a long chamber with numerous small floor sections interspersed with frightening drops into the clouds! Turn right and smash the pots with your Clawshot, then run and grab the Heart and arrows, so you don’t drop through the floor. Then run to the southwest corner, and turn to face east. Run to the edge of the jutting area of floor. Use your Hero’s Bow or Clawshot on a couple of Keese so they don’t bother you during this next maneuver. Wait for an updraft to subside, then leap the gap.
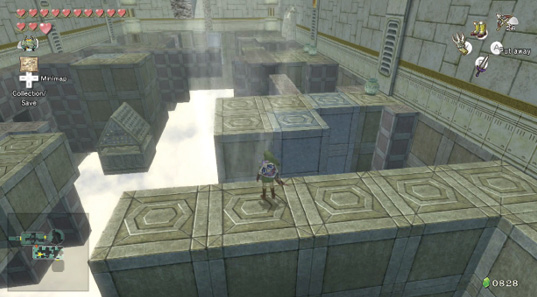
Ignore the chest on the chamber’s north side for the moment, and instead continue to face east and look across at this area of floor. Wait for the updraft to stop, and leap across to the gray, not the blue, floor!
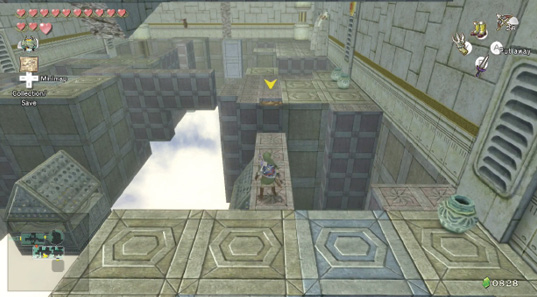
Head toward a dangerous Tile Worm at the end of the narrow floor tiles after you smash the pot on the south wall. This critter, coupled with the updraft, can spell doom if you don’t get rid of it. Bring out your Gale Boomerang and throw it, and the Tile Worm is bounced off and into the clouds. Wait for the updraft to stop, then run and leap across.
Smash the pots under the Clawshot medallion (used when you approach this room from the opposite direction). Now leap to the small, thin floor area running north to south. Turn and line yourself up exactly. You must land on the tiles opposite, and there’s little room for error!
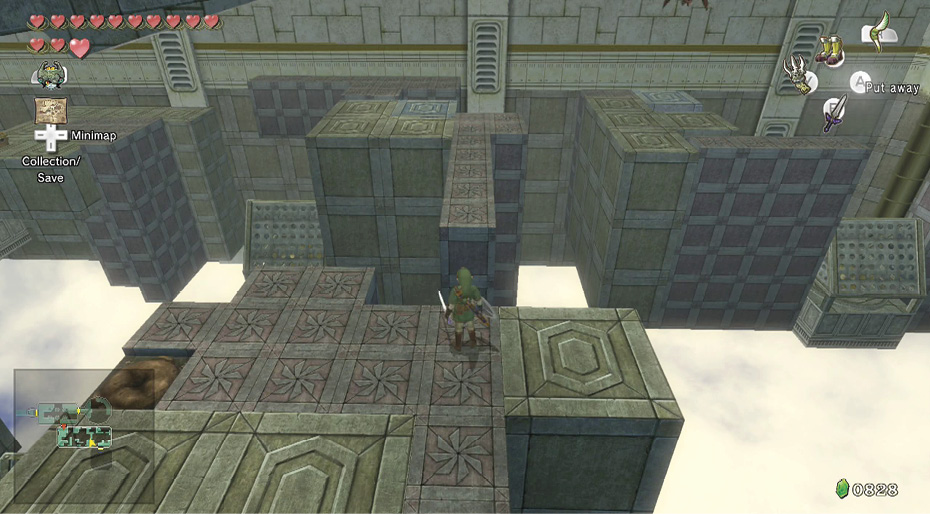
Once across, shoot, Clawshot, or slash a couple of Keese. Then turn east and look for the Tile Worm nudging the floor. Don’t step on it! Instead, use the Gale Boomerang. If the Tile Worm lands on the floor, slash it until it falls or is dispatched.
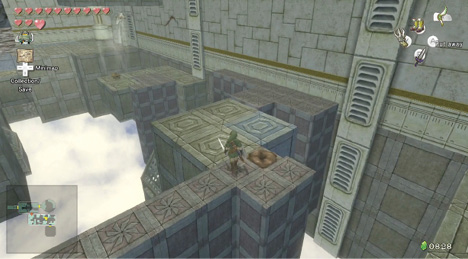
Treasure Chest: Run to the north wall, and turn west. Dash along the floor, and jump to the small chest. Then turn and face east. Despite appearances, you can leap to the narrow ledge. Now move to where you last fought a Tile Worm.
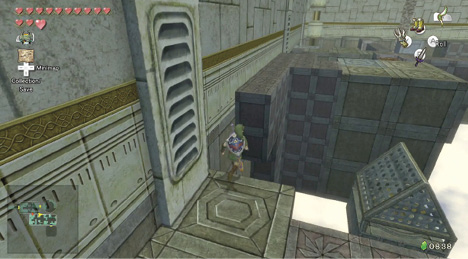
Leap eastward to the last dangerous part of this chamber, and target another Tile Worm on the ledge across from an updraft. Defeat it, then leap when the air is clear before turning right at the east wall, and jumping south, to the exit door.
Treasure Chest #5:
Yellow Rupee (10)
Chamber 11: Domain of the Dynalfos
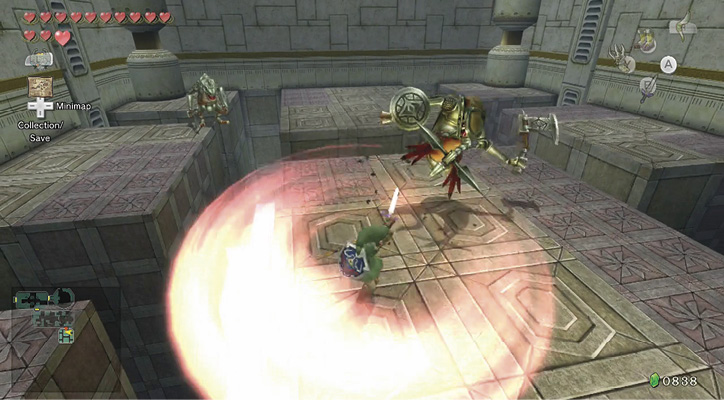
Be very wary as you enter this square chamber. It contains two well-armored Dynalfoses, like the ones you encountered during your excursion through the Temple of Time. You want to defeat them one at a time, so coax the first forward by striking it on the helmet from long range with your Clawshot. Then either counter it’s axe with a sword strike and spin or, even easier, take them down long range with Bomb Arrows!
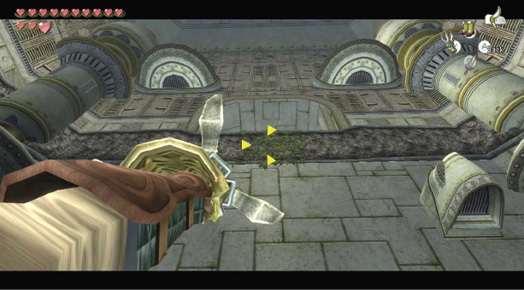
Now that the chamber is free from armored Dynalfoses, a door opens in the south wall, above you. Optionally smash the pots in the corners for Hearts, then move to the southern floor section, look up, and launch a Clawshot to this vine. Clamber up.
Author NoteIt pays to watch your cutscenes closely. After this battle, we didn’t realize that this alcove was opened, and spent the next few hours hopelessly lost. Don’t let this happen to you! |
Climb up to this ornate ledge, and smash some more Oocca pottery, then look up. There’s a bulb-like ornate handle, and you must shoot your Clawshot at it. Your weight activates an updraft in the room.
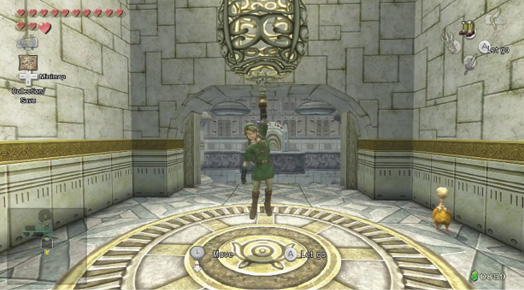
Take an Oocca, and walk to the edge of the ledge. The updraft turns on and off. Just as it turns on, run off and float directly to the wind. It causes you to rise up, and land on a ledge that you couldn’t reach before. Exit this chamber, now on the second floor.