
The Legend of Zelda: Twilight Princess HD Guide Dungeon 9: Hyrule Castle
Task 3: Exit to the Battlements
Chamber 1: Second Return to Southern Grounds (1F), to Chamber 5: Grand Chandelier Hallway (1F to 2F)
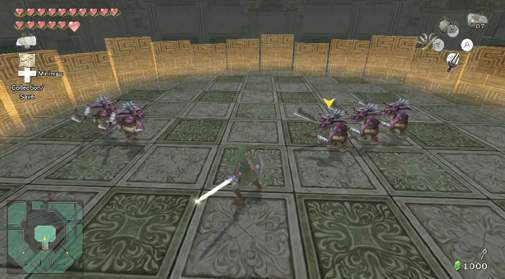
Return to the Southern Grounds, and use the first of your Small Keys to open the main castle door and enter a grand and massive chamber. There’s very little time to marvel at the chandeliers and ceiling structures as you’re set upon by a gang of Bokoblins! Bring the Master Sword out, and start a variety of your favored techniques. Spin attack the three Lizalfos who join in after you dispatch the first wave of Bokoblins.
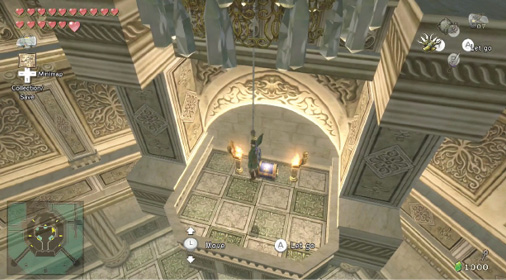
Treasure Chest: A treasure chest appears on a balcony to the northeast, so run north, smashing the pots here for a Heart, then turn and do the same under the northeastern balcony; there’s a Rupee and Heart in the pots here. A pot along the west wall holds a blue Rupee (5). When you’re done breaking pottery, climb up the small three-step staircase to the east. This gives you the height to Clawshot up to a chandelier, and dangle down, dropping to the chest. Inside is the Compass. When you’ve collected it, Clawshot across the chandeliers to the one above the north balcony, and land on it. Open the door.
Treasure Chest #9:
Compass
 Compass
You got the Compass
Chamber 6: Connecting Corridors (2F)
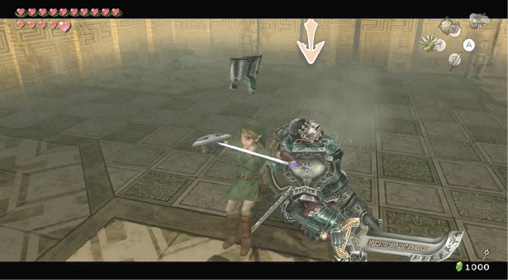
Prepare for a frantic battle, as a Darknut strides toward you in an enclosed combat arena! Don’t panic. Remember the technique you used in the Temple of Time: Wait for the Darknut to raise his weapon, leap back, then charge forward and strike, scraping his armor off in stages.
Once he’s down to his tunic, dodge the blade he throws, then roll around him and execute a back slice, ZL targeting constantly! A chest appears on a ledge to the north. Move over and scoop more oil from a bowl into your Lantern.
Missing Links
1. Ball and Chain Bashing
This chamber is surrounded by suits of armor, and they can be bashed if you bring out your Ball and Chain. Expect to find Hearts, a blue Rupee (5), and a Rat in them! Remember to bash all the armor in the Connecting Corridors, too!
 Oil
Oil
You got Oil in your Lantern!
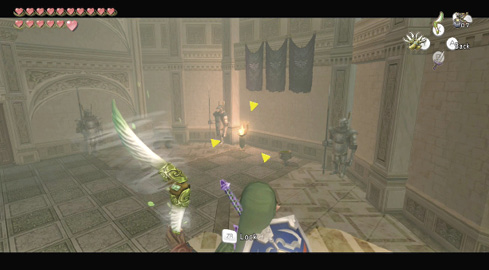
Treasure Chest: Now light the torches to raise three steps leading to the treasure chest. Unfortunately, once all three are lit, the staircase doesn’t ascend all the way to the ledge! Turn and target the torch on the western wall adjacent to the Lantern oil bowl. You must be standing on the upper stair (which is at ground level), and bring out your Gale Boomerang. Target the torch, snuff the fire, and the stair rises. The chest contains a purple Rupee (50).
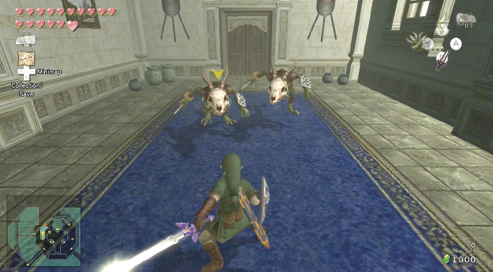
Head left from Treasure Chest #10 first, and investigate the corridor rooms to the west. Smash a pot for some arrows, then once through the door, run across the blue carpet and engage two Lizalfos with skull masks, making sure you pick them off one at a time and dodge their attacks. Use Bomb Arrows immediately if you don’t want to use your sword. Smash more pots in the chamber for Rupees.
Treasure Chest #10:
Purple Rupee (50)
|
For a lot of free arrows, try this trick: Smash the pot before you enter the blue carpeted chamber, and collect the arrows. Enter the chamber, then exit back into the initial corridor. The pot has reappeared! Smash it again for more arrows, and keep this up for as long as you want! |
The door to the south is still barred, and there seems no way through. Before you begin a fruitless search for keys or enemies, look at this painting of the castle, and turn into the wolf.
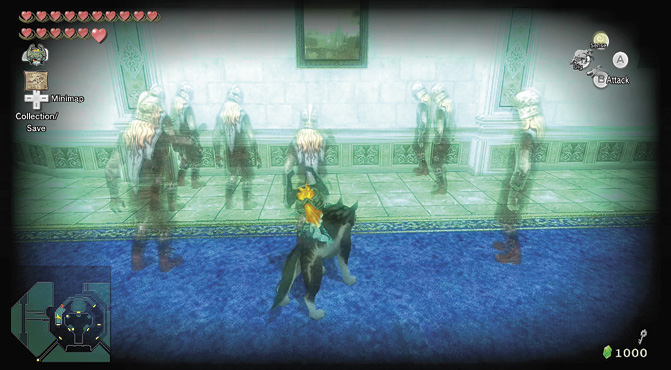
Switch on your sense view to see spirits pointing at the wall! Produce your Bomb Arrows, and fire at the painting. The door opens!
Enter this next chamber and strengthen your resolve. Two Darknuts guard this area! You must fight them both, but not at the same time. Edge down the side of the corridor, or fire a Bomb Arrow, and coax one of the Darknuts forward. Then engage him in battle at the north end of the corridor. The second Darknut remains stationary unless you head too far south, so don’t! Then attack the other Darknut, and once both are defeated, scour the pots for Hearts and Rupees. There’s a blue Rupee (5) in one of the armor suits, too!
Chamber 5: First Return to Grand Chandelier Hallway (2F), back to Chamber 6: First Return to Connecting Corridors (2F)
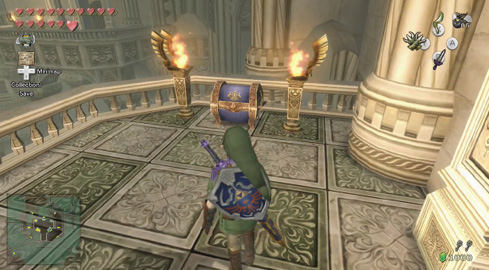
Treasure Chest: After you defeat the Darknut duo, the doors unseal, allowing you out onto the northeast interior balcony, where you can open a chest containing a purple Rupee (50). Turn and check the opposite side of the balcony to find a floor switch. Stand on it, and another chest appears, in the northwest balcony that’s too high to reach. Return to where you ransacked Treasure Chest #10 and check the other corridors.
Treasure Chest #11:
Purple Rupee (50)
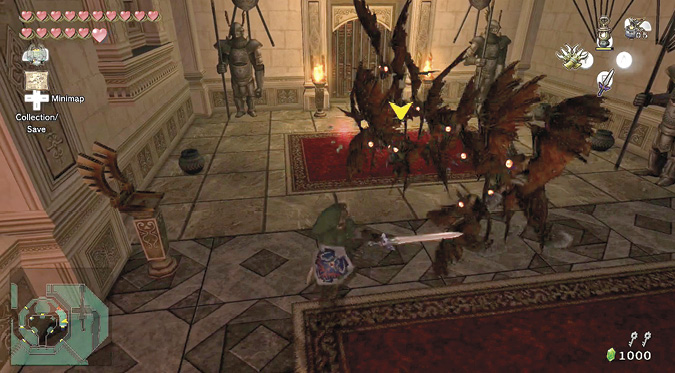
Head right from Treasure Chest #10, and you reach a corridor with four unlit torches at the south end. As you reach there and bring out your Lantern, you’re set upon by a large flock of Keese, so bring out the sword and wave it rapidly! Then inspect the torches. Through trial and error, you’ll realize they each take a different amount of time to go out. If you get all four lit at once, the locked door to the south opens. Here’s the order to light them:
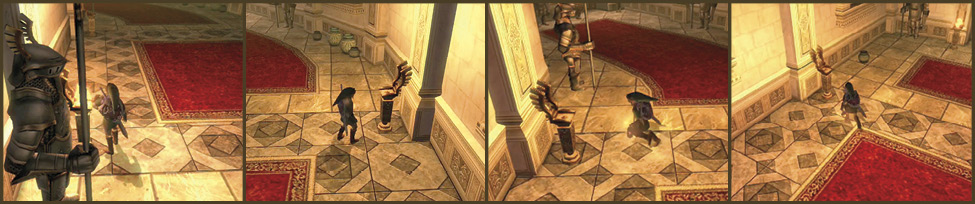
First torch: Southwest. Second torch: Northeast. Third torch: Northwest. Fourth torch: Southeast.
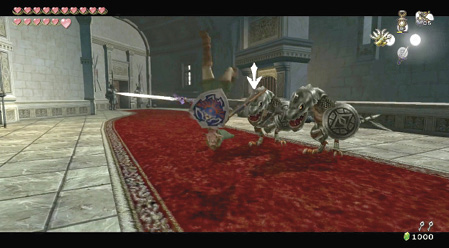
Head through the southern door. Prepare for a bruising battle against two armored Dynalfos! Remember your tactics of dodging around and striking them in the tail, then counterattacking after they swing their axes. The roll and back slice is an excellent technique, too! Smash some pots for Hearts in this room; you may need them!
Chamber 5: Second Return to Grand Chandelier Hallway (2F)
Now head through the northwestern door and stand on the floor switch. This lowers a chandelier and allows you to reach the chandelier in the northwest corner where you recently summoned a chest.
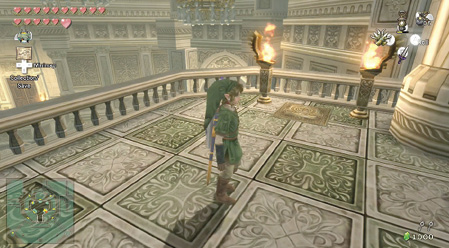
Treasure Chest: Now it’s time to claim what’s inside; you fought hard enough for it! Drop to the first floor and aim your Clawshot at the chandelier you just lowered. Propel yourself up and to a second chandelier until you’re above the northwest balcony. Drop down and claim the huge Rupee prize!
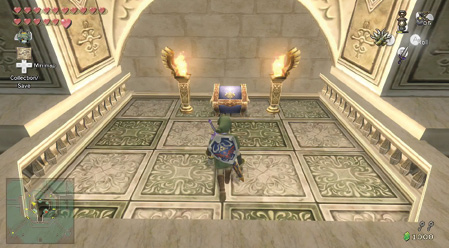
Treasure Chest #12:
Silver Rupee (200)
Chamber 5: Second Return to Connecting Corridors (3F), to Chamber 7: Castle Battlements (3F)
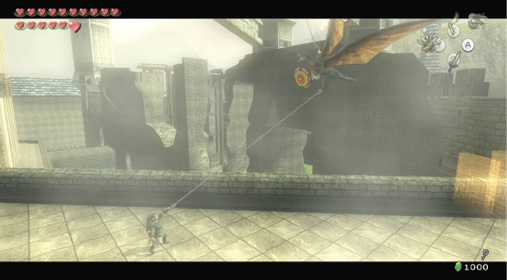
Head back to the Connecting Corridors via chandelier and Clawshot, and exit via the southeast corridor where you fought the Dynalfos. You emerge on the Castle Battlements! Head straight forward, toward a large tower at the outer edge of the grounds. An Aeralfos swoops in to intercept you. Remember your takedown technique from the City in the Sky. Wait until it hovers, Clawshot the shield after ZL targeting, then hammer him with your sword!
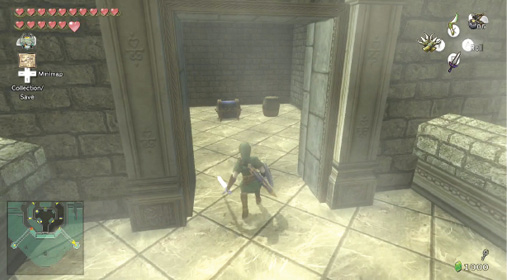
Treasure Chest #13:
Small Key
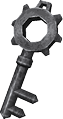 Small Key
You got a Small Key! This opens a locked door, but only in this area.
Treasure Chest: Once the Aeralfos has been defeated and the energy field lifts, run to the base of the tower, and claim the Small Key from the chest inside. Smash the blue Rupees (5) and Heart out of the barrel, then retrace your steps. Head west, to the middle of the battlements. There’s a door to the north, but head down the ramp to the other tower.
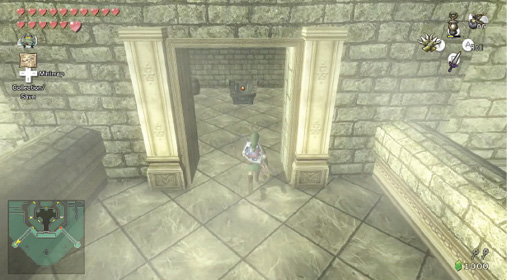
Treasure Chest: You wave at your companions, and they wave back. Rusl is carrying his hawk, and they’re all here to help. While they secure the grounds, you must fight to the top of the castle, and the chest ahead of you will get you there. Pry it open for the Big Key! Head back and up the exterior ramp to the locked door.
Treasure Chest #14:
Big Key
 Big Key
You got the Big Key! This opens a locked door, but only in this area.