The Legend of Zelda: Twilight Princess HD Guide Overworld: The Great Hylian Treasure Hunt
Task 5: Continue to Hunt for Treasure and Imp Poes Across the Land
The Great Hyrule (and Poe) Hunt: Lake Hylia and Lantern Cavern 2
Poe Soul #13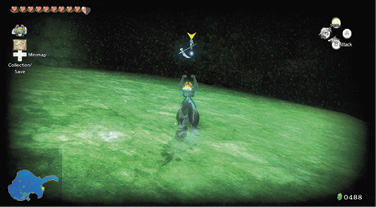 Once you’re in Lake Hylia, bound along the narrow grassy ledge on the far eastern side; a floating lamp tells you the location of the next Imp Poe. He’s near some previously explored dig spots. Defeat him, and add that soul to your collection.
|
 Poe Soul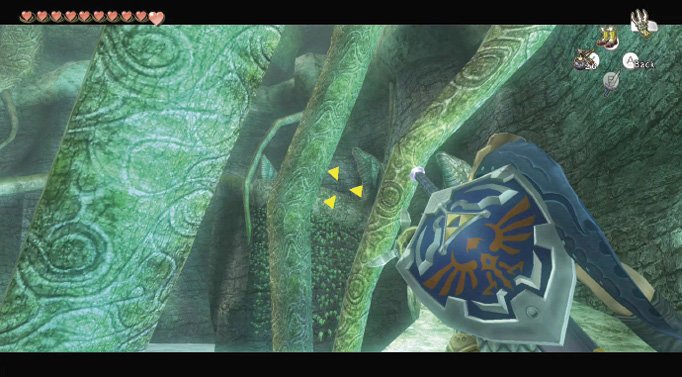
Continue to hunt Poes, but when an opportunity presents itself (as dawn breaks, for example, and you can’t hunt any more Poes) head into the Spirit Cave, and swim across to the western area. Produce your Clawshot, and propel yourself up to the top of this vine wall. This leads to an unexplored ledge. There’s a circular door here; open it.
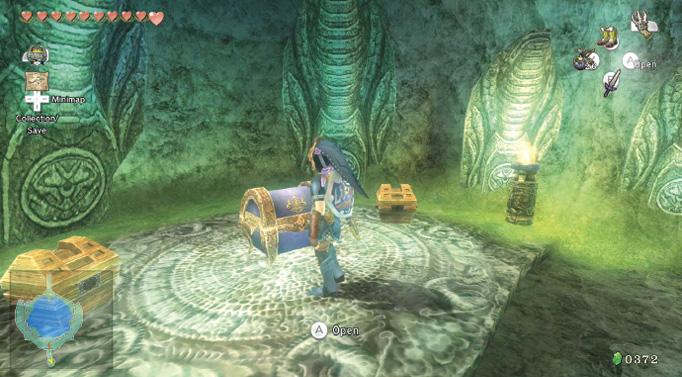
This leads to a small passage and dead end, but there are a couple of chests. They hold small treasures. Produce your Lantern, and light both the unlit torches here. A chest now magically appears, and this one has the real prize; another Piece of Heart!
Overworld Chest #52:
Bombs(5)
Overworld Chest #53:
Blue Rupee (5)
Overworld Chest #54:
Piece of Heart #23
 Piece of Heart
You got a Piece of Heart! Collect two more for another full Heart Container. Piece of Heart #23 of 45.
Poe Soul #14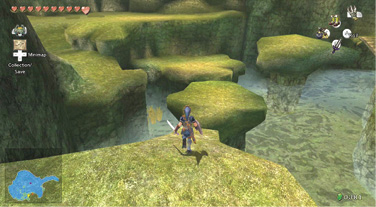 Continue your Lake Hylia Poe hunt and head to the series of small island platforms in the southern area. Jump across at this point, and then head up and around the rise where you found a Twilit Parasite on a previous search. Engage this Poe and chew on that soul!
|
Poe Soul #15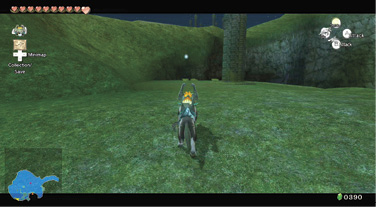 The next ghostly Imp Poe foe is floating around the long tower in the southwestern part of the lake. Head up the ladder, and onto the grass, then fight him for his soul.
|
Hidden SkillHowling for the White Wolf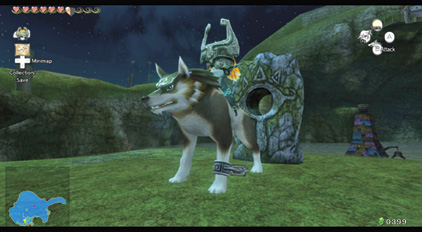 Before you continue, investigate that strange ceremonial stone on the rocky promontory overlooking Fyer’s cannon hut. Listen, and the wind whistles a tune through the hole in the rock. Watch the tune, then replicate it. The pitch is as follows: Low (hold), Middle (hold), High (hold), Low (long hold), Low (hold), High (hold). Use up to howl high and down to howl low on your Left Analog Stick. For mid-range howling, don’t move the stick. 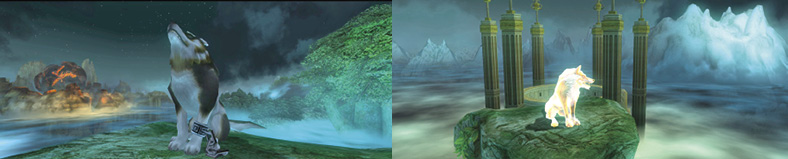 The White Wolf appears at the end of a leafy edge, near a huge, sand-filled stadium temple. You howl the tune again, and both of you continue to yelp. When you finish, the White Wolf tells you “Let teachings of old pass to you….”
|
The time has come to revisit the dreaded Lantern Cavern II. This time you’re hunting Imp Poes! Optionally catch the Fairy from the crate in the tiny pond near the entrance, then start your search! But first, inspect an area of ground in front of the Lantern Cavern entrance:
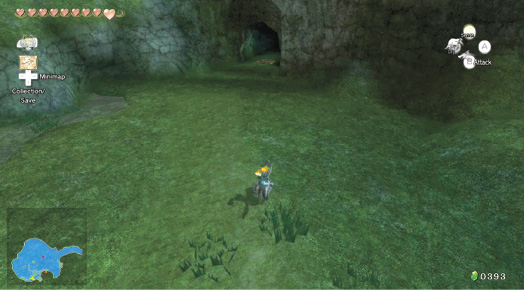
Dig Cavern #5There’s a circle of grass near the entrance to Lantern Cavern II, so search around and dig in. Once inside another Dig Cavern, change to Link and shoot the Water Toadpoli in the pool below. Keep this up until you defeat them all; if you don’t have Bomb Arrows, bouncing their spittle back at them works almost as well. 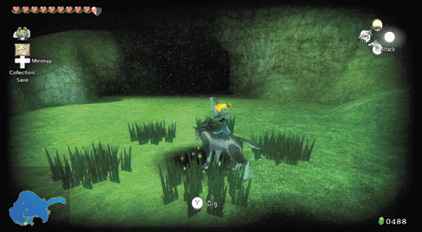 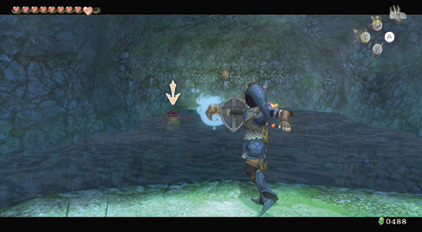 When you finish off your final Toadpoli, a chest appears with the S Hylian Letter Stamp inside. Fish here if you wish (you can catch all manner of junk), then leave after opening the chest. Overworld Chest #55:Hylian Letter Stamp S |
Poe Soul #16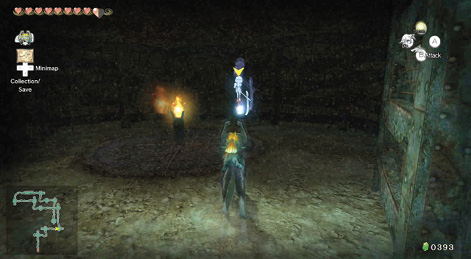 The first Lantern Cavern Poe is floating about in the southeastern junction, just after you battle past the Torch Slugs on the ceiling. Let your senses guide you, and take the Imp Poe out inside the junction itself.
|
Poe Soul #17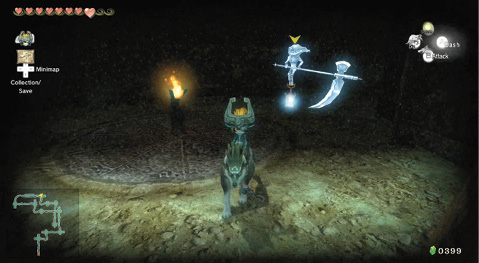 The second Lantern Cavern II Imp Poe is lurking in the very northern part of this maze. Simply follow the path and dispatch other beasts as you go before arriving at this junction. Put your Lantern away, then snuff your Poe foe!
|
Poe Soul #18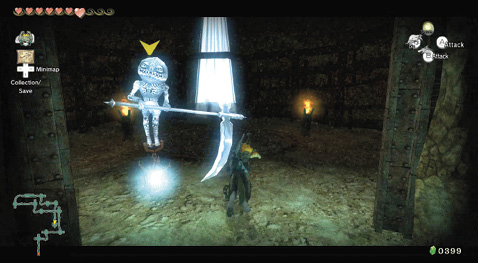 The final Imp Poe is, as you’d expect, in the very last chamber of this cavern system! Be incredibly careful negotiating the planks, and then bound into the final junction, defeat the Poe, and leave via the light pouring onto the stone platform.
|
Author NoteBe very careful when you reach this final chamber in Lantern Cavern II! The sheer drops and inky blackness mean a Lantern and extra oil are a must! We trekked all the way to this location, fell into the bottomless pit (meaning we had to begin from the entrance!), trekked all the way here a second time, fell into the bottomless pit again, and then stopped playing and started whimpering. Don’t let that be you! |
|
Are you entering the Lantern Cavern II for the first time? Then be sure you:
|
It’s free to play Plumm’s game, but you need to call a Carrier Kargarok to begin. Move over to the patch of Hawk Grass that grows from the ground near Plumm, then press the A button to begin howling a tune. Howl four notes in the following pitch sequence: High, Low, High, Low.
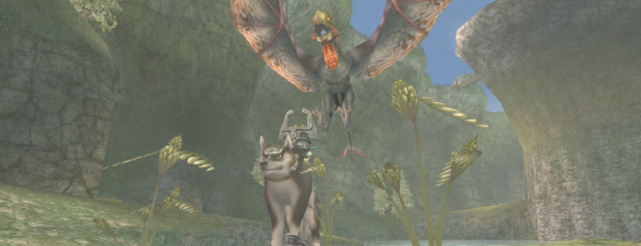
A huge Carrier Kargarok swoops down and snatches you up. It carries you off toward Zora’s River, where Plumm’s “Fruit-Pop-Flight” minigame takes place. Check out the “Fruit-Pop-Flight Minigame” sidebar.
|
Plumm won’t speak to humans, so make sure you’re in wolf form if you want to play her game. |
Lake Hylia: Plumm’s Fruit-Pop-Flight Attraction
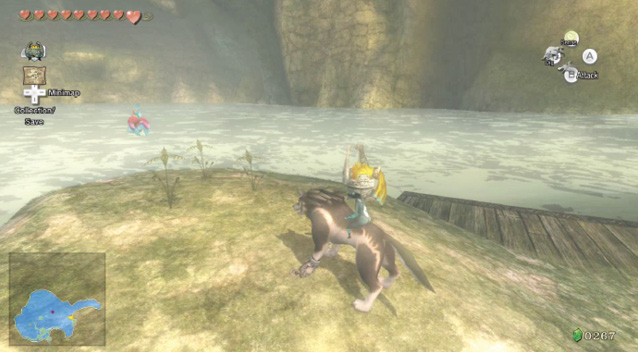
Once you’ve acquired the ability to transform into a wolf at any time, you can play a minigame for valuable prizes! In wolf form, visit Plumm, a small, talking myna bird that hovers above a tiny island just south of Fyer’s cannon. Plumm hypes her “Fruit-Pop-Flight” and gives you a quick rundown of the rules.
|
If you run into a wall or any other solid object, the Carrier Kargarok drops you and you must try again. |
Fruit-Pop-Flight MinigameThis is one of the few minigames you can play for free, so don’t feel bad if it takes you awhile to get the hang of it. 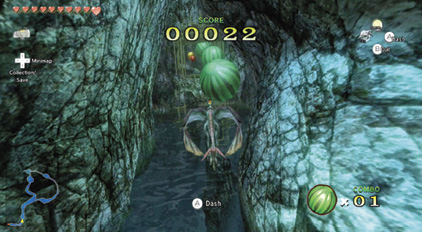 The rules to this minigame are simple: steer the Carrier Kargarok through the chasm along Zora’s River, popping the giant fruit balloons you see by flying into them. Each type of fruit is worth a certain number of points, and when you pop two of the same type in a row, your score doubles! This multiplier is cumulative (to a maximum of 10 times), so when you keep popping the same type of fruit, your score quickly skyrockets!
The challenge of this minigame lies in adjusting to how slow the Carrier Kargarok is at responding to your commands. This giant bird can’t make sharp turns at a moment’s notice, so you’ve got to look ahead and plan out your flight pattern, making each move in preparation for the next. You won’t have much luck at this minigame until you learn to steer the Carrier Kargarok properly!
The secret to attaining high scores from this challenge lies in going after the strawberries. They’re worth the most points when popped, and if you just keep popping them, the score multiplier soon reaches insanely high levels! Pop all the fruit you can until you see the first strawberry, then stick with those sweet, sweet berries from that point on. The Berry Best Route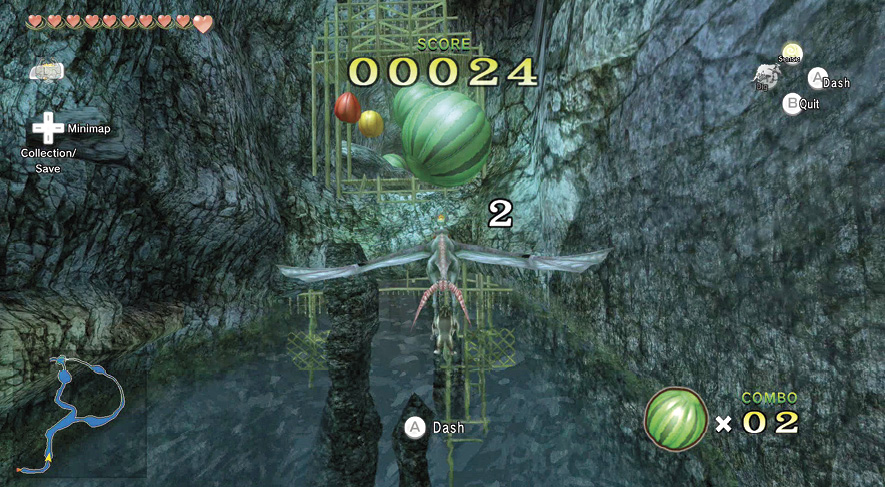 The first strawberry balloon hovers just to the left of the second watermelon. Fly past and pop the strawberry without touching the watermelon. 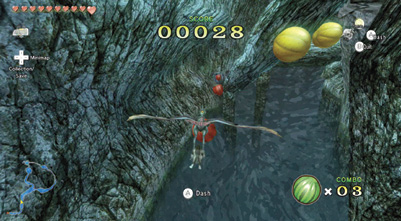 Soar past the wooden scaffolding and then dip downward toward the next string of strawberries. Nab all four strawberries in the row, banking right to grab the final one at the end of the string. 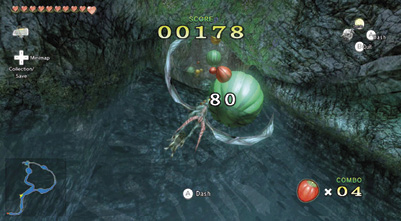 The next strawberry is positioned very near to a giant watermelon. This is a tricky one, because if you pop the watermelon, your strawberry combo is shot! It’s not necessary to grab this strawberry, so don’t go for it if your approach isn’t strong. Instead, focus on nabbing the easier-to-pop strawberry that’s just ahead. 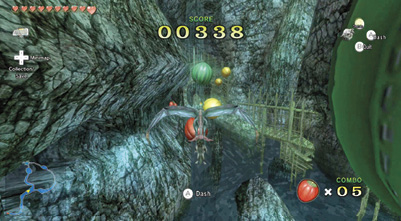 Keep to the left and avoid the giant watermelons as you approach the fork in the river. Pop the strawberry balloon near the left wall, then line up for the next row of strawberries, which hover inside a small tunnel in the left wall. 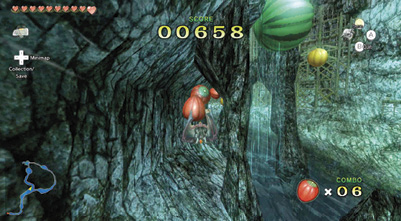 This is a dangerous row of strawberries, but with practice it’s possible to get all three. Line up your approach carefully so you’re heading straight through the middle of the tunnel, then press the A button at the last second to execute a high-speed dash! Zip through the tunnel, popping all three strawberry balloons in the process. 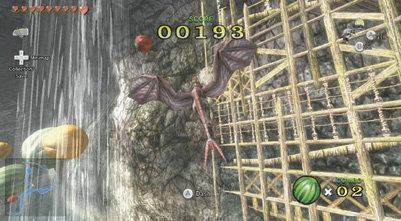 Pull up as soon as you exit the tunnel and drift toward the right wall. Spy a sneakily positioned strawberry way up high and pop it, then begin a steep descent. 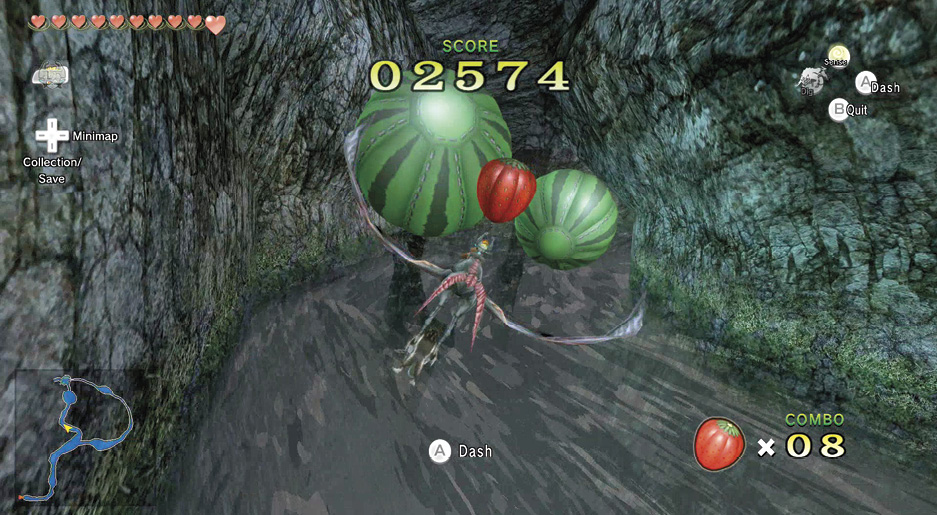 Skim the surface of the water as you go for this strawberry to avoid the giant watermelons that hover just above it. Quickly steer left and then right to avoid the second watermelon, keeping to the center of the river so you don’t accidentally hit the rock pillar or the orange balloon to the left. 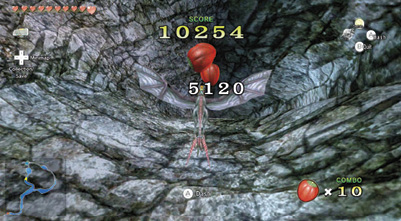 After slipping between the watermelon and the rock pillar, pull up to fly over a massive rock, nabbing four strawberries as you soar above it. Your score should be well over 10,000 points by now! 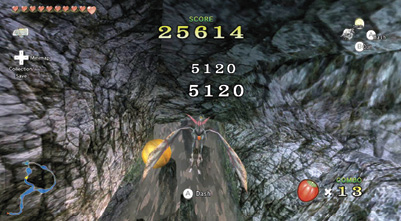 The tunnel narrows drastically after you grab the fourth strawberry in the chain. Make a sharp decent and fly close to the water to enter the mouth of the narrow, keeping to the right to avoid popping the orange balloon to the left.
Pop the strawberry on the right side of the narrow, then do your best to nab the strawberry that follows without popping the watermelon. Go after the final strawberry that’s just ahead to finish with a score to boast about! 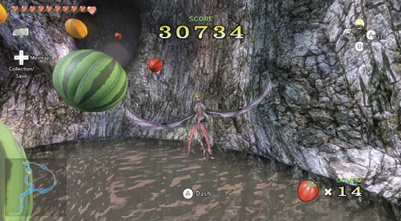 If you score 10,000 points or more, Plumm is overwhelmed by your balloon-popping skills. She graciously gives you Piece of Heart #24 as a reward. Nice flying, ace! 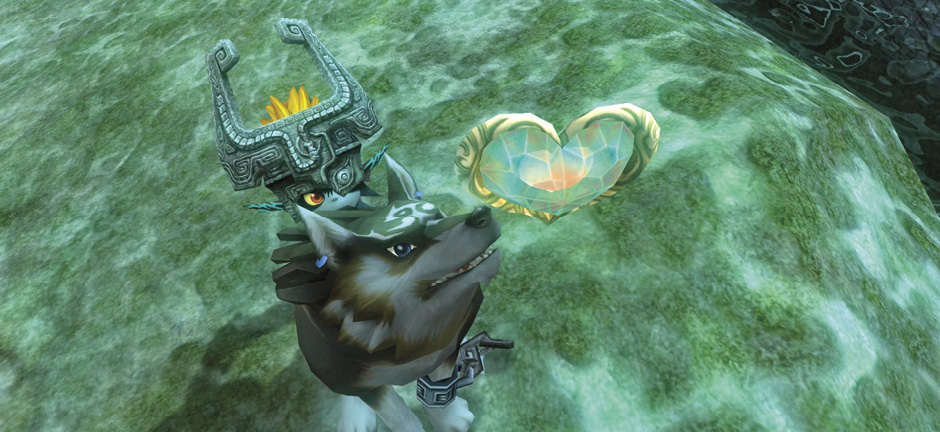
|
 Piece of Heart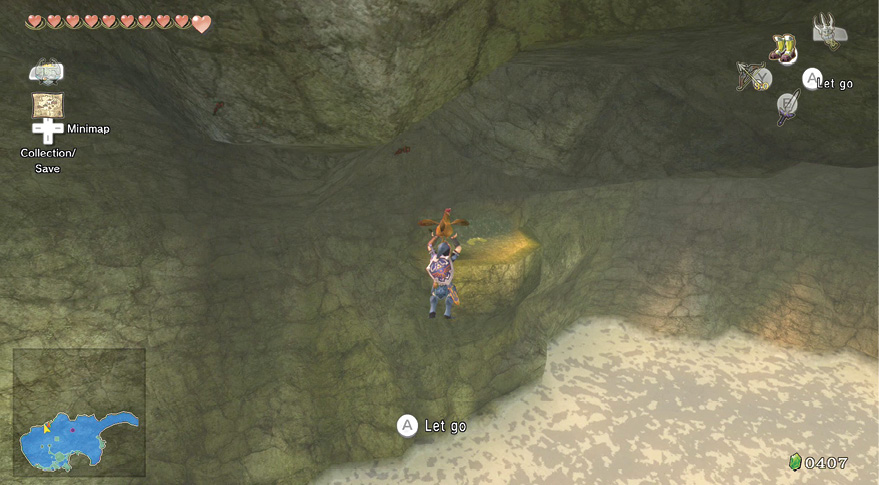
There are still more Poes to face in this area, and one is hidden in a most cunning spot: a ledge directly under Falbi’s Flight-by-Fowl building. Use the cannon in Fyer’s hut to reach Falbi, pay your 20 Rupees, grab your Cucco, and launch. Turn 180 degrees around so you’re facing north, and steer your Cucco to this lonely ledge.
Poe Soul #19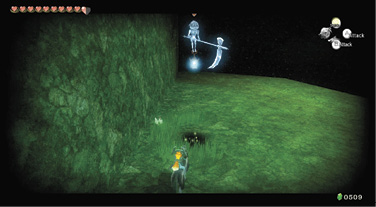 Steer your squirming Cucco onto the ledge and drop to the grass below. Immediately change to your wolf form, flick your sense view on, and defeat the Poe here. Don’t leap too enthusiastically; you don’t want to drop off the ledge!
|
Dig Cavern #6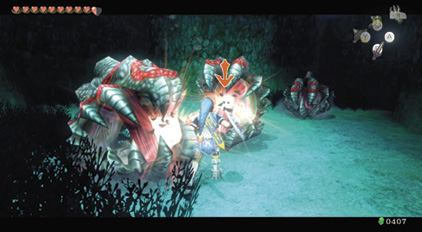 Your crazy ledge antics don’t end there, either! Inspect the grassy circle for a dig spot, and scrabble down into a dark dig cavern. Change to human form, put on your Zora Armor, place your Iron Boots on your feet, and dive into the murky water. Four nasty Shell Blades are lurking down here. Defeat them all with horizontal slices. 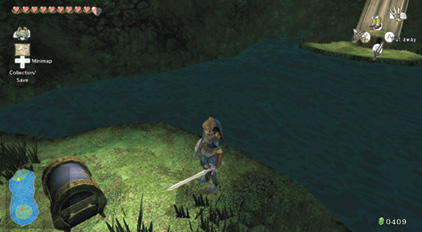 When you’ve sliced the final Shell Blade, a chest appears on the opposite island. Head up here, optionally smash a few pots and cut grass for Rupees and Hearts, and then open the chest for a real prize! Now head out of the cavern and fly or drop down into Lake Hylia, or warp. Overworld Chest #56:Orange Rupee (100) |
Poe Soul #20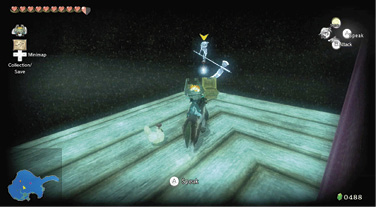 It’s time to claim your 20th Poe! This one is floating on the “Isle of Riches” platform. That means you could wait until this moment, and complete the Flight-by-Fowl minigame for all items (including the Poe) on the isle. Whatever your decision, an easy way to reach the Poe is to fly above the isle, then plummet down with your Iron Boots. Defeat the Poe as usual.
|
|
Congratulations! You’ve collected the souls of 20 Imp Poes! You can now return to Jovani at any time to claim your prize. The walkthrough mentions the optimal time to try this. |
Missing Links
1. Splendor in the Grass
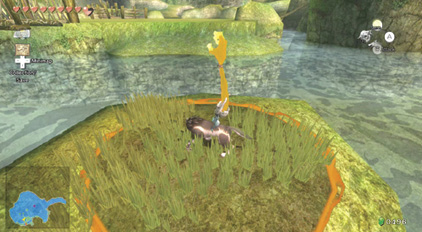
You may not have spotted this tiny island near the jetty to Fyer’s hut, but you should cut the grass here for Rupees and Hearts. There’s a Rupee dig spot here, too!
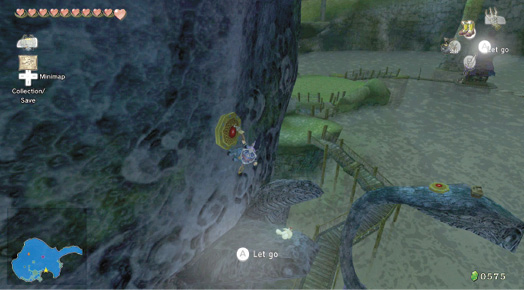
If you haven’t already, take the time to Clawshot up to the ledges and ornate overhang of the Spirit Cave, where the two chests (#27 with purple Rupee, and #28 with orange Rupee) can be secured with your new weapon. The real adventurers would have flown here earlier, as the walkthrough mentions!
The final area you can explore again is the massive southwestern tower, which you can optionally climb. You meet an old man named Auru (who you spotted in the bar when you balanced across the rope as a wolf). He reckons this tower is part of the plague of evil, and a visit to the Gerudo Mesa is in order. Don’t agree yet; visit Telma first!
The Great Hyrule (and Poe) Hunt: Great Hylian Bridge Area
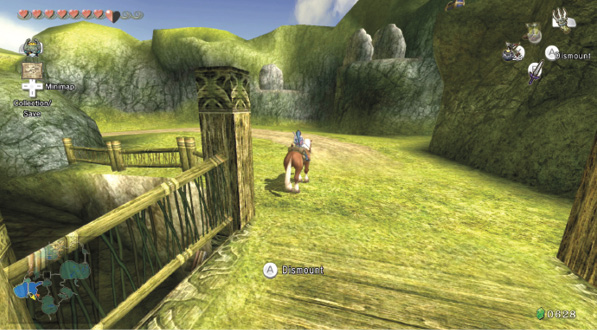
Now ride south, toward Faron Province, passing under the giant tree roots, and crossing the small wooden bridge. Stop Epona at this point, and scan the right wall, where there’s a Bomb Rock to explode. Behind it is a Clawshot medallion. Propel to it, turn and look across the gap in the rock wall, and Bomb Arrow a second rock.
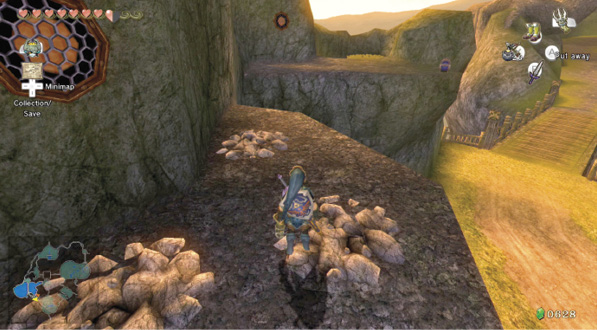
There’s a Clawshot medallion here, too. Propel across again, and then once more to another medallion on a small ledge overlooking the wooden bridge.
Poe Soul #21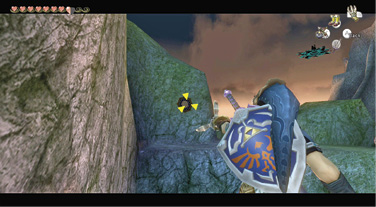 Use the Clawshot to reach this ledge, and then immediately transform into a wolf. Remove a Poe up here and add him to your collection of souls.
|
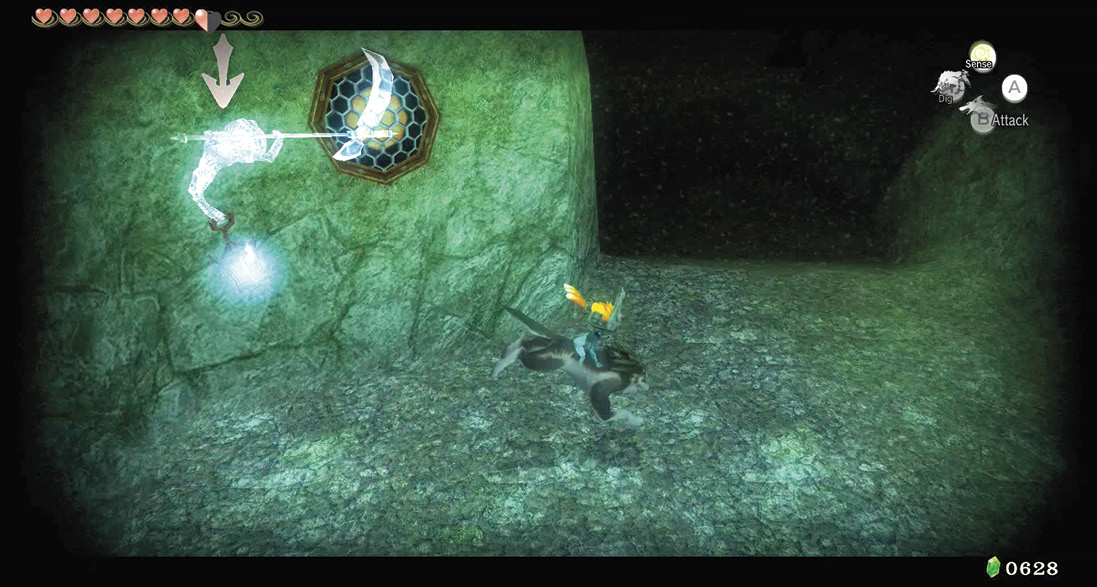
When the Imp Poe is defeated, you can search this area. First open the chest on the ledge edge, and claim the purple Rupee inside.
Overworld Chest #57:
Purple Rupee (50)
Dig Cavern #7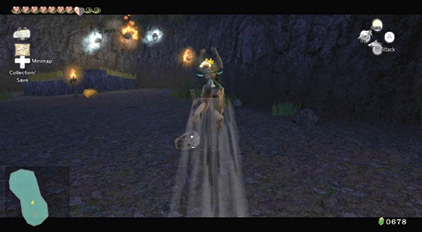 There’s a circle of grass (which you can obtain arrows and Hearts from) in the small alcove away from the ledge edge. Inside the circle is a dig spot leading to the most fearsome cavern yet! This is the lair of the Bubbles! 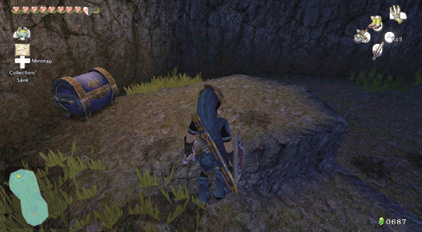 Methodically dispatch the different types of Bubbles. Once the final screaming skull has been defeated, a chest appears on the opposite side of the chamber. Be sure you’ve smashed the pots, and cut the grass, then open the chest to add the M Hylian Letter Stamp to your collection! Overworld Chest #58:Hylian Letter Stamp M |
Bubble, Fire Bubble, Ice Bubble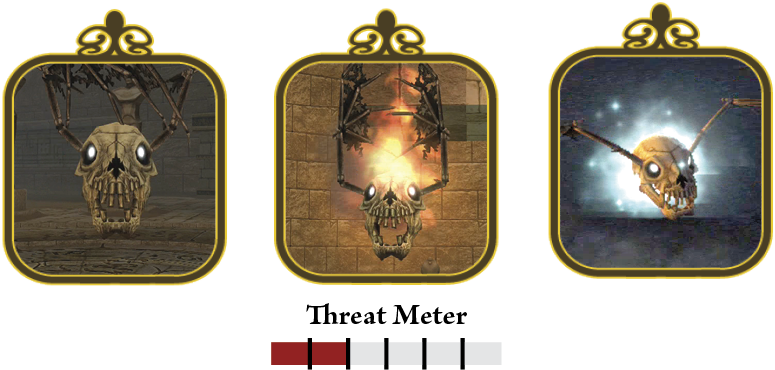 These giant skull heads feature flapping wings protruding from each side. You’ve met these dark denizens on your travels before. Clobber them quickly with a spin attack if you’re surrounded. Fight single Bubbles with simple slashes, but watch out for Fire Bubbles (as their damage can destroy wooden shields) and Ice Bubbles, that can freeze you. Attack at range with a Bomb Arrow or regular arrows, and don’t try a finishing move on a skull that’s been struck and is lying on the floor. They usually hop, and you’ll pierce the ground instead.  |
Enough time has passed for you to return to the southern Castle Town gate, and check out the Goron’s drilling technique. It is impressive, and you can move easily between here and the Hyrule Field to the south, adjacent to Faron Woods.