
The Legend of Zelda: Twilight Princess HD Guide Dungeon 1: The Forest Temple
Task 5: Obtain the Big Key
Chamber 7: Third Return to Staircase Cavern
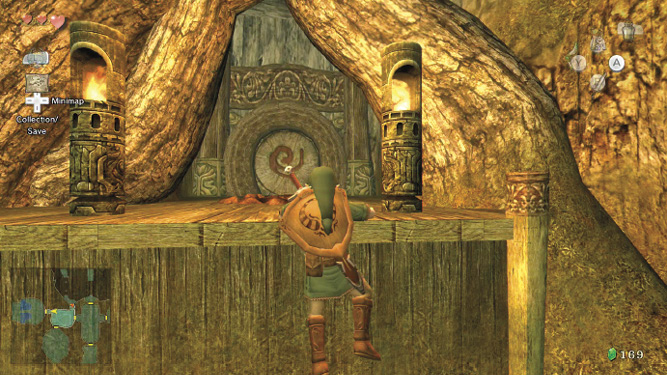
This door leads you into the Staircase Cavern. From here, drop down onto the wooden platform, make a right. Pass the Bombling, leap the gap, climb onto the higher ledge, and exit via the door in the northwestern corner.
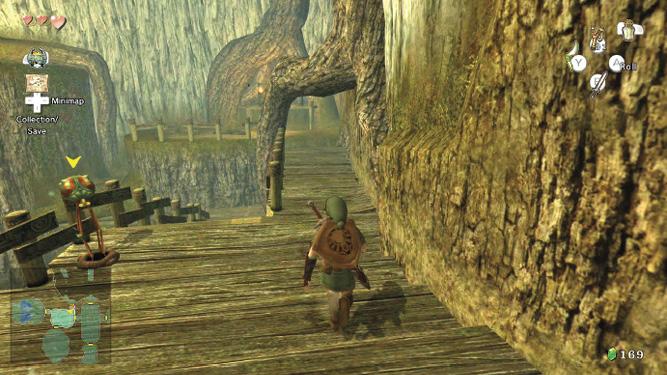
Before you leave this cavern, try using your Gale Boomerang. You can target a Bombling at range, but the one near the wooden railing always explodes. Or, try targeting both Walltulas and the Deku nuts. The Gale Boomerang strikes them all with a single whirl!
Chamber 9: First Return to Room of the Tile Worms

Head back to the room where the Tile Worms were mocking you earlier. It’s time for some payback! Bring out the Gale Boomerang, and target the tile the Tile Worm is under. Launch the Boomerang, and watch as the Tile Worm is ripped out and spun onto the ground. Now attack with your sword, finishing the otherwise annoyingly defensive foe. Repeat this tactic until all Tile Worms are defeated, if you wish.
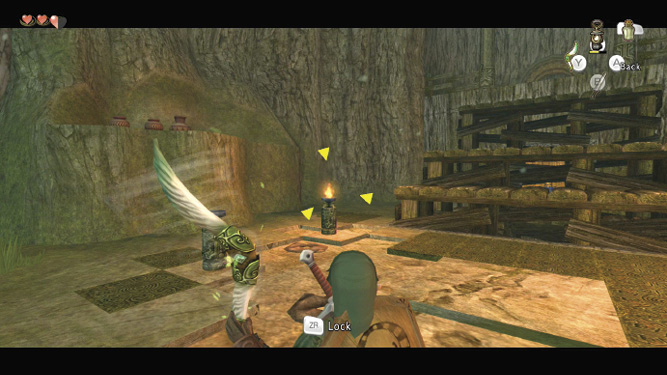
Treasure Chest: Now for the real prize this room holds! Step over to the tiled ground (ideally with no remaining Tile Worms), and target the two lit torches with your Gale Boomerang. Blow both of them out, and the entire large staircase recedes. You can now reach the previously hidden alcove and open the chest. The prize is well worth your backtracking trouble!
Treasure Chest #9
Piece of Heart
 Piece of Heart
You got a Piece of Heart! Collect two more for another full Heart Container. Piece of Heart #3 of 45.
Chamber 7: Fourth Return to Staircase Cavern
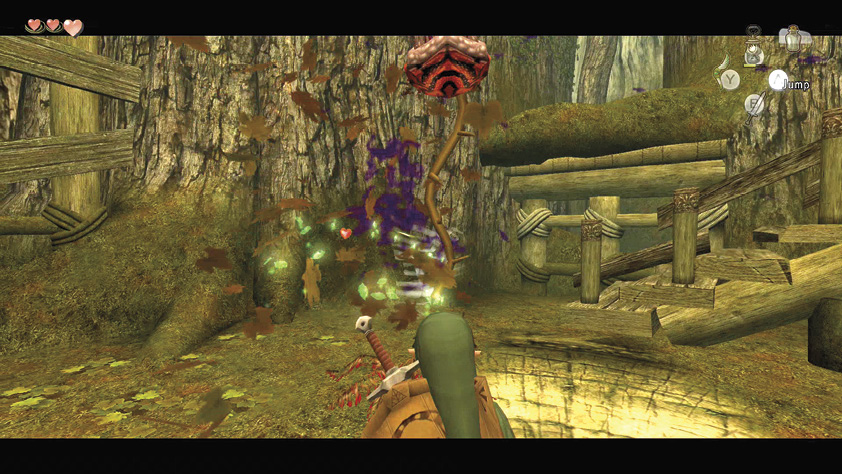
Head out of the Tile Worm chamber, and back into the Staircase Cavern. You should have cleared all chests in this area, so drop down (watch those respawning Baba Serpents!), and head through the door in the east wall.
Chamber 2: Fourth Return to the Crossroads Hub
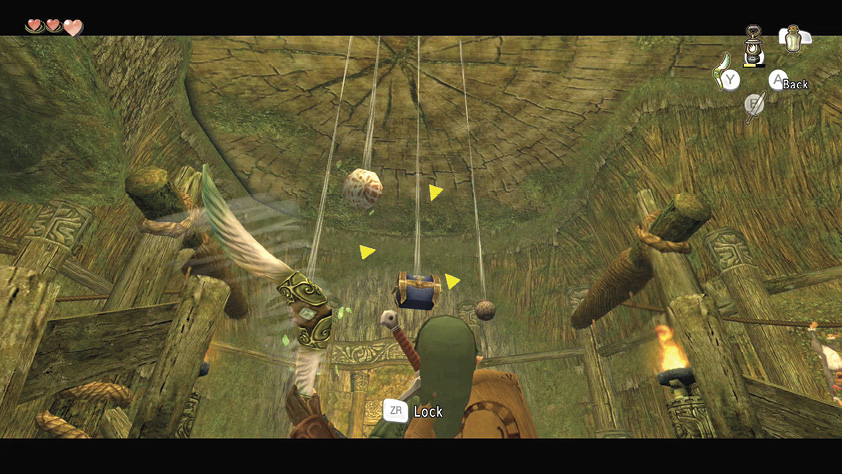
Treasure Chest: Now swing back into the Crossroads Hub, and tackle the 10th chest in this dungeon: the one hanging above the middle wooden platform. A simple targeting of the web string with your Gale Boomerang drops the chest. Inside is a Compass!
Treasure Chest #10
Compass
 Compass
You got the Compass!
|
The Compass is a handy tool that shows you where to find objects hidden in this dungeon. Check the map screen and you’ll see the following additional information: The floor and location of each remaining chest (including ones you opened but couldn’t take the Rupees if your wallet was full), and the location of the dungeon boss (represented by the skull icon). |
Chamber 1: Return to the Entrance
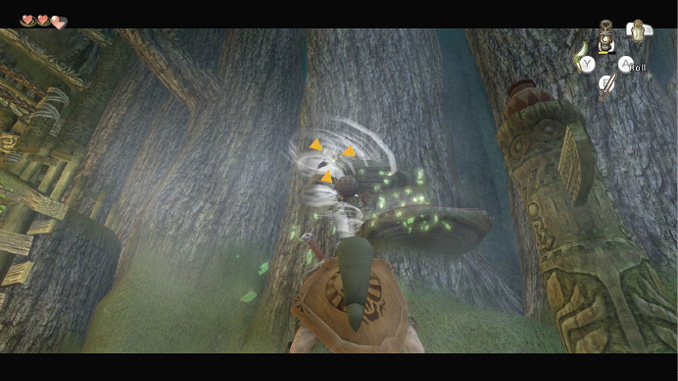
Optionally, from the Crossroads Hub, you can travel southward, back to the entrance, now that you’re armed with the Boomerang. You can knock Walltulas off the vines easily and grab the pots on the tiny platforms you can’t reach by jumping.
Chamber 4: Third Return to Step-Stone Caverns
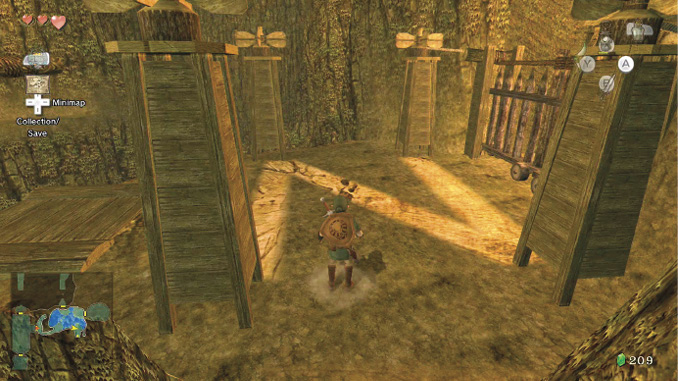
Head north, then east, back to the Step-stone Caverns via the monkey swing, and past the area where you found Ooccoo. Watch the returning Deku Baba! When you’re done with combat, head to the barred gate via the vines or the rope bridge. Your key awaits!
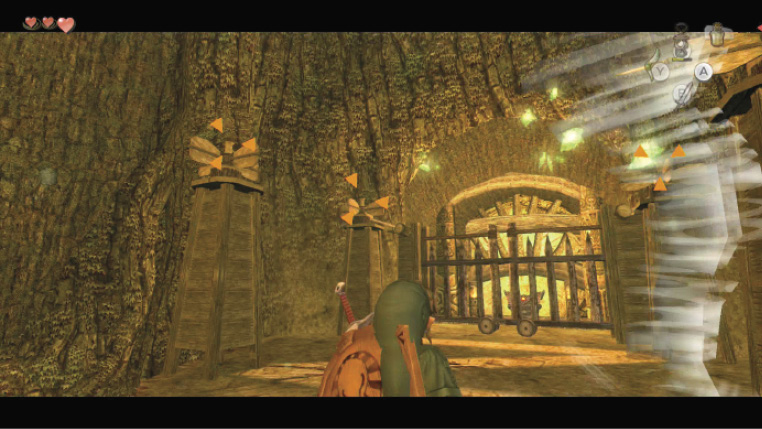
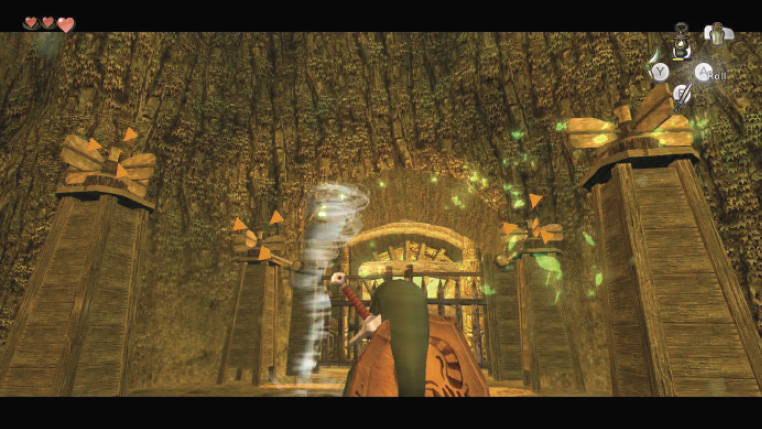
With the Gale Boomerang, you can now open the barred gate! Naturally, the process is tricky, but the backward “Z” in the floor provides the clue. Target each of the four fan pillars, starting with the far left. Then the far right. Then the near left. Then the near right. When you’re done, launch the Boomerang! The Boomerang must connect with all four fans in this order for the gate to open.
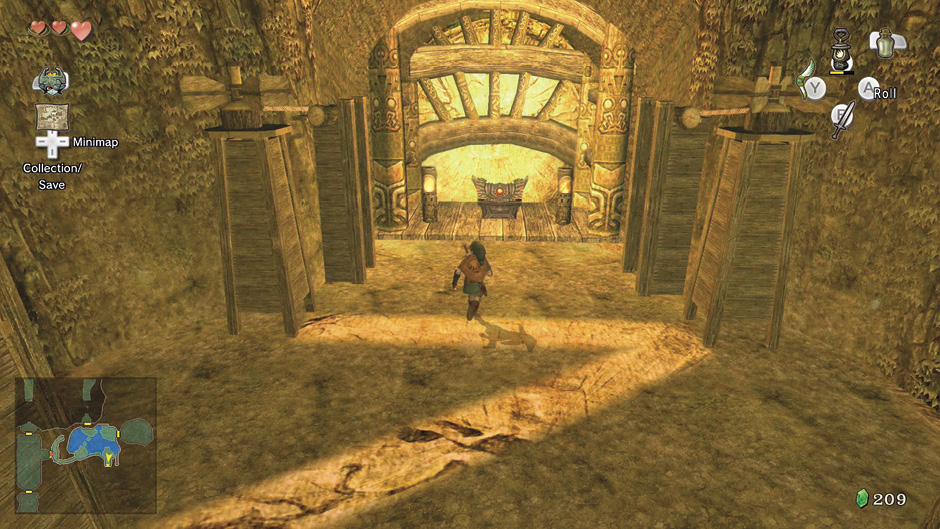
With the gate open, roll forward and move directly to the ornate chest, and open it up. You’ve discovered the Big Key; this leads to the most important room in the dungeon! Take it, then exit via the door in the northern wall.
Treasure Chest #11
Big Key
 Big Key
You got the Big Key! Use it to gain access to the lair of this dungeon’s boss!
|
The Big Key is big news to a dungeon explorer. Always lying inside the largest and most ornate chest type, the Big Key allows access to the lair of the dungeon boss. There’s only one Big Key per dungeon, and the key unlocks only the boss’s room of the dungeon you’re currently in. |