
The Legend of Zelda: Twilight Princess HD Guide Dungeon 6: Temple of Time
Task 3: Locate the Big Key
Chamber 6: Moving Wall Hallways (5F)
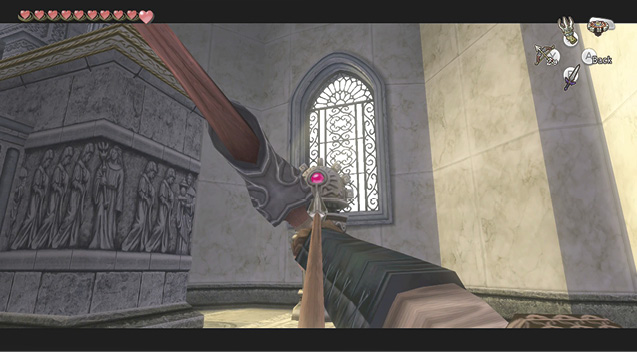
Enter a hallway with a fence to your left and a diamond switch to your right. Ahead is a Beamos. Bring out your Hero’s Bow, and dispatch it. Clear the curved ledge with the diamond switch of pottery (there’s a Heart inside one). There are arrows in one of the brown pots near the Beamos, too.
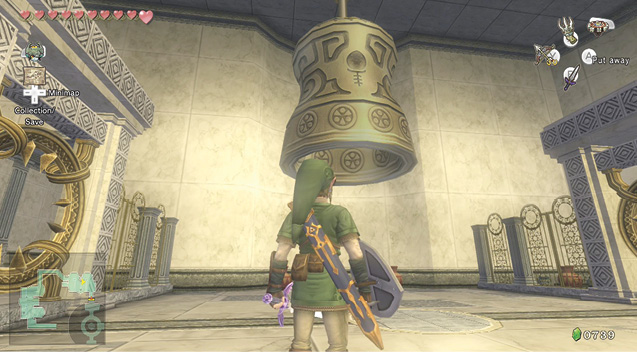
Slash the diamond switch, as this activates a wall piece that slides apart, allowing you to run around and into the chamber’s central part. Inspect another giant bell, and crack a few pots underneath for a Heart and arrows. Produce your Ball and Chain, and thwack a red Rupee from the bell.
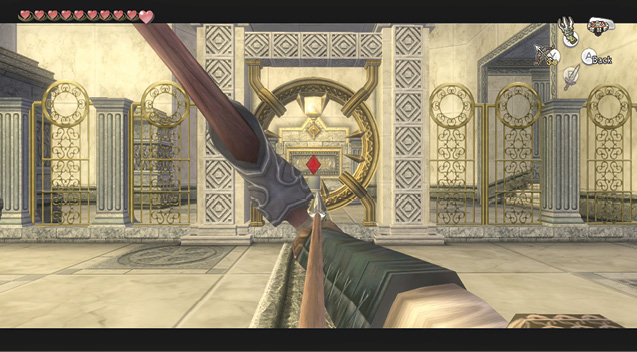
By now, you’ve realized there’s no way out of this chamber because the wall that’s moved is blocking your path. To exit, you must strike the diamond switch again, but you can’t stand next to it. Instead, position yourself near the stone circle on the ground, and aim an arrow at the switch. Hit the switch, and the wall moves, allowing you to exit.
|
More diamond switches in rooms to come require an arrow to activate them. The stone circles are the optimal spots for aiming at the switches. |
Treasure Chest: Step forward and when the next White Beamos activates, shoot it in the eye. Turn the corner, and run to the three pots at the chamber’s far end. Find arrows and a Heart inside. Then look west, to see a small stone alcove with a chest inside. Open it to obtain the Compass.
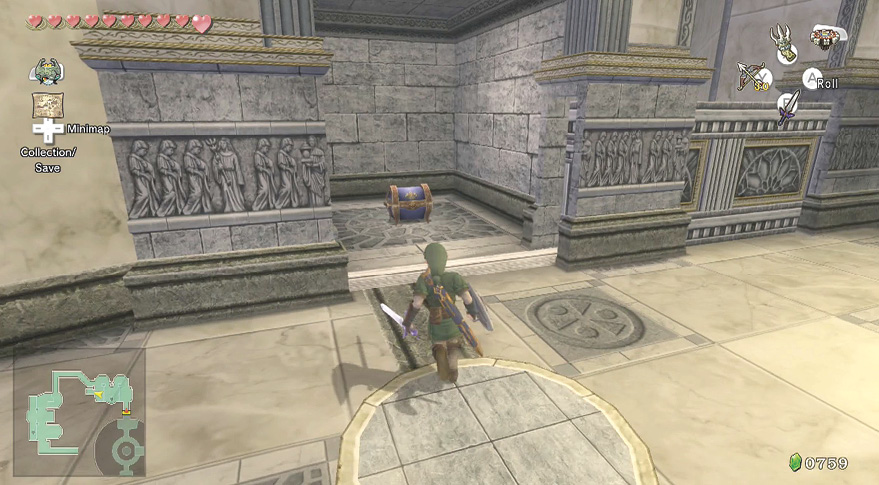
Treasure Chest #7:
Compass
 Compass
You got the Compass! This handy tool shows you where to find objects hidden in this dungeon.
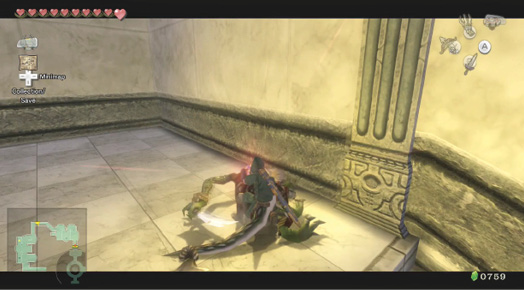
Spin around to face the diamond switch, which is through two circular openings with spikes protruding from them. Stand on the stone circle to ease your aim, and fire an arrow into the switch. The wall slides back to cover the alcove with the chest you just robbed, and you can climb the steps. Tackle two Lizalfoses along the way. The one at the top is wearing a skull mask.
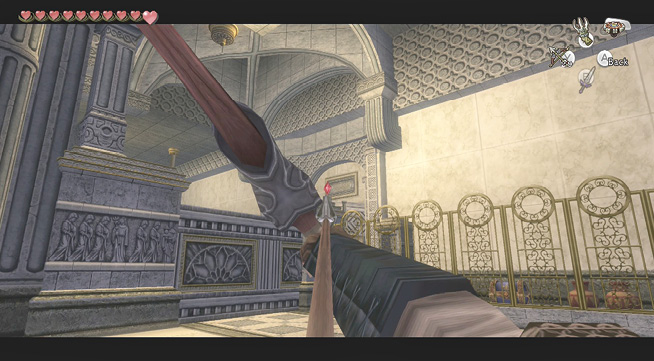
Head down the ramp and stand on this circle. Look across this part of the chamber and spot a diamond switch high on a ledge. Ahead is a fence with a chest behind. You can grab this on the way out so don’t worry about it now. Fire an arrow at the switch, and watch as the wall recedes. Advance with your sword and shield at the ready.
Dynalfos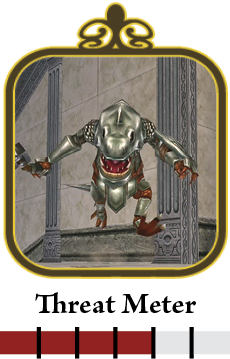
Notice how a Lizalfos is unable to withstand a shield bash and spin attack? Not so with the armored Dynalfos, the meanest armored beast in this dungeon! Defeat him with counter strikes. 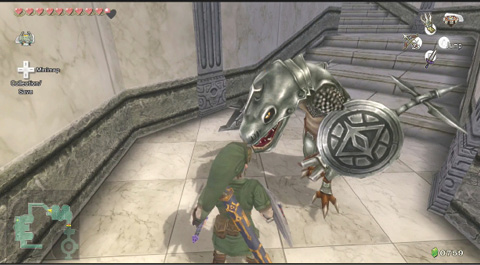
As vicious as he is armored, the Dynalfos is one of the most difficult ground troops to tackle, as none of the strikes you’re used to inflicting actually saps his energy. He attacks with an axe, blocks using a shield, and even has an axe on his tail to slice onto the ground! The trick here is to counterattack the Dynalfos. Wait for him to make a sword swing, then (for example) shield block, and immediately retaliate with a helm splitter or spin attack. Block a barrage of his moves, roll around, and back strike his tail. Do this three or four times before combat ends. But most of all, let the Dynalfos strike first…and you strike last! 
|
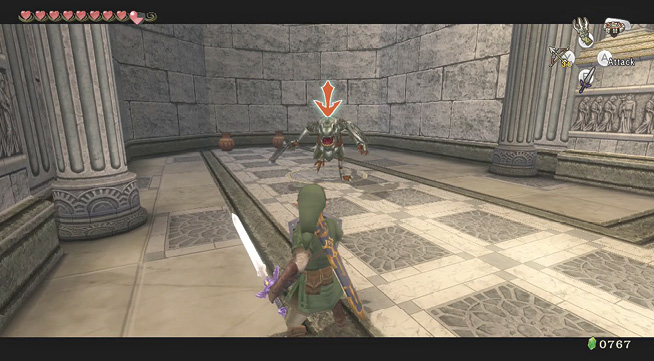
Once the Lizalfos and Dynalfos are downed, step to another stone circle, in the middle of this chamber, and fire at the diamond switch again. Don’t accidentally electrocute yourself on the gap in the fence! A second wall slides open, leading to another large alcove where you must fight a second Dynalfos. After an exhausting battle, smash the two pots for arrows and a Rupee.
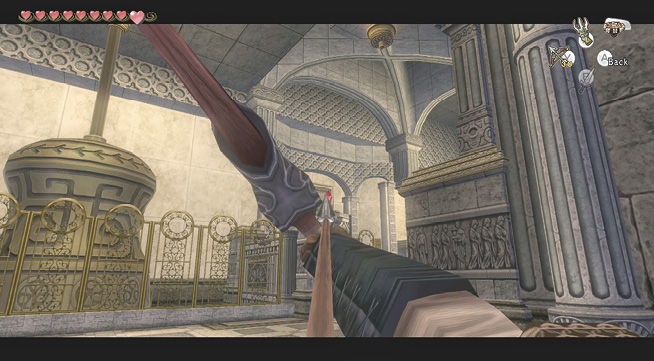
Move to the stone circle in the last, curved alcove, and get a steady aim on the diamond switch for one more arrow shot. This moves the last wall to the south out of your way. Exit the chamber by passing the bell behind the fence, and turn the corner, heading upstairs. First smash a couple more pots for Hearts you might need after that Dynalfos battle!
Chamber 7: The Scales of Time (6F to 7F)
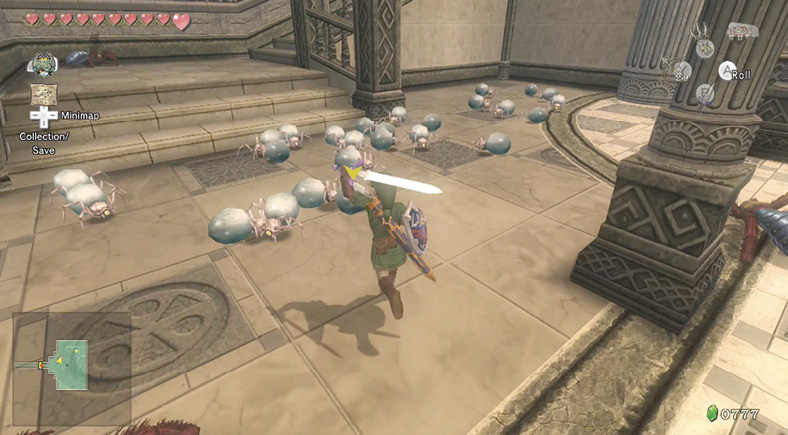
Treasure Chest: At the top of the stairs is a thin corridor leading to a door. Open the door, and enter a chamber of pillars. Two Young Gohmas and dozens of Baby Gohmas scurry about the floor. Begin a run across this courtyard, slashing the Baby Gohmas. Continue to defeat these arachnids until every one is gone, including the Young Gohmas on the stairs. A chest then appears. Open it.
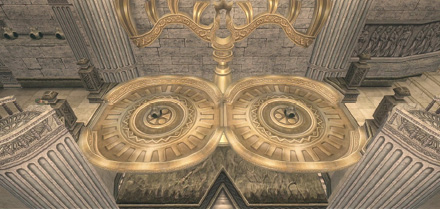
Run up the stairs to a giant pair of golden scales. These are as impressive as they are ornate, and you need to negotiate the scales in order to proceed. In fact, the scales weigh down when you stand on them. The first scale must be lighter for you to continue.
Treasure Chest #8:
Purple Rupee (50)
|
There are seven horned statuettes in this chamber. Two are on the scales, three are on an upper alcove in the northwest, and the other two are detailed below: |
To raise the left scale tray, you must weigh the other one down with those horned ceremonial statuettes you’ve been seeing all about. Some are scattered about this chamber. Climb past the scales to the exit area, and to this ledge. Clawshot across, pick up the statuette, and bring it back. Deposit it on the right scale tray.
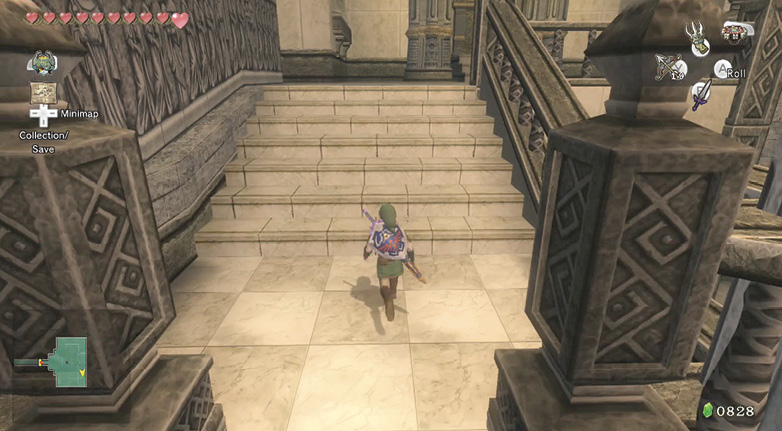
The other horned statuette is perched atop this column in the main courtyard area. Rolling into the column is easier than knocking the statuette off with a Ball and Chain.
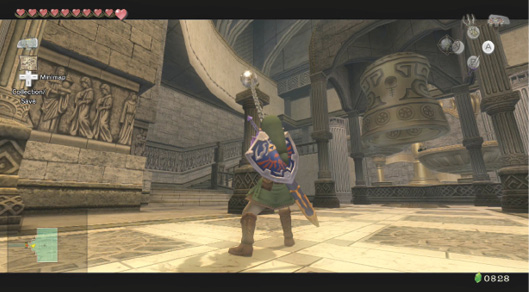
Place three horned statuettes on the right scale to counterbalance the weights and push the other tray up, even with you standing on it. This allows you to reach this tiny ledge—the key to reaching the upper ledges in this chamber. Look to the middle of the room now.
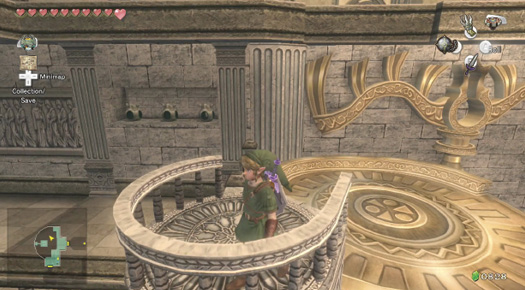
Bring out your Clawshot. Aim at the medallion on the ceiling’s center, and then drop down. Ahead is a narrow platform. Run to the end of that, and then jump on your Spinner, and take the groove in the wall all the way around to the right. Don’t head the other way, as the groove is broken.
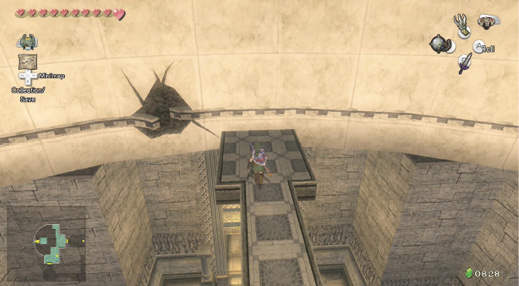
Poe Soul #52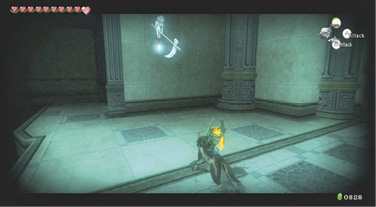
Drop off the Spinner onto an upper ledge overlooking the chamber below. You’re on the seventh floor of this dungeon. Quickly change to your wolf form, as a Poe is floating about up here. Dispatch him in the usual manner. Only eight Poe Souls to go!
|
 Poe Soul
Treasure Chest: You can now freely roam this upper platform, and to start with, head south to the very end of the area and open a small chest that’s next to the door you’ll eventually exit. Claim the stamp inside. Then stay on this platform, and run to the door in the eastern area.
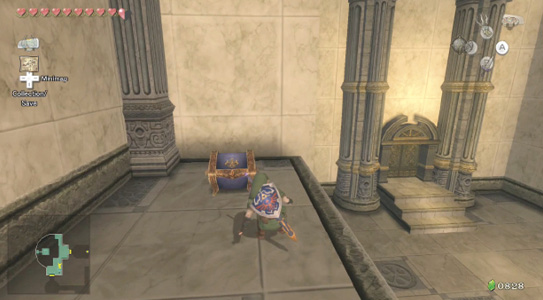
Treasure Chest #9:
Hylian Letter Stamp T
Chamber 8: Four Floor Switch Puzzle Room
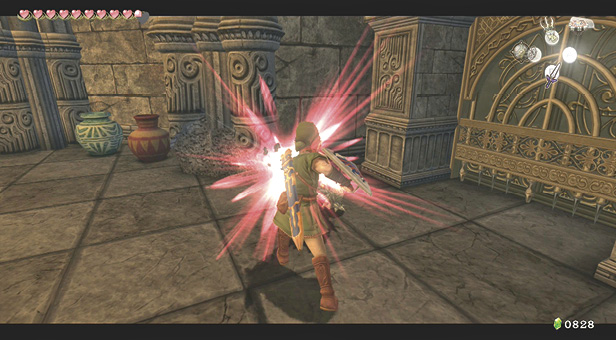
This room contains an Armos and two scuttling Helmasaurs. Immediately bring out your Clawshot, and remove the carapace from the Helmasaur before finishing each. Then run to the Armos to activate him, and defeat him. As usual, smash pottery for Hearts and Rupees. Then look at the large chest on the opposite side of the room.
|
If you’re quick, you can aim at the Clawshot medallion on the ceiling before you’re struck by the Helmasaurs, and then defeat them (and the Armos) from complete safety on the upper ledge! |
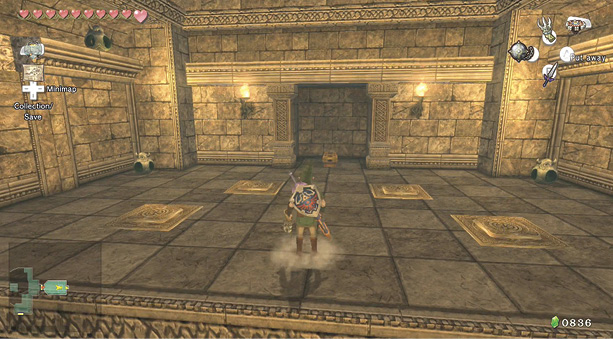
Treasure Chest: The chest has a gate that’s sealed in front of you, but there’s a Clawshot medallion above you. Use the medallion, and drop down onto the upper ledge of this chamber. Four floor switches are visible, but don’t fiddle with them yet. Move to the small alcove and open up the small chest.
Treasure Chest #10:
Red Rupee (20)
Now that you’re up here, opening the gate below is pretty straightforward: Take the two horned statuettes that are up here, and place one on each floor switch. That’s two pressed in, but two more to go! Turn and look at the lower area, and aim your Clawshot to grab a Helmasaur carapace. Fire at it, bring it back, and place that on the third switch. Do this one more time, and the gate opens!
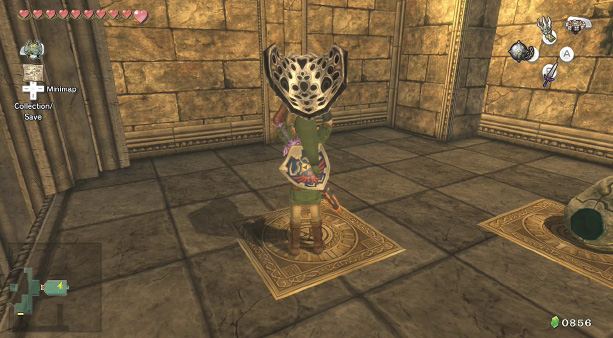
Treasure Chest: Drop down and open the chest for the Big Key. You now have access to the lair of this dungeon’s boss! Now return to the Scales of Time.
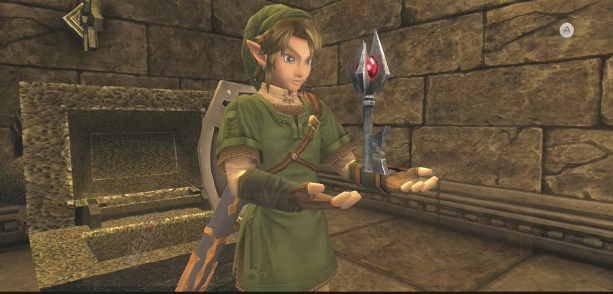
Treasure Chest #11:
Big Key
 Big Key
You got the Big Key! Use it to gain access to the lair of this dungeon’s boss!