
The Legend of Zelda: Twilight Princess HD Guide Overworld: Journey Through Lanayru Province
Task 2: Locate and Retrieve All Newly Available Items and Treasure
Controlled Explosions in Kakariko Village
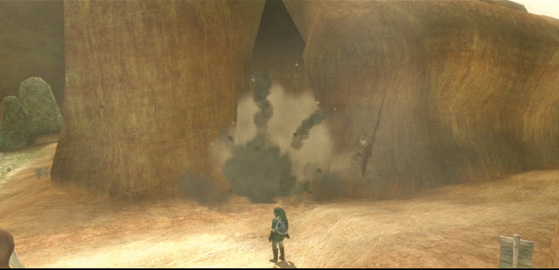
Now that you have bombs at your disposal, you can work your way through previously explored areas and destroy any Bomb Rocks you saw. Begin at the village’s southern end, adjacent to the spring. Set your bomb down by this rock.
Step back at least 10 feet and watch as the rock disintegrates. You can now investigate the area behind this Bomb Rock.
Inside the Bomb Rock entrance is a small, dark cave where two Cuccos are clucking about. You’ve freed them from these confines. Smash the group of crates in there to find a blue (5) and a yellow (10) Rupee inside.
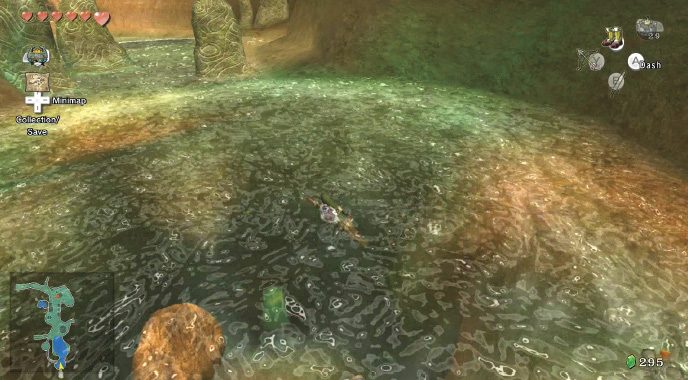
The cave continues with a small tunnel that leads to a sparkling pool filled with sacred water! Take a dive or fly off using a Cucco and land in the water. Swim around for a while.
Overworld Chest: While swimming, keep your eyes peeled for objects. Look into the water to see something at the pool’s bottom. Face south and put your Iron Boots on, then aim for the treasure chest down here. Quickly open it. What a prize!
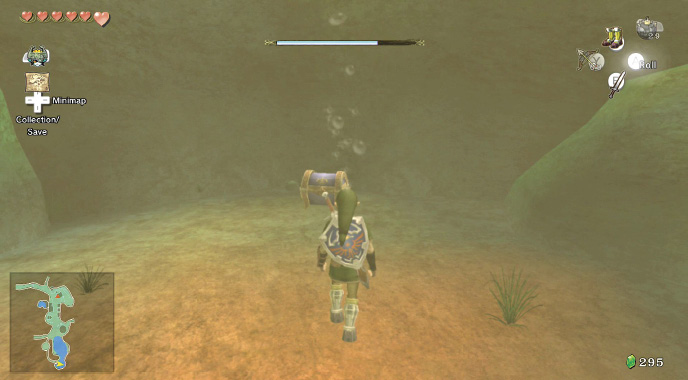
Overworld Chest #11:
Piece of Heart #10.
 Piece of Heart
You got a Piece of Heart! You collected 5 Pieces and formed a new Heart Container! Piece of Heart #10 of 45.
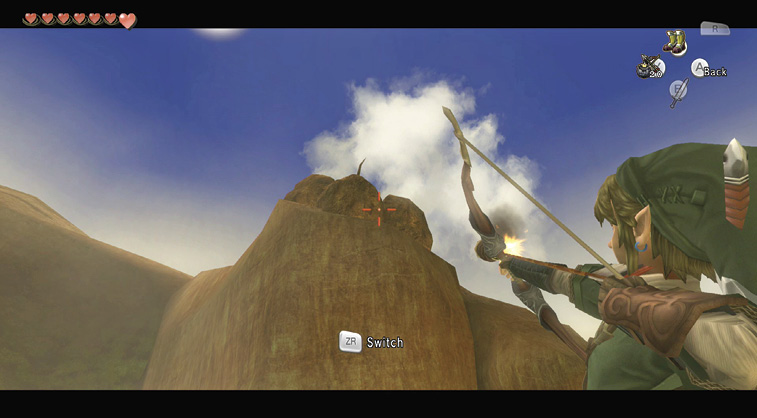
You’ve blown up a Bomb Rock using regular bombs. Now you must combine a bomb with your arrows. Stand near the Sanctuary and face south. With Bomb Arrows selected, aim and fire at the clump of rocks below a dead tree (above the Bomb Rock you just blew up). This destroys the rocks and reveals a Piece of Heart! Run forward and use your Gale Boomerang to whisk the Piece of Heart back to you!
 Piece of Heart
You got a Piece of Heart! Collect 5 Pieces to form a new Heart Container. Piece of Heart #11 of 45.
Controlled Cuccos in Kakariko Village
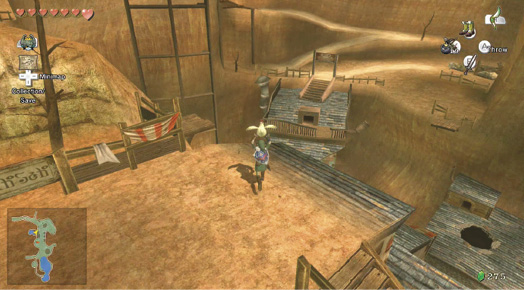
Use the Cuccos in the village to maneuver to difficult-to-reach places. Bring your bird up the dead-end path and fly to the top of the Elde Inn.
When you reach the Inn’s top, near the hot springs, fly to the small wooden ledge with the yellow Rupee (10) on your left—if you haven’t shattered the crate already. From here, there are two paths to take.
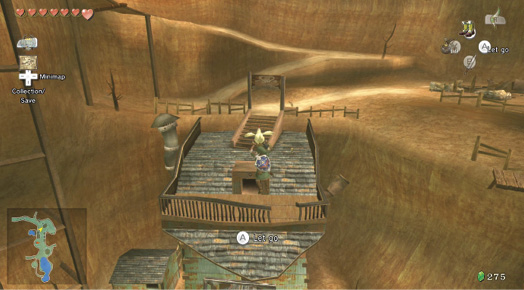
The first is to fly across the thoroughfare and land on top of Barnes’ Bomb Shop. Remember to keep hold of your bird! Climb the promontory path to the lookout shack. When you reach the platform outside the shack, run to the far right corner.
Overworld Chest: Look around the shack’s corner. That chest you may have noticed earlier (when you talked to Talo) is on a ledge you can now reach. Jump off the platform and steer yourself onto the sharp bank near the rock wall. Land right next to the chest and open it up. Your Cucco-flying skills are justly rewarded!
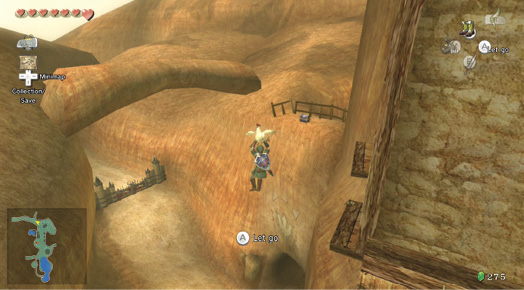
Overworld Chest #12:
Orange Rupee (100)
 Orange Rupee
You got an Orange Rupee (100)!
The second route to take from the hot springs rooftop area is to fly to the small crate on the wooden platforms above the abandoned buildings on the thoroughfare’s far side. Land and secure a red Rupee (20) from the crate!
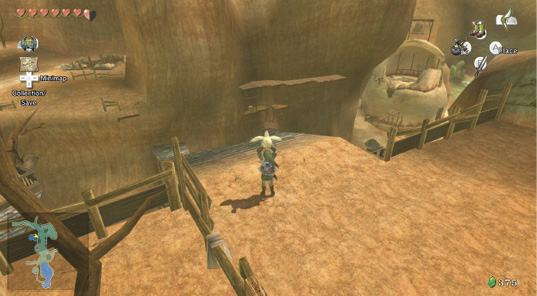
Author NoteLink is wearing a rather fetching waterproof outfit, known as Zora armor. This is because we forgot to fly the Cuccos until after we retrieved the armor. The best time to fly a Cucco is after you free them fr om behind that Bomb Rock, but prior to entering Dungeon #3. |
Return to Kakariko Village at dusk or nighttime and visit the small Goron who’s set up his store opposite Barnes’ Bomb Shop. He has some interesting elixirs, including the Blue Potion! It costs 100 Rupees, so purchase the Red Potion, as you don’t have more than eight Heart Containers in your life energy.
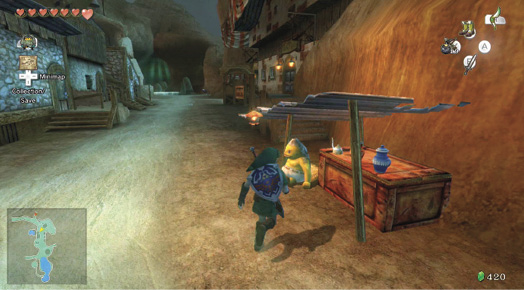
Store
Small Goron’s Shop
| Item | Name | Price | Effect |
|---|---|---|---|
|
|
Lantern oil |
20 Rupees |
The mountain trail is pitch-black at night. Make sure you have enough oil. |
|
|
Red Potion |
30 Rupees |
This replenishes eight Hearts. |
|
|
Blue Potion |
100 Rupees |
Drink this to replenish all enough oil. |


 Blue Potion
You got some Blue Potion! Use it to completely replenish life energy.
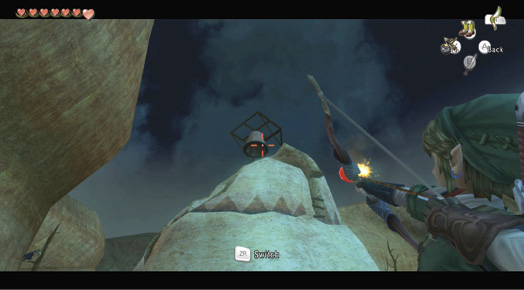
Finally, there’s a tricky maneuver to try. Aim a Bomb Arrow at the bell atop the Sanctuary. Something falls out when you strike it. Switch to your Gale Boomerang and target the object before it disappears. If you’re lucky, you can grab it and bring it back to you. It is a silver Rupee, worth 200!
|
Consider leaving this Rupee until you can transform between Link and wolf form at will, then use Midna to bound to the Sanctuary’s roof, which is where the silver Rupee (200) falls. Attempt this every time you appear in Kakariko Village for a constant supply of cash! |
 Silver Rupee
You got a silver Rupee (200)!
Tumbling up Death Mountain Trail
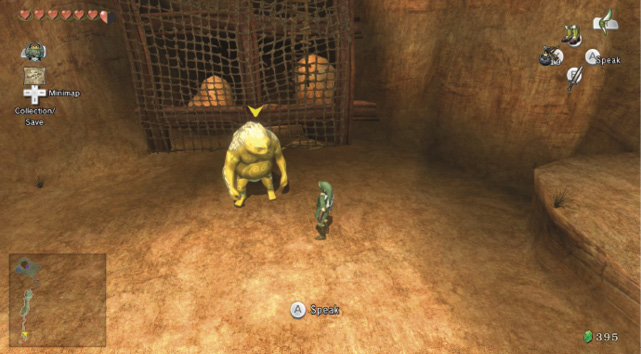
You’ve exhausted the available options in Kakariko Village, so head north to the Death Mountain trailhead. Leave Epona here and speak to the Goron, who’s happy to propel you onto the path.
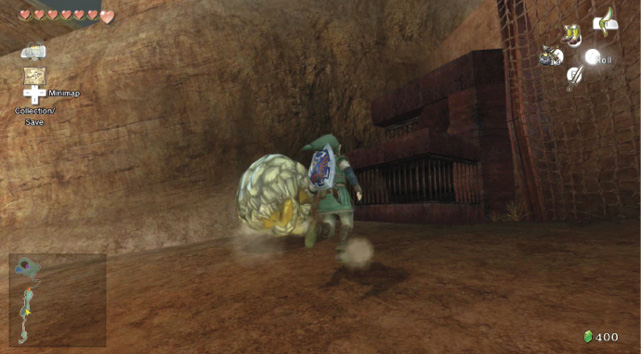
Run up the trail until you reach the second barricade. There is another Goron who’s happy to help you. Clamber onto his back, then face the left rock wall before he launches you. Once you’re sprung, you automatically grab on to the top of a narrow ledge above. Climb onto here and check out an all-new area of the trail.
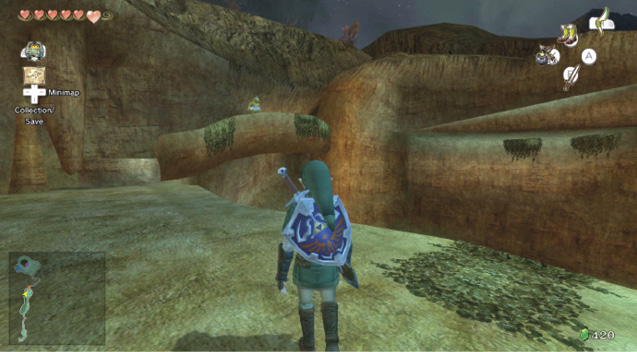
Lift up all four scattered rocks and find a red Rupee (20) under each one! Now turn north, clamber up the large steplike ledges, and run toward a small Goron who’s overlooking the clearing below. If you move up to him, he chats to you; he’s surprised you saw him all the way up here!
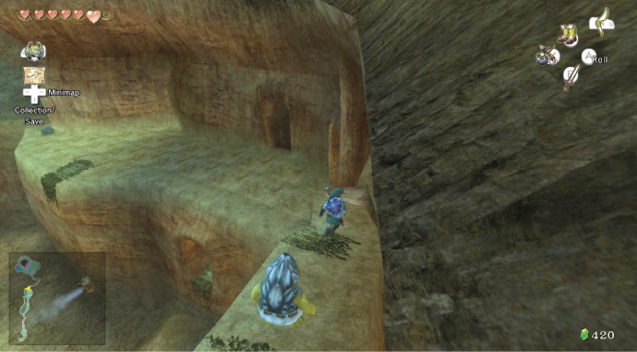
Overworld Chest: Talking to the Goron isn’t the reason you’re here—there’s an opening in the rock wall that you just passed. Return here and step inside. There’s a drop almost immediately—fall down it, turn around, and locate this chest. The prize inside is just what you’ve been searching for.
Overworld Chest #13:
Piece of Heart #12.
 Piece of Heart
You got a Piece of Heart! Collect 3 more for another full Heart Container. Piece of Heart #12 of 45.
Drop into the clearing. Look east and spot another cave alcove. You can reach this after you gain the Clawshot. There is something glistening here; this is a Rare Chu that you can defeat and scoop with the A button, and use to gain energy, but not at the moment.
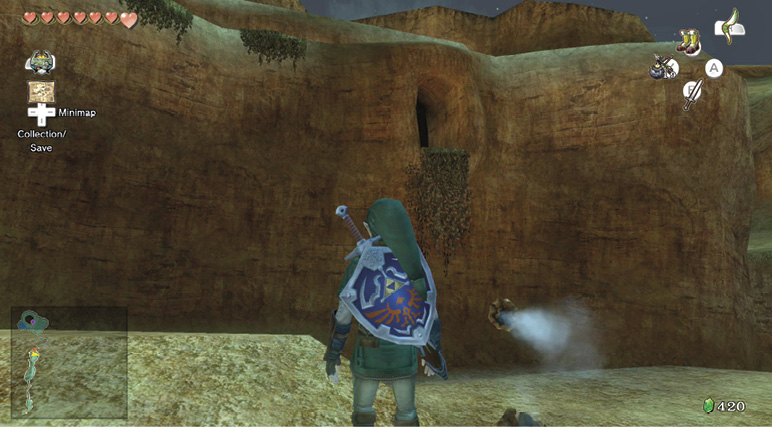
Galloping Around the Great Hyrule Field
If you’ve followed the walkthrough up until this point, you know there are multiple areas to explore and a correct time to do so. We recommend purchasing more bombs (so you have the maximum of 30); summoning Epona and riding her north and west, out of Kakariko Village; and bombing areas of the Hyrule Field.
|
As you enter the field (or any other location after you leave the village), the Postman gives you another missive. This one is a letter from Barnes explaining how to combine bombs and arrows. Do this immediately, as you need them shortly. |
 Letter #4
You got Letter #4: “URGENT! Bomb arrows!” by Barnes’ Bomb Shop.
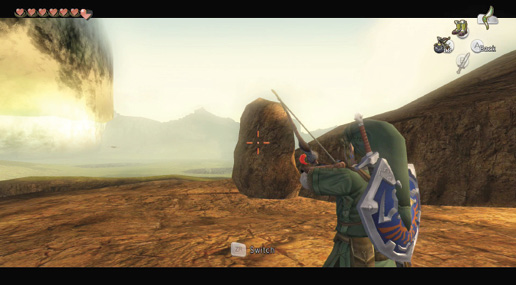
Trot along the large field’s southern entrance and locate the Bomb Rock that’s blocking a series of rocky ledges. Choose a bomb or a Bomb Arrow (on horseback, if you really want to show off) and fire, exploding the rock. Dismount from Epona.
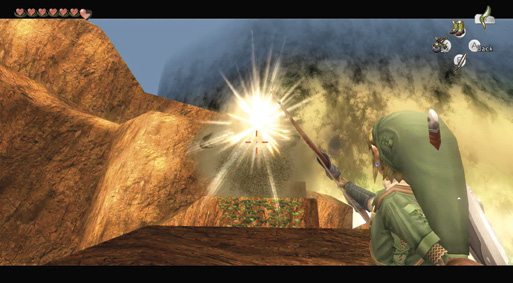
Jump and grasp the ledge behind the exploded rock and climb onto an undulating ledge. Follow it to a vine wall, scale the wall, turn right, and look for a gap and another set of vines with a Bomb Rock above them. You must use a Bomb Arrow to strike and explode this rock.
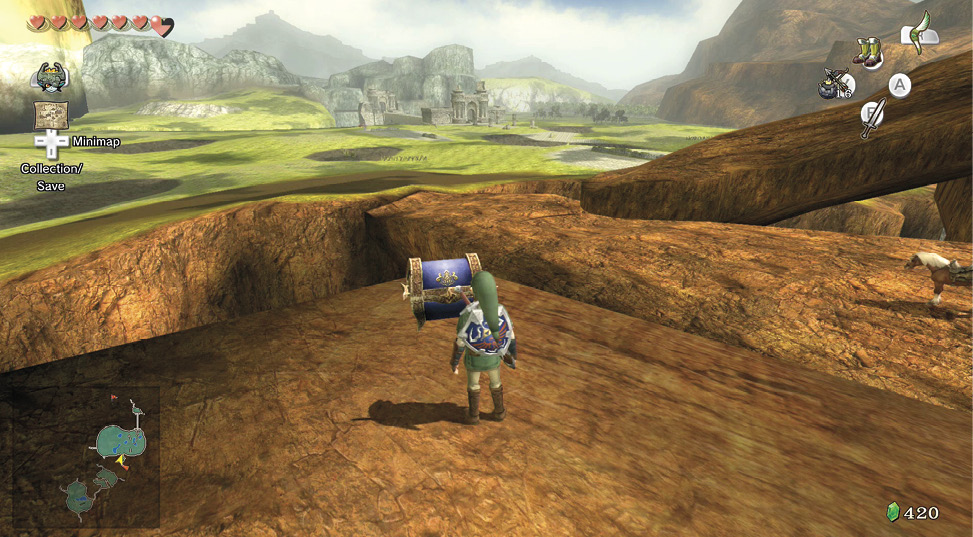
Make a running leap at the vines, grab them, and pull yourself onto the western side of the gorge path. Turn right and leap (don’t fall onto the road) toward the ledge overlooking an infinite drop. There’s a chest to open on this overhang. You can even see Epona from this position.
Overworld Chest #14:
Piece of Heart #13.
 Piece of Heart
You got a Piece of Heart! Collect 2 more for another full Heart Container. Piece of Heart #13 of 45.
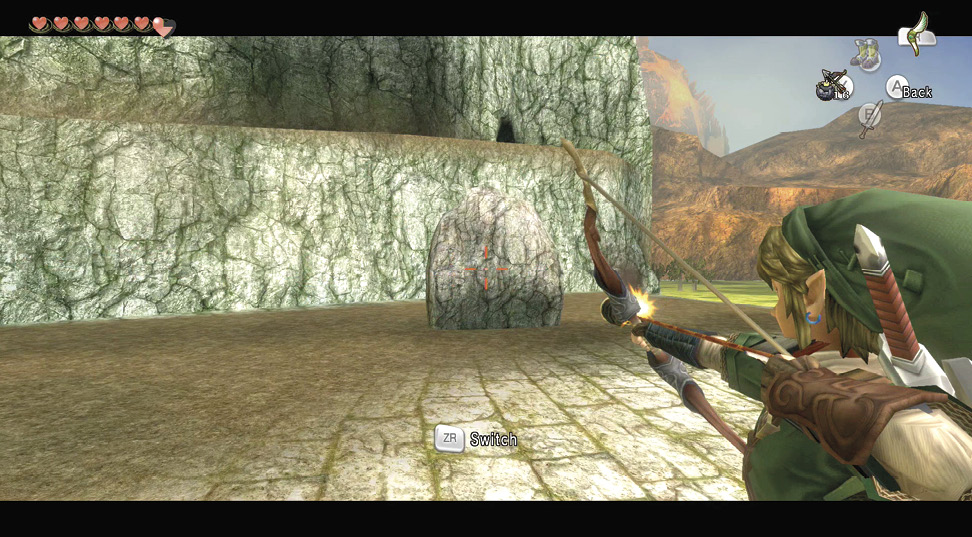
Gallop across the open Hyrule Field to the northeast Bridge of Eldin. Cross the bridge and stop on the north side. Look right, at the area you recently visited to grab that Golden Bug. There’s a Bomb Rock here. Destroy it for two yellow (10) and one red (20) Rupees.
|
Don’t destroy the rock wall that’s blocking your route to the north! If you do, you’ll begin the next part of the critical path in your adventure and will be unable to return to Hyrule Field or Kakariko Village for a while; it’s better to head back there now and grab everything you can. 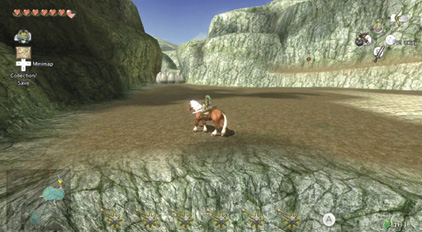 |
Explosions Rock the Kakariko Gorge
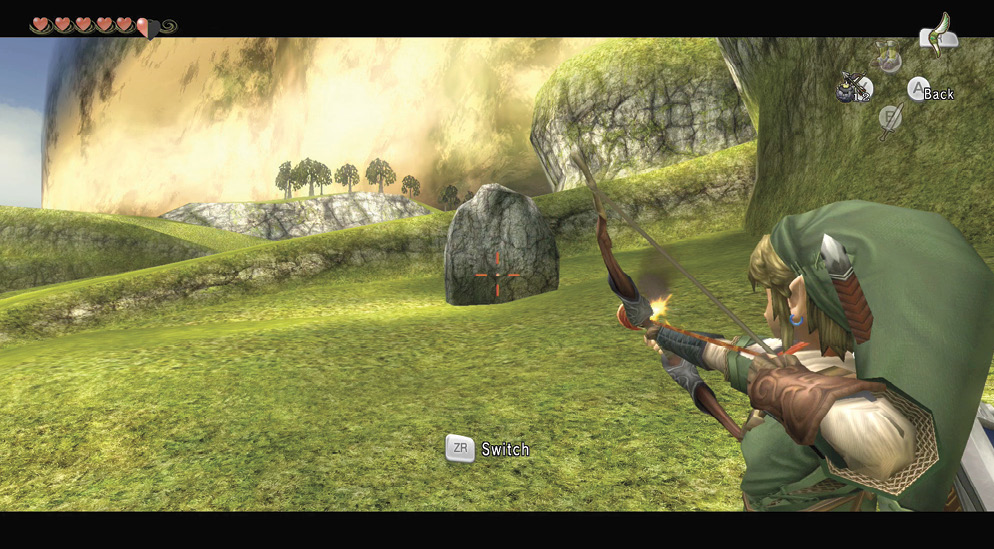
Before you return to the Bridge of Eldin, head south to destroy all the Bomb Rocks. This is purely optional, but it is your first opportunity to attempt this and to explore new areas away from the critical path. Start in the northern part. There are four blue Rupees (5) and one yellow Rupee (10).
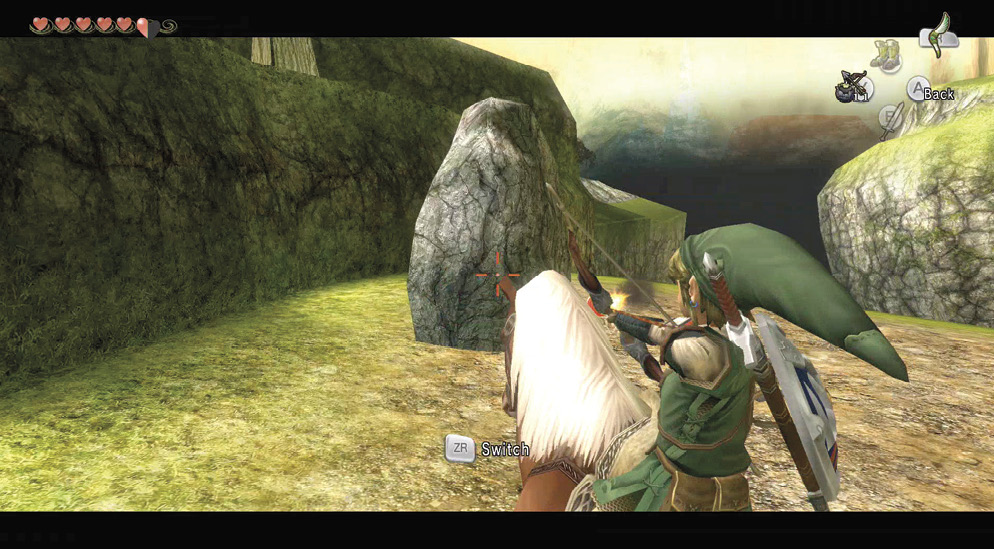
Journey to the edge where you found the Piece of Heart earlier in the western part of the Kakariko Gorge. Destroy the Bomb Rock here for two blue (5), one green (1), and one yellow (10) Rupee.
Now move to the eastern area and locate the Bomb Rock stuck in the rock wall. Destroying this reveals a black cave entrance, which leads to Lantern Cavern #1.. You’ll find two new enemies in here: the Imp Poe (which you cannot defeat) and a Yellow Chu (whose remains give you Lantern oil). Check your fuel supply, then enter the Lantern Cavern.
Lantern Cavern I
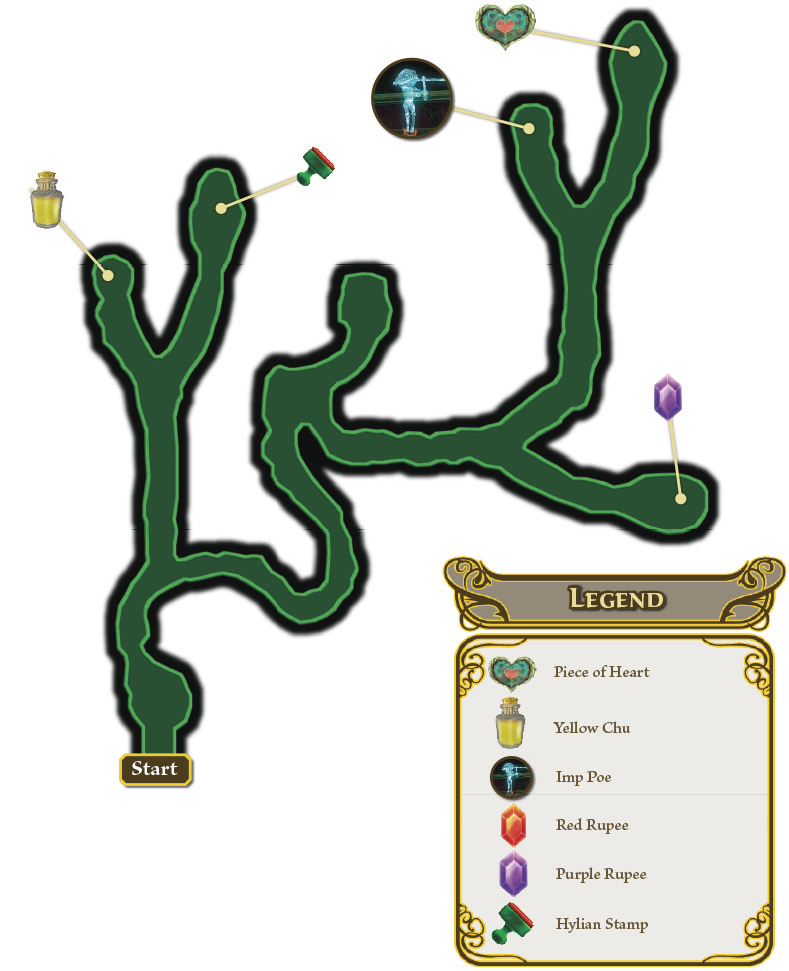
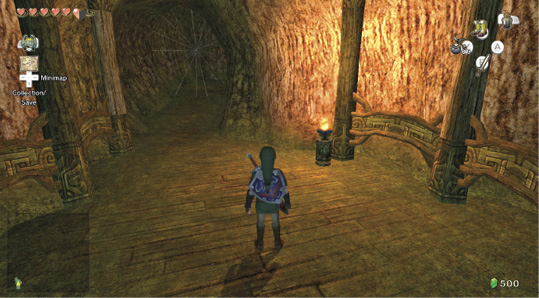
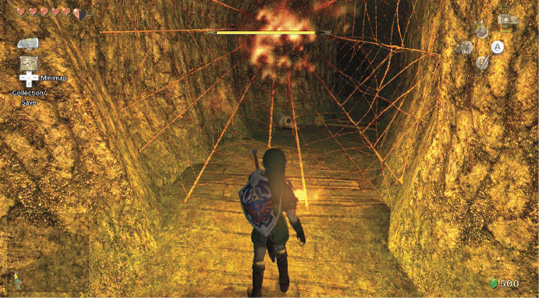
This place isn’t called a Lantern Cavern for nothing; you can’t get more than a few steps inside before running into a thick spider web. Only the Lantern can remove this obstacle; swing it to burn the web away.
|
Don’t worry if there isn’t much fuel in your Lantern; as long as you’ve got a little, you can reach a free source of Lantern fuel inside the cavern. |
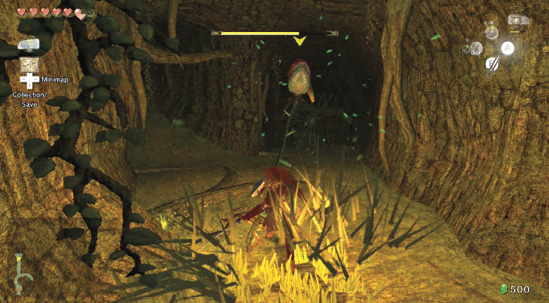
Bear left at the fork you come to beyond the web. Head north; a Deku Baba pops up from the ground. Sever its head from its stalk with a few swipes of your sword, then continue onward.
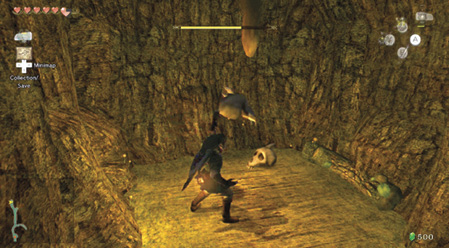
Bear left at the second fork you encounter and continue along until you reach a dead end. Smash the two skulls on the ground for two hearts, but watch out: a Yellow Chu drops from the ceiling above and attacks!
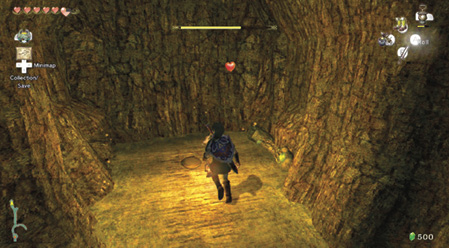
If you’re low on Lantern fuel, you’ve just encountered a free source of it: once defeated, the remains of a Yellow Chu can be scooped into a Bottle, and the Yellow Chu Jelly you get acts like Lantern fuel! Chus are tough to keep track of, so ready an empty Bottle, then use a Spin Attack to splatter this one in short order.
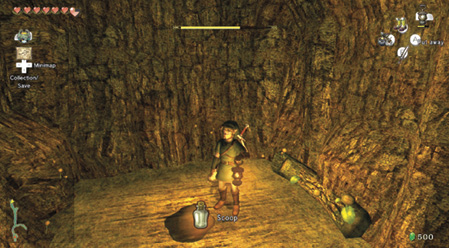
Scoop the remains of the Yellow Chu into your Bottle before they seep into the ground; you’ve only got four seconds to do so, so act fast!
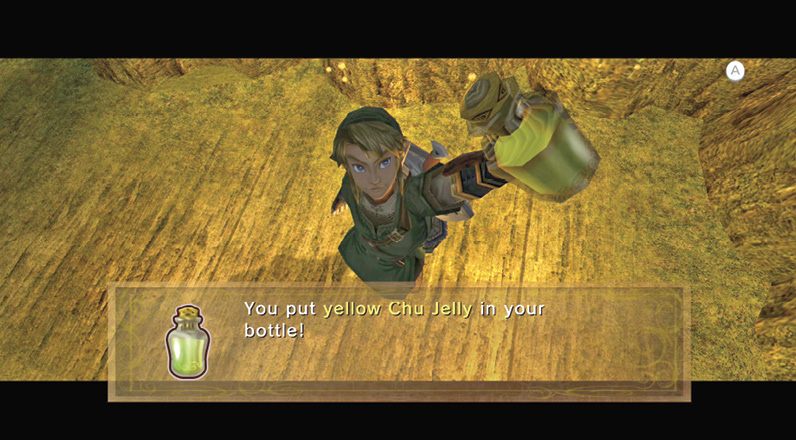
You’ve collected Yellow Chu Jelly. Now that you have plenty of fuel for your Lantern, let’s explore the rest of the cavern.
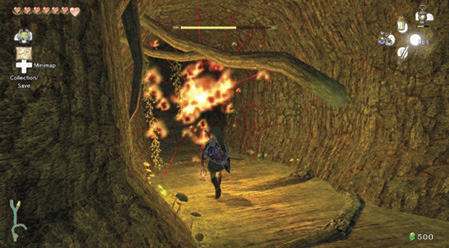
Turn around and head back the way you came. Make a sharp left at the fork, then swing your Lantern to burn away the spider web that blocks the north passage.
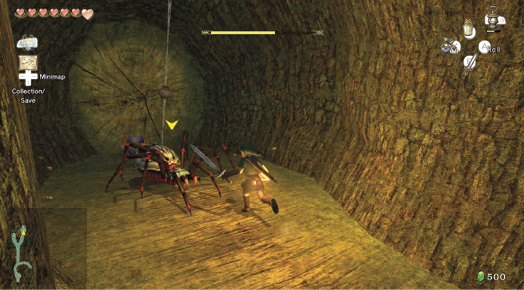
A big, ugly Skulltula stands between you and treasure chest #15 at this passage’s end. Open up its defenses with a Shield Attack, then dispatch it with your blade. Open the small chest the Skulltula was guarding the Hylian Letter Stamp O.
Overworld Chest #15:
Hylian Letter Stamp O
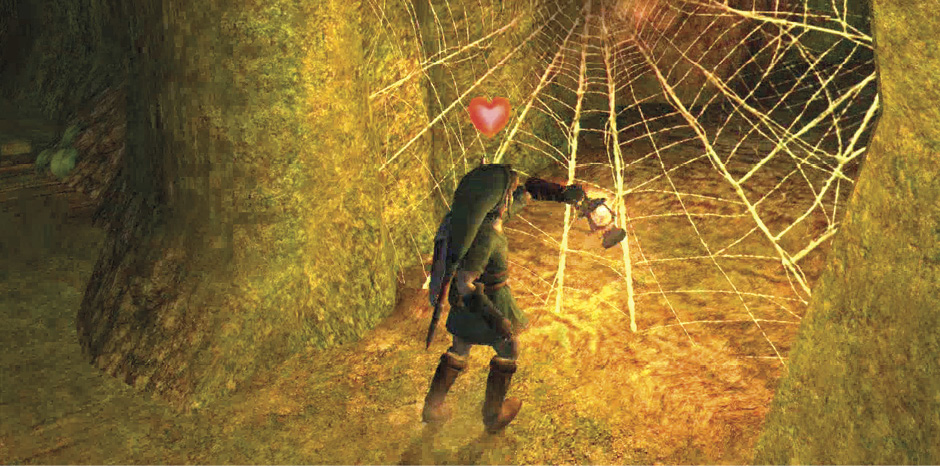
Backtrack to the first fork you encountered, near the entrance to the cavern. Again, use the Lantern to remove the spider web from your path, then have at the Keese that engages you a short distance ahead.
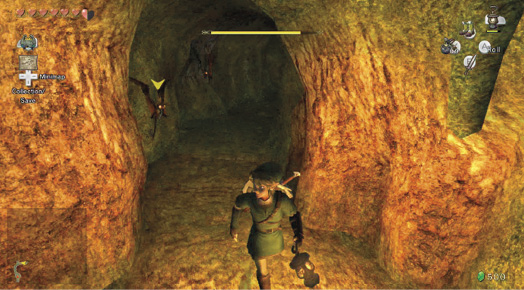
Continue through the winding passage, ridding the tunnel of Keese and spider webs as you go. You come to a small chamber, in which you find an unlit torch and two Tektites. Light the torch first so you can put away your Lantern and still see well enough to combat the Tektites; the Spin Attack is your best move in this tight space.
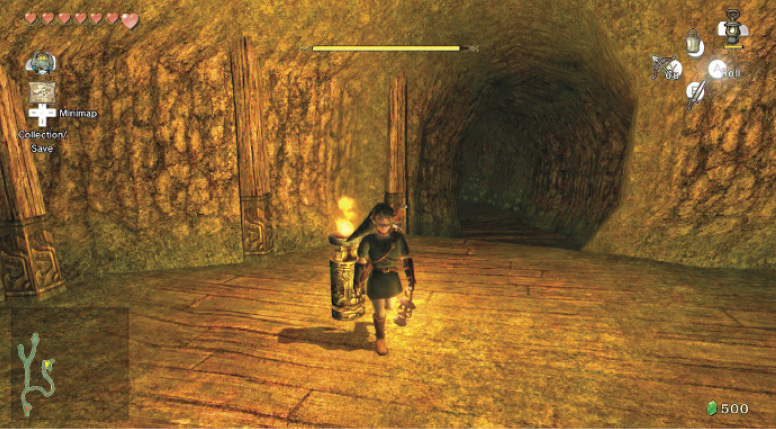
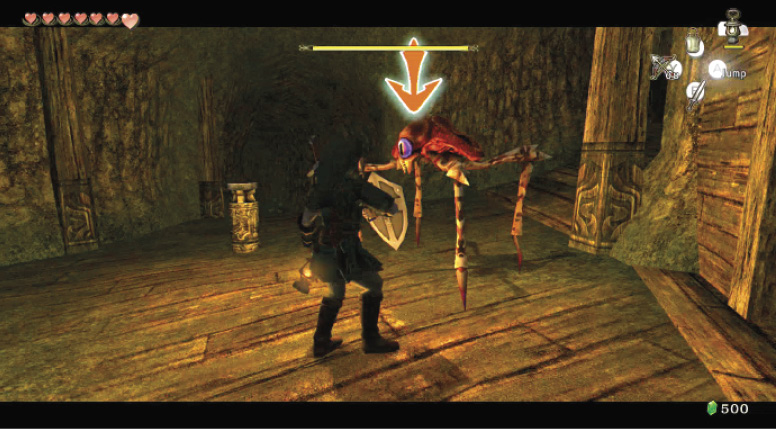
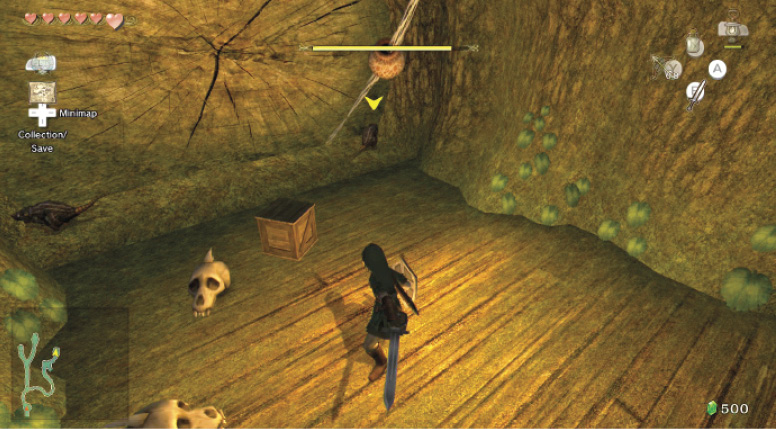
The path forks again east of the torch chamber. Run up the short north trail to find a few goodies inside two skulls, a crate, and a small pot that hangs from a spider web. Use a Spin Attack to get rid of the few rats who attack you here, then collect a heart, arrows, and a Blue Rupee (5) by smashing the aforementioned objects.
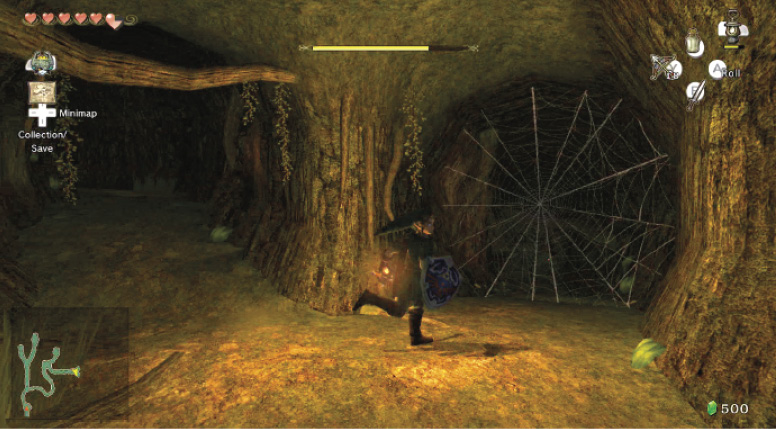
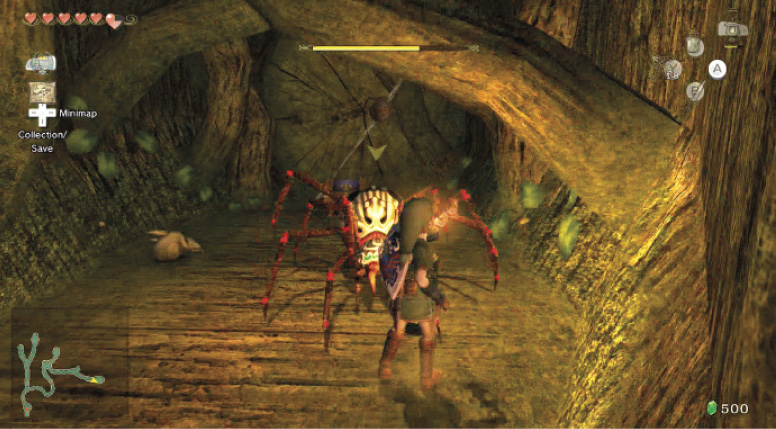
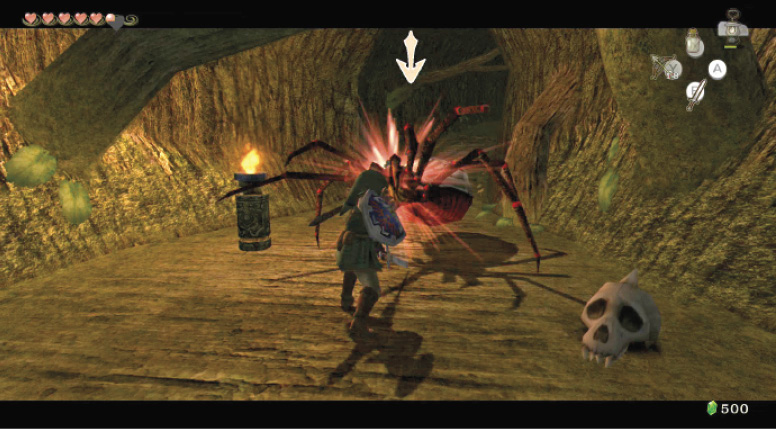
Return to the torch chamber and head into the unexplored southeast passage. When the trail splits apart for a second time, use your Lantern to burn away the spider webs so you may continue along the southmost path.
Another Skulltula guards a treasure chest at the southmost passage’s end. There’s an unlit torch nearby; light it so you may stash your Lantern and conserve its fuel, then punish the Skulltula for standing in your way.
Overworld Chest #16:
Purple Rupee (50)
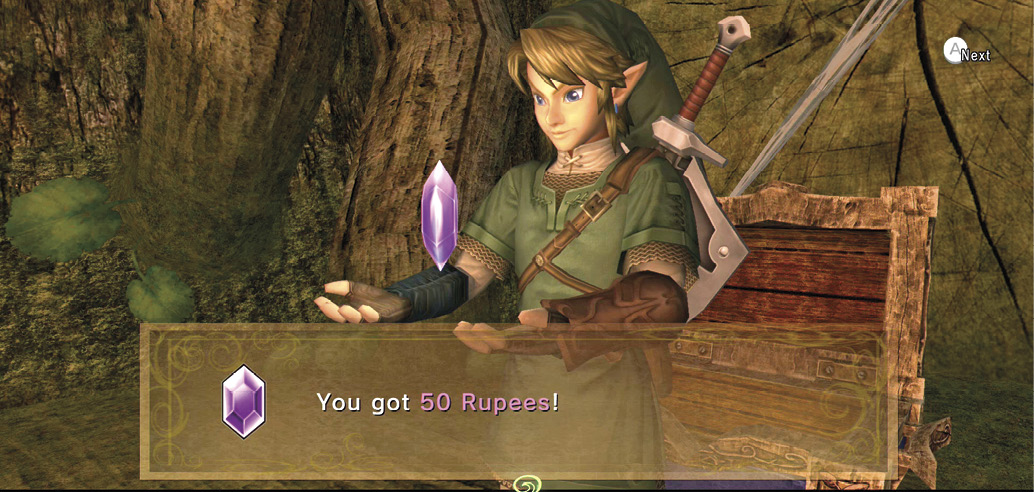
After dealing with the Skulltula, open treasure chest #16 for a Purple Rupee (50). You can also collect a Blue Rupee (5) by smashing the small pot that’s suspended by thin webs above the chest, and a Heart by breaking the skull on the ground nearby.
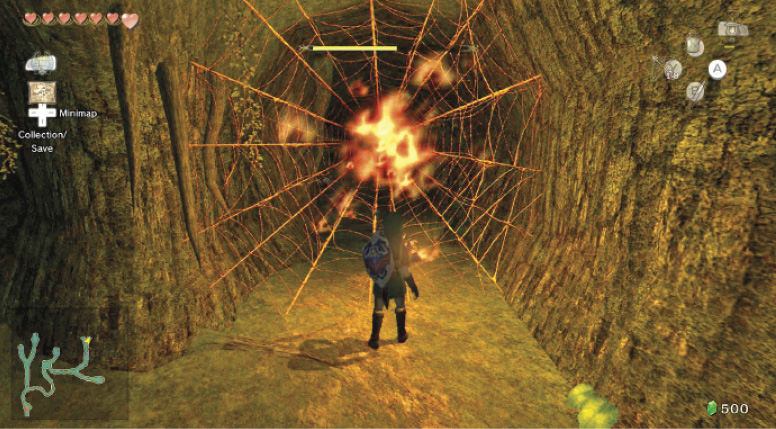
Return to the last fork you encountered and make a hard right to explore the tunnel that runs north. When the trail splits, burn away the right spider web to proceed up the northeast passage.
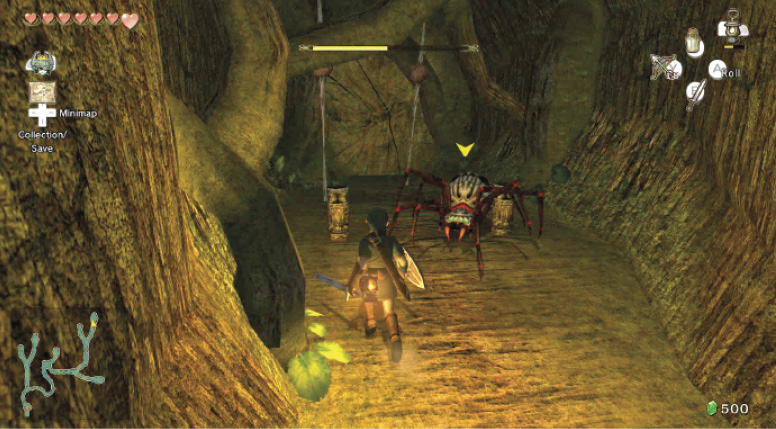
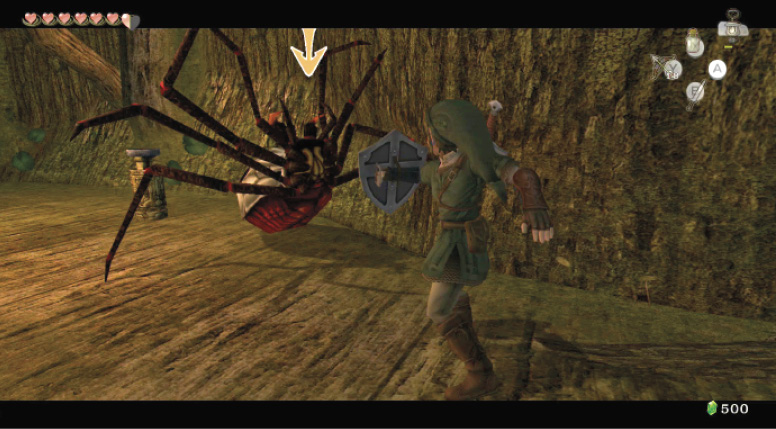
Lantern Cavern I’s big prize is at this passage’s end, but you’ve got to go through a Skulltula to get it. Two torches stand near the Skulltula; light one of them so you can put away your Lantern, then defeat the Skulltula and light the other torch to cause treasure chest #17 to appear.
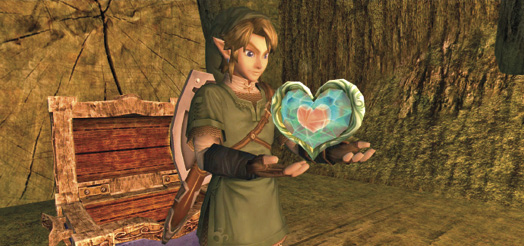
Open treasure chest #17 to claim Piece of Heart #14. You only need one more piece to complete another Heart Container! Smash open the two pots in the webs above the chest for a Blue (5) and Yellow (10) Rupee.
Overworld Chest #17:
Piece of Heart #14
 Piece of Heart
You got a Piece of Heart! Collect one more for another full Heart Container. Piece of Heart #14 of 45.
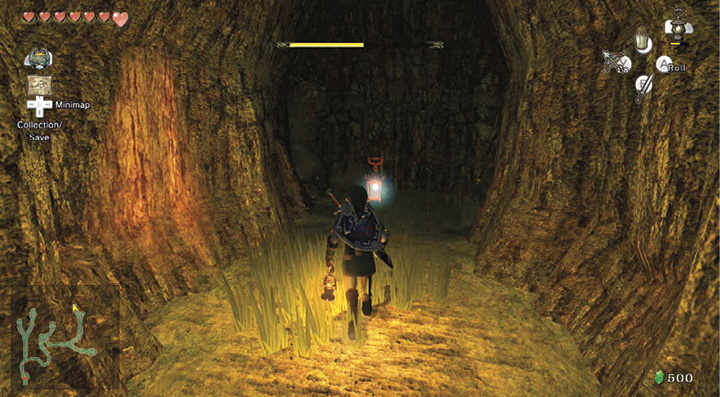
There’s only one thing left to do in Lantern Cavern I, and that’s explore the tunnel that runs parallel to the west. There isn’t much point in doing so unless you’re able to transform into wolf form at will, however; all you’ll find is an Imp Poe, whom you can’t harm in human form.
Chu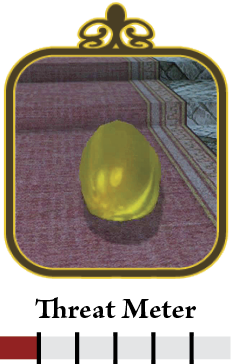 That gloopy jellylike entity is a Chu. It bounds along the ground, without aggression. Chus are useful because, like the Bomskit, you can harvest their dispatched forms: scoop an empty bottle when you defeat the Chu to receive a special jelly. 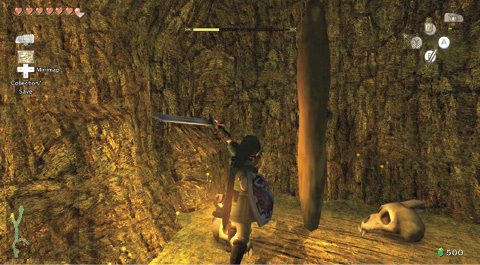 Chus come in Yellow, Blue, Red, Purple, and (in rare cases) Gold colors. If they merge, they become Purple.
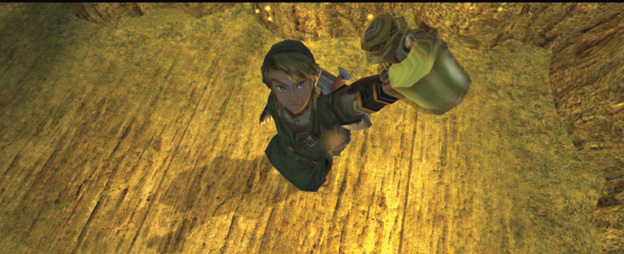 Chu Jelly has a variety of properties:
|
Imp Poe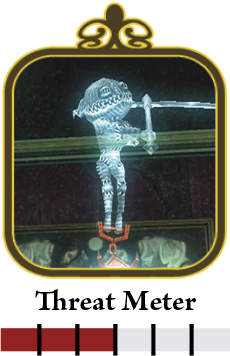 The floating lantern you encounter in this cavern is the indication of a spirit presence: the Imp Poe. You cannot see the Imp Poe in regular vision; you must see with your sense view on, in Wolf form. The creature appears to you. For the moment, back away, and come back to fight another day! 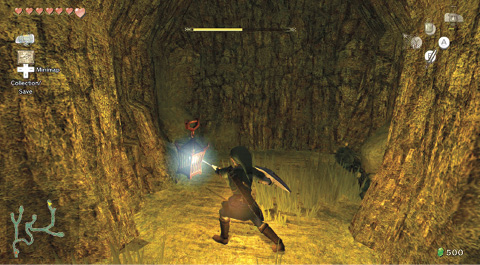 The Poe is a vicious, invisible Imp with a nasty disposition! Back away from this fiend until you figure out a way to take him down. 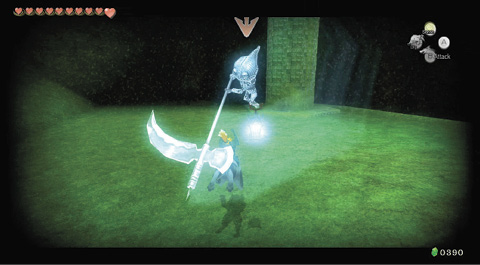 This is what the Imp Poe looks like! Now you can tell what’s striking you; it’s an ethereal scythe wielded by a mischevious ghoul. |
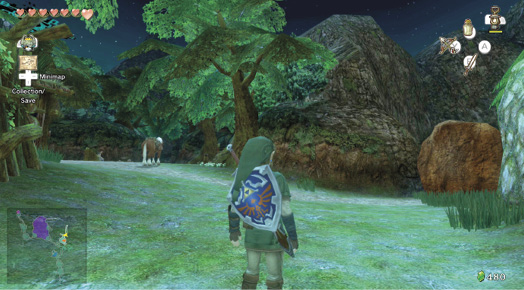
After you emerge from the Lantern Cavern, head back to Faron Province and blow that rock up near Coro’s house. Inside is a small woodland dell, with a gnarled tree, a strange owl statue, and some grass you can swipe for various green Rupees (1), and a blue one (5). This area becomes relevant later.
|
The large, rubble-filled passages that lead away from Hyrule Field (south) to the north cannot be destroyed by bombs. They are blocked for the moment. |