The Legend of Zelda: Twilight Princess HD Guide Dungeon 8: Palace of Twilight
Task 3: Obtain the Second Sol Sphere
Chamber 5: East Wing: Lower Chamber
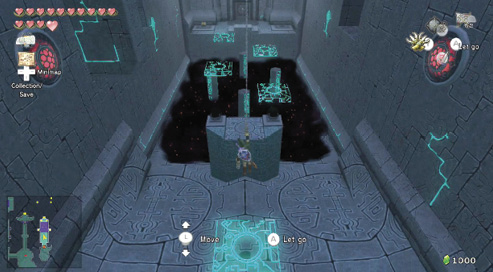
Enter another long lower chamber, this time on the palace’s opposite side. Deal with the Twilit Keese and then drop to the lower ground. Look up to the sides of the chamber, and aim a Clawshot at the medallion and another at the medallion on the ceiling. Lower yourself down to a light platform you can ride.
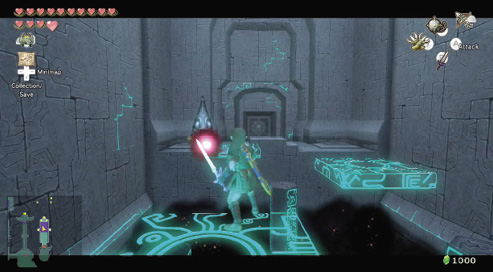
Be sure you land on the platform, as it begins to move before you’re standing on it. Ride the platform to this platform with two dark Spheres on either side. They don’t light up when you strike them, so concentrate on bouncing an energy ball back at a Zant Mask up ahead. He disappears. Now quickly leap across the light platforms.
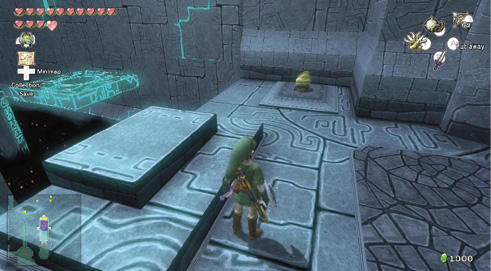
Treasure Chest: The Zant Mask will likely appear again, so dodge his attacks and attempt to land on the ledge opposite the light platforms. Slash the Mask so it departs temporarily, and then inspect the chest it was guarding. There’s a purple Rupee (50) in it for you.
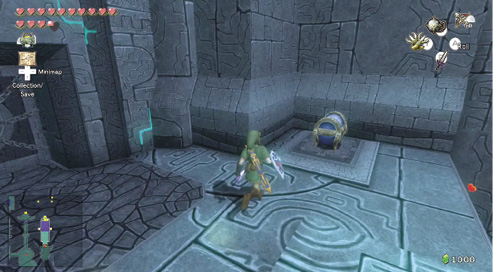
Treasure Chest: Now wait for the Zant Mask to appear on this upper ledge, and defeat it. You’ll know when you succeed because another chest appears, in the corner opposite the one where you found the previous chest. Grab the Small Key in here. Now leave via the door to the north, using the Small Key to unlock the door.
Treasure Chest #6:
Purple Rupee (50)
Treasure Chest #7:
Small Key
 Small Key
You got a Small Key! This opens a locked door, but only in this area.
|
There are two more chests in this chamber, but wait until you have a more powerful way to part the clouds of shadow before attempting to open them. |
Chamber 6: East Wing: Middle Fog Chamber
Enter this fog-filled chamber, and you’re immediately attacked by two Twilit Messengers. If you defeat them, they rise again, indicating there’s a third to destroy. Run into the shadow cloud so you turn into wolf form, then defeat one of the three Messengers. Finally, use Midna’s area attack to catch the second and third Messengers (and a Twilit Keese if he gets in your way).
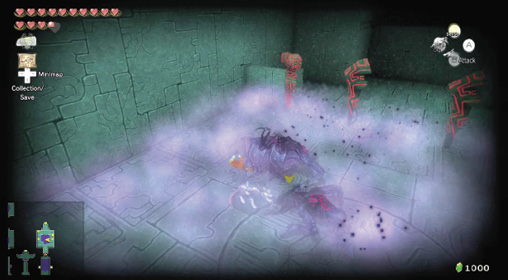
Stay in wolf form and begin a long combat with three Zant Masks. Stay in the fog with your sense view on, and leap to bash each of the Masks, dodging their energy balls easily.
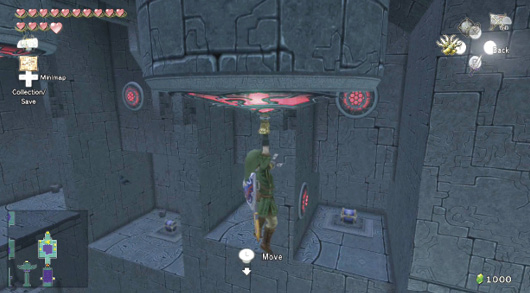
Treasure Chest: After you defeat all the Zant Masks, a chest appears, but don’t head for it just yet. Instead, transform into Link, and aim at the medallion in the chamber’s northeast corner. Then shoot another Clawshot to the medallion on the ceiling. Finally, look west to this alcove, and Clawshot to this small chest. The Zant Stamp awaits. You can optionally Clawshot to the alcove directly opposite, but there’s only an empty pot here.
Treasure Chest #8:
Zant Stamp
Treasure Chest: Continue your high-flying plans by Clawshooting to the middle of the ceiling and looking west. The large ledge contains a chest. Propel yourself above it, drop down, smash the pot for arrows, slay the Twilit Keese, and then take the Dungeon Map from the chest.
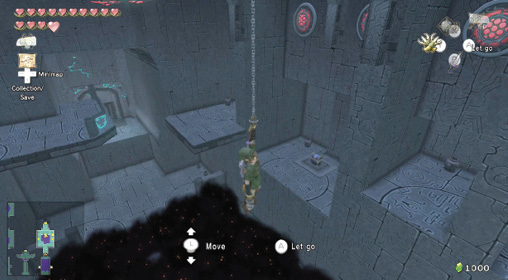
 Dungeon Map
You got the Dungeon Map!
Treasure Chest #9:
Dungeon Map
Treasure Chest #10:
Purple Rupee (50)
Treasure Chest: Keep the Clawshot on hand, and propel yourself back to the middle of the ceiling. Search for the alcove in the chamber’s eastern section. A small chest awaits you here. Drop in and open it.
Treasure Chest: Now for the final chest in this chamber; propel yourself back to the middle of the ceiling, spin around to face east, and Clawshoot again, dropping to the ledge to get your final chest. The pots don’t hold anything, but the chest gets you into the next chamber.
Treasure Chest #11:
Small Key
Small Key
You got a Small Key! This opens a locked door, but only in this area.
Missing Links
1. Pulverizing Pottery
You may be striking the pots near the chests, but there are certain alcoves that contain pots that have something special for you; smash the one in the southwest alcove for a red Rupee (20).
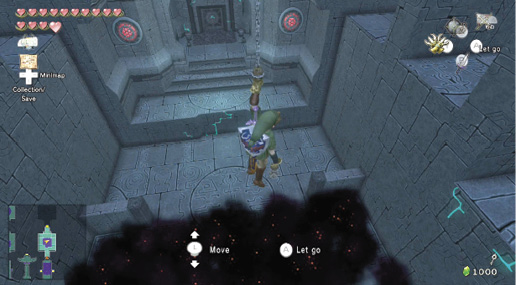
Time to leave! To avoid touching the fog below, swing from the medallions: Aim at the ceiling and head north, dropping down via medallions to the ledge. Before unlocking the door and leaving, get another red Rupee (20) from a pot near the door.
Chamber 7: Upper Chamber of Sol Light (East) (1F)
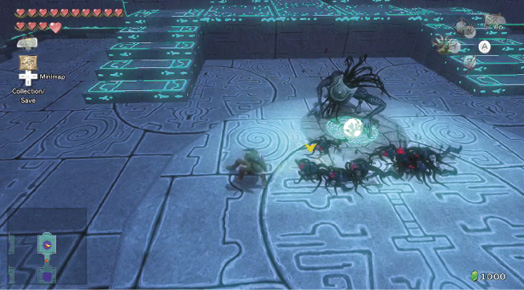
You walk into another chamber with a glowing Sol Sphere at the far end. As you walk to the Sphere, an energy wall forms. You approach cautiously and realize at the last moment that Phantom Zant has appeared behind you! You thrust but miss, and dark denizens are summoned….
Phantom Zant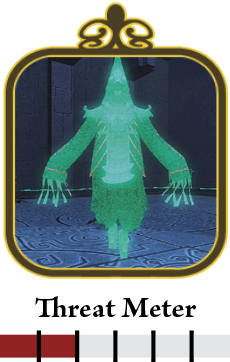 Step 1: Phantom Zant has appeared again, and this time he’s summoned a dozen Twilit Babas to stop you. Begin to spin attack all the ones near you as Phantom Zant teleports around the arena. Don’t chase him; simply slash him if he appears near you. Stay in the middle and you can strike him a couple of times. 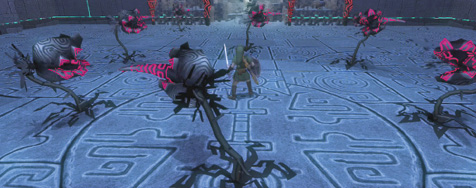 Step 2: Phantom Zant removes the Twilit Babas you don’t defeat, so don’t bother defeating them all; instead, run to the perimeter and collect Hearts from the pots, and then return to the arena’s middle. Wait for a dozen Twilit Vermin to descend, and immediately execute a spin attack before mopping up the rest. Step 3: Repeat Step 1 again, dealing with another load of Twilit Babas. After these have disappeared, Phantom Zant begins his own attack pattern. Keep looking for him and stay in the middle. When he stops for longer than a second and summons a large energy ball that begins to split into a group of energy balls, roll or run under the attack. Then hit him with a spin or a constant barrage of swipes. He may vanish and attempt the energy-ball attack again; repeat the takedown tactic, and Phantom Zant is vanquished again! |
Avoid the remaining shadow cloud and smash the pots on either side of the Sol Sphere at the chamber’s north end. There are Hearts and a blue Rupee (5) to bag. Slap the hand with your sword, and take the Sphere to the room’s middle. Drop it into the groove as you’re attacked by Twilit Vermin and a Messenger. Then run up the stairs, grab the Sphere with your Clawshot, and flee to the southern door.