
The Legend of Zelda: Twilight Princess HD Guide Dungeon 7: City in the Sky
Task 5: Battle the Aeralfos
Chamber 13: Basement Fan and Battle Chamber (B3)
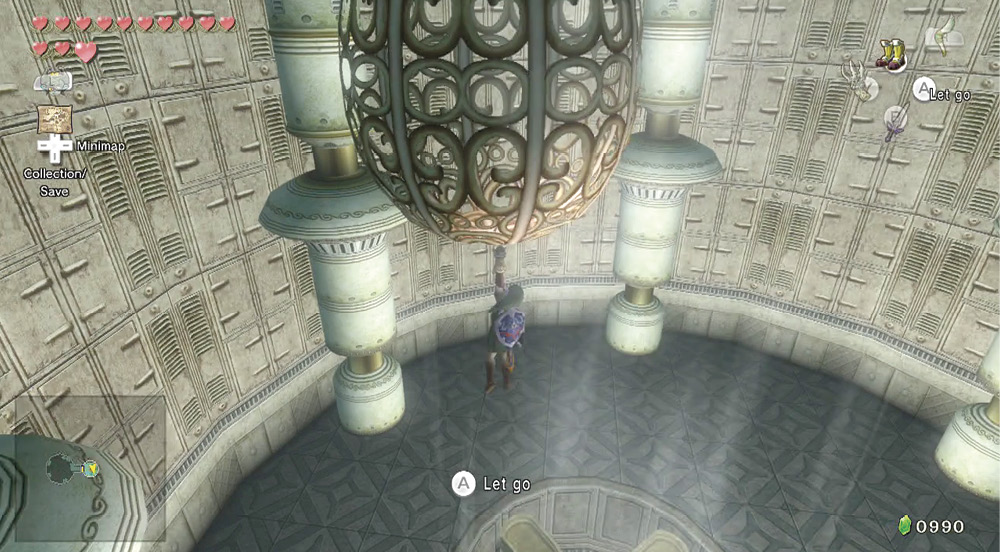
Chamber 13 is a small circular room. The pottery around the perimeter provides the regular items: Hearts, arrows, and a blue Rupee (5). Of more interest is the bulb handle above a roaring fan. Clawshot to the handle, and equip your Iron Boots to shut the fan off. Then lower yourself down through the now-still fan blades.
Aeralfos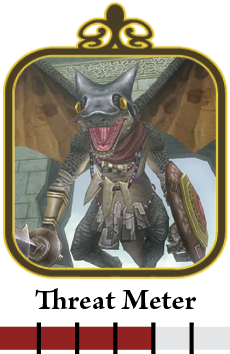 Step 1: The Aeralfos is an airborne creature with great speed and nasty attack patterns. However, he is incredibly susceptible to the following strategy. First, ZL target the creature. When he’s flying like this, wait. 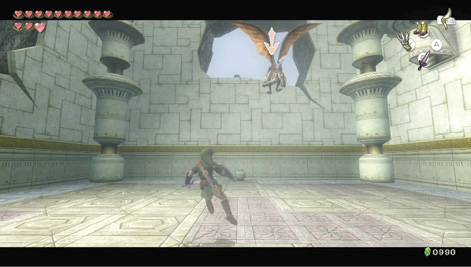 Step 2: As soon as he changes his pose, flapping his wings quickly and shielding himself, he’s preparing for a nasty swooping charge! 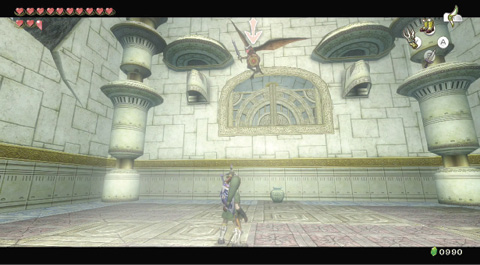
Step 3: As soon as you see him change pose, launch a Clawshot straight at the shield. You pull the Aeralfos down and expose his belly. Quickly unsheathe your sword and really bash and slash the foe, getting at least four good strikes on him. He flies up to the ceiling, and Step 1 begins again. 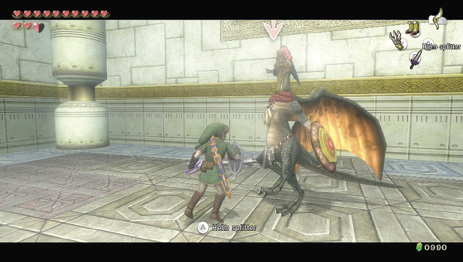 After four or five collections of slashing, the Aeralfos flies off! He soon comes back and tries a huge airborne charge. Circle your camera around the room to constantly check each of the openings on the upper walls of the room. When you see him re-enter the room immediately ZL target him and use your Clawshot to pull him down to the ground. If you get the Aeralfos on the ground and he’s blocking, either use your Back Slice or Shield Bash (followed by the Helm Splitter) techniques to break his guard. If you don’t have either of those, just keep swinging away; you have a chance of getting a few hits in even when he has his shield up. Keep this up until he falls. |
Missing Links
1. Pot Luck
After (or during) the combat, there’s a load of pottery to smash around the arena sides. However, there’s some on the holes in the walls too, and the best way to bring these items—usually yellow (10) or blue (5) Rupees or Hearts—is to aim with the Gale Boomerang.
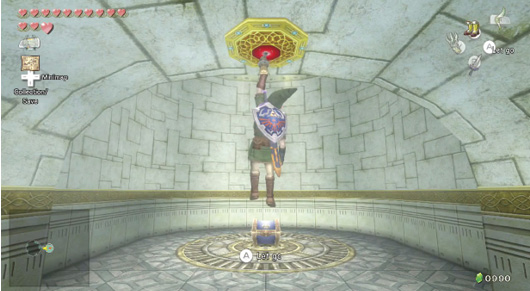
Treasure Chest: Once you’ve destroyed all pottery look west, as a gate has opened. Clawshot up to the medallion, and run to the chest. Inside is what you’ve been waiting for: a second Clawshot, which doubles your shooting prowess!
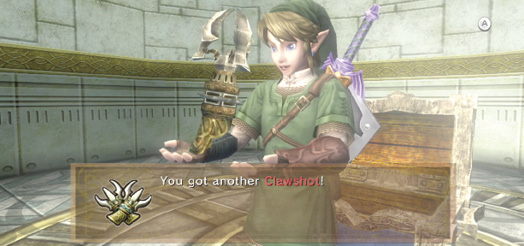
The Double Clawshot is possibly the finest pair of items ever seen in the land of Hyrule!
Treasure Chest #8:
Double Clawshot
 Double Clawshot
You got another Clawshot! Now you’re holding a pair! They’re Double Clawshots!
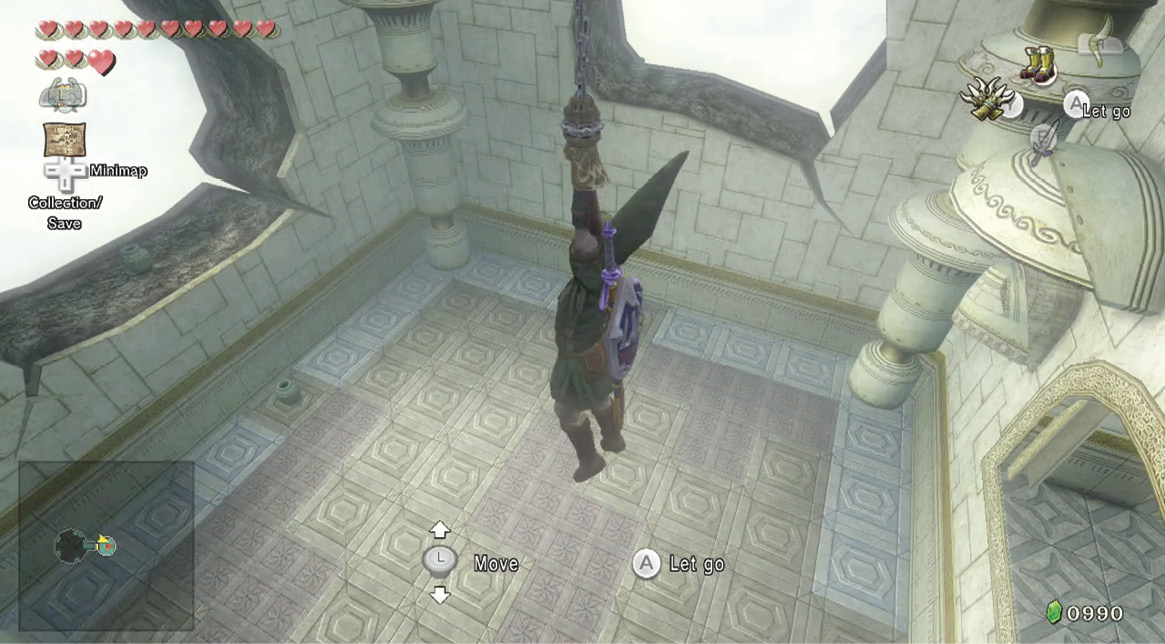
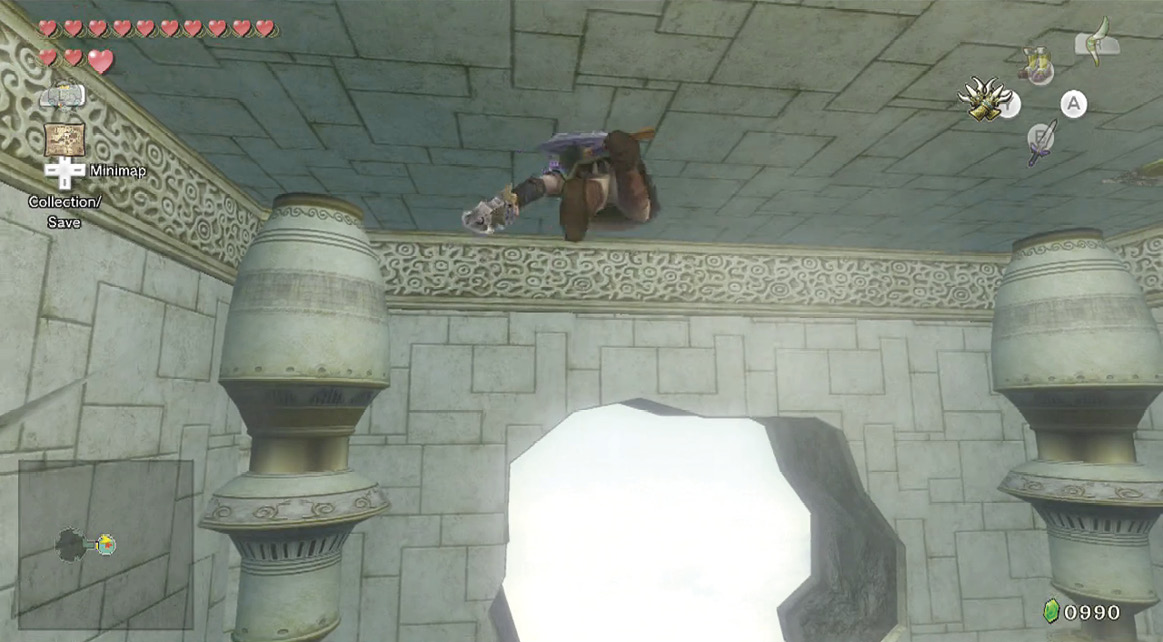
The Double Clawshot allows you to hang from a medallion or other vertical grating or vine and raise or lower yourself with up and down. However, in addition, you can aim (either manually or with ZL targeting) to a second medallion, grating, or vine, and propel yourself around rooms without touching the ground. You can do the same (except for raising or lowering) from horizontal vines, gratings, and medallions. This is an excellent new toy; equip it now!
|
Use your Double Clawshot and fire it at one of the ceiling medallions, then face west and shoot at the vine in the fan hole. Propel yourself up and out, then return to the tower.