
The Legend of Zelda: Twilight Princess HD Guide Dungeon 1: The Forest Temple
Task 6: Save the Sixth Monkey
Chamber 3: Fifth Return to the Wind Gorge
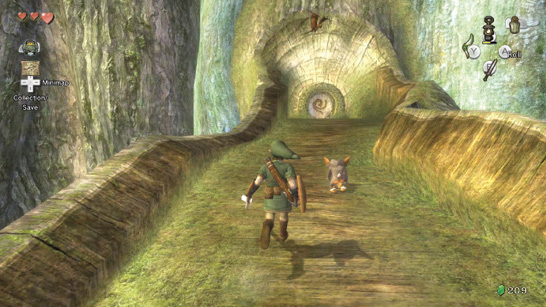
There’s no need to produce your Boomerang here; the wind moves the platform to allow north-south access, so run northward, and meet up with the fifth monkey you saved over on the west side of this gorge. Follow him to the door and enter.
Chamber 5: First Return to the Wind Bridge Crossroads
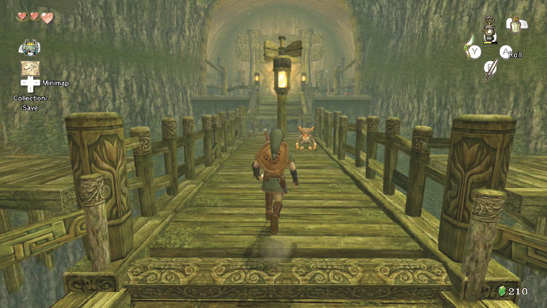
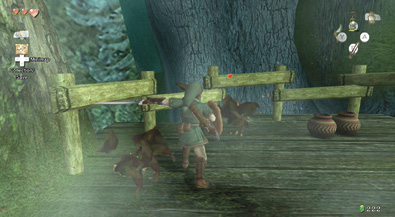
Pass the open chest, and optionally smash the pots, then stand at the edge of the wooden platform, with the gap in front of you. Don’t fall off! Bring out the Gale Boomerang, target the fan atop the bridge platform, and spin it 90 degrees to connect the north-south route.
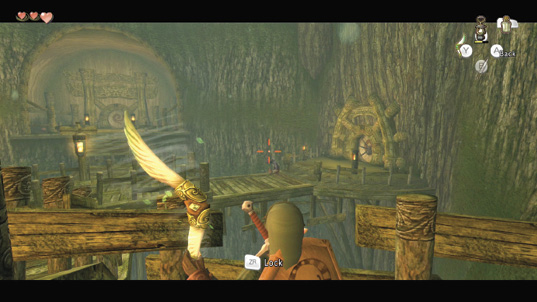
Ignore the two Bokoblins on either side of you (or shoot them with your Slingshot), and race northward so you have an open view of the platforms and doors to the east and west. Now take out the Gale Boomerang and mess with those Bokoblins. Target one to draw their attention, and watch as it runs at you and falls off into the inky darkness! Now exit via the north door.
|
You don’t have the key for the door in this chamber yet, so press northward instead of checking out the side chambers. |
Chamber 11: The Giant Forest Tree Chasm
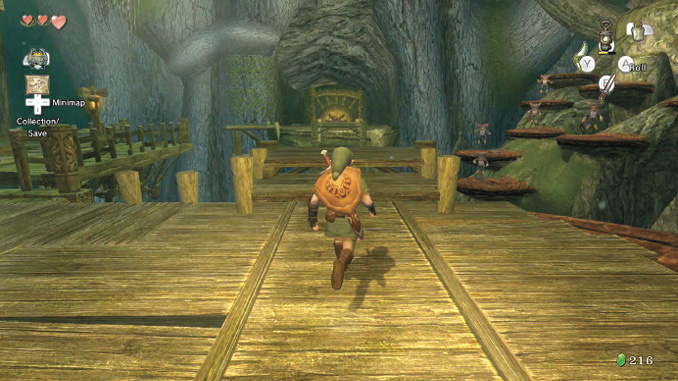
Enter a huge and cavernous chasm, where the monkeys you’ve assembled have leapt to a gigantic tree, and are sitting on the large fungal growths waiting for a complete collection! The way north is completely blocked, so turn left.
Head onto the bridge platform, and spin the fan once with your Gale Boomerang. Next, run onto the second bridge platform, then use the Boomerang to spin this second structure so it faces west to east, allowing you access to a cliffside and large vine wall.
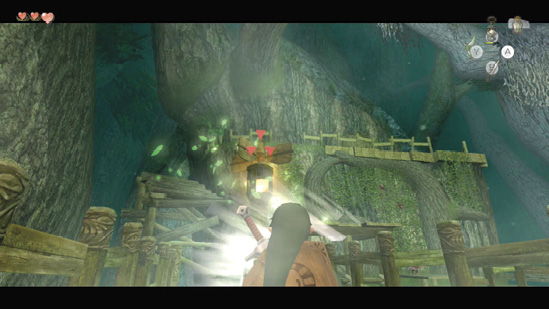
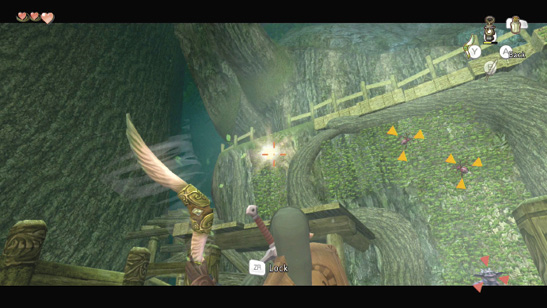
Hop off the bridge and assault the Bokoblin at the base of a large vine wall, then bring out the Gale Boomerang once again, and target up to three Walltulas on the vine wall. Scrape them off with a thrown Boomerang, then begin to climb the wall.
|
If you want to grab the items each Walltula drops, target the last one twice, or wait until you’re near the wooden ledge before you dispatch it. |
|
A vine wall leads down off the edge of the lower deck you’re standing on—beware! This leads to a long drop into the bottomless pit! There’s no way to reach the northern area currently. |
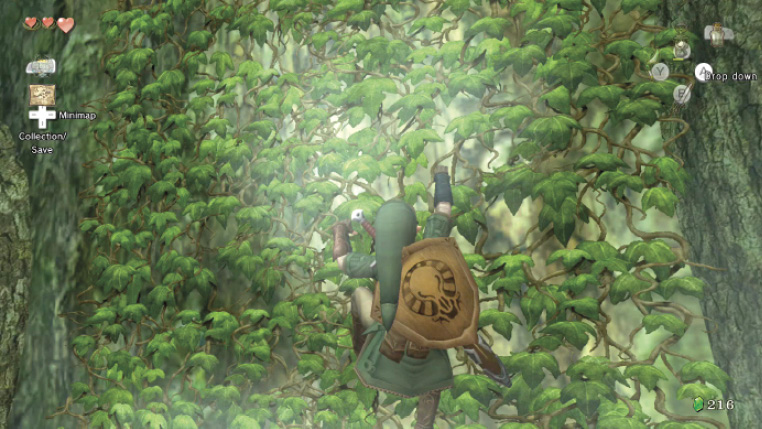
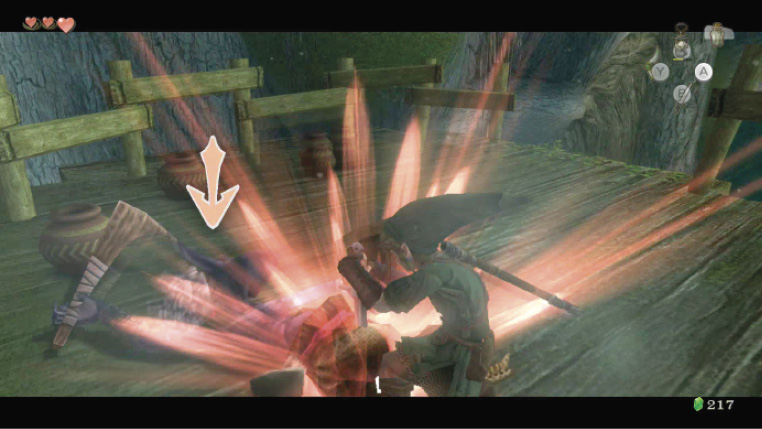
Climb up the vine wall, sidestepping, then dropping down to the ledge. Take care of the third Walltula if you didn’t already, then climb up the smaller strip of vines. Struggle to the grassy rock ledge at the top, and optionally survey the chamber from here. Then engage a lone Bokoblin in a bout of swordplay before finally exiting via the western door.
Missing Links
1. Grass and Pottery Slicing
As with many of the other dungeon rooms, this one has grass and pots, both on the rock ledge before you exit. Rupees and Hearts are available here.
Chamber 12: Waterlogged Cavern
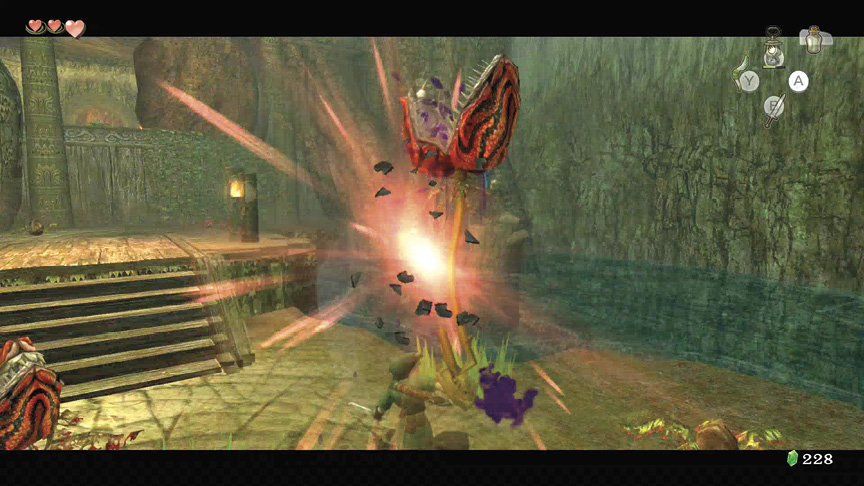
Enter this oddly quiet, waterlogged chamber, and bring out your sword; two Baba Serpents must be defeated! Once you’ve slashed them into the ground, stop and check out the area to your left. A Deku Like sits on a small stepping stone.
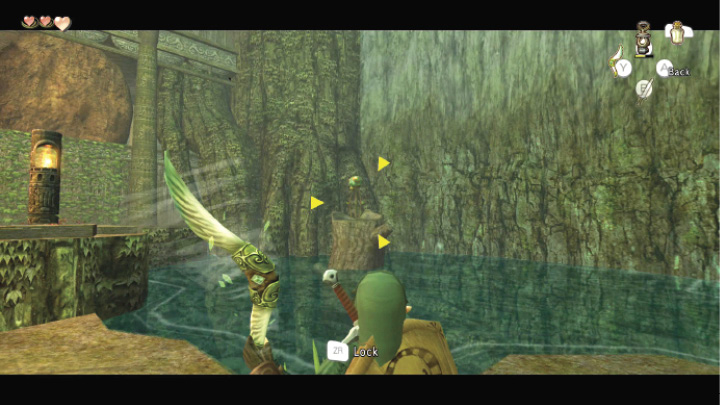
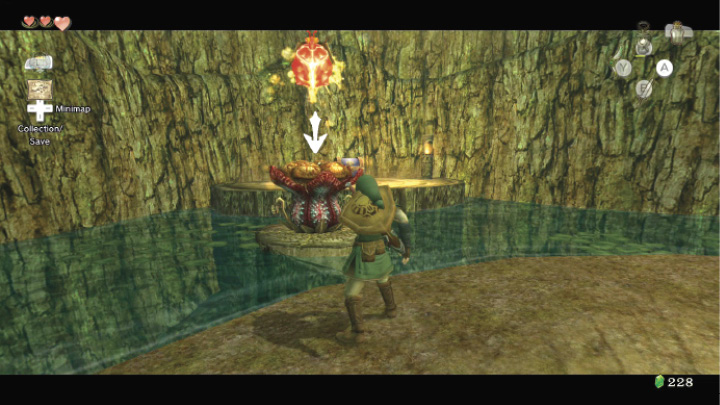
The stepping stone leads to a ledge that’s too high to reach from the water if you swim there, so removing the Deku Like is your priority. Fortunately, there’s a Bombling peering out of a tiny island on the other side of the chamber! You can’t stand on the island, but you don’t need to. Simply target the Bombling with your Gale Boomerang, bring the bomb back to your hands, turn, and throw it quickly into the Deku Like (don’t forget to ZL target)!
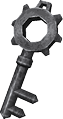
Treasure Chest: Whooph! The Deku Like explodes, allowing you to cross onto its stepping stone, and onto the ledge with a treasure chest on it. The prize is well worth your effort: a Small Key that can open the door back in Wind Bridge Crossroads (1E).
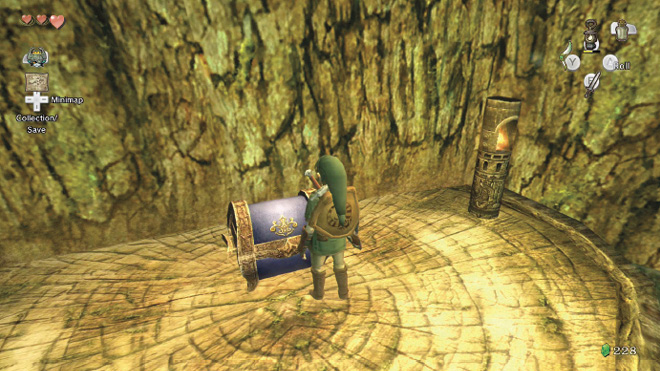
Treasure Chest #12
Small Key
 Small Key
You got the Small Key! This opens a locked door, but only in this area.
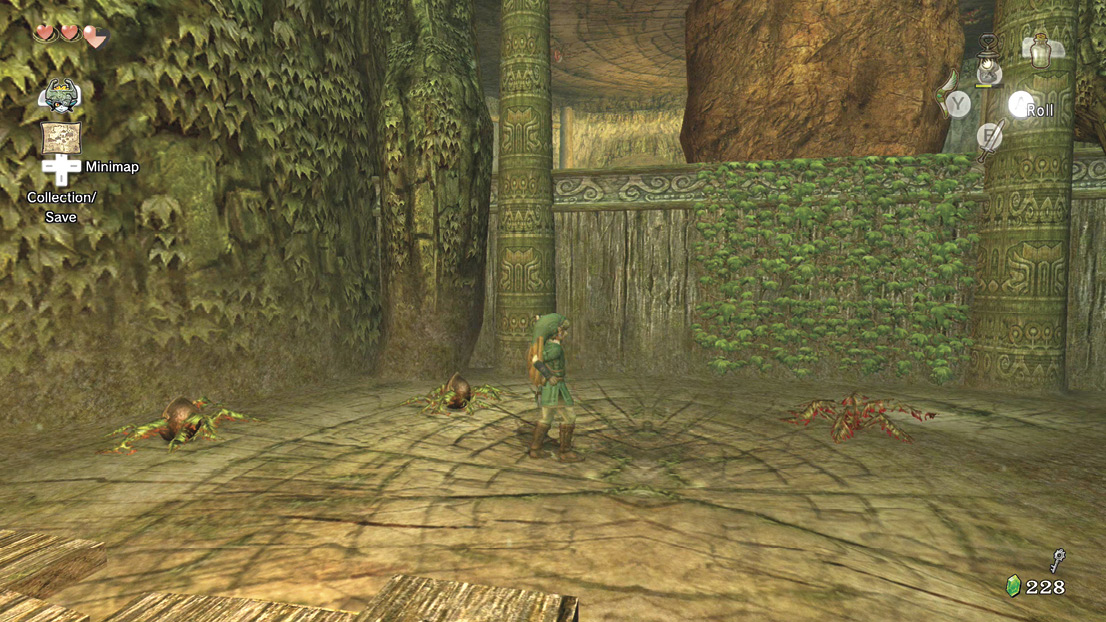
You can now visit the rest of this chamber, heading over the wooden bridge, and bringing out your sword to administer a beatdown on a nasty Baba Serpent.
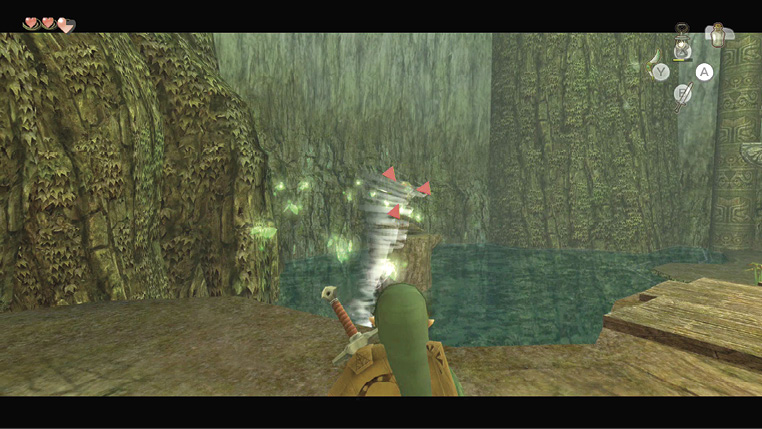
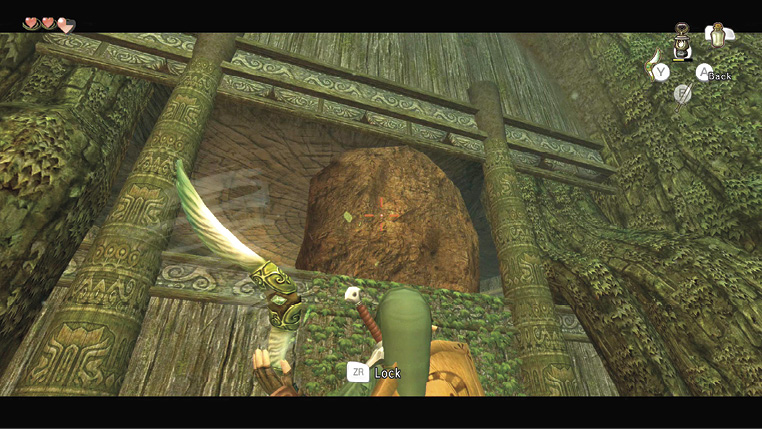
Next comes another puzzle; a small vine wall leading to a boulder blocking your path. With your knowledge of Bomblings, solving this is easy; target the same Bombling hole you did earlier, but manually target the boulder with a second lock-on. Launch the Gale Boomerang and watch the bomb head from the island and explode into the boulder!
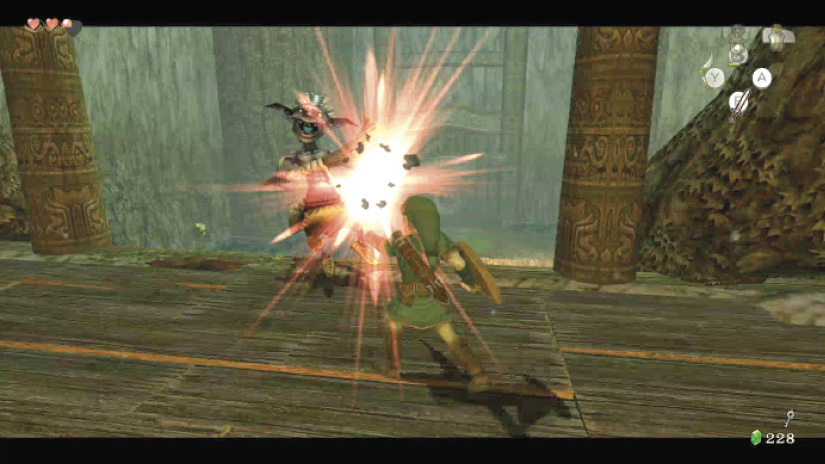
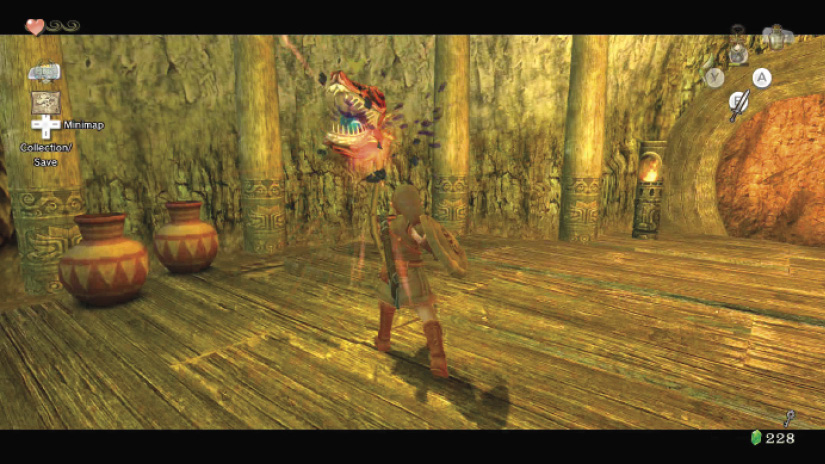
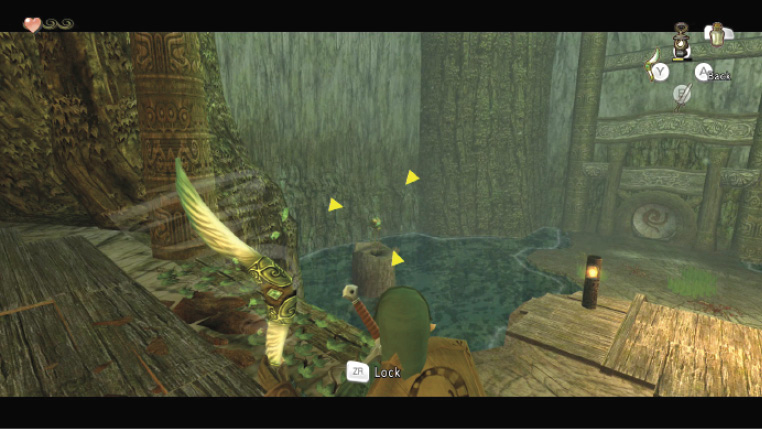
With the boulder shattered, climb the vine wall, and enter a wooden grotto area. Head straight for the Bokoblin and slice it down, then watch out for your first fight with a Baba Serpent peering down from the ceiling! Execute a couple of jumping attacks to separate the stalk from the head, or back up and target the stalk (not the head) with your Gale Boomerang. There’s a second Baba Serpent on the opposite side of the grotto.
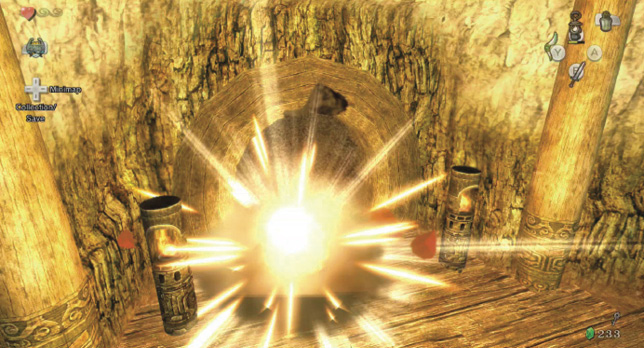
A monkey is behind that rock doorway, and the only way to free him is to bomb it open. However, if you target the Bombling, then the doorway, the bomb explodes en route.
Instead, stand at the edge of the grotto, and just target the Bombling, catch the bomb, then run and lob it at the door. This does the trick, and the grateful monkey scampers out to greet you!
Missing Links
1. Pottery and Deku Nut Pulverizing
This chamber has Deku nuts on the far side of the bridge near the last Baba Serpent, plus many pots in the grotto. Don’t forget the yellow Rupee (10) inside the monkey alcove! Unfortunately, the lily pads don’t usually give up any cash if you swim through them.