
The Legend of Zelda: Twilight Princess HD Guide Dungeon 4: Arbiter's Grounds
Task 4: Locate and Defeat the Fourth and Final Poe
Chamber 9: Lair of the Ghoul Rat
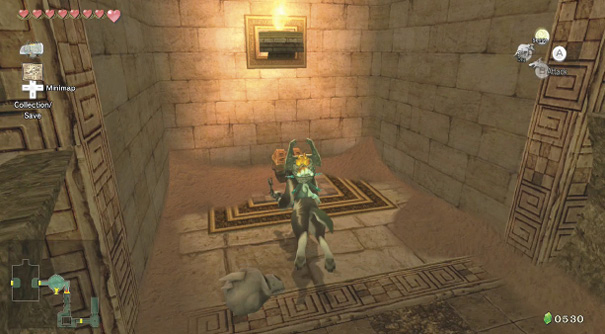
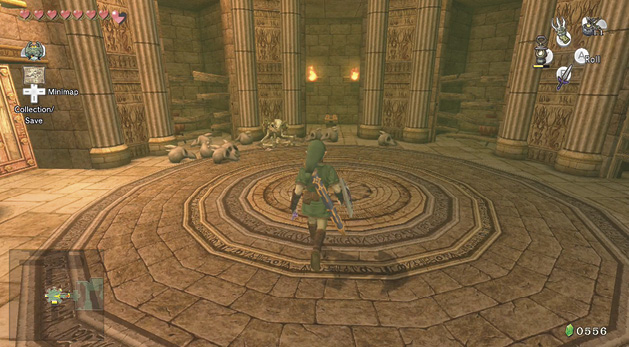
Treasure Chest: After that fraught fight, you need a breather, so head northward to the end of the corridor, and open the door. This leads to a circular room with a stepped area. Everything is eerily (and suspiciously) quiet! Smash a few skulls and pots then look south. There’s a chest in the southern alcove.
Treasure Chest #7:
Small Key
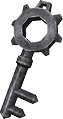 Small Key
You got a Small Key! This opens a locked door, but only in this area.
Ghoul Rat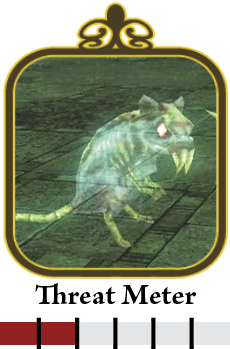
Step back into the center of the chamber, and you realize you’re covered with gruesome Ghoul Rats. They don’t actually harm you. They just slow you down, leaving you open to other creatures! Transform to the wolf, turn Senses on, and spin attack to shake them all off. Then pounce or bite to finish the stragglers. 
|
Chamber 4: Second Return to Grand Ceremonial Hallway (2F)
After the Ghoul Rats exit via the door in the opposite wall. The Small Key you just acquired lets you through. You return to the Grand Ceremonial Hallway, only this time you’re looking out on the second floor. The third torch is lit! Now leap across to the chandelier, as the Poe’s Scent shows that the Poe passed through the door opposite. Leap again, and leave via this western door.
Chamber 10: Chandelier Chamber II (2F to 1F)
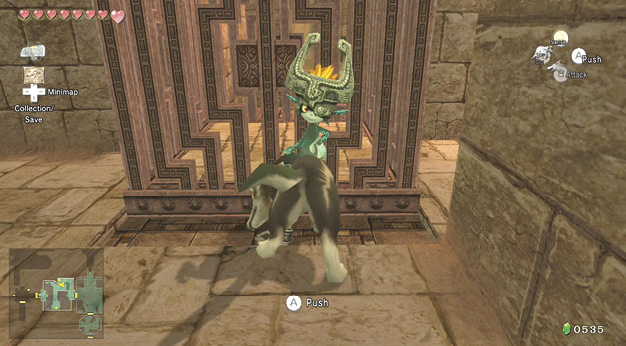
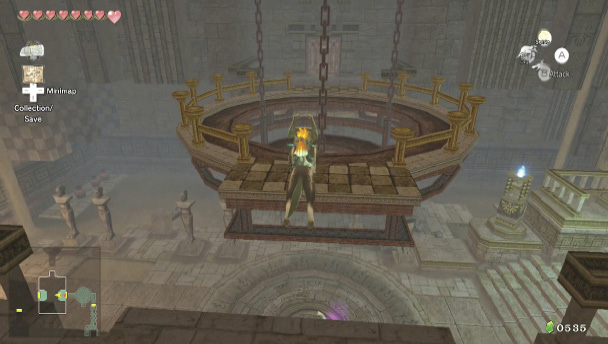
You appear on a balcony overlooking another large chandelier and sand. The scent is wafting south, through an opening on the far side. To get to it, turn and head down the steps, and then leap to another gated cube with a stone top. Drop down and push it westward until it slots into place.
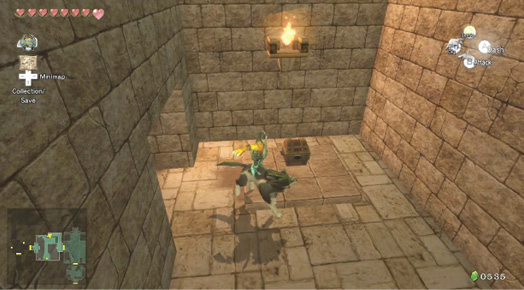
Treasure Chest: This allows you to scrabble up and onto the cube and yank a chain, but don’t attempt this yet. Moving the cube allowed you to enter a small passageway with a chest just inside. The passageway leads back to a couple of Bubbles, and some scenery to smash, and then to the Grand Ceremonial Hallway. You could have opened this chest earlier, but this is the most optimal path, so open it now. Now return to pulling the chain out from the wall to lift the chandelier.
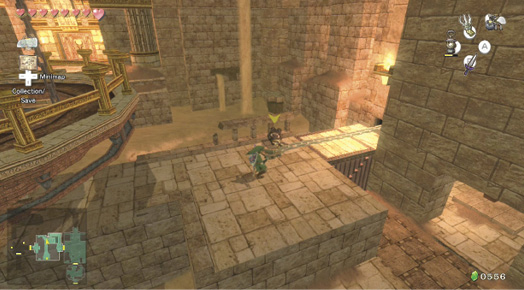
However, when you’re halfway through this maneuver, you’re attacked by some leaping Moldorms from the sand below! Drop down to the small stone floor on the other side of the cube, and Clawshot all the Moldorms. Once all the enemies are defeated, try the chain once more!
Treasure Chest #8:
Red Rupee (20)
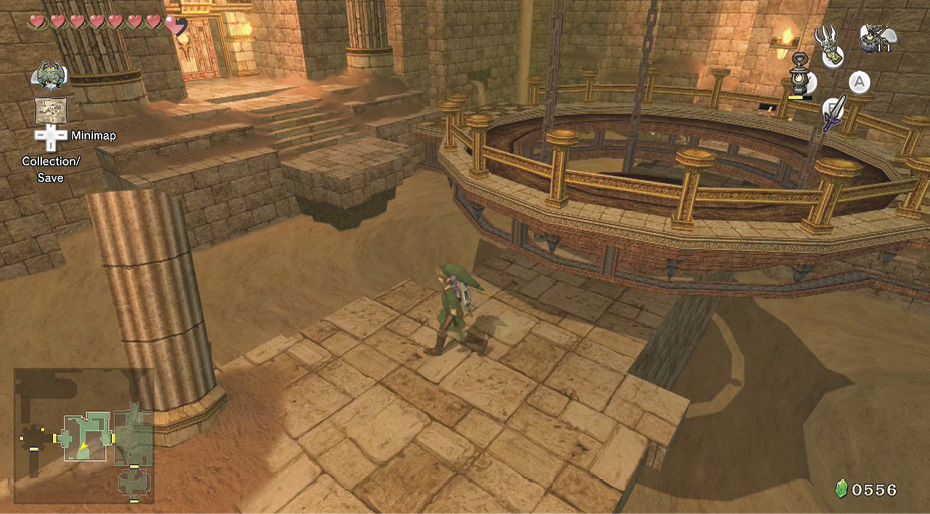
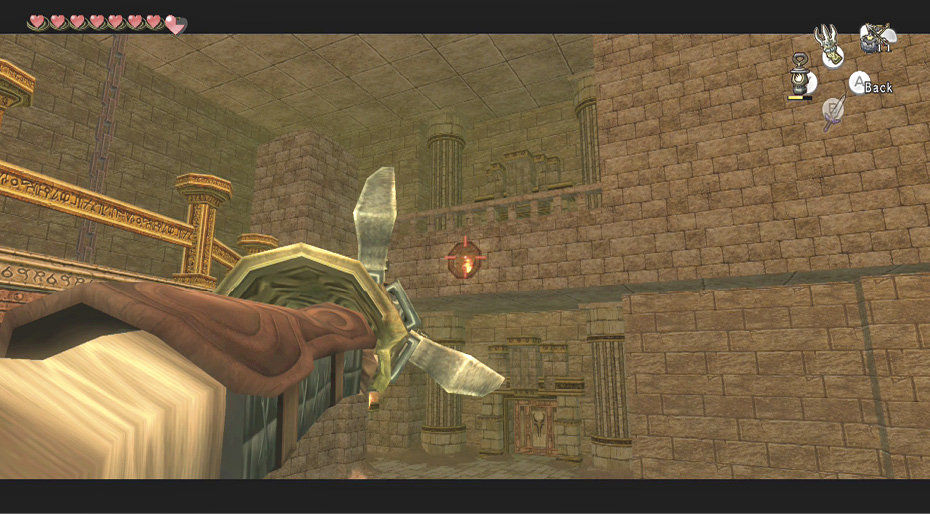
Treasure Chest: The chandelier slowly ascends from the stone platform, and once you’ve pulled as far as you can, release the chain and run south to the edge of the room, where you can break open a chest for yet another Stamp! To return to the chain (because you’re stuck—the chandelier has blocked your path), aim at the Clawshot medallion on the eastern wall, drop down, head up the passage, and climb back onto the cube.
Treasure Chest #9:
Surprised Midna Stamp
|
Have you filled even the Big Wallet with your Rupee hunting? Then put your Magic Armor on, lessen the burden on your Wallet, then open the chest again, if you must open and successfully store every item in this dungeon! |
When the chandelier is fully extended, run and stand in the middle of it (the lower stone square indicates where this is), and let the chandelier drop around you. Then climb on it, face west, and move to the edge. Leap across the gap, and exit via the unlocked door where the Poe’s Scent is drifting through.
|
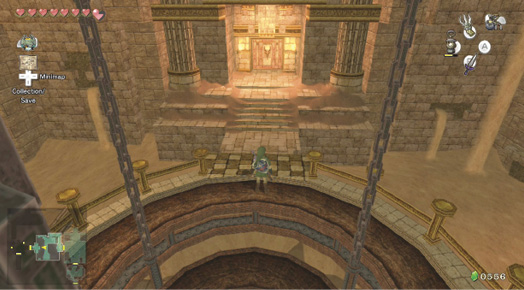
If you look carefully, you see an additional Clawshot medallion on the north wall. This is for adventurers who are returning through this chamber. You’re not about to get lost, so don’t worry about retracing your steps! |
Chamber 11: Star Chamber of the Stalfos (1F to 2F)
Stalfos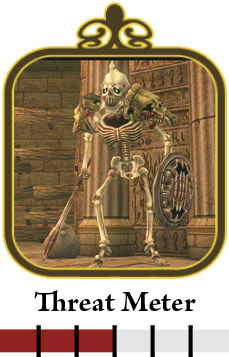
Hack the wooden planks aside, and step into a star-shaped chamber with many alcoves. As you investigate this chamber, what appears to be a fallen foe rises up from the ground, bony hand gripping a large and vicious-looking blade! This is the fabled Stalfos, and he’s invincible! Well, nearly. Just ZL target him, fire a bomb arrow, and he drops in a second! Simple, effective, and the only way to stop him from reanimating: defeat with bombs only! 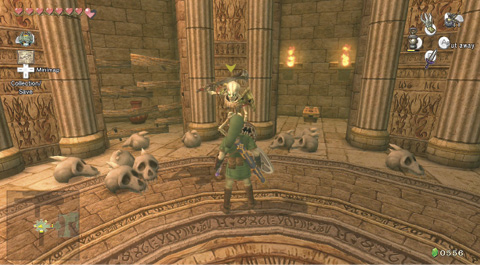
This fearsome warrior keeps coming back for more! That is, until you explode him! |
|
If you don’t have bombs, search the alcoves for them, then shield attack, knock the Stalfos down with a barrage of sword strikes, and lay a bomb on his remains. This is the long way to defeating him! |
With the Stalfos defeated, you can inspect the room. There are two chests in this area, and both house bombs in case you didn’t have any when you arrived. Spend a few moments smashing pots and skulls for the usual items, and then open both chests. The bars on the exit door were removed when Stalfos fell, so exit.
Treasure Chest #10:
Bombs (5)
Treasure Chest #11:
Bombs (5)
Small Key
You got a Small Key! This opens a locked door, but only in this area.
Chamber 12: Shrine to the Snake Deity (2F)
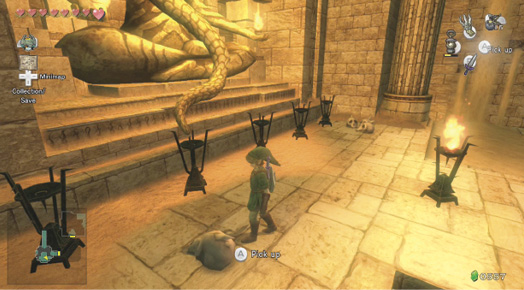
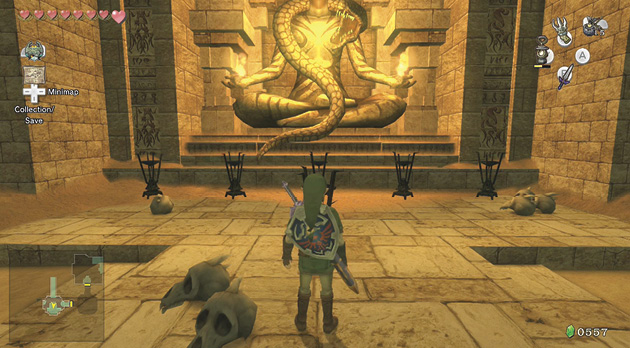
Head south up the stairs, following the scent trail, which floats left, and disappears into a wall in the eastern part of this shrine. A giant statue sits with a snake wrapped around her. In front are five unlit torches in a line, and one in front of you. Light any of the back torches, except the one on the far left, and a dozen Stalkins rise from the sand, and advance!
There’s some sort of order to this torch-lighting business, so switch to your sense view, and you’ll see the Poe’s Scent wafted against the front torch, and the back left one. Light these two torches only, and the wall rumbles open.
Chamber 13: Chamber of the Fourth Poe (2F)
Poe Soul #41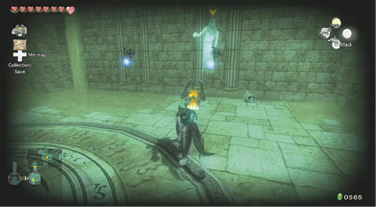
Head into the chamber where the last Poe’s Scent took you, and look at the four lanterns. One is swaying a little differently, so face southeast and challenge this entity to battle! He splits into four identical forms, who circle and attack! Fortunately, the real Poe shines brighter than his three clones, so ZL target him, and launch into a bite. Do this again until the Poe deflates. Then smash some scenery and leave by the north door.
|
 Poe Soul