The Legend of Zelda: Twilight Princess HD Guide Dungeon 7: City in the Sky
Task 4: Fly to the Great Wind Tower
Chamber 12: Oocca Flying Room (2F)
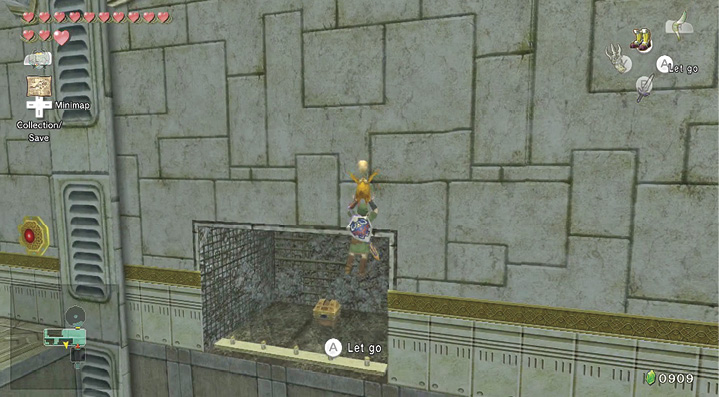
Treasure Chest: Head north into a chamber directly above Chamber 10, but with no access to it. Put down the Oocca, and look up. There’s a handle to Clawshot to and activate. This unlocks a gate in the south wall, with a chest behind it. Grab another Oocca, run into the gap above the lower middle floor section, and aim for the updraft. Turn around, fly into the ledge, and open the chest.
Treasure Chest #6:
Red Rupee (20)
Treasure Chest: Drop down to the middle area, and ride the updraft to the upper floor area opposite. There’s a broken wall to the north, and a Clawshot medallion on the south. Ignore them both, stand on the updraft vent, and ride the Oocca to the far end of the chamber where another chest resides.
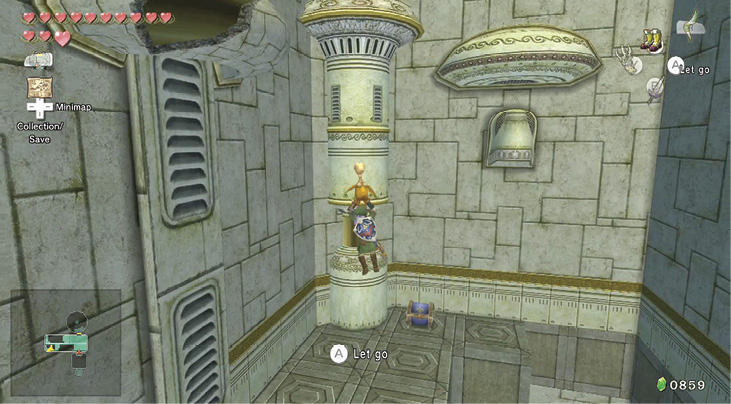
Treasure Chest #7:
Purple Rupee (50)
|
The Clawshot medallion is necessary only if you fall down into the lower floor area near Treasure Chest #7. Fight the Helmasaur down here, then propel yourself back up. |
Time to fly again! Pick up an Oocca, stand on the vent near the broken wall, and fly northward, turning east in an arch, and landing on another vent with three pots on it. Each pot holds a blue Rupee (5).
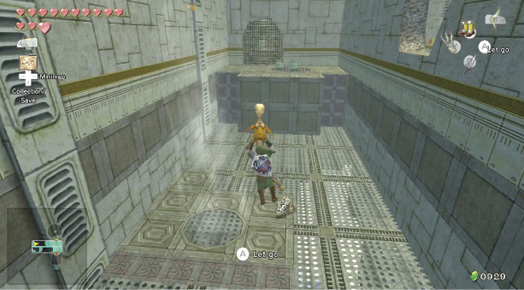
The updraft vent isn’t working, so turn and face west with Oocca in hand, and fly to the central vent. Ride it up, then aim for the floor under the ornate handle. Clawshot up to it, which releases the air in the vent. Head back there, and use this new blast of air to ascend through the hole in the east wall. The last part of this chamber holds nothing of interest (the pots are empty). Head through the door to the north.
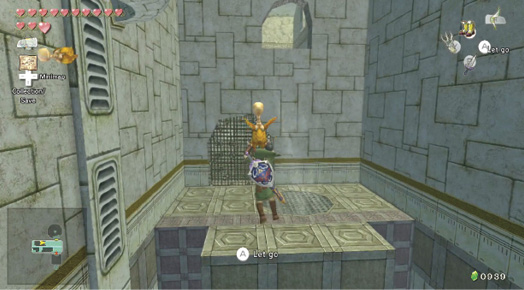
Chamber 9: The Great Wind Tower (East) (2F to 1F to B1 to B2 to B3)
You emerge in the Great Wind Tower. This is actually the second time you’ve been here—the first time was when you obtained the Dungeon Map. Now you’re on the other side and must methodically descend. Start by smashing the pots to your left for a yellow Rupee (10) and Hearts. Then optionally fly to these pots on the central pillar. Drop and grab the ledge. The usual prizes are inside: a blue (5) and yellow (10) Rupee.
Look to the west side of the room to find another Clawshot switch. Shoot it with your Clawshot to be pulled over to the west side of the room and to open the gate below. Grab an Oocca, and run off the ledge.
Drop to the ledge opposite, on the tower’s first floor. There’s a Deku Baba growing here. Stun it with a Clawshot.
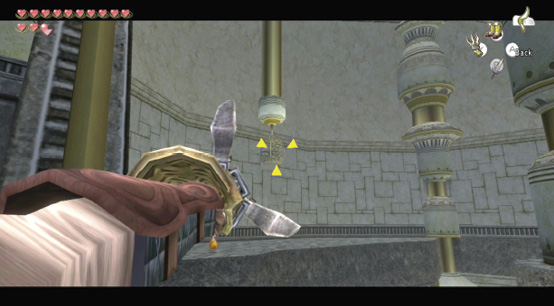
From your current vantage point, turn and point yourself and an Oocca friend west, and fly to the small ledge with the two pots. You’re now on the B1 level of this structure. Fall and land on the ledge, crack both pots for a yellow (10) and blue (5) Rupee, and turn to look east.
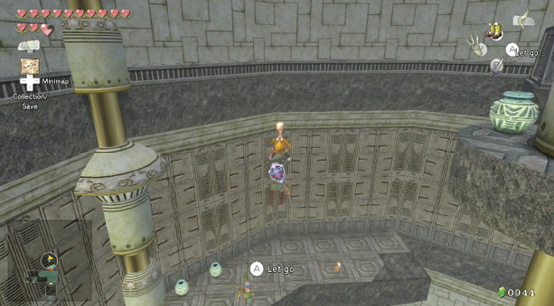
|
You may have noticed a large bulb-like handle in the center of this chamber. Don’t journey to this yet, as you can’t do anything except fall into the clouds after you hang onto it! |
Face east and use the Oocca to float down to lower level ledge with the Deku Baba on it.Land and deal with a Deku Baba, and smash the two pots for a Heart and blue Rupee (5).
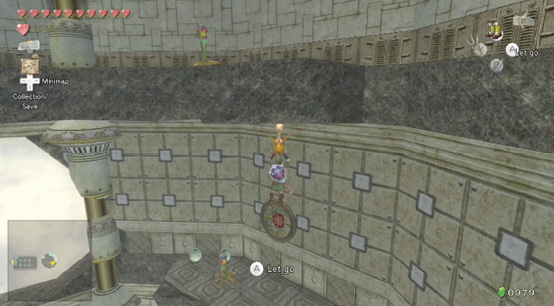
Your final descent leaves you at the very bottom of the tower, on floor B3. Look over the ledge’s right edge and Clawshot to the small ledge underneath. Then turn and run south, to the door in the tower’s eastern part. You’re out!