
The Legend of Zelda: Twilight Princess HD Guide Dungeon 3: Lakebed Temple
Task 2: Open the Locked Door in the Hub Chamber
Chamber 5: Lakebed Column Hub (2F to 1F to BF)
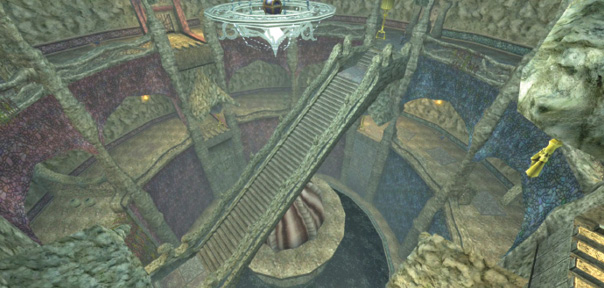
After you defeat the Lizalfos, walk to the north door, and enter the interior column. This reveals itself to be a huge circular room, containing handles, doors, a large staircase you can turn with those handles, vine walls, pots, chests, and more! You can spot a chest on a chandelier, above the large staircase.
|
Don’t run around pressing stuff. Interact methodically with the scenery to avoid getting lost, confused, or worse! |
|
The purple and blue floor tiles point to gaps you can investigate, handles you can pull, or doors you can enter. Follow these if you get lost. |
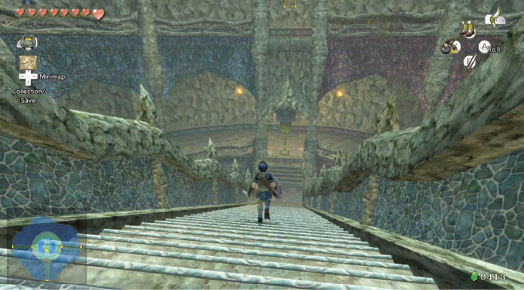
You can spot a locked door on the east side of the circular balcony you’re standing on, but a wall draped in scales and skin doesn’t allow you access here. You need a key first anyway, so step forward, and head down the stairs (you can’t drag that gold handle yet).
|
You’ve descended to the first floor (1F) of this dungeon, as your map indicates. |
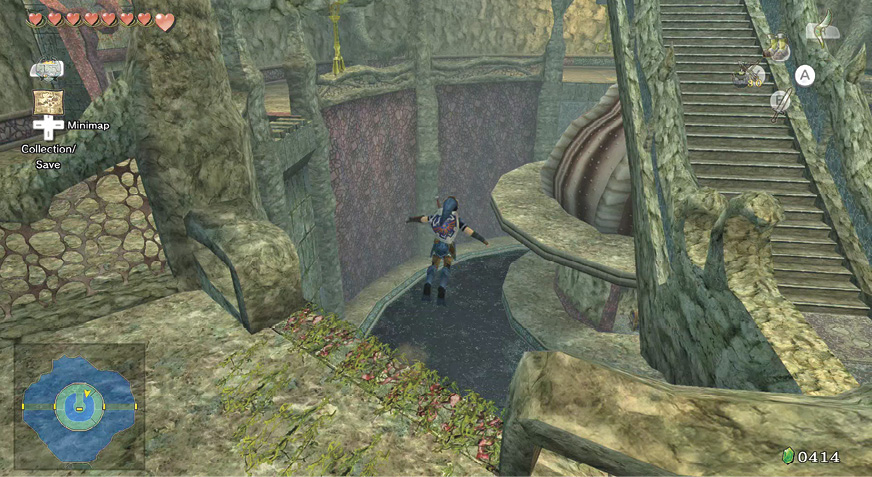
Down on the first floor, turn right if you feel the need to slice open pottery. Don’t worry about the chest on the scaly wall’s other side yet. Instead, optionally take a plunge, diving off a gap in the first floor balcony where you see vines.
You’ll land in a circular plunge pool that’s beneath the staircase. Dive into the murky waters to see the column that’s holding up the chamber above. A half-dozen horrible little fish also bite you!
Skullfish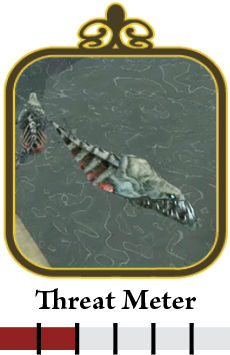
Skullfish inhabit this temple’s central pool. These nasty creatures swim at you to take a nip out of your hide. This only takes a quarter energy, but it’s still unpleasant. Simply swim away because you’re faster than them. Here are some ways to defeat them: 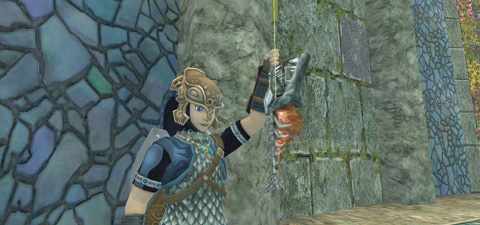
The least obvious is to get out your Fishing Rod! This isn’t a favored fishing hole, but you can catch Skullfish here, although they aren’t added to your Fish Journal. You get a Heart of energy for each fish you catch. The problem is you don’t dispatch the Skullfish and must throw it back! 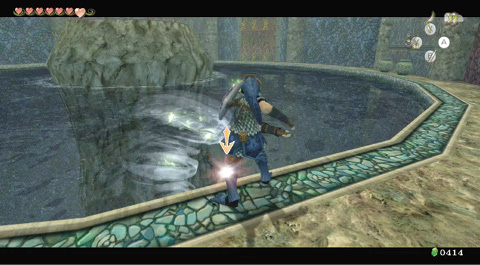
A better way to dispatch these Skullfish from dry land is to use your Gale Boomerang, targeting up to five fish at once (or auto-targeting), then throwing it. This is very effective. Your Hero’s Bow, a new item you’re about to claim called the Clawshot, and even dropped bombs also work. Finally, if you’re in the water, draw your sword and wear the Iron Boots, and tackle them from the deep (this doesn’t work in the plunge pool though, as the Skullfish swim above you). |
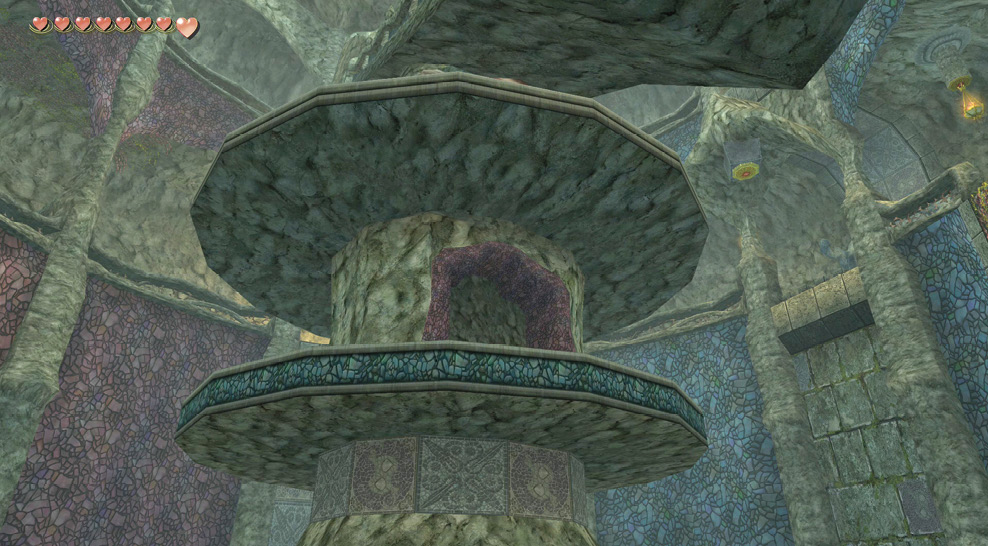
Ignore the Skullfish, walk to the plunge pool’s north side, and face south. Survey (press the Right Analog Stick in) the central column to discover an opening in it! Now that you’ve uncovered a few secrets you can’t reach yet, head onto the narrow ledge surrounding the plunge pool and locate the vine walls: one in the northwest and one in the northeast. You may need to dissuade a Tektite from attacking before you make the climb.
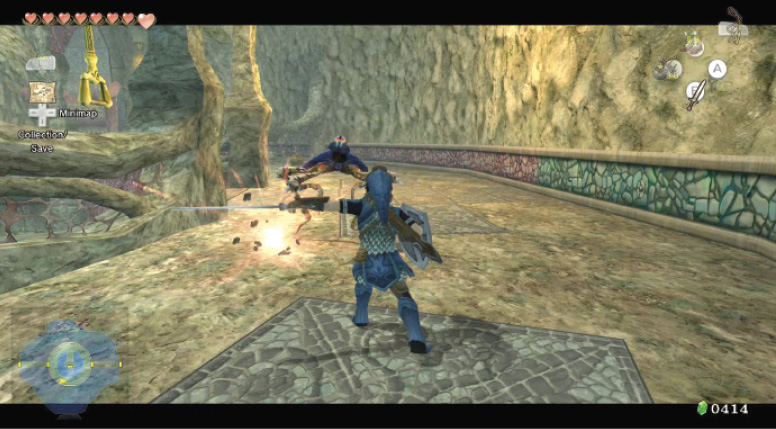
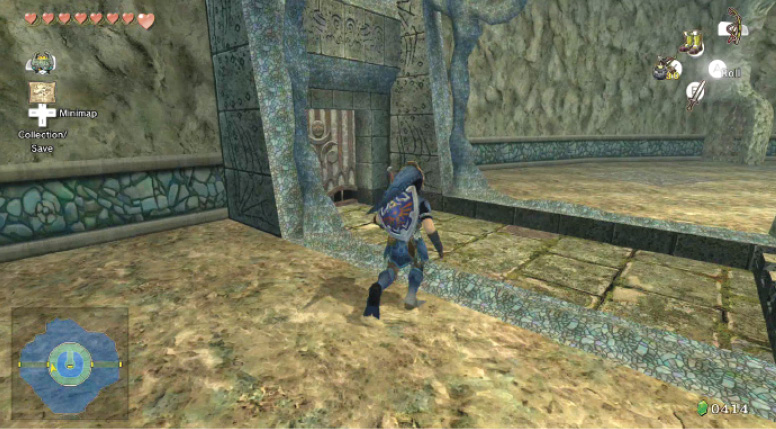
Treasure Chest: Either vine wall brings you up to the first floor. Continue around this ledge to the south, bringing out your sword to deflate a leaping blue Tektite along the way. Against a scaly wall in the southeast is a treasure chest holding more arrows. Open this, then return to an western door with a channel running below it. Perhaps this needs to be filled with water? For the moment, open this door.
Treasure Chest #4:
Arrows (20)
 Arrows
You got arrows (20)! Use arrows to shoot far-off foes.
Missing Links
1. Pulverizing Pottery
Destroy the ornate pottery for tiny prizes. Here’s where to find them:
- 2F: Against the scaly wall, to the entrance’s right: Rupee and Heart
- 2F: Against the scaly wall, to the left of the entrance: Rupees
- 1F: Against the scaly wall, northeast area: Rupee and arrows
- BF: On the narrow ledge surrounding the plunge pool, north area: Hearts
Chamber 4: First Return to Connecting Bridges (1F)
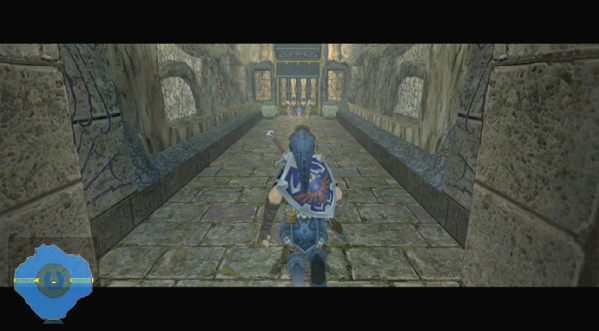
Unsheathe your Ordon Blade and prepare to strike a Tektite who’s leaping at you as you head west back into the Connecting Bridges area. This time though, you’re on the opposite side and one floor down. When you strike the Tektite, you see it was guarding a couple of pots (smash them to grab a Rupee and Heart), and a large waterwheel that you can’t move. Head back into the Lakebed Column Hub.
Chamber 5: First Return to Lakebed Column Hub (1F to 2F)
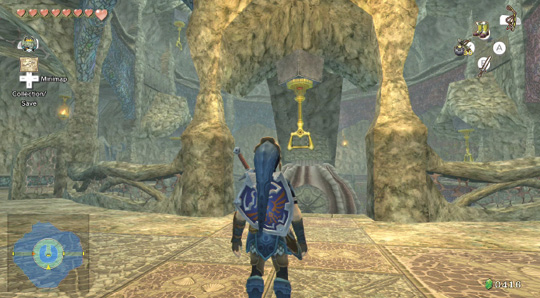
Return to the first floor Lakebed Column Hub, and head to the ledge’s southern part. Face north to see a gold handle you didn’t pull when you went for the treasure chest. Leap and catch it, and the staircase rotates 180 degrees. This allows you to ascend it. It leads to the north part of the second floor (2F)—the area you haven’t explored yet.
|
You may be rolling everywhere (as it is faster than running alone), but don’t roll up this staircase or you bump your head, slowing you down. |
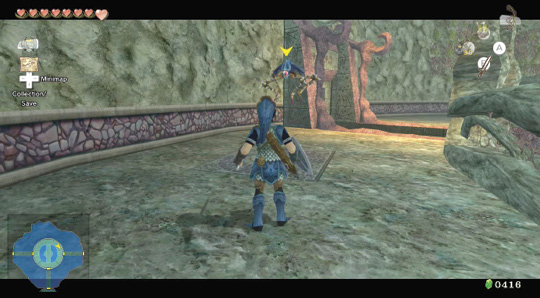
Make a left at the top of the stairs. You pass a door and encounter some pottery to smash on the other side of a scaly wall (inside are Rupees you can’t grab). Instead, turn right, and draw your sword to smite a Tektite hopping about this area. Step across a channel leading to a locked door, and run to the scaly wall where a single pot awaits. It’s shaking slightly. Pick it up and you discover your old friend: Ooccoo! You can now meet her son and leave the dungeon whenever you like!
 Ooccoo
You are reunited with Ooccoo! This kind character can let you out of dungeons and return you to where you were.
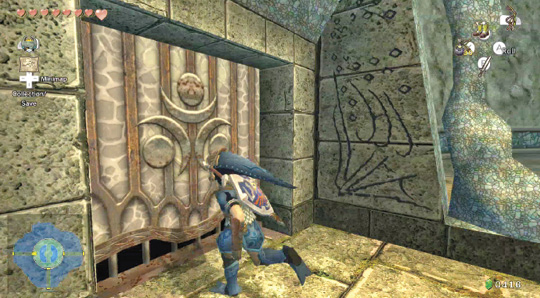
There are two doorways, each with a channel under it. The one to the east is locked. The one to the west isn’t, so move there. You’re about to enter another passage above the one containing the waterwheel you saw before.
Chamber 4: Second Return to Connecting Bridges (2F)
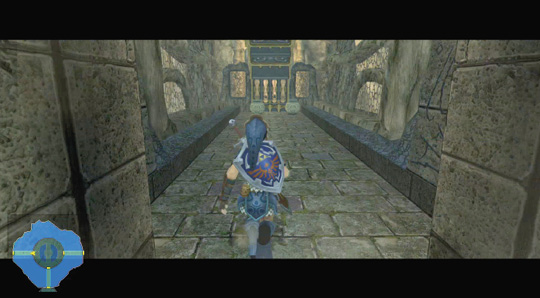
Enter this passage. There’s no Tektite, but otherwise this is similar to the one directly below you. It’s blocked by a waterwheel that won’t budge, and there are a couple of pots to smash for a Rupee and Heart. There’s little else to do except memorize this area.
Chamber 5: Second Return to Lakebed Column Hub (2F to 1F)
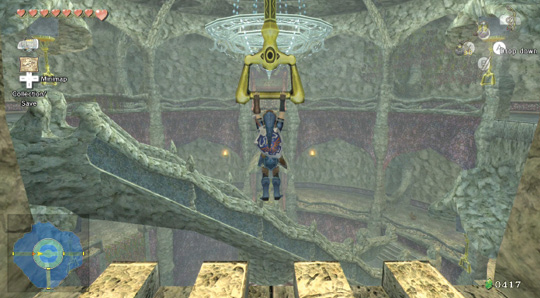
You’ve already moved the giant stone stairway 180 degrees, but now it’s time to point it west to east. Head out into the Lakebed Column Hub and grab the gold handle straight in front of you. The staircase grinds to this location. You can now head down the stairs, rolling if you wish, and moving directly east to an open door you haven’t explored yet.
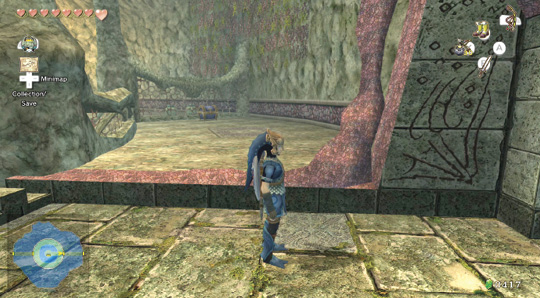
Before you leave this area, turn left, and locate the chest at the dead end. It’s the one you saw earlier, and it contains a useful item! Pick it up before you leave.
Treasure Chest #5:
Dungeon Map
 Dungeon Map
You got the Dungeon Map!
Chamber 4: Third Return to Connecting Bridges (1F)
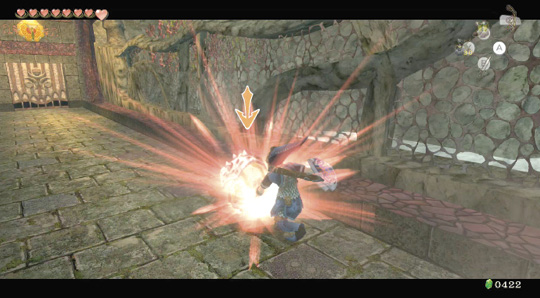
Enter the first floor passage heading east, and bring out your shield and sword to defend yourself against this nasty Helmasaur. Dodge its charge and poke it where it’s armorless, then open the unlocked door.
Chamber 6: Single Cog Cavern (1F and BF)
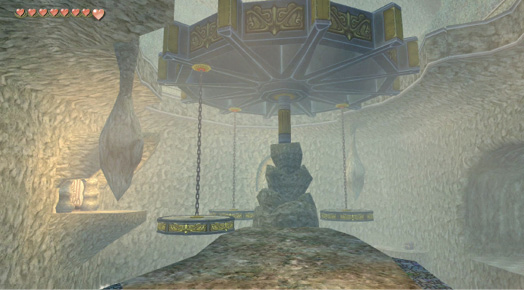
The Zoras’ construction is impressive. Walk into this large cavern containing a giant cog in front of you, with three round platforms hanging from it. It looks like this room continues up to the second floor (2F) and down to the basement (BF). Step forward to the edge.
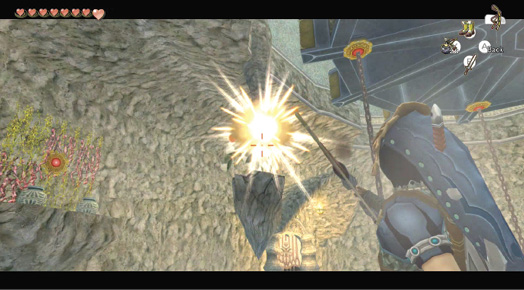
Your first plan of attack is to drop a stalactite from the northern ceiling with a Bomb Arrow. Then turn right and fire off another Bomb Arrow at the second stalactite (it’s in the mist and difficult to spot). These two falling rocks plug (or are caught by) a couple of fountain jets on the basement level, allowing easy access throughout your exploration.
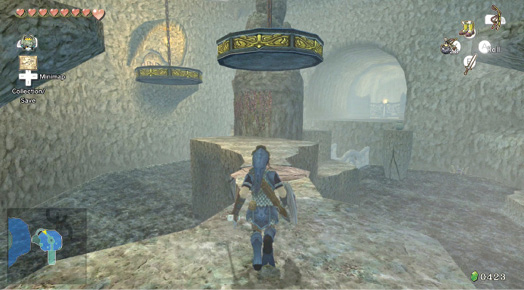
Now inspect this chamber thoroughly. You can drop down to the basement level, which has shallow water everywhere although it’s not deep enough to impede your running. To climb back to the first floor, use the large granite steps to the left.
From the entrance, turn left, and run forward to a small tunnel entrance. Jog down this tunnel, and you appear under the circular platforms attached by a chain to the giant cog. You’re now in the basement level, and the stalactite you just released has created a path from north to south.
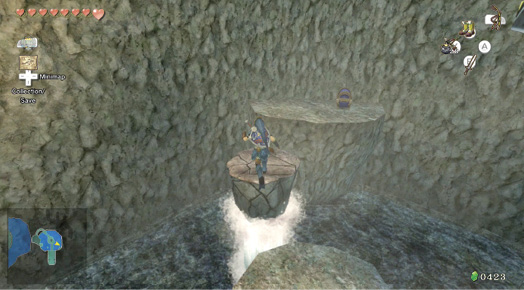
Head south to a vine that’s growing on the central column in this lower area, and cling to the vine, shifting around until you’re on a ledge facing the southern part of this chamber. Look south to spot a grand archway with a sealed gate. However, the bridge to cross this area is below you; the water needs to be raised. Ignore this for the moment, and face southeast. There’s a small chest on an equally tiny ledge. The rock island you leap to is the second stalactite piece you destroyed, and it ascends and descends on a water jet. Stand on it and don’t fall off, then leap to the chest when it rises.
Treasure Chest #6:
Small Key
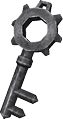 Small Key
You got a Small Key! This opens a locked door, but only in this area.
You will return to this room in the future, but for the moment, you’ve got what you came here for. Inspect the waterlogged area’s southern part, slicing a Tektite or two with your sword. Climb up the vine wall to the ledge cluster in the middle, or up the granite steps, and exit the way you came in.
Missing Links
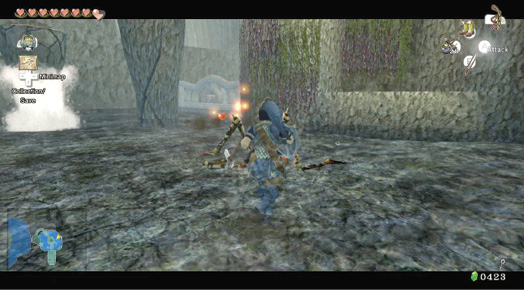
1. Gale Force Fun
You can’t leap to the ledge on the room’s north side, but you can target the pots there with your Gale Boomerang and bring the Rupees to you (drop down to collect them if they fall).
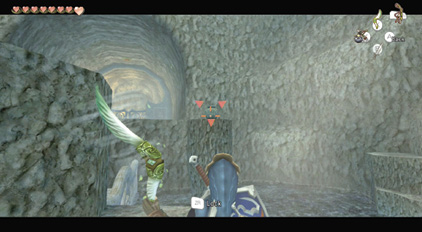
A second place to try your long-range wind power is when you’re standing on the rocky center of the basement level. Point your Gale Boomerang to this small plinth with a single pot on it. This contains a yellow Rupee (10).
2. Pulverizing Pottery
There’s the regular way to shatter pottery, starting with the two next to the entrance door, near the small tunnel. These hold a Heart and a Rupee.
Chamber 4: Fourth Return to Connecting Bridges (1F)
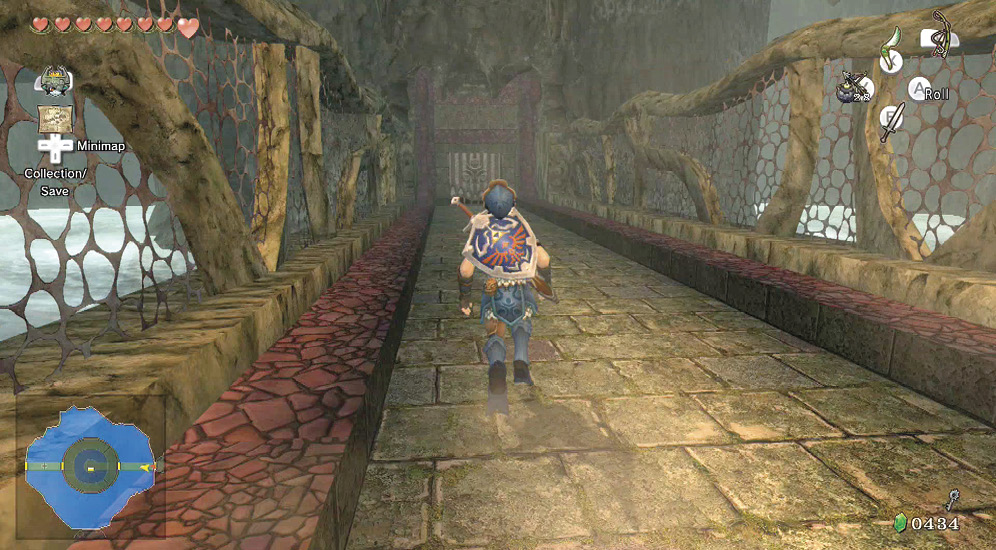
Back up on the first floor, run across this linking platform to the hub. You’re searching for a locked door: the one you found earlier on the second floor.
Chamber 5: Third Return to Lakebed Column Hub (1F to 2F)
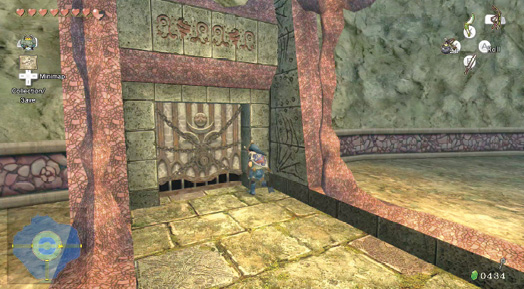
There’s no need to look for a gold handle to wrench; you’re heading back the way you came. Run up the large staircase, and make an immediate right. The locked doorway, with pink stone surroundings to differentiate it, is in the second floor east section.