
The Legend of Zelda: Twilight Princess HD Guide Overworld: The Great Hylian Treasure Hunt
Task 8: Locate the Entrance to Arbiters Grounds
Adventuring in Gerudo Desert
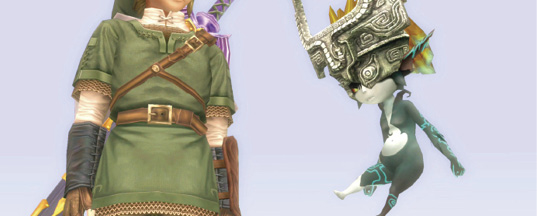
Midna tells you the magic wielders who tried to rule the sacred realm were banished to the Twilight Realm, and she’s a descendant of that tribe! The realm was peaceful until Zant arrived and obtained a great power. There is only one link left between here and her home, accessed via the Mirror of Twilight. It must be found!
|
The Gerudo Mesa is a featureless landscape, with looming dunes and craggy rocks, but the biggest concern isn’t the burrowing Moldorms, but the fissures between the sand. Leap in here, and you won’t find the bottom! You’re placed back on the sand with less energy. 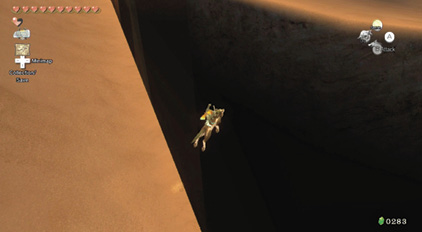
|
Moldorm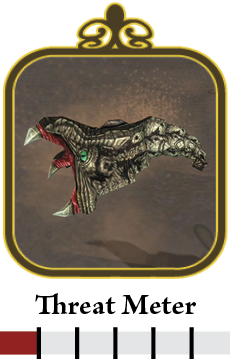
The creatures that are constantly burrowing about your feet then leaping out at you for a quick bite are nasty little Moldorms. They shouldn’t be a major concern, as you can simply ignore them. Fighting them with a sword is simply impossible; they’re too fast to keep track of. Dispatch them by ZL targeting, firing your Clawshot and pulling them out of the ground, and then slashing them with your sword. 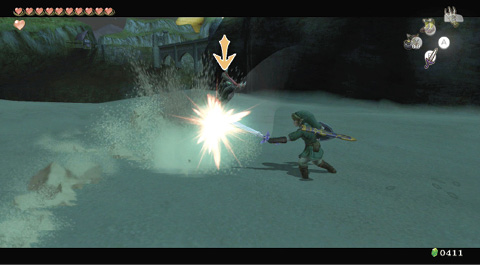
|
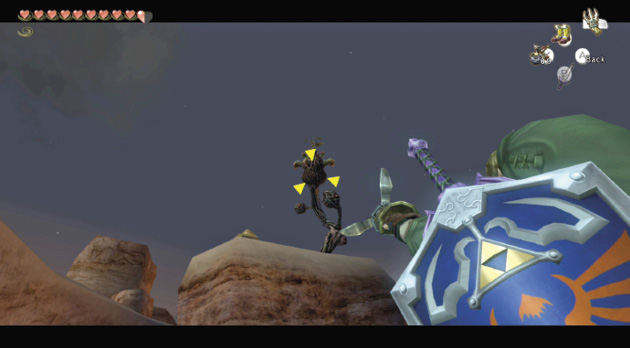
Begin a methodical search of the Gerudo desert, avoiding the leaping Moldorms and looking for this small rock island in the map’s southeastern corner. Aim your Clawshot at the tree, zip up and drop down, then open the small chest.
Overworld Chest #63:
Red Rupee (20)
Golden Bug: Male DayflyCollection: 22 (of 24)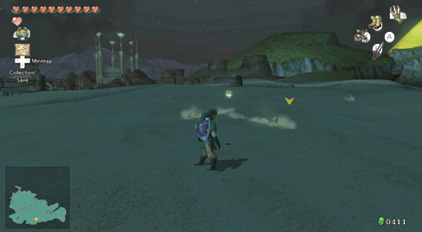
Your insect collection of Golden Bugs is almost full, but a quick journey almost directly west of your starting position allows you to watch a Male Dayfly fluttering about on the sand. Search this area, then pick him up. No equipment is needed except a steady hand!
|
 Male Dayfly
Poe Soul #30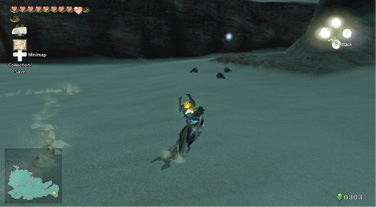
From your starting location, look northward during the night time, and you’ll spot a floating lamp. There’s a Poe out here in this southeastern edge of the desert! Snag his soul as you reach him.
|
 Poe Soul
Dig Cavern #12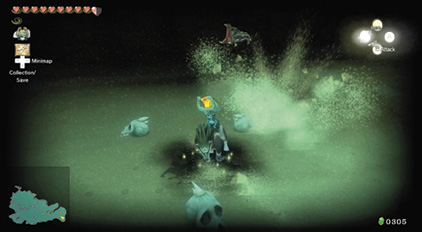
The Imp Poe was floating above three skulls. Smash them and then burrow down into a dig cavern. Immediately transform to Link. You need your sword available to cut down a quartet of nasty Skulltulas! Shield attack, and leap to skewer them. 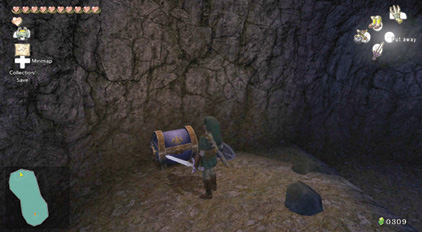
Once every Skulltula is defeated, begin to methodically destroy all the hanging pots (with your Clawshot) and pottery on the ground. Then head over to the chest that appeared, and claim your beautiful Rupee prize. Overworld Chest #64:Orange Rupee (100) |
Head north from the Golden Bug location, and look for a horseshoe–shaped area of rock lying flat on the sand, with a small rock jutting from it. Look closer, and you’ll see a chest to pry open for arrows.
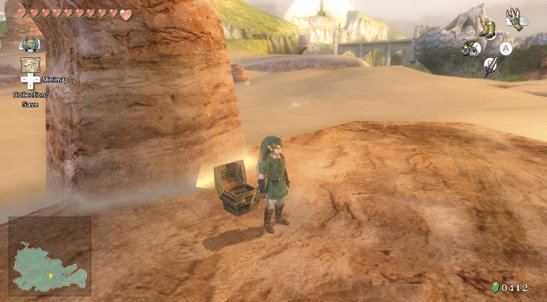
Overworld Chest #65:
Arrows (10)
 Arrows
You got arrows (10)! Use arrows to shoot far-off foes!
Skirt the fissure, just west of your starting location, and notice a small piece of solid flat ground. Follow the fissure around to a small chest, and claim your prize!
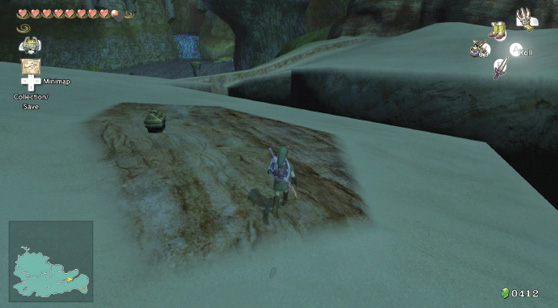
Overworld Chest #66:
Red Rupee (20)
Golden Bug: Female DayflyCollection: 23 (of 24)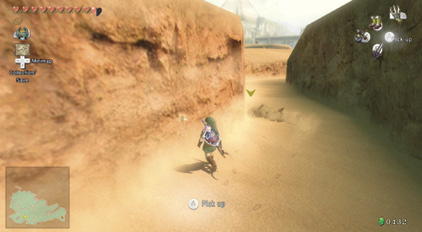
Continue westward until you locate this trench, and peer along the southern wall, where your penultimate Golden Bug is nestled. Transform into Link, and wait for the Moldorms to leap at you. Defeat them with your Clawshot, then aim at the bug, and bring it down to your feet. You may need to follow it slowly because it likes to fly off and up for a little while.
|
 Female Dayfly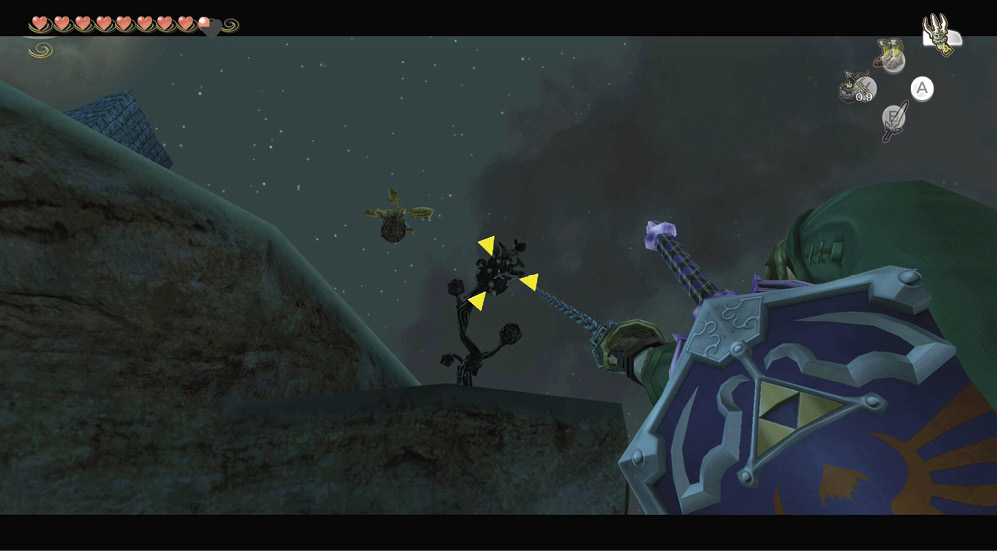
Continue to progress to the southwestern corner of the desert. You can begin to explore the other areas, but it’s better to reach this spot, as it will soon be a warp portal. Run to the strange flat rock with the stone bridge section sticking up from it!
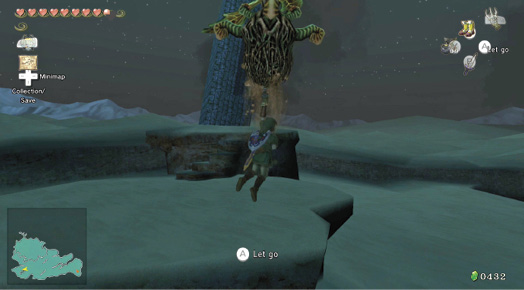
Step to the lowest part of the flat rock plateau, and gaze up at the gnarled tree. Clawshot up to it, and then wait and listen for a fluttering noise. This is the sound of a Peahat, a floating creature that’s completely harmless. It’s used exclusively for ferrying yourself to and from difficult-to-reach places. Clawshot onto it, then drop down to the plateau.
Warp Portal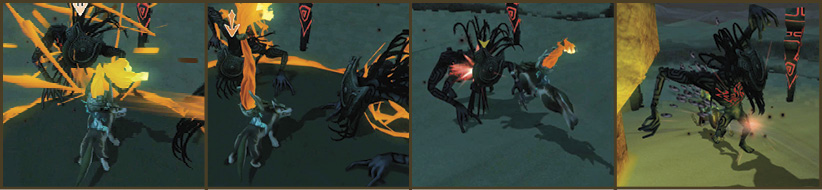
As soon as you drop onto the plateau, the warp portal opens up, and three Twilit Messengers fall from the sky. Draw your sword, slay the first one, then coax the other two together and launch into a spin attack that topples them all. You can now warp to and from here! |
Poe Soul #31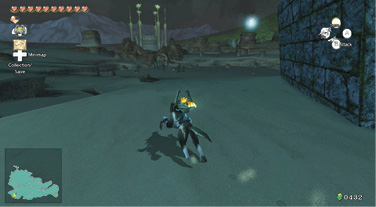
Once the warp portal exists, move to the far end of the plateau, and climb the small ledges to the upper plateau area. At the top, transform to a wolf, and defeat the Poe waiting up here.
|
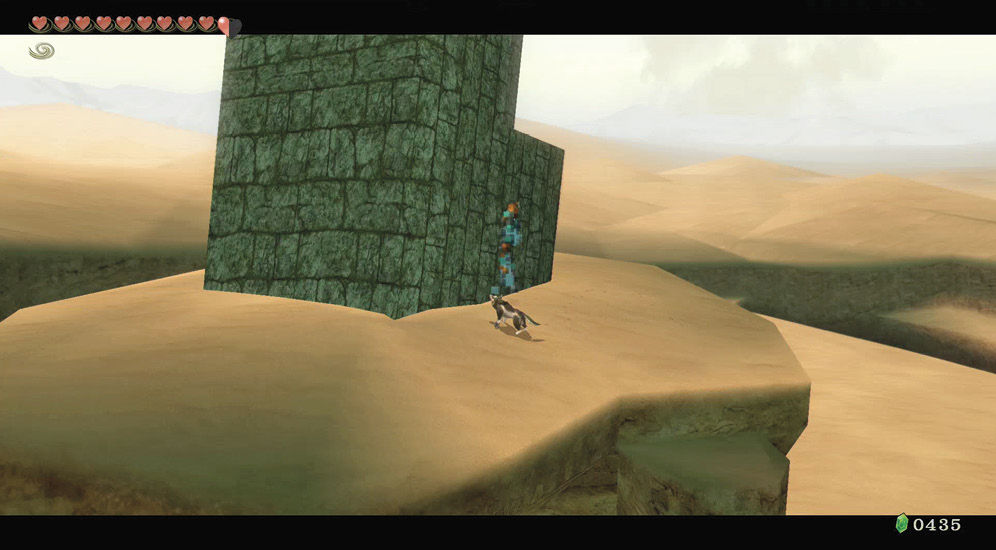
As the sun rises over the Gerudo Mesa, you can take in the spectacular view, and odd stone protuberance. Midna asks you what it is and where you should warp it to. This is the missing portion of the Bridge of Eldin, so choose that area of your map.
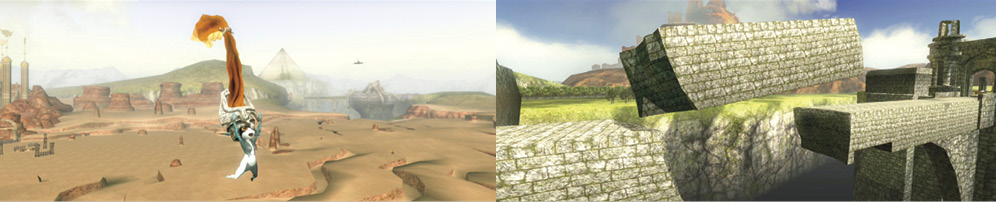
Midna departs from you, and summons her giant orange arm to lift the gigantic piece of stonework, and you both warp to the Bridge of Eldin. Midna lowers the piece, and the bridge is repaired! You can now cross easily between the Hyrule Field (east) and the northern rocky paths.
Missing Links
1. Treasure on the Bridge of Eldin
Now that the Bridge of Eldin is repaired, you can make a quick detour out of the Gerudo Desert if you’re interested in grabbing an Orange Rupee (100). If not, continue on with your adventure and pick up the chest at a later time.
Now warp up to the Bridge of Eldin near the large flat field. You can now obtain another chest (or save for later if you’re full of Rupees). Stand at the north end of the bridge, and face south. Look up at the tiny vine on the north entrance, and Clawshot here. Then hand-over-hand to the opposite end of the entrance, where an impressively well hidden chest can be pillaged!
Overworld Chest #67:
Orange Rupee (100)
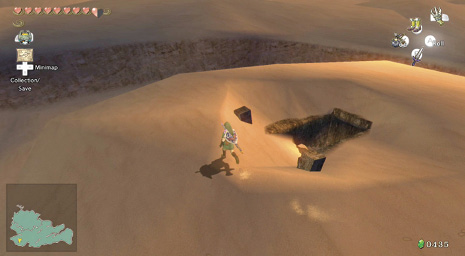
When you Warp back to the desert, you’ll notice an indent where the bridge was protruding. Look closer, and you’ll see these are steps leading down to the dreaded Cave of Ordeals! Refer to the walkthrough for more details, but for now, don’t enter the cave. You need more specialized equipment to complete it!
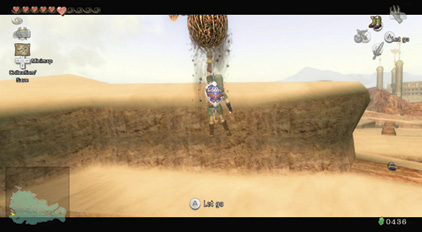
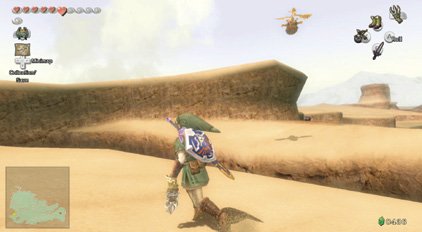
Drop down from the warp portal area, but stay on the higher ground, and search the western side of the desert. Notice a bottomless fissure with a chest on the other side. Stand precisely at this point, and wait for a Peahat to hover over you. Then Clawshot onto it.
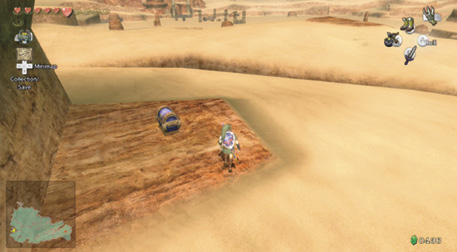
Ride the Peahat over the fissure, and then drop down to the sand below. Run to the chest on the solid rock bed, and open it. Return to the main desert using the same Peahat-riding technique.
Overworld Chest #68:
Hylian Letter Stamp R
Dig Cavern #13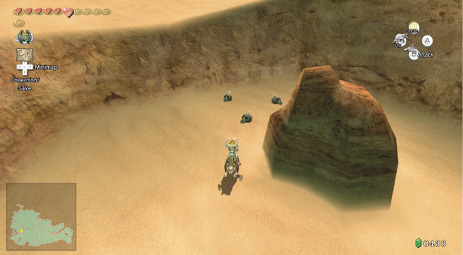
Run around the rock that’s semicircled by a low rock wall north of the warp portal point, and dig between the three skulls. You discover a dig cavern here. Change immediately to Link, and engage three Chus in battle! Fight a Red, Blue, and Purple Chu. Chu Jelly is this cavern’s prize; there’s no chest. If you want Red or Blue Chu Jelly, don’t just run around madly. Instead, stop as you drop, keep to one side, and coax one Chu at a time toward you. Don’t let them merge, or all your Chu Jelly will be purple! When you’re ready to leave, smash pots, cut grass, and lift small rocks for Rupees and Hearts, then stand in the light. |
Advancing on the Arbiter’s Grounds: Bulblin Encampment
It’s time to head north, and investigate the last part of the Gerudo Desert. As you head north, a small encampment of Bulblins spot you, and two Bullbos rear up as their riders head in to intercept your path.
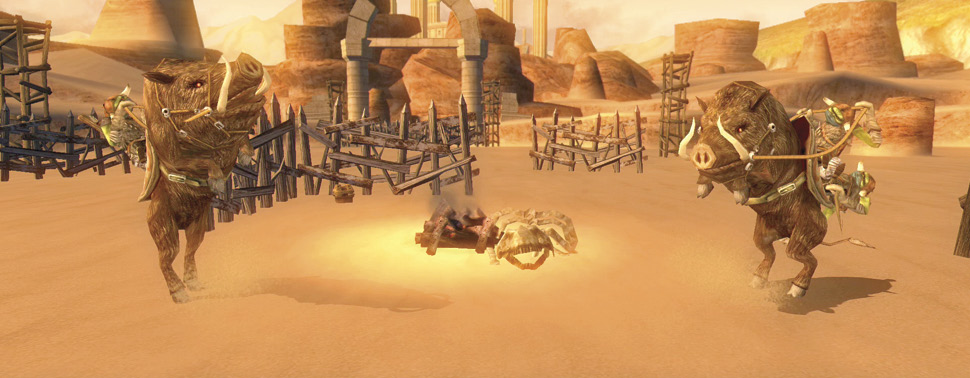
These Bulblin Riders are a real menace, as they charge you on their horned steeds and toss you onto the sand. They also shoot at you with flaming arrows. Fight fire with fire! Immediately switch to Bomb Arrows and ZL target each foe as they charge. Quickly let rip, and they crumple with a single strike! No Bomb Arrows? Then use quick dodging and your sword’s spin attack.
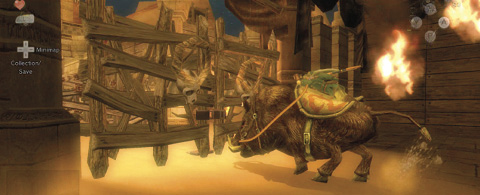
When one or both of the Bulblin Riders have been removed from their mounts, you can inspect the encampment. There’s still a trio of lookouts on the tall towers, so either shoot them from extreme range (using the Hawkeye and arrows), or better yet, ignore their arrows and clamber aboard a Bullbo! Control him just as you would Epona. However, when you want a burst of speed, be sure you’re ready for a slightly uncontrollable gallop! The good news is that this extra speed smashes any defenses in the encampment! Try charging through all six of the lookout towers.
Your plan isn’t subtle, but it’s simple: Use your Bullbo and charge every single wooden structure in the desert! This includes wooden barricades, blockades, and of course, lookout towers. This way, you can access the chests that the towers were built on top of. Single Bulblin Riders appear from time to time during your rampage. Stop, and fire at them from Bullbo-back, or get off for a better aim.
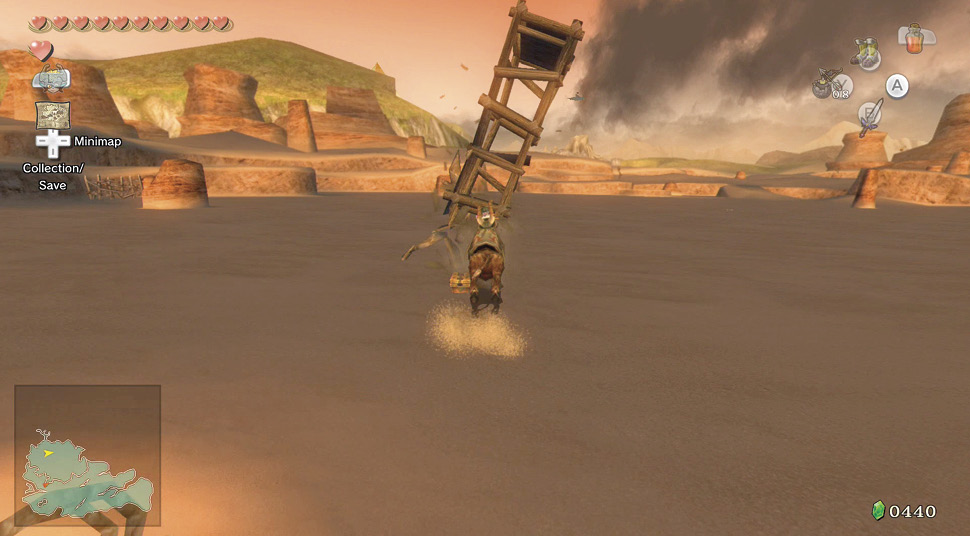
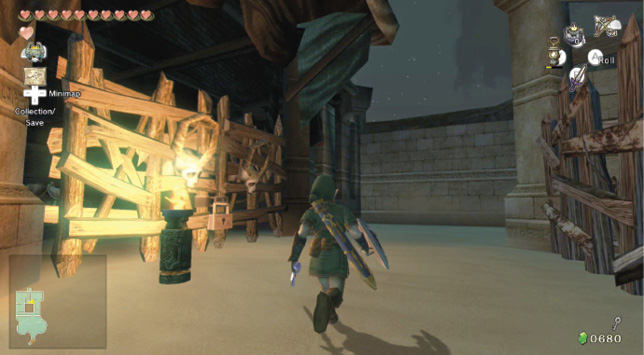
Complete your destruction with this wooden barricade, between the two stone towers. This marks the entrance to the Arbiter’s Grounds, and it is your next area to investigate—after you ransack the chests outside, of course!
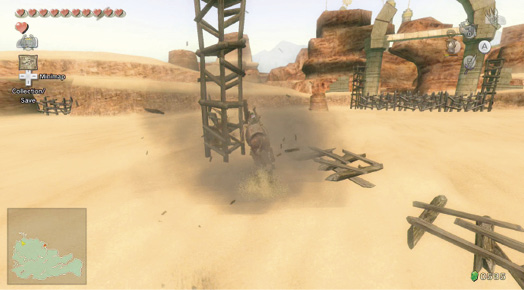
Advancing on the Arbiter’s Grounds: Encampment Search
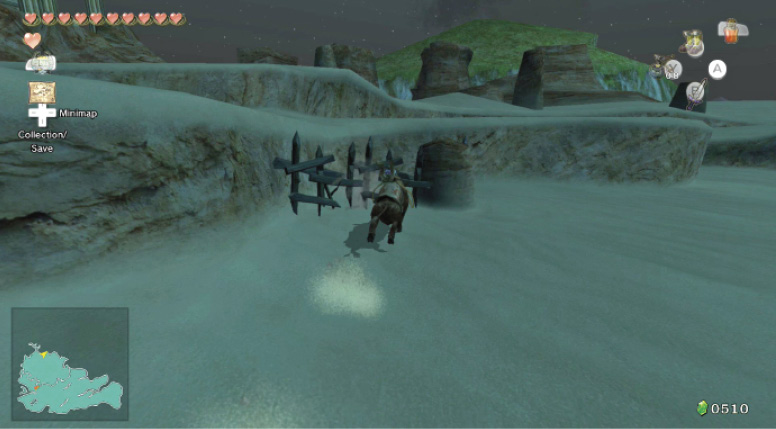
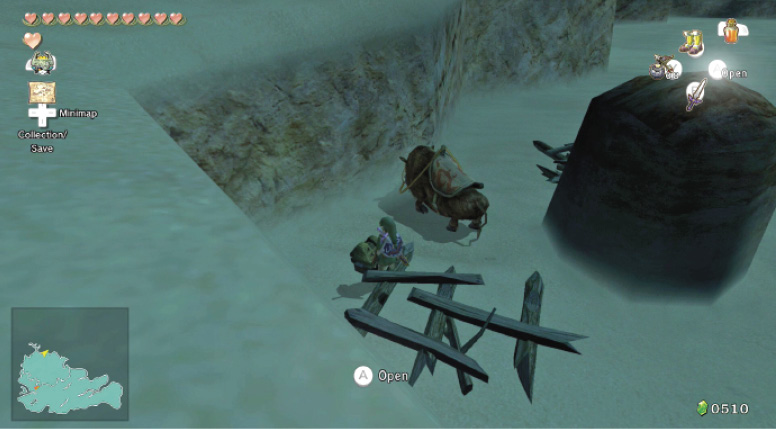
Begin your search by smashing this small barricade on either side of a rock, in the northern wall of the encampment area, east of the stone pillars. Secure the Rupee from the chest inside.
Overworld Chest #69:
Red Rupee (20)
Overworld Chest #70:
Red Rupee (20)
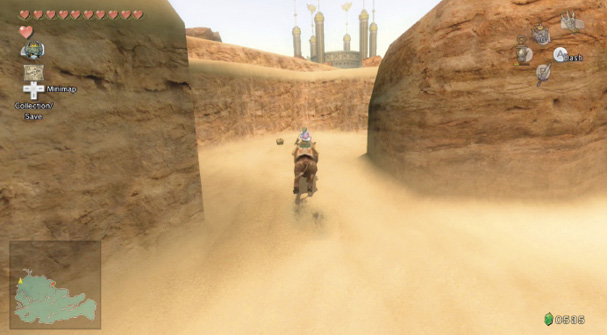
Now do the same at the small barricade on either side of a rock on the northern wall to the west of the stone pillars. There’s another red Rupee (20) in this chest.
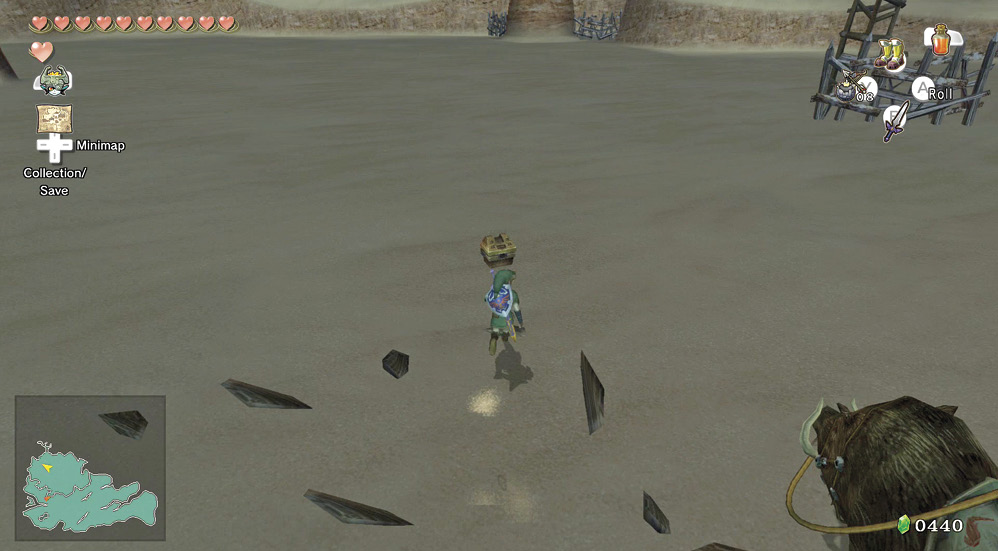
Now return to the completely devastated encampment, and pry open three chests around the campfire. The right, middle, and left all give you different goods:
Overworld Chest #71:
Purple Rupee (50)
Overworld Chest #72:
Red Rupee (20)
Overworld Chest #73:
Arrows(10)
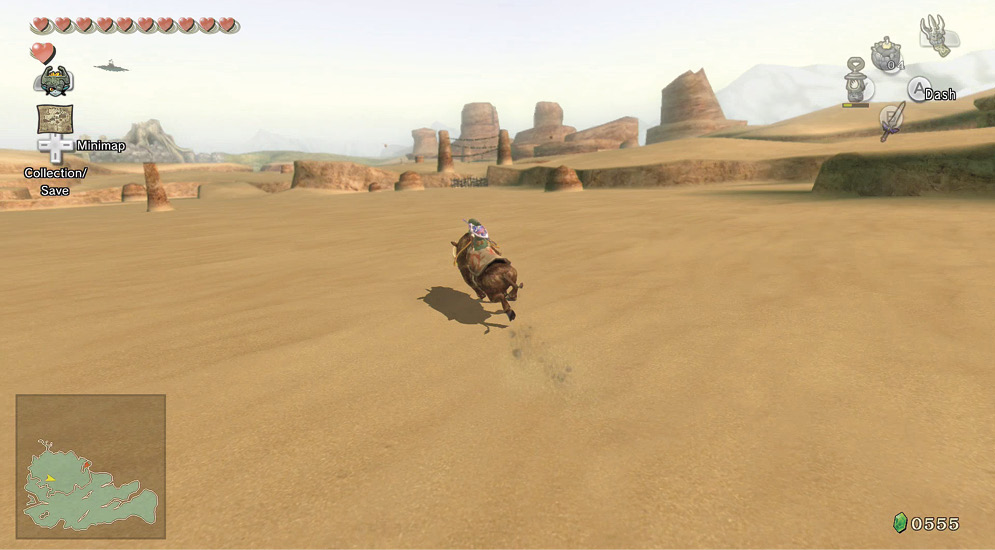
Your final exploration of Gerudo Mesa begins now! As evening falls, search the remaining area for any outstanding Poes, chests, and Peahat access points. Start by smashing the barricade to the south, allowing you back up into the upper two-thirds of the desert. Check the following information for available Poes and chests, and when you’re done, head north through the two stone pillars.
Poe Soul #32
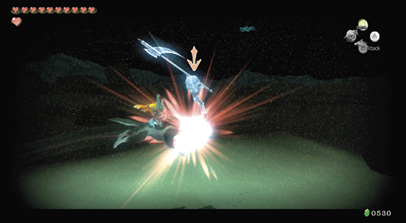
Now that the encampment is clear of Bulblins, take a Bullbo to the far eastern edge of the lower part of the desert (don’t enter the southern exit), and up a large, shallow sand ramp. At the top is a gnarled tree. Clawshot up here, then run along a thin strip of sand to a wayward Poe. Tackle him!
|
Dig Cavern #14The Imp Poe (#32) that you just defeated was guarding a dig cavern flanked by three skulls. Smash them, then burrow down into a cavern surrounded by Bomb Rocks! Watch out; there are two more Imp Poes down here! 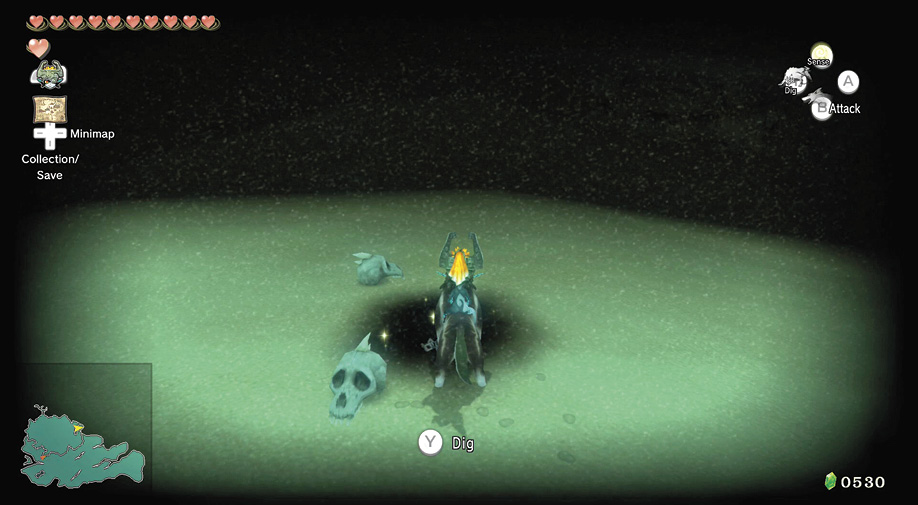
|
Poes #33 and #34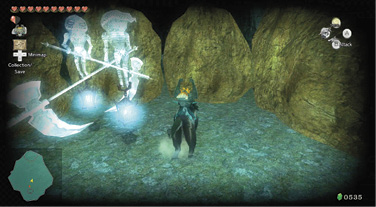
Stay in wolf form, and back up to a wall, with your sense view on. As the Imp Poes float your way, target one and jump to attack, or perform the area-attack courtesy of Midna. If the Poes disappear behind the rocks, wait for them to reappear, or change to Link, and destroy a few of the rocks, then transform back.
|
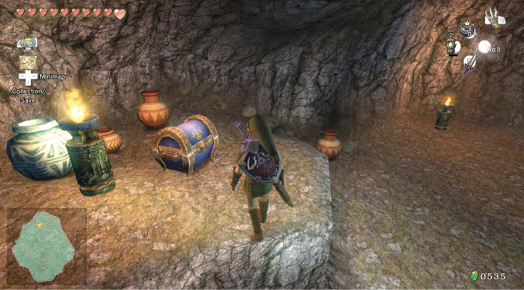
As well as the pottery to pulverize and small rocks to lift, there is a chest to uncover, too! Destroy all the remaining Bomb Rocks, then bring out your Lantern. Light the three unlit torches. They are hidden in the shadows, and the last one is on the raised rock where the chest appears.
Overworld Chest #74:
Sad Midna Stamp
|
During your romp through the desert, you may notice a small structure with platforms, and an odd owl statue. Ignore this for the moment because you can’t claim this chest yet. |
Advancing on the Arbiter’s Grounds: Outer Keep and Dungeon Entrance
When you’ve exhausted your search for items in the Gerudo Desert, head north past the two stone pillars, and up the four small ledge steps. Take a right.
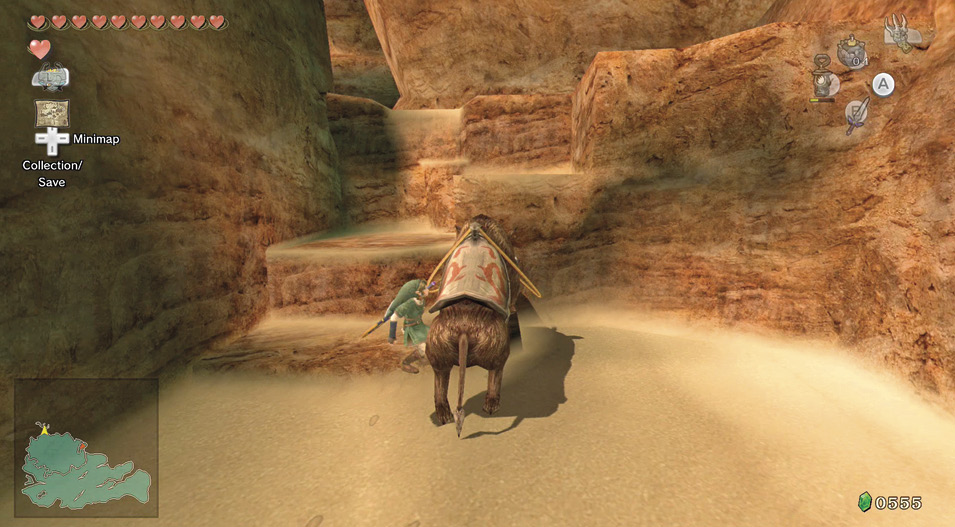
Run around to a dead end where crates, barrels, pots, and a small chest are found. There are Rupees in everything, except the chest! The arrows are perhaps an indication of what’s ahead.
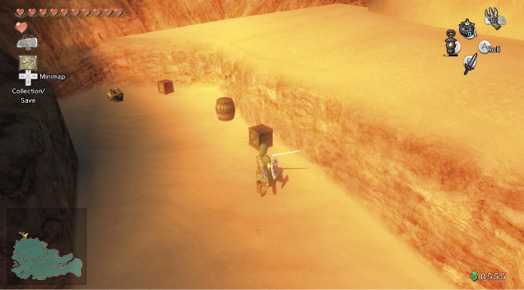
Overworld Chest #75:
Arrows(10)
Poe Soul #35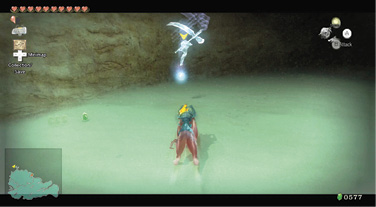
Now head left. Providing you summoned the White Wolf, he’s waiting patiently for you, although you won’t access his knowledge until you’re in human form. Instead, run to the left, to a second dead end, and fight an Imp Poe. Watch for Leevers emerging and surrounding you! Stop, wait until they merge, then spin attack or use Midna’s area-attack. Now defeat the Poe. There are three dig spots to unearth here, too, for a Rupee and Hearts. Find more Rupees in the crates.
|
Hidden Skill #5: Mortal Draw
Your exploration of this area shouldn’t end with the Poe hunt. The White Wolf waits for you to come, sword in hand! He growls at you, and you draw your sword. He pounces! You awaken in the ghostly ether. The Hero’s Shade forms, and asks you if you wish to learn your next skill. The answer is yes! First, your teacher ensures that you learned the previous Hidden Skill correctly, and he asks you to show him you’ve mastered the helm splitter. Simply ZL target and Hold ZL on the Wii U GamePad and press ZR for a shield attack, then tap the A button to perform the helm splitter, when indicated. 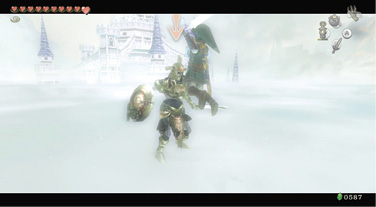
“Very well!” utters the warrior, “let the mortal draw be hewn into your mind!” This technique is used to counter creatures who have already learned to guard against shield attacks and back slices. Sheathe your sword so you’re unguarded, then look at, but do notZL target the enemy. As they draw near, press the A button and execute the mortal draw! Now you try it: 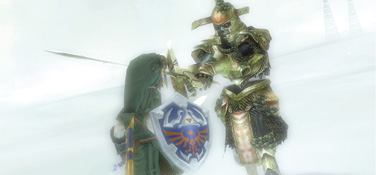
Mortal Draw: Wait for an enemy without your sword drawn, and without targeting it. Wait for a foe to near you, then quickly press the A button.
|
 Hidden Skill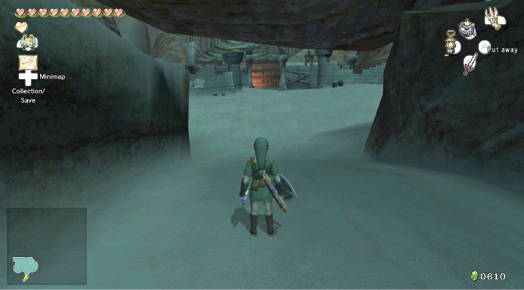
With your Hidden Skill learned, head up the middle passage, and you arrive at the keep outside the Arbiter’s Grounds. Up ahead, you can see the glow of a campfire. For the moment though, skirt the initial sandy area. There are crates to smash for Hearts.
Step through the first defensive wall, but stay alert. You can see a tower behind the main gate, and it has Bulblin Archers atop them. Not for long! Bring out your Hero’s Bow and tag the lookout. Then run to the next wall and smash more crates for Rupees.
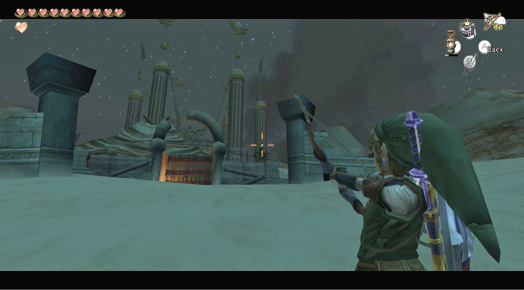
Enter the gate and turn right. Inspect the area under the tower, where there’s multiple scenery items to break. Check the corner for a small chest containing arrows.
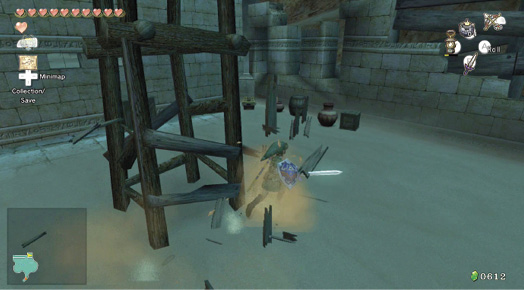
Turn left, and stand near the arched entrance. Ahead by the torch, you can see a Bulblin guard. Either run in and attack, or bring out your bow. A Bomb
Overworld Chest #76:
Arrows (10)
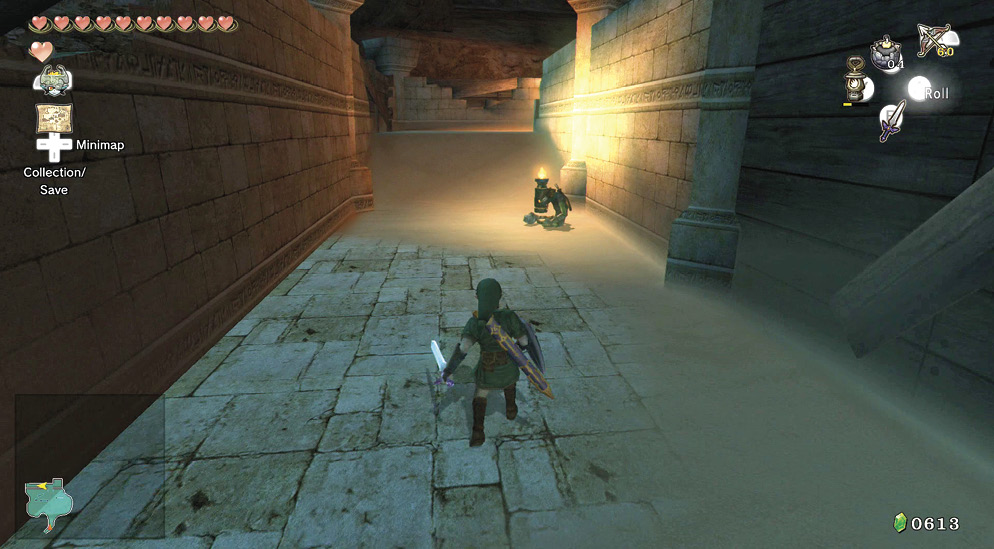
Arrow provides an impressive takedown! Now run forward, trudge up the thick sand, and turn right. Try your new Hidden Skill out on this Bulblin!
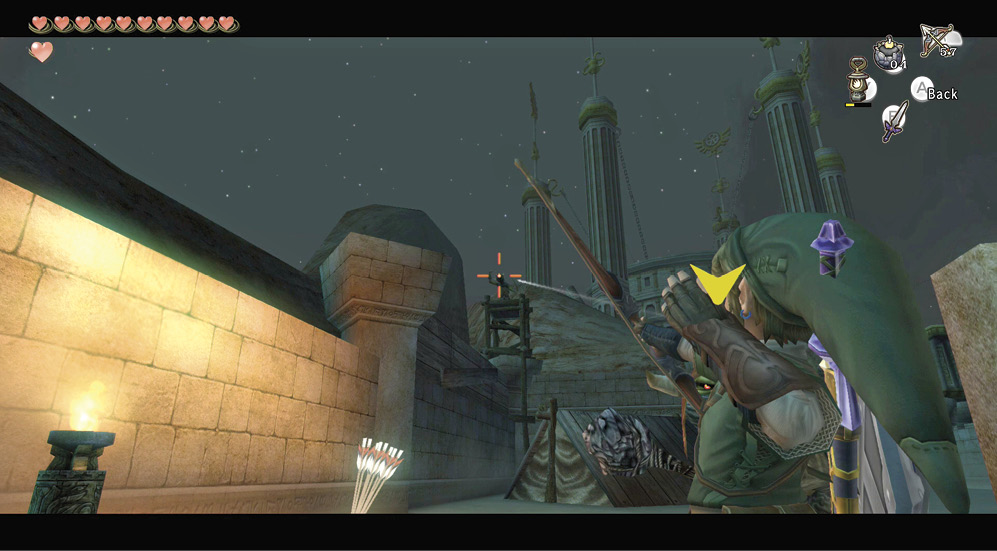
As you step forward into the encampment, you hear a Bulblin yell. Another lookout has spotted you, so bring out the Hero’s Bow again, and hide behind the wall. Press ZL so you can move and fire while manually aiming, and then sidestep out, fire, and duck back before his arrows strike you. Then clear the area. A barrel in the corner contains arrows, and crates in the opposite corner contain Rupees.
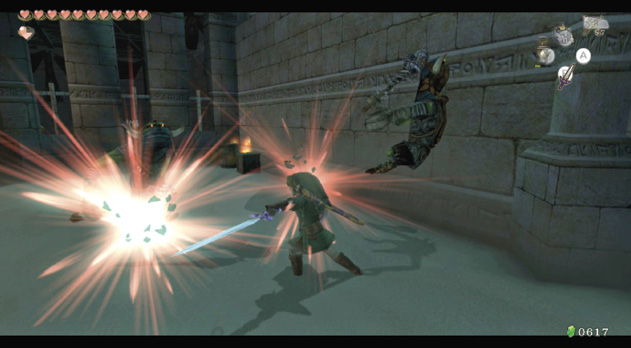
Head past both the small tents, into the back walled area of the keep. Multiple Bulblins now attack you, so ignore your new Hidden Skill technique and begin to spin attack as if your life depended on it—because it does! After around six Bulblins fall, check this back area for crates. Some in the corner have Rupees inside.
Run down the sandy ramp to the middle of this exterior area, looking for lit torches, and a Bulblin standing guard at a large but rickety gate. He’s guarding a lock. Bring out your sword and attack. Another lookout spots you and sounds the alarm.
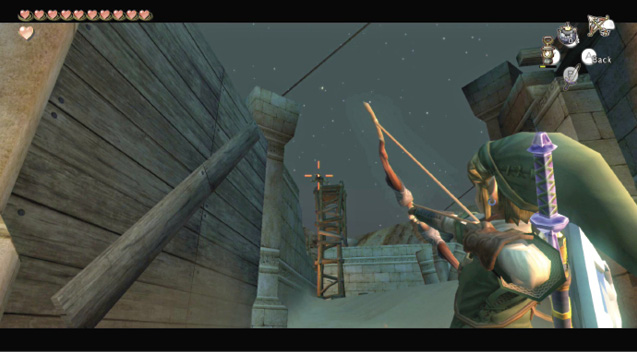
You can step back, and aim at the lookout on the opposite side of this area with your arrows, or just retreat to the sandy ramp and defeat another six or so Bulblins in combat. Prioritize the one or two archers on the ground. As the battle rages on, more Bulblins appear, but keep your shield up and tackle them one at a time. Finally, return to the locked gate, remove any more Bulblins from the ground, then shoot the lookout archer.
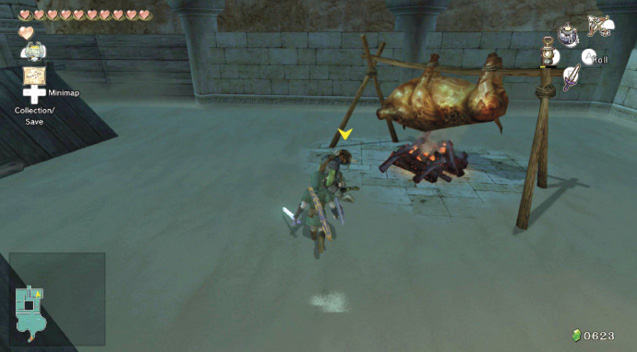
Move to the western side of this keep, and ransack the crates and barrels to the south for Hearts and Rupees. Then turn north, and run to a Bulblin who’s happily roasting a Bullbo on a spit. Wipe the smile off his face with some dazzling swordplay! He’s joined by another four Bulblins with an archer, so tackle them all with your weapon of choice. Afterward, locate the Small Key that the first Bulblin was carrying.
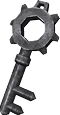 Small Key
You got a Small Key! This opens a locked door, but only in this area.
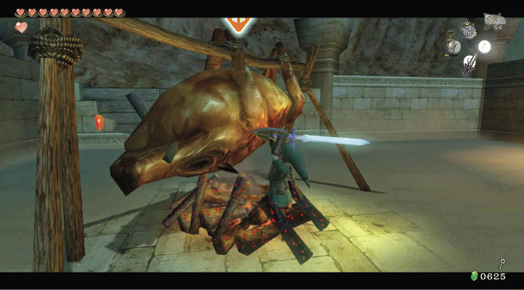
After combat, inspect this area for crates and other scenery you can destroy for Rupees and Hearts. Check the southwestern corner for a chest there. More interesting is the roasting Bullbo, which looks succulent enough to eat! Target and whack the carcass with your sword, and a Piece of Heart spins out!
Overworld Chest #77:
Purple Rupee (50)
 Piece of Heart
You got a Piece of Heart! Collect five pieces to form a new Heart Container. Piece of Heart #26 of 45.
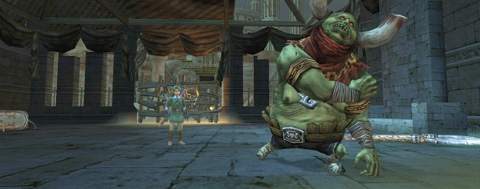
You’ve now defeated most of the Bulblins and ransacked the entire area except for the central tent beyond the rickety gate. Head there now, using the Small Key you found on the Bullbo-roasting Bulblin, and enter this tent. As you spot a Bullbo in the corner, a pair of red eyes appear out of the darkness. King Bulblin is back again, and this time he’s carrying a giant axe!
King Bulblin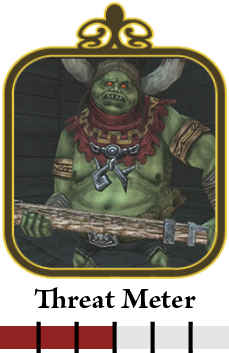
Step 1: The King of the Bulblins carries an axe that’s three times the size you are, so avoiding that is a high priority. To begin with, try some test sword slashing, and you’ll discover King Bulblin use the axe to guard, too. All frontal attacks are useless. 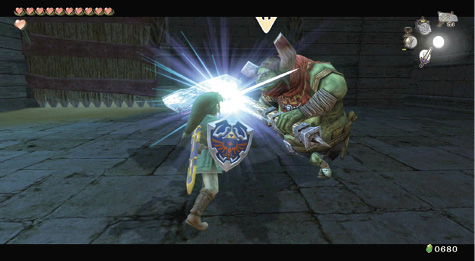
The massive King Bulblin is incredibly strong, but you’re incredibly nimble! Get behind him and hack! 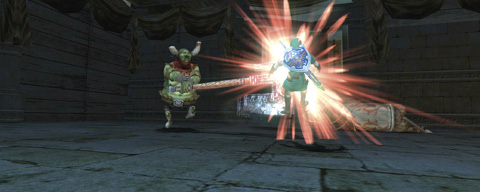
Step 2: The only way you’ll take down King Bulblin this time is to ZL target him, and roll around behind him to his exposed back. Make a 180-degree roll around, and then begin to slash, or better yet (as shown), execute the back slice Hidden Skill. Do this continuously. You could roll then spin attack if you haven’t mastered the back slice yet. 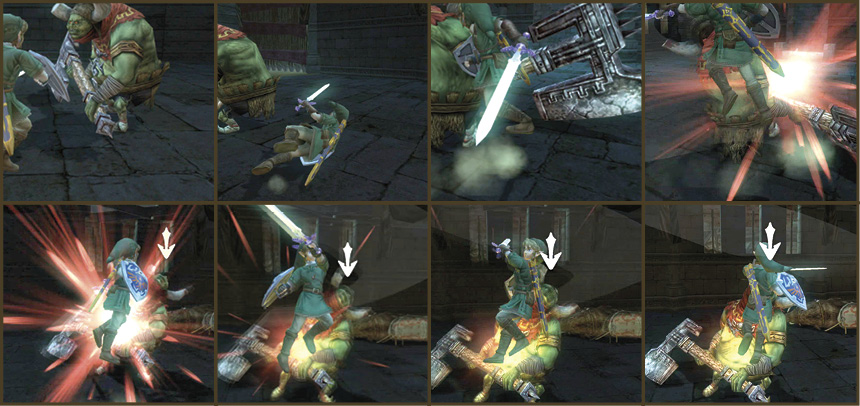
After three or four good back strikes, King Bulblin drops his axe, and dejectedly shuffles away from you. You win this time! He closes a gate behind him, and you suddenly realize it’s a trap! The tent has caught fire! Quickly race to the waiting Bullbo, steer him toward the rickety gate, and ram your way out of here! |
Poe Soul #36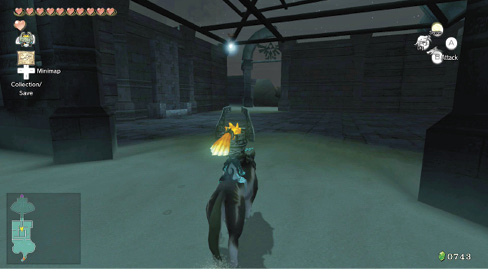
The Bullbo takes you to the steps of Arbiter’s Grounds, but don’t venture forth just yet. Turn around, and backtrack through the walled corridor you just smashed through, back to King Bulblin’s tent. There’s a cunningly hidden Poe here.
|
 Poe Soul
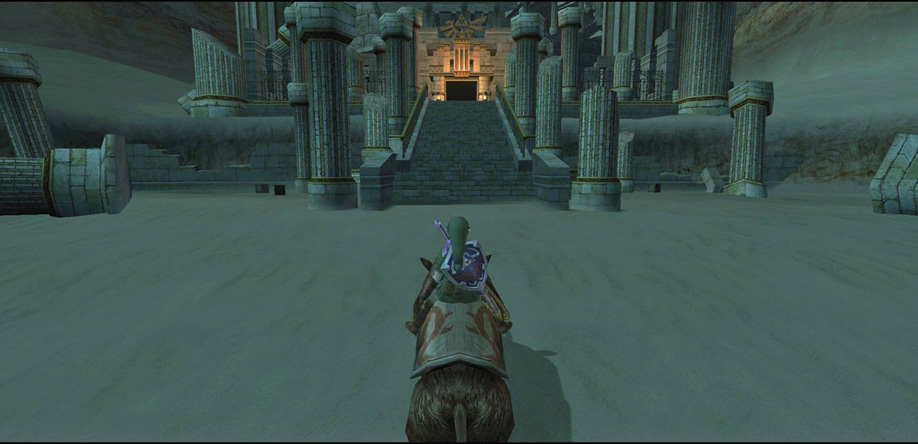
You can enter the Arbiter’s Grounds now, as the area is almost completely free of foes. Move to the base of the ornate steps and run up them. The large and imposing entrance to Dungeon 4: Arbiter’s Grounds is just ahead!
Poe Soul #37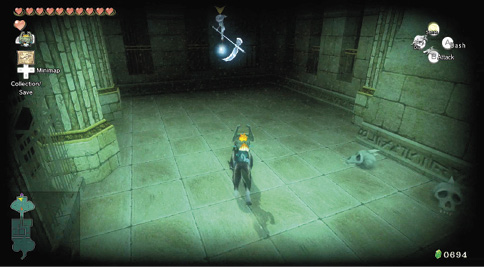
The area is almost completely free of foes, but not Poes! Climb up the steps, and then look to your left. In the fenced stone courtyard is another Poe. Grab him before you enter the dungeon.
|
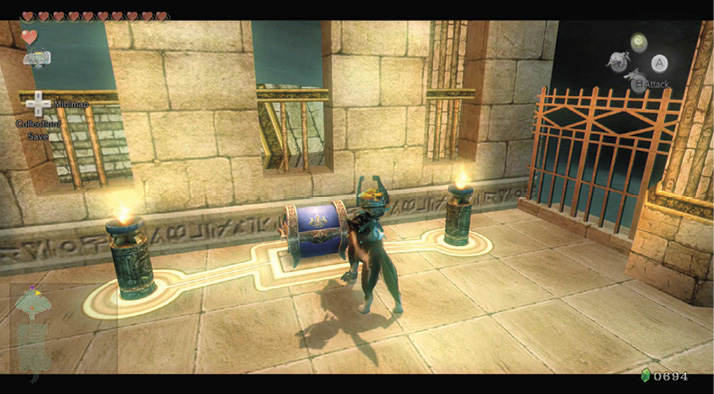
Do one last investigation. Move to the opposite courtyard from the Poe (you can smash the skulls for Hearts), and check the two unlit torches. Bring out your Lantern, and light them both. A chest forms between them. Ransack this, then it’s finally time for the Arbiter’s Grounds!
Overworld Chest #78:
Purple Rupee (50)