
The Legend of Zelda: Twilight Princess HD Guide Dungeon 5: Snowpeak Ruins
Task 2: Locate the Bedroom Key (First Attempt)
Chamber 5: Cold Storage Crate Room
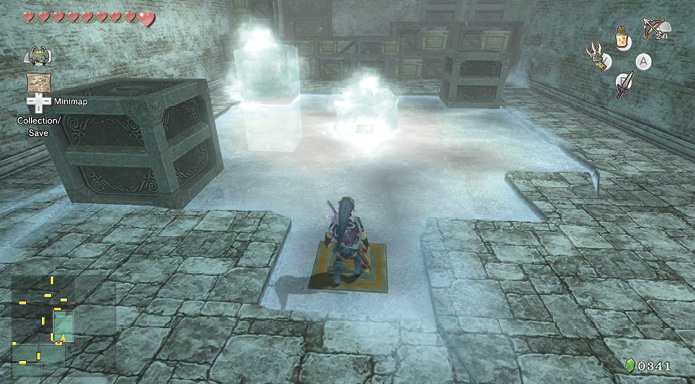
Exit the kitchen via the north door, and enter a cold storage room, complete with a gate that’s sealed you in. To move the gate, you must place a heavy object on the floor switch to keep the gate open.
|
Don’t touch the crate or the middle floor switch, which are encased in ice, as you’ll be frozen for a couple of seconds. Thaw them out later in your adventure. |
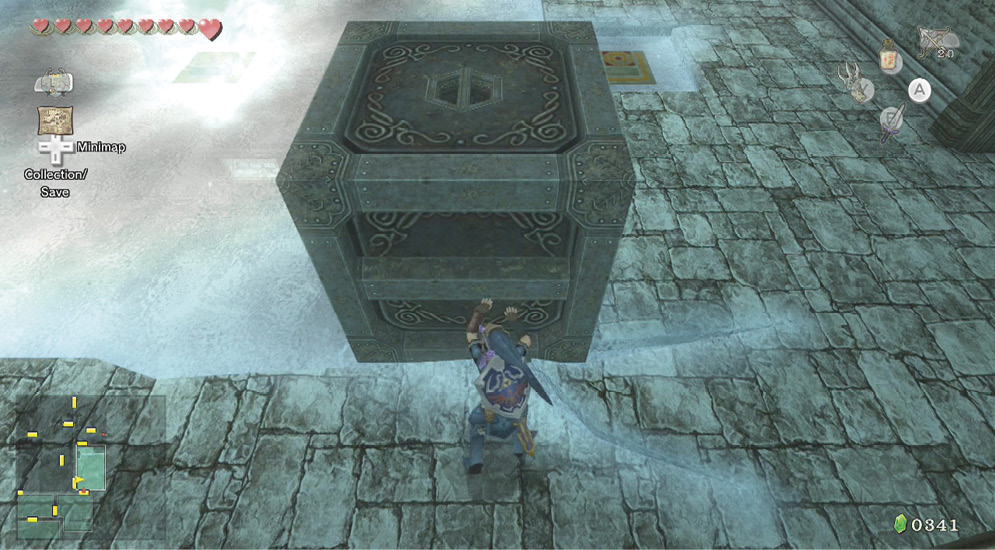
You must shove a crate over the floor switch to unlock the gate and door. Start by pushing this crate in the southwest corner, across to the southeast area.
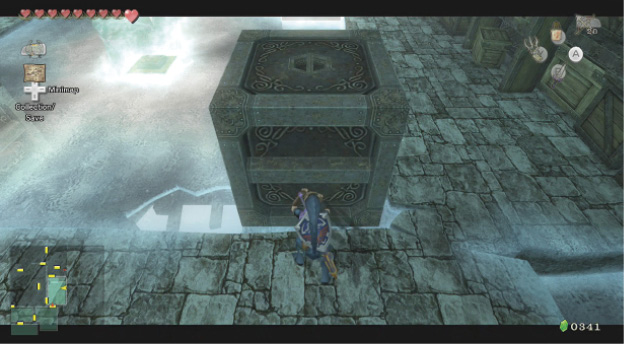
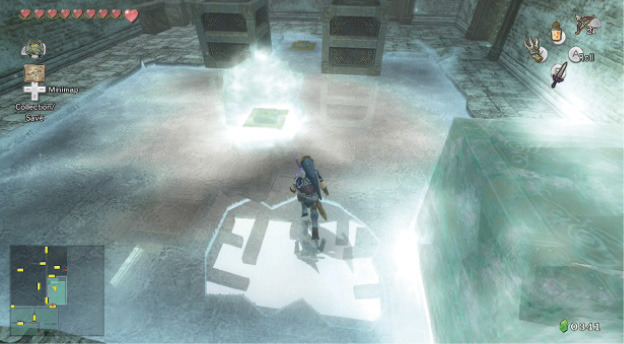
Then push the crate in the northeast corner across so it touches the ice-encased crate. Stand behind the same crate and push it south. Then run and push the crate east one space so it hits the first crate. Now you can push the crate one more time south, onto the floor switch. Exit via the door in the southwest corner.
Chamber 6: Eastern Walled Courtyard Passage
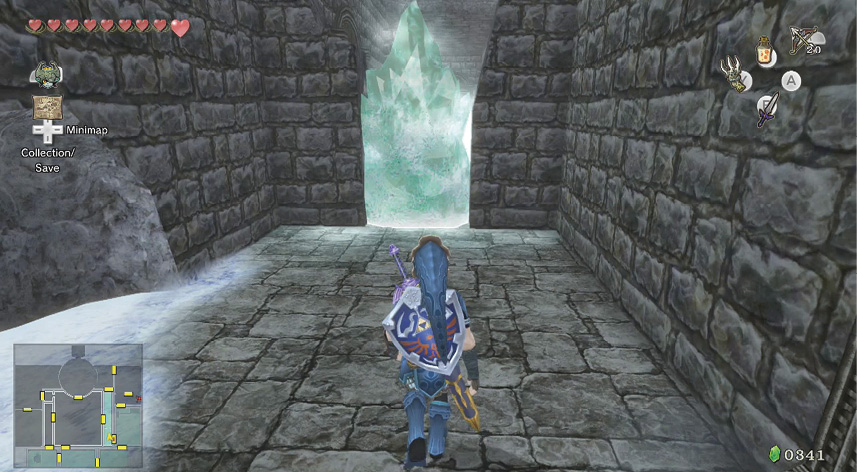
Step out into a confined passage with an ice block in front of you. The only area of interest is a low arch to your side. Transform into the wolf so you can dig under this wall.
Chamber 7: Central Outer Courtyard
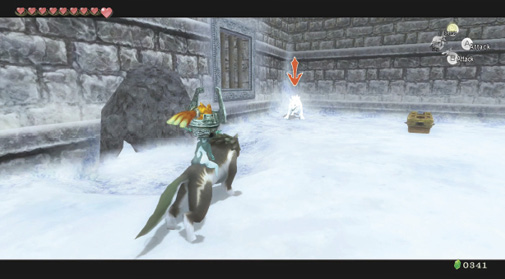
On the other side of this dig spot is a three-level outer courtyard. For now, stay in wolf form and tackle two White Wolfoses. Then, another appears; target and defeat them, and don’t touch the wall of ice blocks on the left side.
|
There’s deep snow in this chamber’s south and north. Avoid trudging through here and attacking from here if possible, as your movement is severely slowed. |
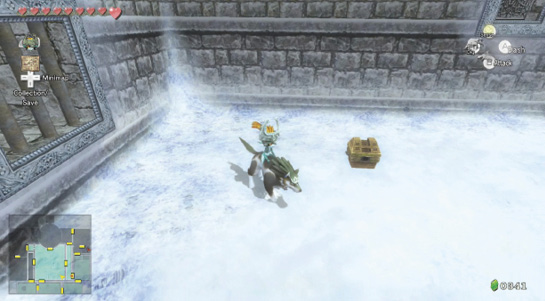
Treasure Chest: With all the White Wolfoses defeated, check the southern area, near the wall, to find a small chest. Open it to claim your Rupee prize.
Treasure Chest #1:
Red Rupee (20)
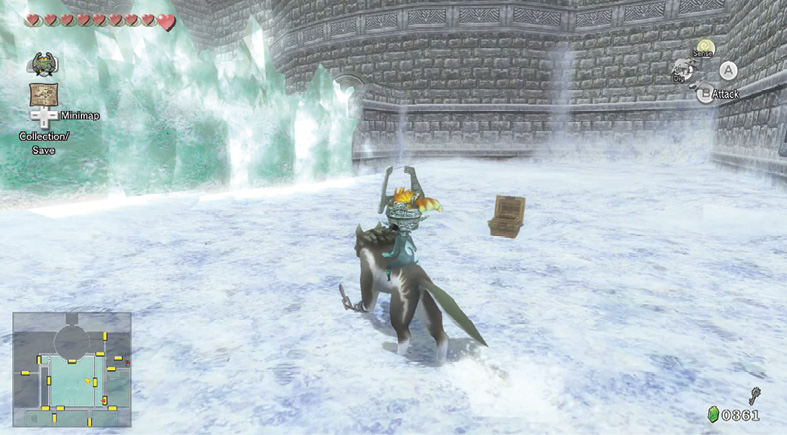
Treasure Chest: There’s another treasure chest in this area; it’s half-buried and not immediately visible, so dig around it until you uncover it. The reward is worth your time. Then exit via the door you can unlock, into the next part of the courtyard passage.
Treasure Chest #2:
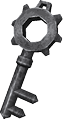
Small Key
 Small Key
You got a Small Key! This opens a locked door, but only in this area.
Chamber 6: 1st Return to Eastern Walled Courtyard Passage
Mini Freezard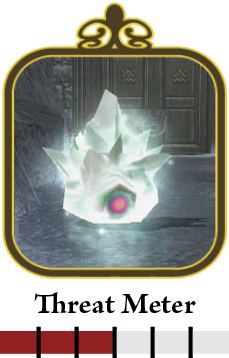
As you enter this long passage, watch the icy ground; you can’t make agile moves here. Be sure to block with your shield, and then try to engage two Mini Freezards who bounce around and can encase you in ice when they strike you. This isn’t very damaging (you lose less than one Heart energy), but you are exposed during this time. 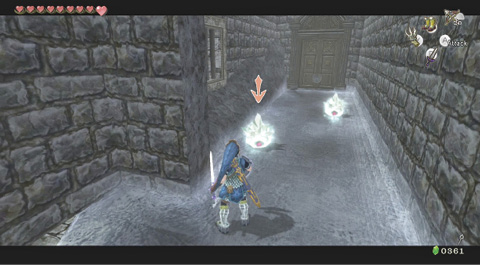
Without a Ball and Chain, defeating the slippery Mini Freezards is a mixture of shield-blocking and quick sword strikes. It’s best to crush them with a Ball and Chain, but unfortunately, you don’t have this weapon yet, so make do with a sword strike, then block, and a second to finish. Multiple Mini Freezards are a problem, as they can bounce around and behind you, so stick to defeating one at a time, and strike them so they ricochet into a wall that’s far from you; if you don’t, you’ll be frozen after a quick bounce back, as shown! 
|
Chamber 8: The Short Gallery
Head through the passage’s north door, into a frozen chamber containing three Mini Freezards. Block them and strike one at a time so you aren’t overwhelmed. After you defeat them all, a gate sealing the door in the northeast corner slides open. Enter it.
Chamber 9: The Empty Study
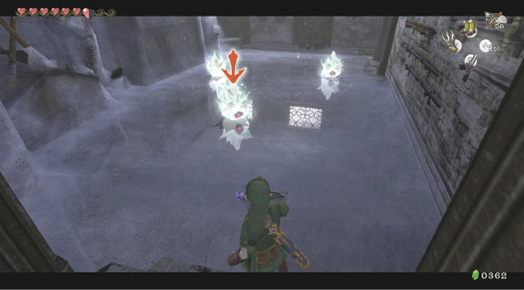
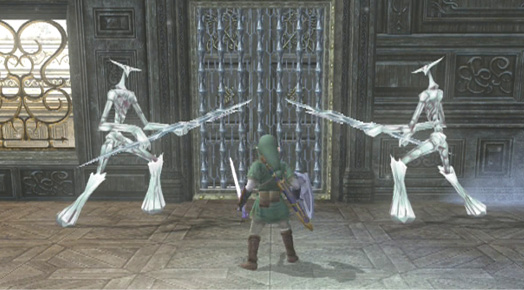
You enter a square-shaped chamber with a window in the south wall. You can see the chest Yeta was talking about! Race to the door, but be warned: it shuts tight with a barred gate, and two icy threats materialize. These are the terrifying Chilfoses, whose spears have shattered many an adventurer’s destiny!
Chilfos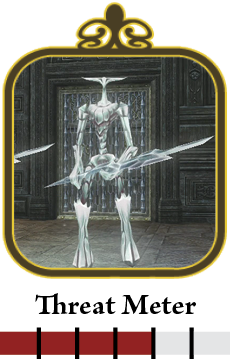
Before you obtain the Ball and Chain, chill the Chilfos out by battering his spear into pieces; then finish with a spin. 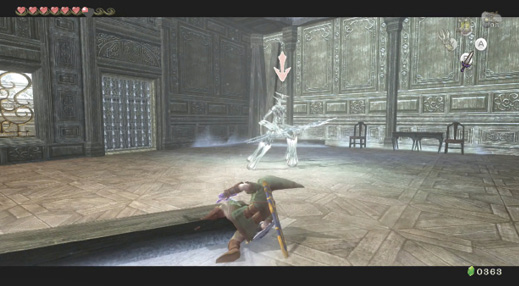
The deadly Chilfoses are a real problem to overcome, as they throw an icy spear that knocks you off your feet (and allows you to be struck by other attacks). Even worse, the spear regenerates in their hands. You have several combat options. The first is to fire two Bomb Arrows, one after the other, as quickly as possible. The first arrow staggers a Chilfos, but he soon recovers and regenerates his energy, so you must strike again when he’s just been hit. This works well—from range! 
The other technique is for when you’re close to a Chilfos (however, be aware of others in the vicinity that can throw spears and stop this technique). You want to batter the Chilfos back until he’s stunned. Start with a thorough series of slashes from your sword, which weakens and finally shatters his spear. When this occurs, finish with a spin attack, then follow up (as the Chilfos is stunned again) with more slices until he finally falls. 
|
Chamber 10: Chamber of the Pumpkin
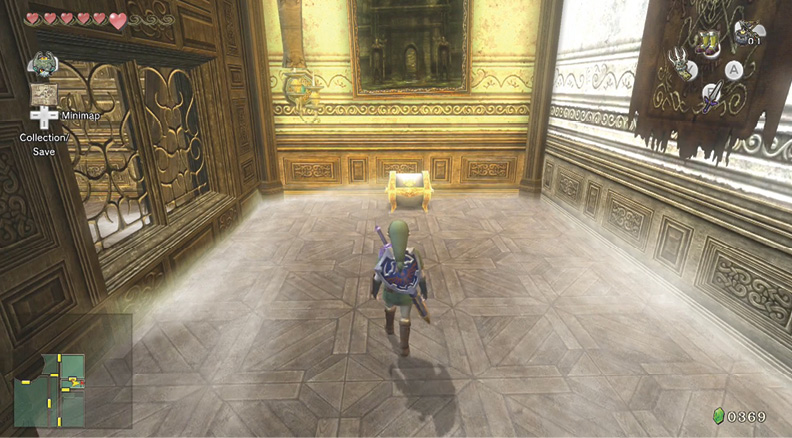
Treasure Chest: With all the Chilfos threats abated, the gate opens, and you can move south, to the room that contains the key to the Twilight Mirror. Open the chest there. The key is distinctly different than your usual opening devices—it’s orange and pumpkin-shaped!
Treasure Chest #3:
Ordon Pumpkin
 Ordon Pumpkin
You got the Ordon Pumpkin! This pumpkin was grown in your hometown of Ordon.