
The Legend of Zelda: Twilight Princess HD Guide Dungeon 9: Hyrule Castle
Task 1: Solve the Riddle of the Graveyard
|
Before you visit Hyrule Castle, make sure you have:
|
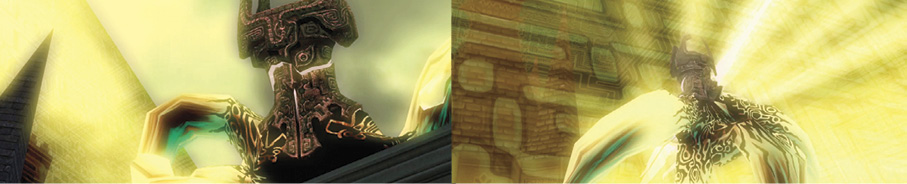
You arrive at the castle gates. The force field is present. Midna floats away, and reappears as a gigantic force of destruction, plunging a shard of light into the field! You see a brilliant flash of white light, and Midna falls into your arms. The castle is accessible!
Chamber 1: Southern Grounds (1F)
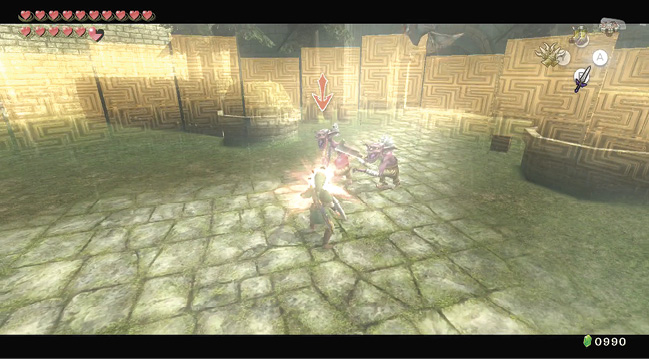
Enter the huge southern courtyard of the castle grounds, and quickly investigate the area. Of particular interest are some Bokoblins standing at the far northeastern end. Fend off a Kargarok or two, and head to the Bokoblins. An energy field appears, and you must face four waves of Bokoblins. Fortunately, you can easily tackle them with sword strikes and your faithful spin attack. After the fight, investigate a couple of the nearby barrels for Hearts if you need them.
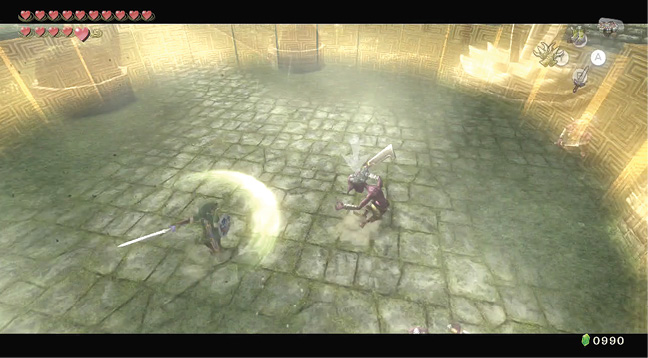
Proceed westward, checking the imposing front steps and north door (which is locked), and smashing some crates and barrels for arrows and Hearts. Then move to the far northwestern part of the courtyard, where a similar battle occurs. Defeat more Bokoblins and a couple of wayward Kargaroks in an energy wall. When you’re finished, inspect a few more barrels for arrows and a Heart, then depart via the northeast door.
Chamber 2: Eastern Grounds (1F)
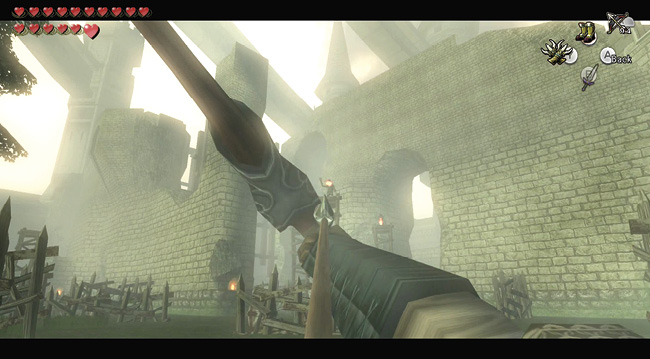
This leads to a second, just-as-imposing courtyard. Stand at the door, wait for a Bokoblin to saunter in to attack you, and drop it with your sword. Remain where you are, and peer toward the cluster of barricades and three rickety towers ahead. Bring out the Hero’s Bow and shoot each of the three Bulblin Archers standing atop them. Then draw your sword, walk forward, and finish a second Bokoblin near the first tower. Blast some explosive barrels at the foot of this tower to clear the area.
Once the Bulblin and Bokoblin welcoming committee is defeated, search this area thoroughly. Shoot the explosive barrels from a distance, and optionally destroy barricades with your Ball and Chain. However, at the north end of this section of grounds are a couple of Bullbos, standing near the inner wall, and one of them is perfect for a bit of demolition.
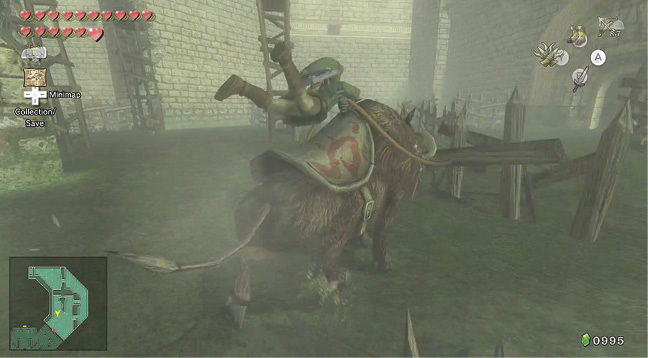
Begin a rampage through this area, smashing as many wooden structures as you wish, but be sure you turn east, and ram through to the outer corridor, shown here. Head north, to this rickety tower, and bash through it. Ahead are two more Bulblin Archers standing atop towers. Either ram them, or shoot them from afar. Then gallop forward until you reach the northern inner courtyard in these grounds.
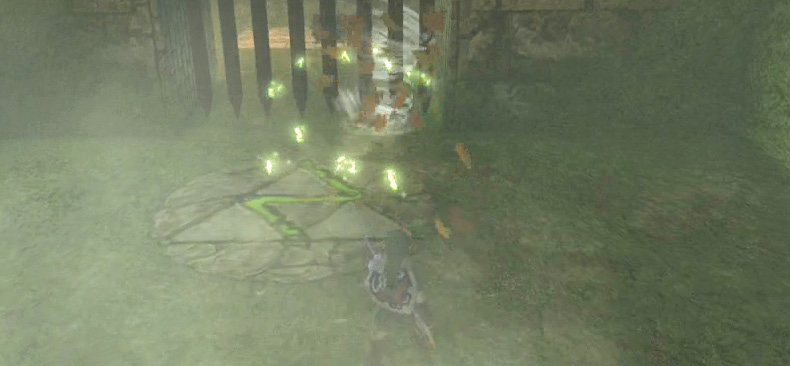
You’re looking for a gap in the wall leading to a grassy area with six pillars, each with a wind fan atop it. They seem to be positioned in a triangular pattern. Ignore them for the moment, and instead run through them to this gate. Unfortunately, it is sealed. However, there’s something on the ground obscured by leaves. Bring out your Gale Boomerang and blow the leaves away; there’s the symbol of the Triforce, with a green “Z” through it!
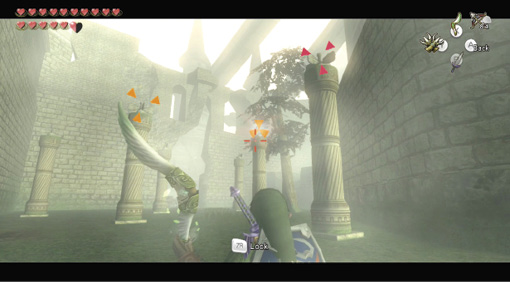
Back up, face the gate, and target the front, middle right, middle left, and back middle pillars, in that order, with your Gale Boomerang. Launch it, the fans spin, and the gate opens!
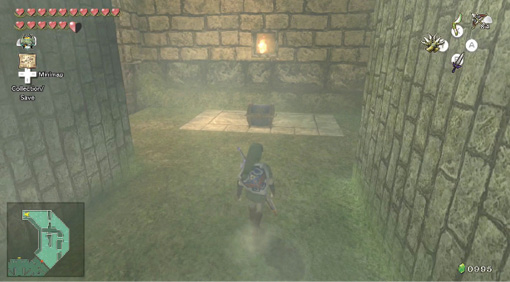
Treasure Chest: Run forward, through the wooden barred gate that rumbles open, and step into a relatively small stone room. In front of you is a chest. Pry it open, and take the Dungeon Map inside! Then smash the nearby barrels for a blue Rupee (5), and climb the ladder in this room.
|
If you sniffed around outside, you’d find a dig spot with leaves near the wind pillars. Ignore it for the moment and come back to it later. |
Treasure Chest #1:
Dungeon Map
 Dungeon Map
You got the Dungeon Map!
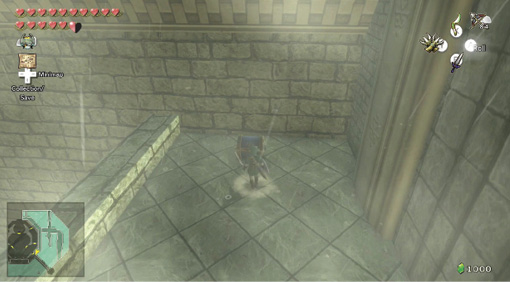
Treasure Chest: At the top of the ladder, you find yourself on the top of the inner wall. You can look out at the grounds where you rampaged with the Bullbo, then run south, following the wall to the end, where another chest awaits your pilfering!
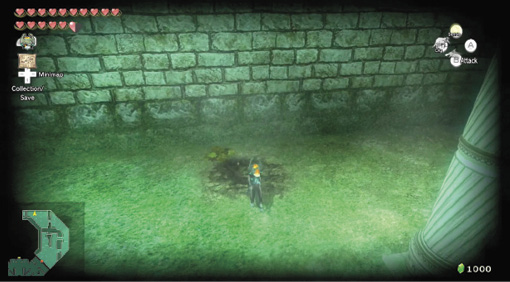
Leap down to the ground below and move back to the wind pillars. That area of earth with the dig spot is looking more interesting by the second: Scrabble down there, and you appear in the adjacent cemetery.
Treasure Chest #2:
Sad Zelda Stamp
Chamber 3: Hyrule Castle Graveyard (1F)
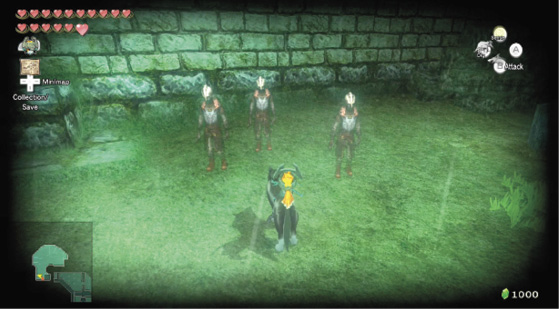
The spirits are restless in this place! Once you’ve emerged from your dig spot, you can begin to run around this eerie place, but stop and look west as soon as you enter the area. You’re startled as you sense three ghostly soldier spirits standing on this hallowed ground. Watch them closely; they’re pointing to the south wall.
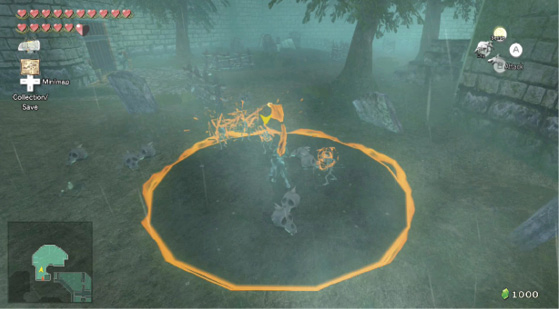
Progress a little farther north, and you’re accosted by a small group of Stalkins who emerge from the earth to thwart you. Spin attacks crumple them in seconds. Your progression north is stopped as a Stalfos rises from the ground, and you cannot defeat it in wolf form, so change into Link. Bring the Bomb Arrows out, and blast it! It seemed to be guarding a small chamber with an unlit torch on either side.
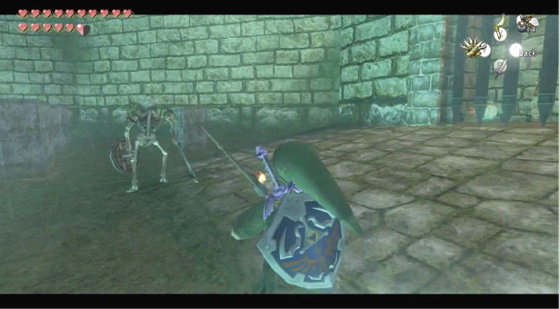
If you bring out your Lantern and attempt to light the torches, the rain that’s falling in this area snuffs the fire out. Curses! There must be another way to open this gate, and there is; head to the northeastern area of this graveyard, and battle three Stalfos foes. ZL target, then flip backward and launch a Bomb Arrow for an acrobatic and impressive takedown!
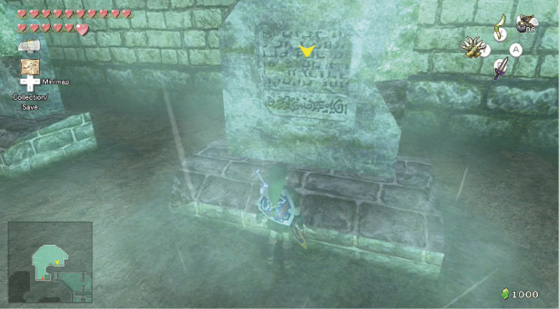
Then inspect the large gravestones scattered around. This one, in the corner, reads “the cursed swordsman…sleeps before…the sacred tree.” The adjacent one reads “in the land…where the rain stops…the statue of time…moves.” There’s another gate to a stone chamber with pottery in it near here, too.
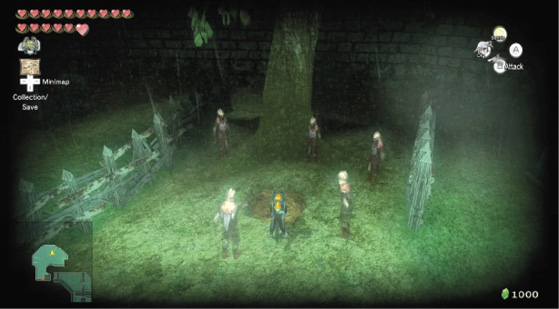
The clues from the gravestones should lead you here, to the only tree in the graveyard, near the north wall. Change to wolf form, stand here, and you notice a circle of spirits all looking at the tree! Upon closer inspection, there appears to be a small rock half-embedded in the soil at the foot of the tree. Bring out a bomb, and place it here, then retreat. The rock explodes, exposing a floor switch!
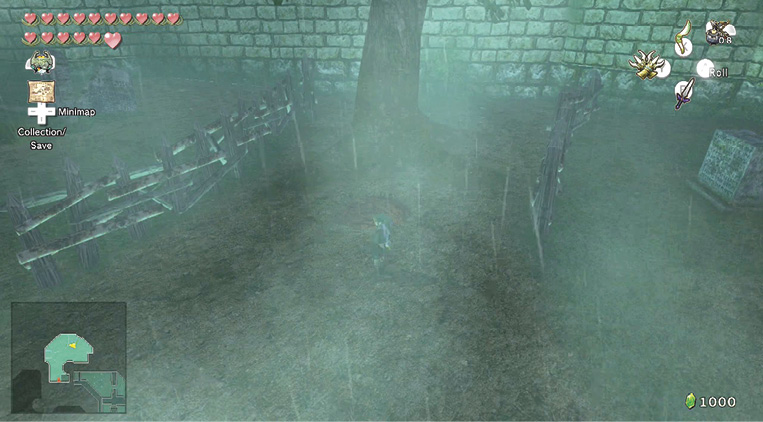
Treasure Chest: Stand on the floor switch, and the gate in the east wall where the three Stalfos appeared rumbles open. Inside is a bowl of Lantern oil, an unlit torch, some pottery you can smash for a blue Rupee (5), and three chests! The largest of the three holds an orange Rupee (100), and the others hold a red Rupee (20), and your least-impressive treasure chest prize ever: a green Rupee (1). Refill your Lantern using the oil in the bowl.
Treasure Chest #3:
Orange Rupee (100)
Treasure Chest #4:
Red Rupee (20)
Treasure Chest #5:
Green Rupee (1)
 Oil
Oil
You got oil in your Lantern!
With the oil in your Lantern, light the torch inside the stone room you’re in. Amazingly, the rain stops (but only for a short time, so hurry!). Quickly run to the other gate with the two torches outside, and light both of them before the rain returns. Inside are two owl statues. Bring out your Dominion Rod and maneuver one statue southward.
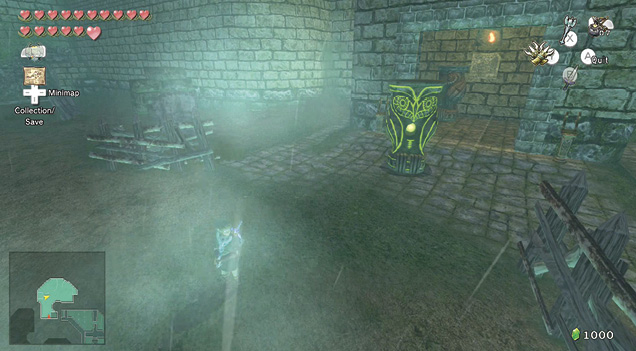
The parchment note on the wall behind the owls gives you a clue to where to place these statues. Bring the first and second statues over to the south wall, near the dig spot, and where the spirits are pointing to. Create two stepping stones and then bound up the right stone steps, and leap across, accessing the upper part of this chamber.
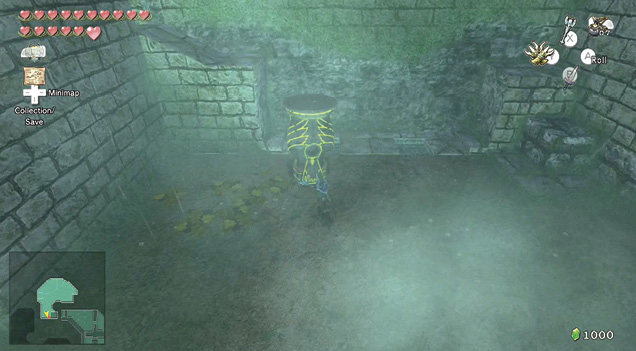
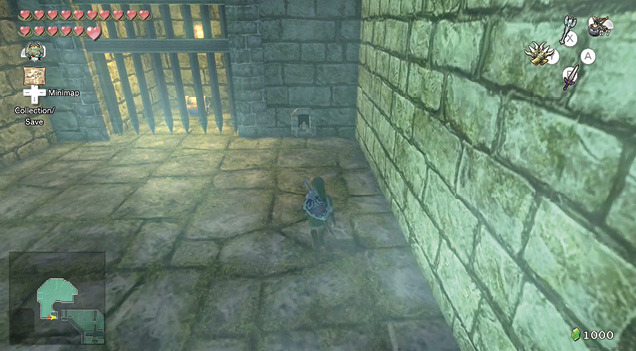
Treasure Chest: Run up the steps and head inside a small stone antechamber with a barred gate and a chest behind it. Grab the nearby chain and pull it to access the chest. Inside is a Small Key. You’ve completed your search of the graveyard, so return to Chamber 2.
Treasure Chest #6:
Small Key
 Small Key
You got a Small Key! This opens a locked door, but only in this area.