
The Legend of Zelda: Twilight Princess HD Guide Overworld: The Great Hylian Treasure Hunt
Task 4: Repair the Bridge to Castle Town
The Great Hyrule (and Poe) Hunt: Repairing the Bridge, Hot Springwater for All!
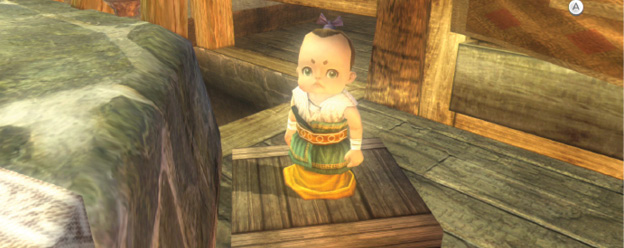
Enter the Malo Mart and chat with Gor Ebizo. The bridge from Hyrule Field to east Castle Town is now complete! Malo is officially putting that highfalutin’ Chudley on notice! There’s a new shopkeeper in town! And he’s about five years old!
Head outside to speak with Gor Liggs. He asks if you’ve seen his young one who’s sitting near the incomplete bridge. You were just over there (if you’ve been following this walkthrough!), and Gor Liggs hopes you might look for him. That’s the plan!
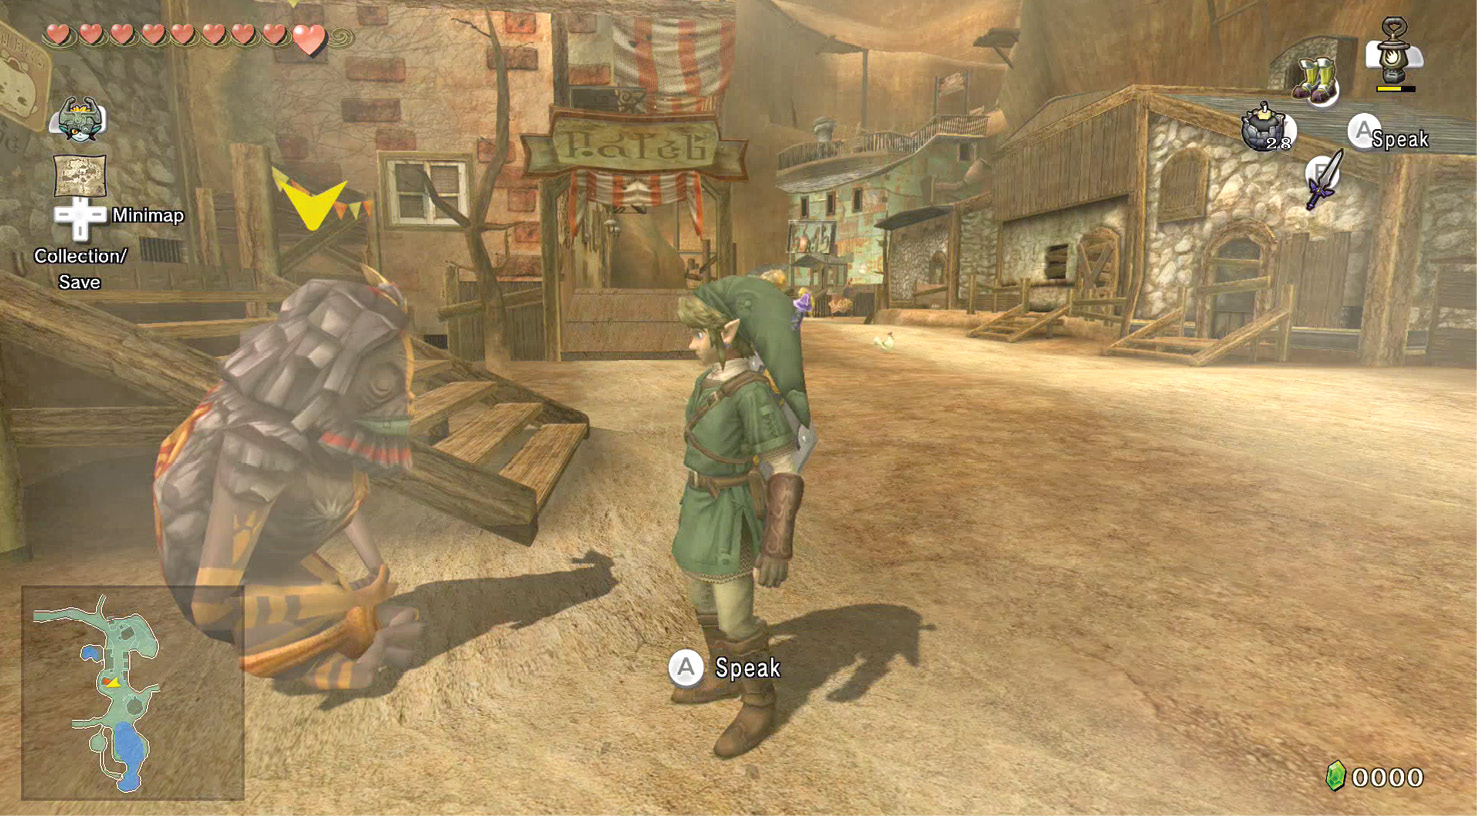
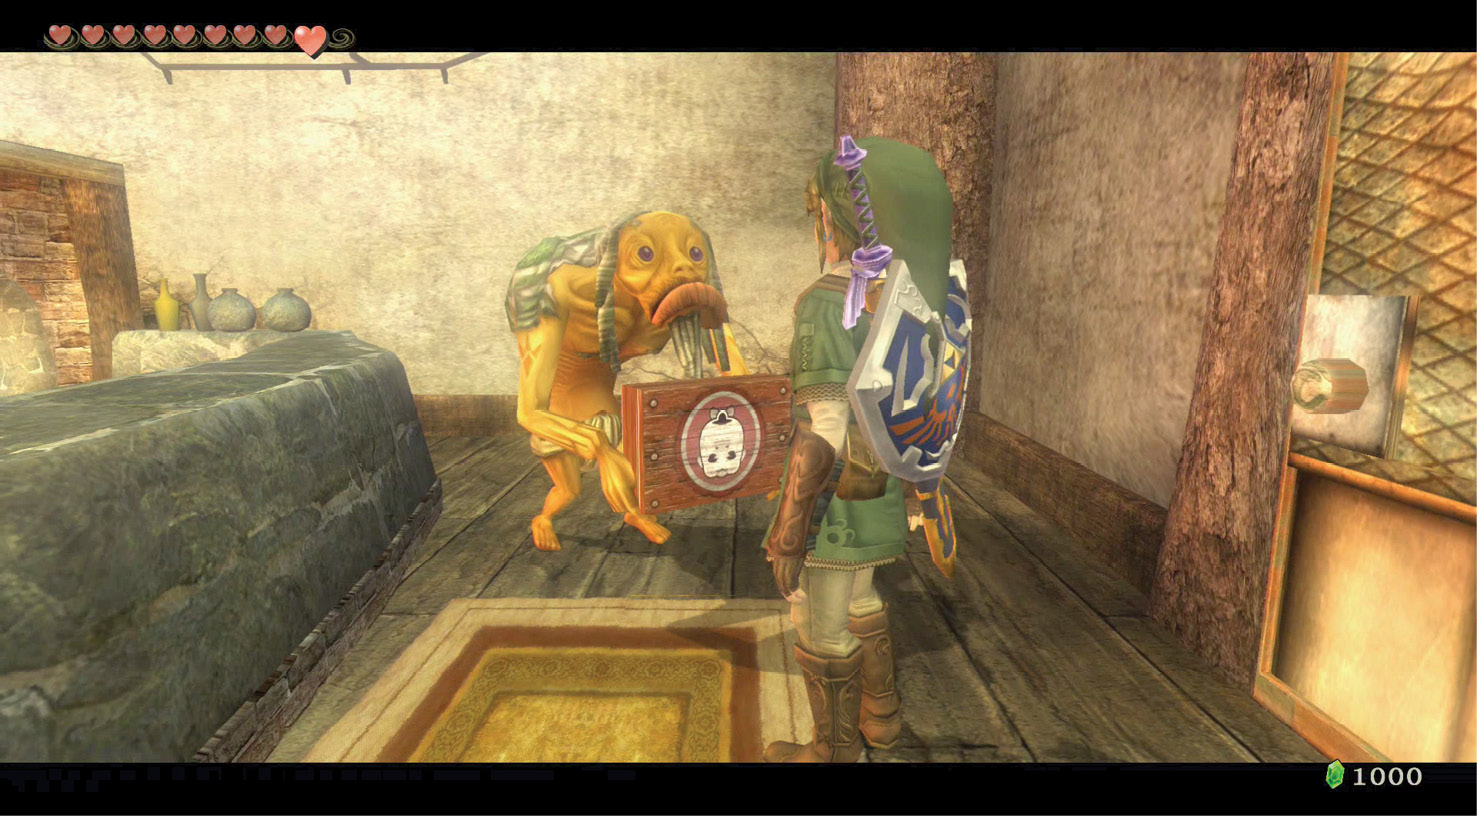
First, head back into the Malo Mart, and speak with Gor Ebizo. He’s decided to start another donation scheme to buy out Chudley. The cost is large: 2,000 Rupees! However, if you helped with the bridge, your donation goes down to 200 Rupees!
|
It’s wise to complete this task when you can. When you visit Agitha, or clean out a dungeon, buy any equipment you need, then donate the rest to this worthy cause. There’s an excellent reward! As soon as you can donate to the financing of a Castle Town shop, you can return to Chudley’s and see it is closed. It remains this way until the new owner can find financing; you’d better raid some treasure chests! |
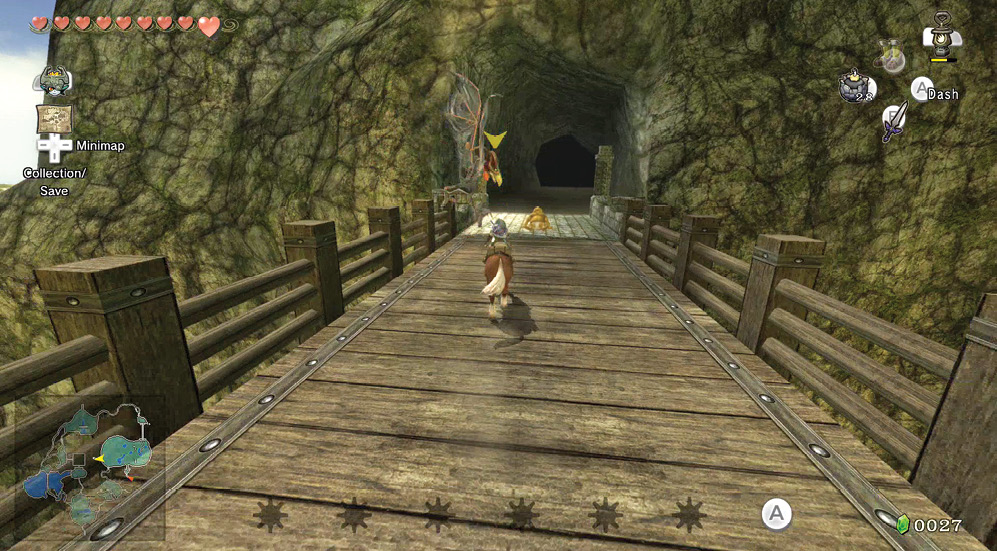
Head out to the Hyrule Field area as Gor Liggs requested, and you’ll see that the bridge is finished. You can now freely ride to and from the eastern part of Castle Town. For the moment though, slow down to speak with the lazy Goron.
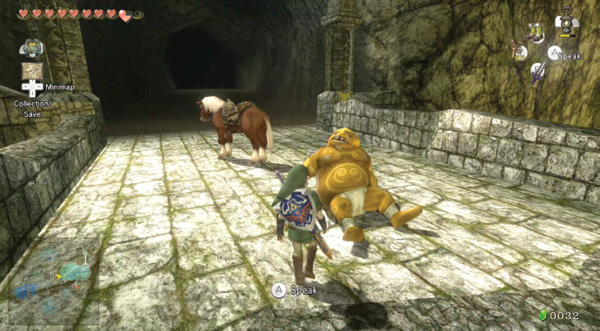
He’s finished the bridge, but he’s too tired to move! He needs a dousing with some piping Hot Springwater. He’s certain there’s some back in Kakariko Village! Head back there, speak to Gor Liggs once again, and he prepares a barrel just for this purpose.
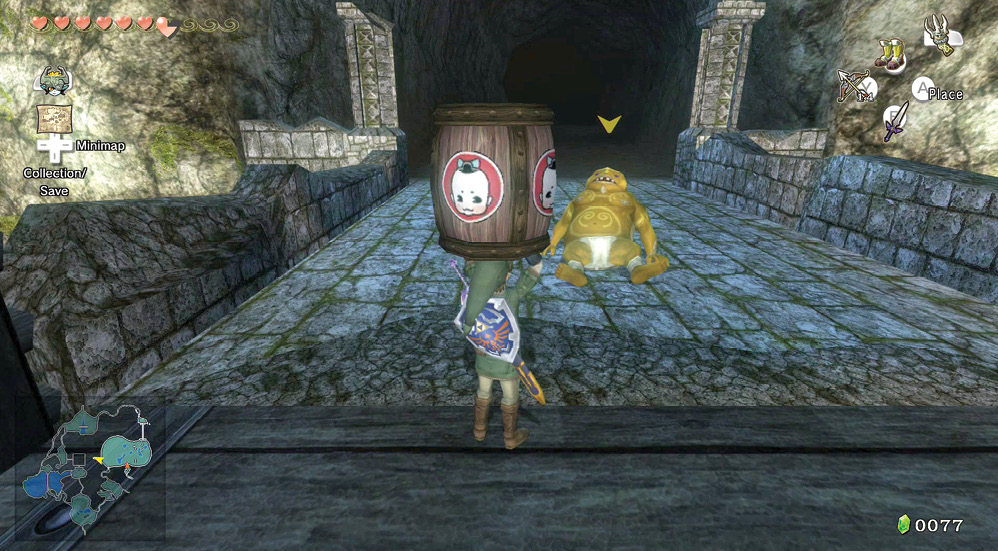
You begin in the south part of the Hyrule Field area. Stay by the edge, so you don’t attract any attention. Circle the field’s perimeter, as you attract fewer enemies this way. The only ones to worry about are a couple of Bulblins, but you can walk around them.
|
Do not accidentally throw the barrel! Always stop, then place the barrel down, if you’re attacked. If the barrel smashes, you’ll have to return to Gor Liggs for another! |
When you reach the lazy Goron, stand near him, make sure you line up correctly, and throw the barrel at him. The Goron is invigorated and can reopen the market stall in Castle Town! He leaves you a special gift!
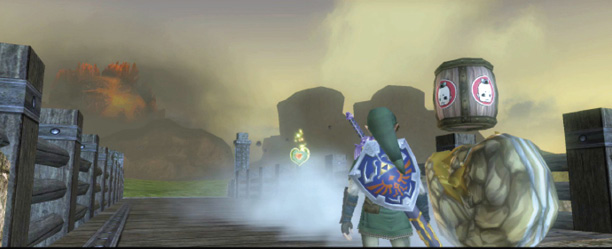
 Piece of Heart
You got a Piece of Heart! Collect three more for another full Heart Container. Piece of Heart #22 of 45.
The Great Hyrule (and Poe) Hunt: Hot Springwater for All
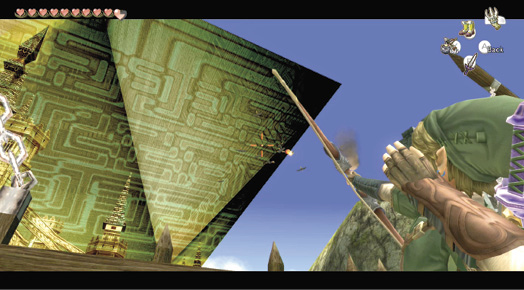
With the bridge repaired and the Goron speeding through into Castle Town, you might wish to use this new thoroughfare. Turn and walk into the opening. You emerge east of Castle Town, at a new gate. Concentrate on rolling around a Bulblin Archer to avoid his arrows, or shield block them. Defeat both Bulblins, then cross the bridge. Turn, and look up, and you’ll see another gaggle of Guays flying near the giant diamond force field. Meticulous Bomb Arrows can defeat them all, if you’re patient!
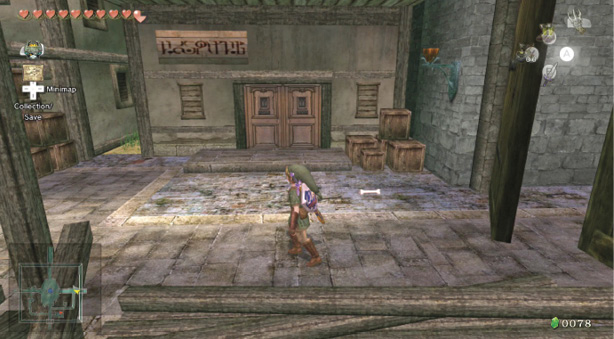
In Castle Town visit the Medical Clinic if you wish; this is the first time it is open. Borville is waiting for you. He asks if Ilia mentioned anything about him. Leave this creepy guy to his fermented jars!
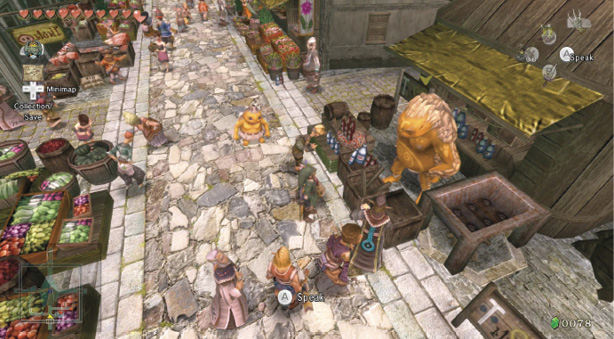
Move to the south end of the town, where the Goron stall is, and speak to the little one. His father (who you just helped at the bridge) has a line of customers! He offers to sell you a bottle of Hot Springwater if you can provide the Bottle! Purchase some now.
Store
Goron’s Hotwater
| Item | Name | Price | Effect |
|---|---|---|---|
 |
Hot Springwater | 20 Rupees | Freshly sprung from Kakariko Hot Spring! With the Gor Liggs Seal of Approval! |
 Hot Springwater
You got some Hot Springwater!
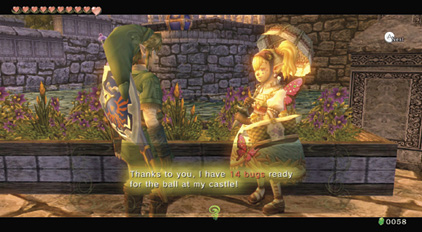 Exit via the southern gate, and head into the field. There’s a dainty young lass near the pool’s flower beds, looking for bugs! This must be Agitha. She gives you a running total on the Golden Bugs you caught, and hopes you’ll find more for her. |
Run along the path heading to the rubble where another Goron stands. He could bash his way through this landslide if he had the Hot Springwater. Produce the bottle, and give it to him. Don’t accidentally use it yourself! The Goron begins to tunnel the rubble with gusto! Return here after visiting another zone, and the path is open.
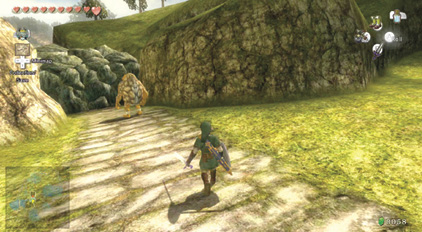
Dig Cavern #4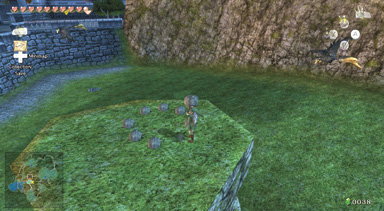 Stay in this area, and investigate the tall rock once again. Ignore the Guays, Clawshot up the vine, and stand atop the rock. Optionally lift the circle of small stones for green Rupees (1), then transform and dig into a cavern. Once down here, transform back, bring out your sword, and quickly spin attack and deal with six or seven nasty Tektites. 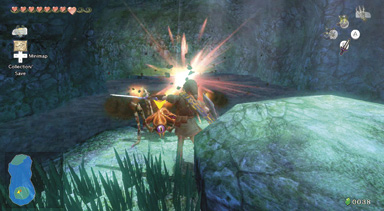 Smash some pots and cut some grass too. Finish off the nasty Hylian Hornets with a Bomb Arrow (these drop Larva, which is handy because this cavern doubles as a fishing hole). When you’ve finished fishing, wrench open the treasure chest, and claim a large denomination Rupee. Overworld Chest #50:Orange Rupee (100) |
Poe Soul #12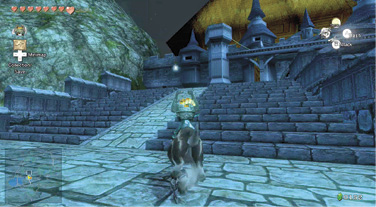 When night shrouds the castle steps in this area, turn to your wolf form when no one is looking, and locate the floating Poe here, on the steps. Engage another Poe in ethereal combat, and claim your soul!
|
 Poe Soul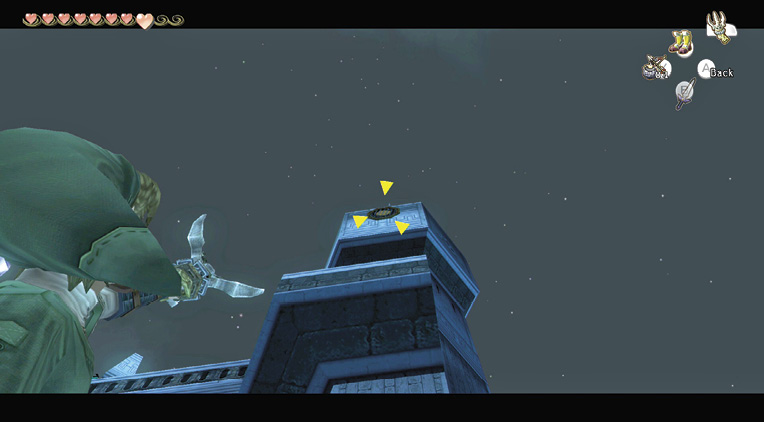
Just by this Poe is the small set of towers that appears in front of the southern gate itself. You can use the Clawshot and your wolf form to claim a chest hidden up here (although it’s easier to claim it when you try to reach the chest behind the stone wall, in front of this structure—for that, you need a Spinner).
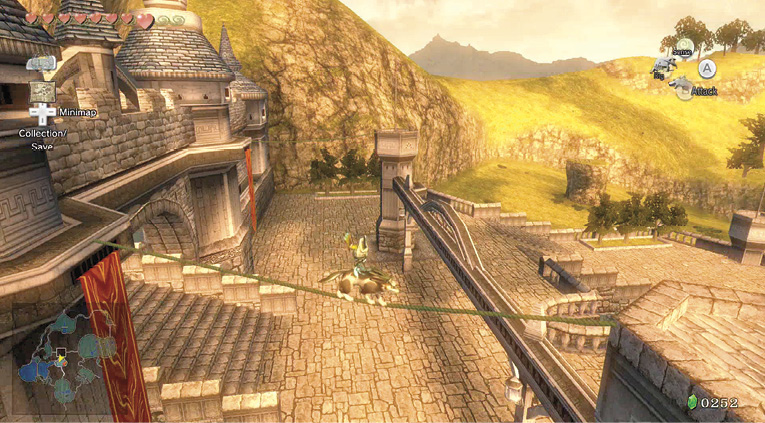
From this narrow tower top, transform and spin attack the pots (claim the arrows within), and then walk across the rope to the main castle wall. Transform back to Link, then carefully drop and hang from the lip of the ledge. Hand-over-hand across the gate lip to a second ledge and rope. Cross the rope to the opposite tower, where you can claim an orange Rupee (100).
Overworld Chest #51:
Orange Rupee (100)
Hidden Skill #4: Helm Splitter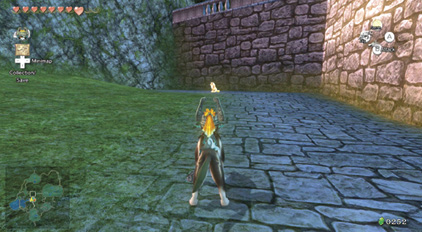 You have an important appointment to keep with the White Wolf, who’s sitting patiently on the ground just west of the gate steps. Head here, avoiding the large hole. The White Wolf pounces! You awaken in the ghostly ether. The Hero’s Shade forms, and asks you if you wish to learn your next skill. The answer is yes! First, your teacher ensures that you learned the previous Hidden Skill correctly, and asks you to show him that you’ve mastered the back slice. Simply use the A button after ZL targeting and leap around and behind him, then slash with the B button. 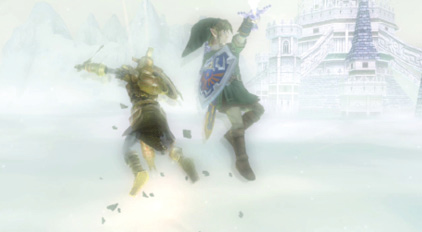 “Excellent!” utters the warrior, “let the helm splitter be hewn into your mind!” For fully armored enemies that also move fast, the back slice isn’t that effective. Soften them up with a shield attack to stagger them, then quickly leap into the air with A to split their helms! Now you try it: 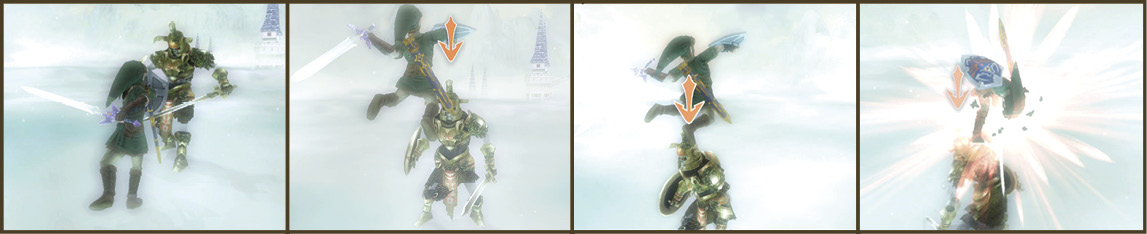 Helm splitter: Hold the ZL button on the Wii U GamePad and press the ZR button to shield attack, then as the enemy staggers, launch the helm splitter (while still targeting) with the A button.
|
 Hidden Skill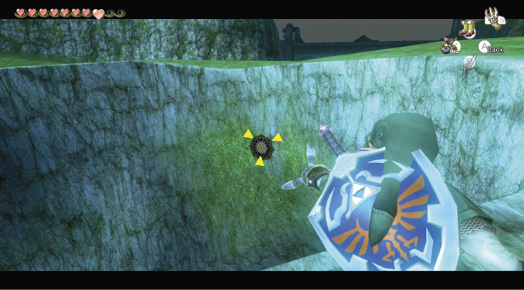
Move to the large hole in the western part of this area, and peer down. Although there are Clawshot medallions, you need a Double Clawshot to reach the chest down there. If you try it now, you drop into the river to Lake Hylia. This is actually useful, as there are Poes to claim in this region.