
The Legend of Zelda: Twilight Princess HD Guide Dungeon 1: The Forest Temple
Task 8: Defeat Twilit Parasite Diabab
Chamber 10: Boss Battle! Twilit Parasite Diababa  You enter a large round chamber with a shallow pool of filthy purple water. Notice three Bomblings poking out of hollow logs, as the water begins to bubble. Suddenly, two gigantic Baba heads roar out of the water, snapping and snarling! Form 1: Twin Diababa Serpents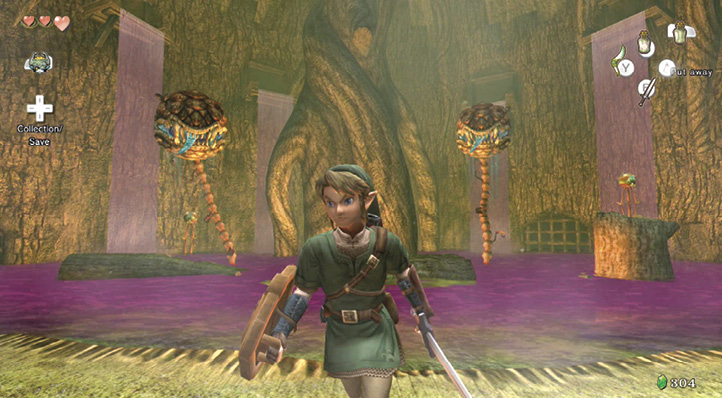 The biggest mouths are also the hungriest. Make sure their meal consists of Bombling, not heroic adventurer! 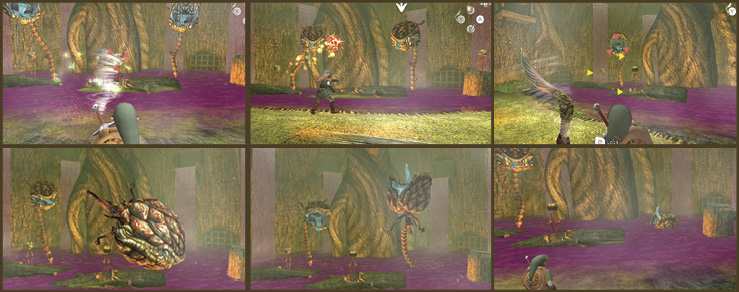 The twin Diababa Serpents are surprisingly easy to slay; bring out your Gale Boomerang and target any of the three Bomblings resting on the logs. Bring the Bombling back, target either Diababa head, and send the bomb spinning into that maw for a spot of deadly indigestion! The head sinks back into the mire. Repeat this plan for the second head. You can target the Bombling and head in a single throw if you wish. Form 2: Twilit Parasite Diababa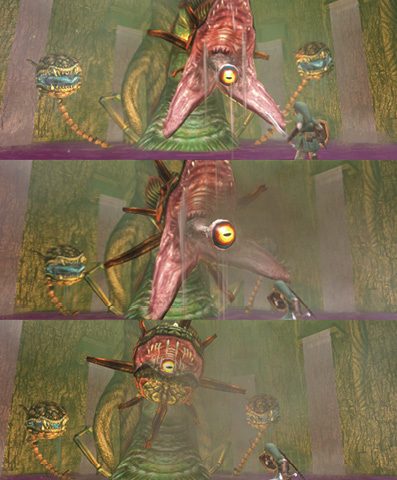 Both heads sink back into the water. Wait, what’s that rumbling sound? The entire chamber shakes and the water boils before a massive snaking head, flanked by the Diababa Serpents you just defeated, emerges from the murk and roars in your face! 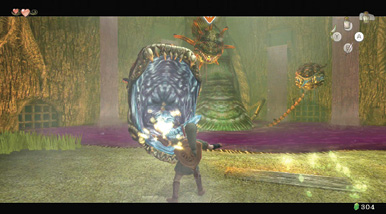 The Twilit Parasite Diababa is a fearsome and nearly invincible foe, but it still can’t digest bombs!
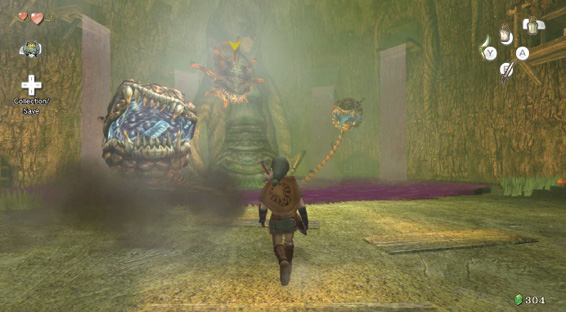 Step 1: First, a Baba Serpent head snaps its mouth then lunges at you. Look for the mouth movement, then roll out of the way, or block with your shield (ZL). Next, the other Serpent does the same. Roll away from this attack, too. 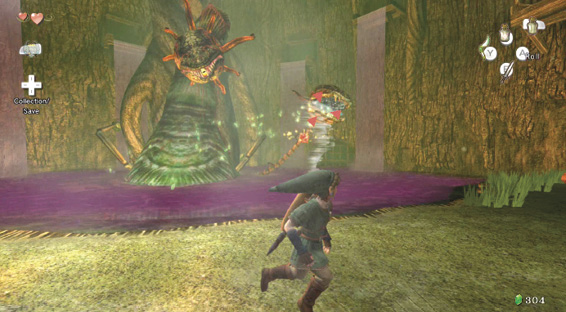 Step 2: You won’t have harmed this deadly monstrosity yet but don’t worry; help is on the way! Ook swings in from an upper (and unreachable) entrance, and produces a Bombling! 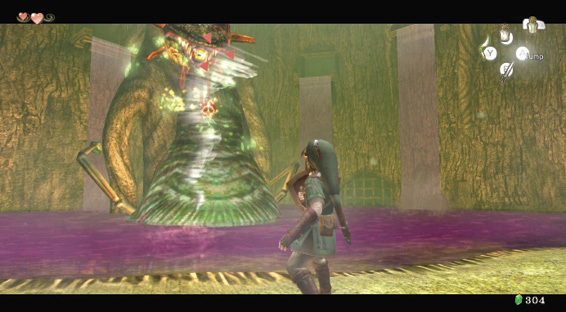 Step 3: Now concentrate on slaying either Baba Serpent (which is optional, but helps you concentrate on the main threat) or the Parasite itself. Defeat the Baba heads in the same way as before, except you’re targeting Ook’s Bombling as he swings back and forth on a rope. 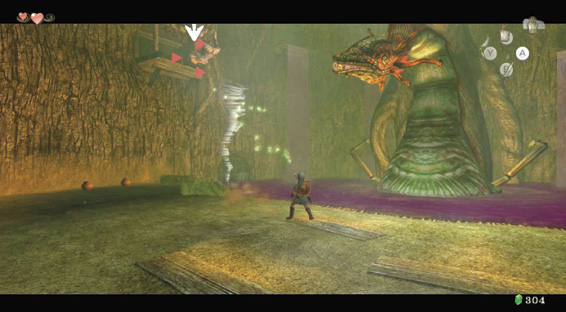 Step 4: The Parasite is your real concern. Target Ook with your Gale Boomerang. Then select the maw of the Parasite with the second target, before you launch the attack. Your timing has to be just right! 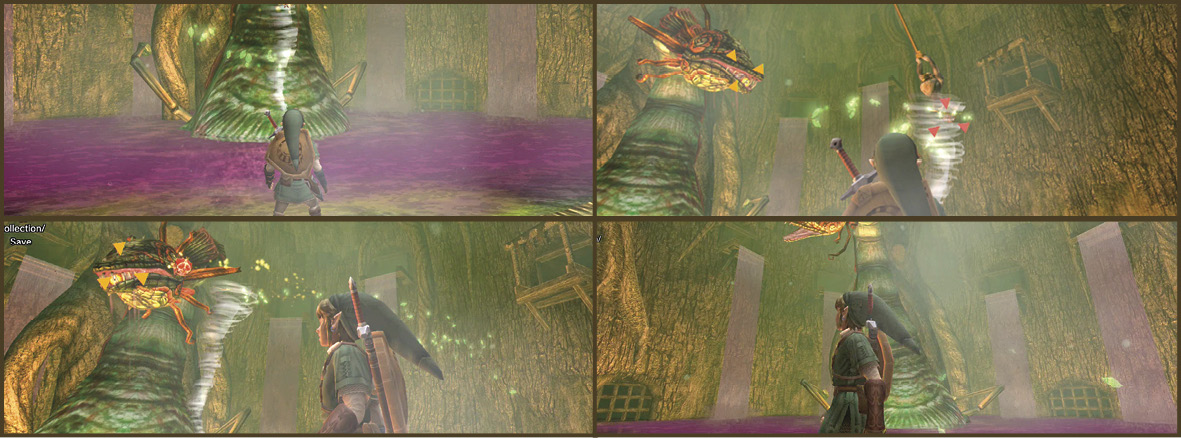 Step 5: Make sure you launch the Boomerang when Ook is just about to leave his perch on either side of the chamber and swing into the middle. This catches the Parasite in the side of its head. If you launch the attack at any other time, the Parasite shrugs off the attack! When you’re successful, the Parasite’s snaking head lolls about, then collapses onto the ground near you. 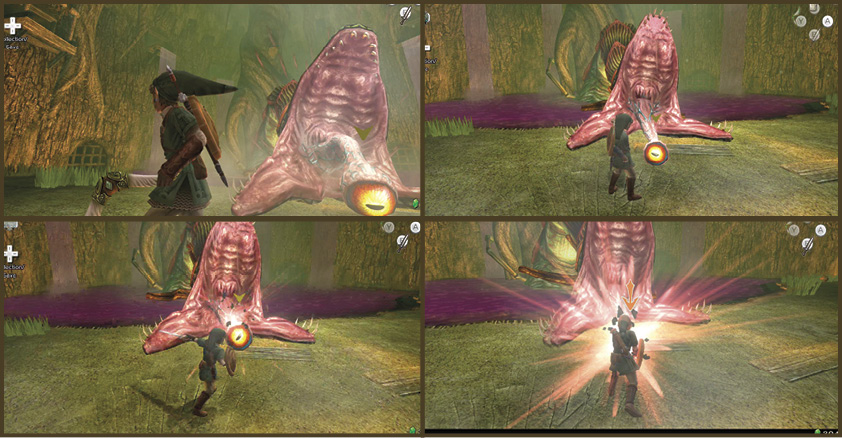 Step 6: Make short work of this fiend by targeting the odd eyeball-like appendage that’s now exposed, and spin attack, stab, or better yet, launch a leaping finishing move. The beast is badly wounded the first time you try this, then it rises up for a new attack! 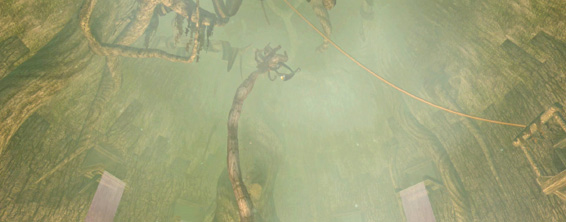 Step 7: The Parasite now sprays your grassy outcrop with purple ooze that’s damaging. Simply roll out of the way, or throw the Boomerang at the beast’s mouth to halt it. 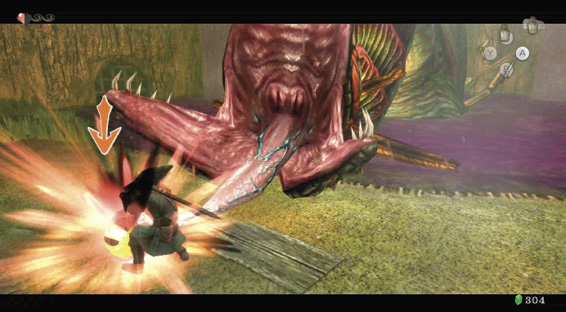 Step 8: Victory! Repeat steps five and six once again, and the second series of stabs should finish this fearsome foe off for good! |

The monster shrivels up into an emaciated tube before dropping its “eye”-like appendage. Inside is a prize worthy of this dungeon trek; a Heart Container! The creature then explodes into shards of twilight. These coalesce into a piece of strange-looking armor. Midna appears and explains this is a piece of Fused Shadow.
“Do you remember what the spirit said?” Midna asks you. “About how you had to match the power of the King of Shadows?” This is your key to victory, and there are three Fused Shadows to find. Midna tells you more only if you help her find the two other Fused Shadows.
Midna creates a warp portal and is waiting for you to join her. Before you do, be sure you pick up the Heart Container; this increases your life energy by an entire full Heart, permanently!
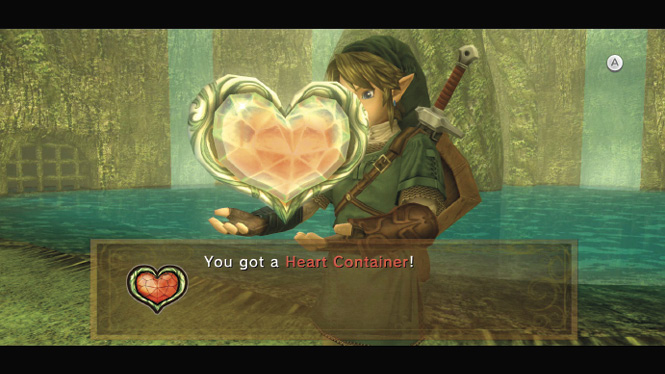
 Heart Container
You got a Heart Container (#1 of 8)! Your life energy has increased by one and been fully replenished!
|
Heart Containers are the grand prize. There are eight: you get one for each main dungeon boss slain in the first eight dungeons. The other method to increase your energy is by locating the 45 Heart Pieces. Collect five pieces to increase your energy by one. Therefore, you can acquire a maximum of 20 energy. |
Midna offers you a warp portal to exit the dungeon. If you’re ready, take it. If chests still remain unopened, backtrack for them or re-enter the dungeon at a later time using Midna’s portal. Save your game!
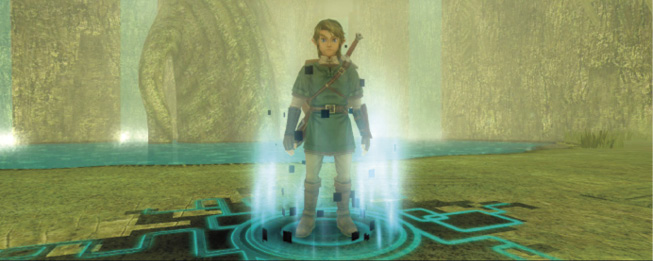
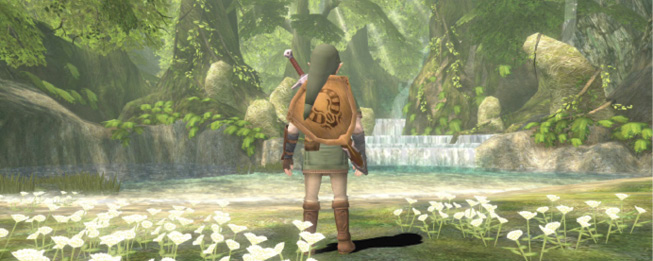
You appear at the Faron Woods Spring. A voice of the spirit Faron calls you: “Do not think that Hyrule is now saved from the spread of twilight!” it says. You are to travel to the land protected by the Eldin spirit. Midna also informs you that you’re looking for portions of Hyrule covered in twilight.