
The Legend of Zelda: Twilight Princess HD Guide Dungeon 8: Palace of Twilight
Task 1: Obtain the First Sol Sphere
Chamber 1: Ethereal Plateau (1F)
|
Consider doing the following when you visit the twilight world:
|
Investigate the ramp to the west; this descends to a door, with a tall Twili standing alone. He flinches if you attack. Smash the pot to the door’s right for arrows. Now open the door.
Chamber 2: West Wing: Lower Chamber
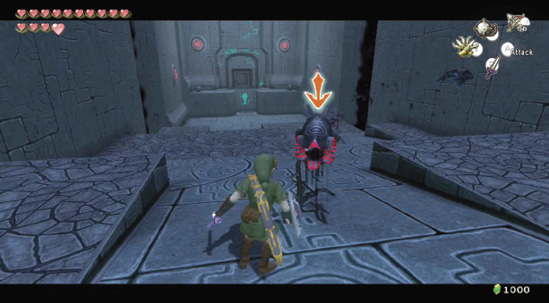
Enter into a long lower chamber, and brandish your sword; there’s a Twilit Baba and a Twilit Keese to fight in the entry area. Cut them down, head north to a second Twilit Baba, and hack into him. Defeat another Twilit Baba and Keese, then face a new foe!
Zant Mask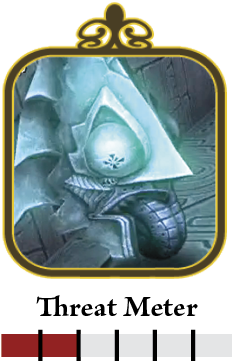 Zant Masks roam the palace, guarding their master with a ranged ball of twilight energy. They have the ability to teleport short distances to flummox the unprepared. React by either blocking the energy and sending it back into the Zant Mask and stunning it, or dodging it completely and running in to slash and bash with your Master Sword. It only takes four or five good hits for the Zant Mask to implode. 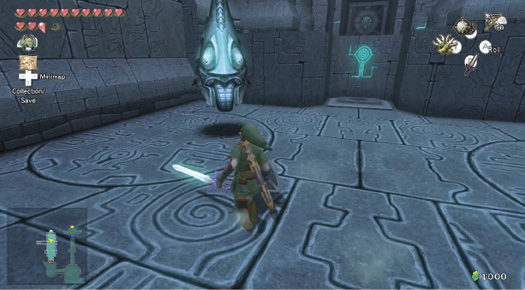 A fearsome helm, floating in the twilight and firing energy balls at you. Fortunately, it can be countered and defeated easily. |
Treasure Chest: Stride down the ramp and engage the Zant Mask in combat. Don’t stop until the Mask explodes, giving you a Rupee. If the Zant Mask disappears, it likely reappears and ambushes you. When you defeat the Mask, a chest appears in the alcove ahead. Open it to find a Small Key.
Treasure Chest #1:
Small Key
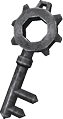 Small Key
You got a Small Key! This opens a locked door, but only in this area.
Missing Links
1. Pulverizing Pottery
There are some pots to destroy in this chamber’s upper northern section; one contains a blue Rupee (5). Use the Clawshot medallions and land up here, then begin the shattering!
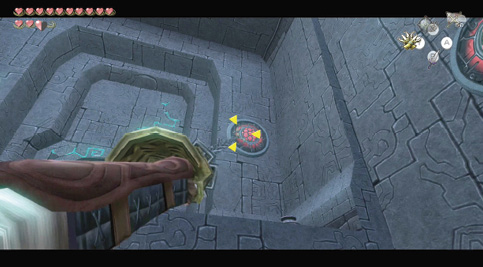
Inspect the room; parts of the walls are made of a fog that contains shadow crystals. The power of Zant transforms you into a wolf if you leap through these walls. There are pots behind the southeast and southwest fog wall; one contains a blue Rupee (5), the other a yellow Rupee (10).
The fog wall in the northwest is also of some interest; there’s a Clawshot medallion at the far end above the upper ledge. However, you can’t target it yet. Instead, leave the room via the locked door at the north end; open it with your Small Key.
Chamber 3: West Wing: Middle Fog Chamber
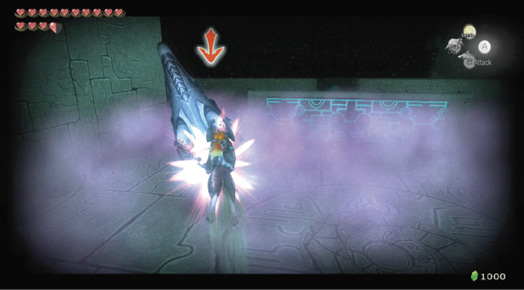
Enter the next chamber and run directly into the fog. Turn on your sense view so you can see through the mist, and begin to attack the Zant Mask. Be ready to strike it a couple of times, and watch for it teleporting and reappearing. Also check the west side of the foggy area for pots; there’s a yellow Rupee (10) in one.
Treasure Chest: As soon as you defeat the Zant Mask, two chests appear in this room. Smash another pot in the southeast foggy area for arrows, and then move to the chest in the chamber’s southeast corner. Execute a spin attack and stop the Twilit Vermin that fall from the ceiling. Open the chest and take the Compass.
Treasure Chest #2:
Compass
 Compass
You got the Compass! This handy tool will show you where to find objects hidden in this dungeon.
Treasure Chest: Now that you have the Compass, you see that there are a few chests left to find. Two of them are in this room! Journey north through the fog, and open the second chest that appeared. There’s another Small Key inside. Then use the medallion on the northeast corner wall to reach the exit door. Unlock it, and leave after you claim your final chest in this room.
Treasure Chest #3:
Small Key
Small Key
You got a Small Key! This opens a locked door, but only in this area.
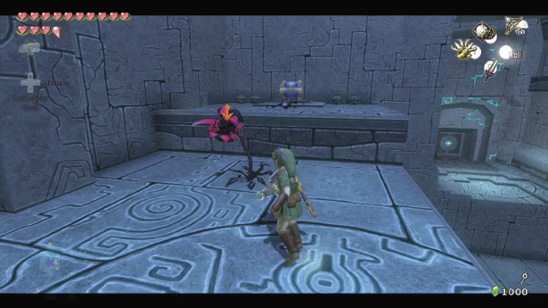
Treasure Chest: The final chest requires some cunning Clawshot maneuvers. First, shoot to the northeast medallion, and turn to look south. There’s another medallion on the outer wall. Shoot to it, then to the ceiling, and drop down on the eastern ledge. Open the chest to find the Angry Midna Stamp. There is a yellow Rupee (10) plus Hearts in the pots on either side. Now exit this chamber.
Treasure Chest #4:
Angry Midna Stamp
Chamber 4: Upper Chamber of Sol Light (West) (1F)
You enter a flat chamber with a strange hand clasping a white shining orb at the room’s far end. As you step forward, an energy wall appears and an image of Zant blinks into existence, conjuring a ball of twilit energy and warping in dozens of Twilit Keese!
Phantom Zant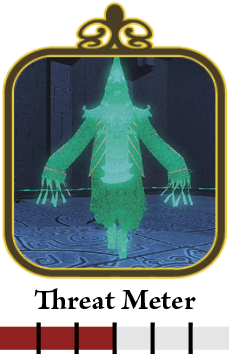 Step 1: A spin takes too long to muster, so quickly back up or run into the cloud of Twilit Keese and begin to rapidly ZL target, slice, and target the next, until you defeat them all. This is the first of Phantom Zant’s summonings. 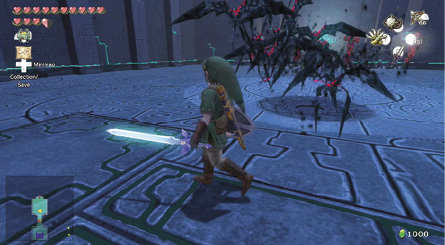 Step 2: As soon as you defeat the last Twilit Keese, quickly check the arena’s edges, as Phantom Zant appears randomly. Stay in the middle, and as soon as he teleports a couple of times, try to ZL target (turning using this lock-on works well), run in, and slice him. It takes three great spins to completely defeat him.
Step 3: Phantom Zant will probably conjure the next swarm; this time they’re Twilit Vermin. A spin attack rids you of most of them; then tackle the remaining ones quickly. Step 4: Finally, Phantom Zant teleports around the chamber but always lands in the center at some point. Target with ZL and tap the button constantly while rolling to cover the ground quickly, then roll in and attack Phantom Zant with a barrage of slices until he finally yields. 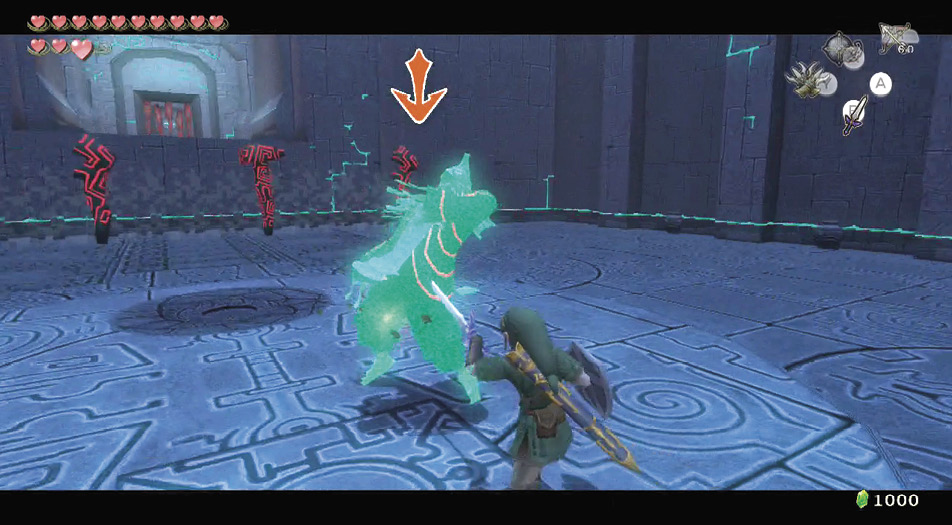 |
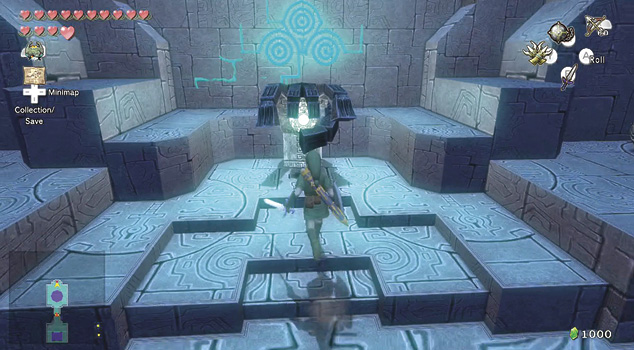
When Phantom Zant is dispersed, avoid the cloud of shadow he leaves behind. Run to the chamber’s north end. Midna appears and tells you that the shining Sphere is called a Sol. It is a true source of power, and Midna hopes you can take it to the entrance.
Take a couple of swings at the pottery on either side of the hand holding the Sol. Then slice at the hand until it releases the Sol. Pick up the Sol and turn south; carry it toward the cloud of shadow. As the light reaches the cloud, the cloud disperses and the hand starts to glow….
Zant’s Hand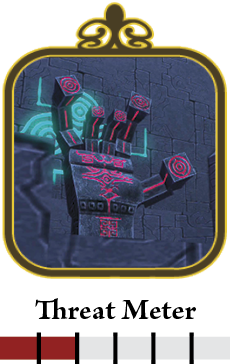 Zant’s Hand holds each of the Sol Spheres in this dungeon and they aren’t that aggressive. They float toward the Sol incessantly and will attempt to steal it back, taking it to the pedestal you stole it from. Otherwise, stay away from the Zant’s Hand while carrying the Sol, or you’ll have to repeat your journey. |
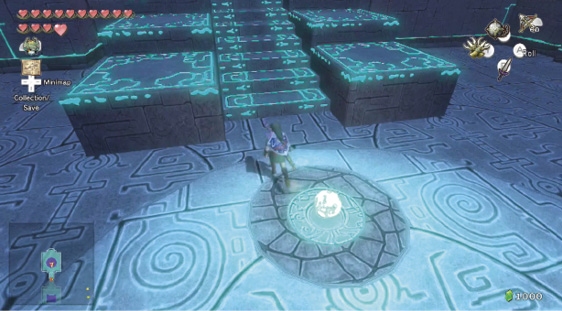
Run to the circular groove in the floor and place the Sol Sphere into it. The power of light raises a set of steps; immediately run up them and execute a quick spin attack to defeat a small group of Twilit Vermin that appear to intercept you. Turn at the top of the steps, making sure you’re on the solid ground, and Clawshot the Sphere out of the groove, before Zant’s Hand can reach it. Exit back to Chamber 3.
|
If you’re too slow, Zant’s Hand grabs the Sol Sphere and deactivates the steps, floating back to the pedestal with the Sphere in its clutches. Bring out your Clawshot and grab it back! You must keep the Sphere in a groove or on your person at all times. |