The Legend of Zelda: Twilight Princess HD Guide Dungeon 1: The Forest Temple
Task 3: Battle the Bad Baboon Named Ook
Chamber 7: Second Return to Staircase Cavern
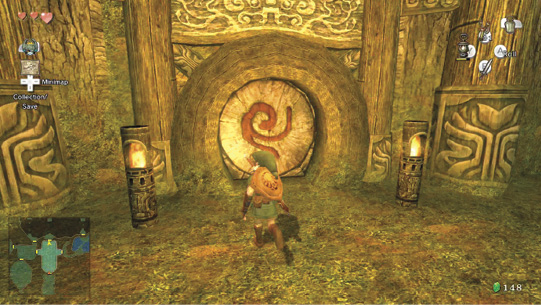
With your monkeys in tow, having rescued both of them, head back to the Crossroads Hub. You can optionally take the only exit you haven’t investigated yet; it leads back to the Wind Gorge, but you can’t proceed. You head through this door in the opposite direction later in this expedition.
Chamber 2: Third Return to Crossroads Hub
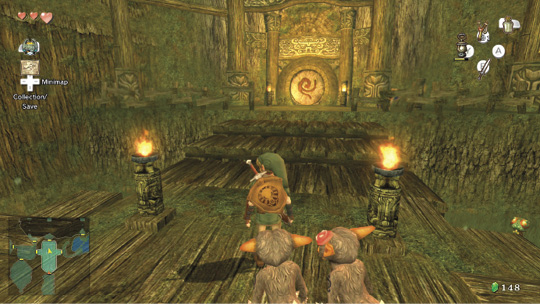
Back in the Crossroads Hub, your quartet of cackling chimps beckons you to swing across to the middle platform and then up the shallow steps to the northern door. Oblige them, as this leads to the Wind Gorge. Make sure you have all four monkeys before continuing!
Chamber 3: Third Return to Wind Gorge
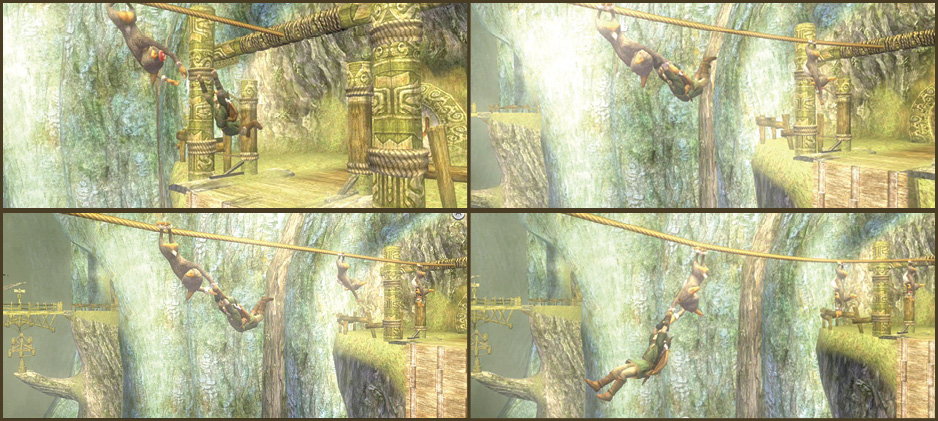
You’re now in the middle section of the Wind Gorge, with a massive gap, thanks to the baboon’s bridge-cutting skills. Watch as each monkey creates a swinging handle for you, then take a deep breath; you need to swing four times across the gorge, and land on the other side! As always, time this carefully, pressing the A button about once a second to ensure a safe trip.
Once on the other side, climb up the steps leading to the unlocked door. Although you can turn west and try leaping across the bridges to rescue a monkey, it’s better to wait for a moment. Slice the Deku nuts by the door, and then enter.
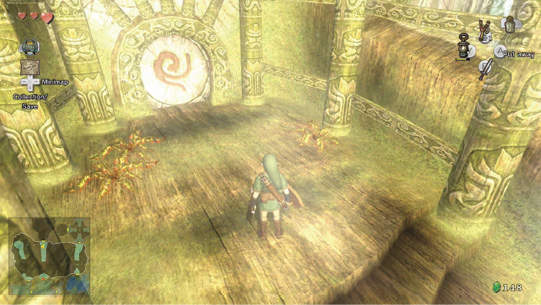
Chamber 10: Cavern of Ook

You enter Ook’s cavern, and the door seals shut behind you! Ook is crazy, and he’s wielding a deadly Gale Boomerang! He throws the weapon and it slices off two Baba Serpent heads from the ceiling. Patting his bare bottom in satisfaction, Ook prepares a second Boomerang swing for you!
Ook
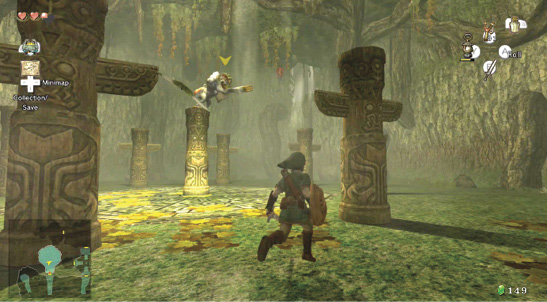
Begin by executing a perfect spin attack on the two advancing Baba Serpent heads; this stops Ook’s first attack. Now run forward, and watch as the manic baboon leaps from totem pole to totem pole. He then stops and launches the Boomerang. 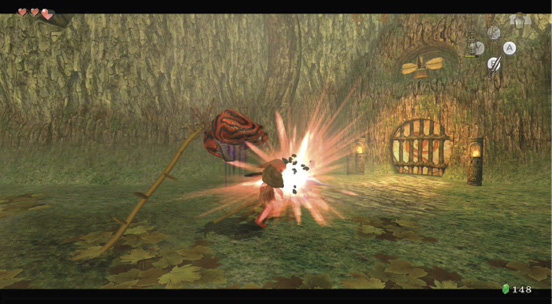
Ook likes to dance. Fortunately, he’s at the top of a highly unstable totem pole. Bring that buttock-patting ape down for a spanking! Keep your eye on Ook, and run around to avoid the Boomerang, and any more Baba Serpent heads he cuts from the ceiling. He launches the Boomerang and is dancing on the totem pole, waiting for it to return, then the returning Gale Boomerang hits the totem pole and knocks him down! 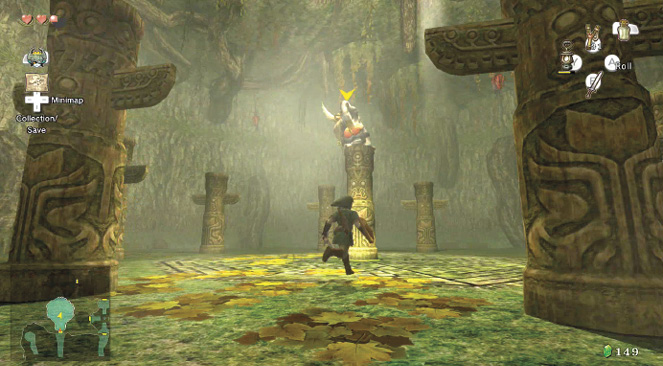
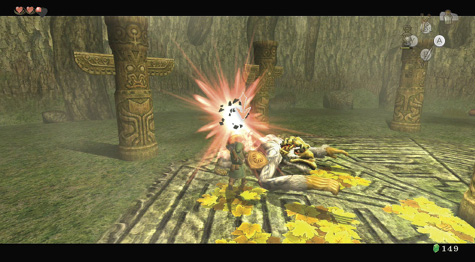
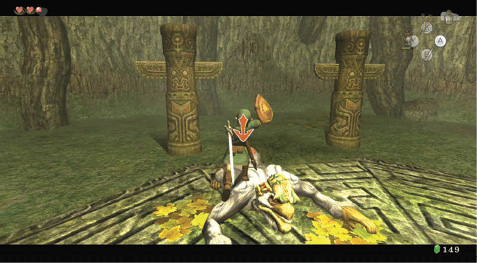
Then execute a flurry of sword slashes, ZL targeting Ook’s posterior! Slash that backside until Ook stands up, clutches his buttocks, and leaps back up on the totem pole! That’ll teach this unruly ape! Now continue this tactic two more times. After you knock him off the totem pole (remember: roll twice into it quickly!), and slash his bottom two times, he cuts down two more Baba Serpents. Deal with them immediately, so they don’t clamp their jaws around you. 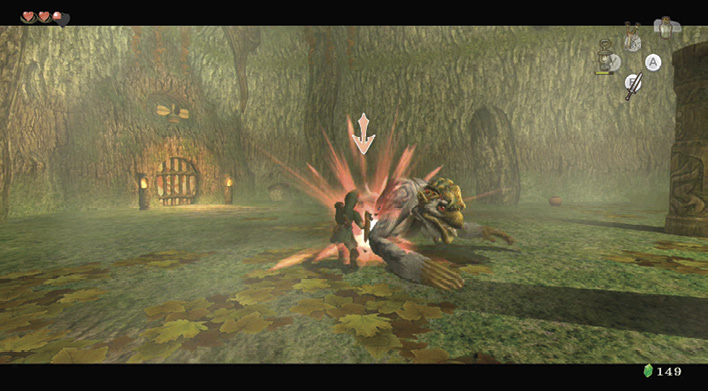
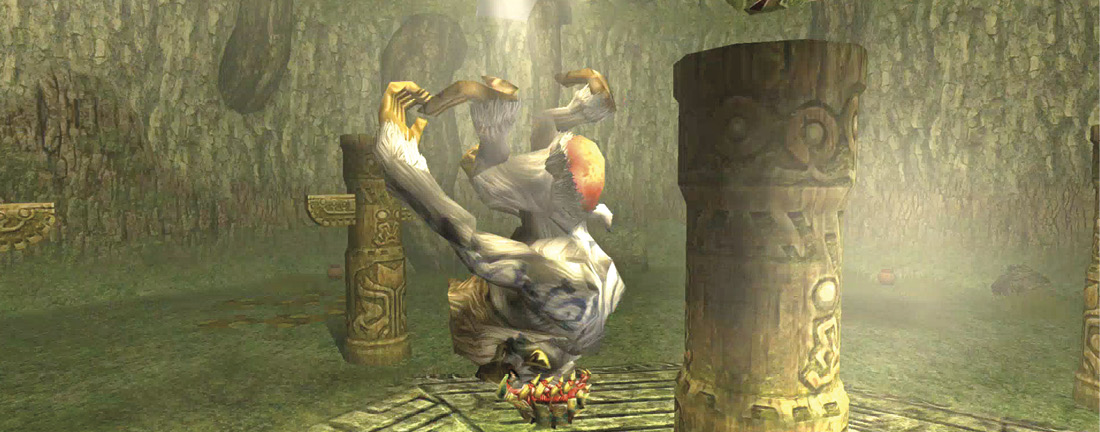
After a final ignominious buttock bashing, Ook gives up his Boomerang, knocks himself out on his own totem pole, and pops off the parasite beetle responsible for his manic antics! |
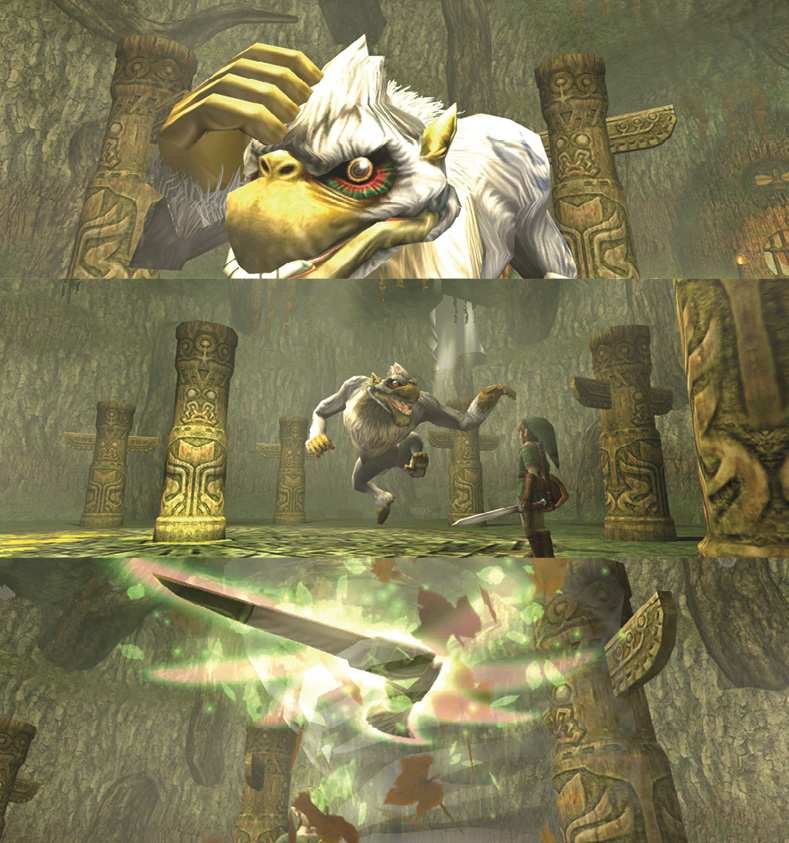
After Ook realizes his antics, his bottom is flush with embarrassment, and he hops out of a hole in the cavern. You can’t follow him, so instead, you step over to the Gale Boomerang. A voice whispers “I am the Fairy of Winds who resides in this boomerang.” She instructs you to use the weapon she’s bound to, and focus her power!
 Gale Boomerang
You got the Gale Boomerang!
Gale Boomerang
The Gale Boomerang houses the Fairy of Winds. On the Wii U GamePad menu screen, set it to the Y button. Hold Y and use the Left Analog Stick or move the Wii U GamePad to find targets, then release Y to throw it and suck things up with gale force. Lock on to objects with a yellow target by pressing ZL while holding Y. You can lock on to and strike as many as five things at once! 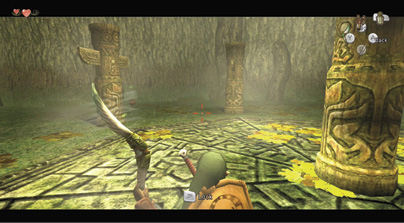
Set the item to your Y button, and test it out. Don’t forget you can keep ZL targeting up to five times before you release! Remember to press and hold Y first. See the following page some tips for using the Gale Boomerang: 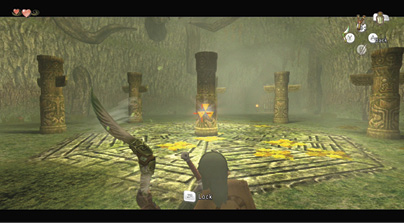
|
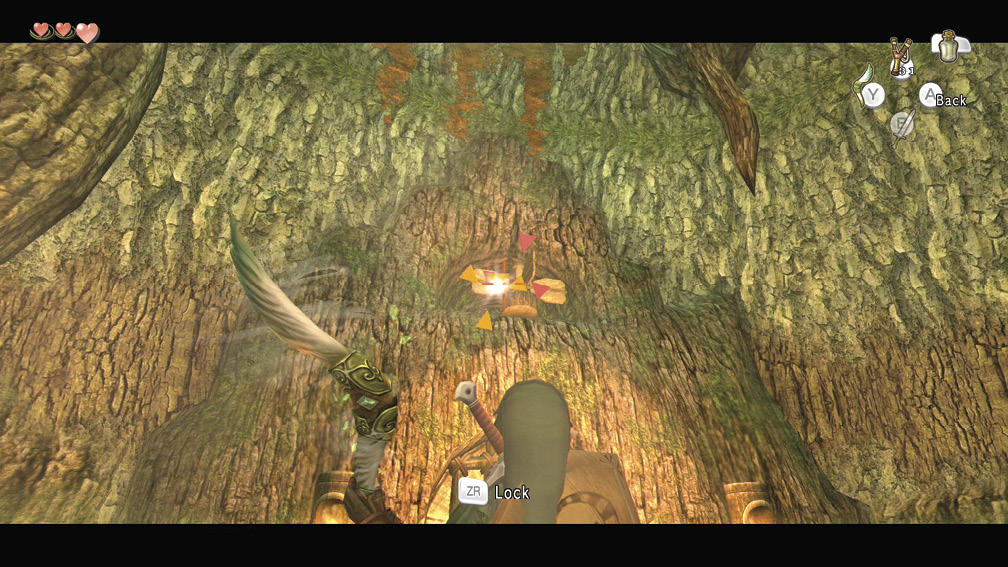
Test out your new weapon on the bars that are preventing you from exiting. ZL lock on to the fan above the door, and target five times. Launch the Boomerang, and the fan spins long enough to raise the bars. If you target the fan only once, the bars don’t lift high enough. Exit via this south door.