
The Legend of Zelda: Twilight Princess HD Guide Dungeon 5: Snowpeak Ruins
Task 3: Defeat Darkhammer, Claim the Ball and Chain
Chamber 5: 1st Return to Cold Storage Crate Room
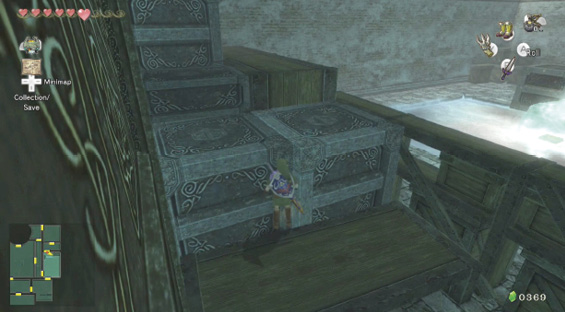
Midna appears and isn’t very happy! Yeta must have gotten her treasure chests mixed up. You must now return to Yeta, so exit via the door to the south, back to the Cold Storage Crate Room. There’s another entrance in the chamber’s northeast corner, on the second floor, but you can’t reach it yet; a crate is blocking your way on the upper ledge. Drop down and exit via the unlocked door to the south.
Chamber 4: 1st Return to Kitchen
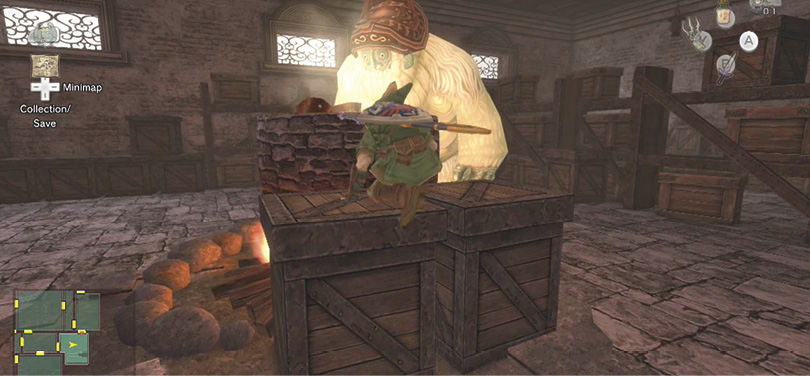
Yeto is still preparing his soup, so head over to him. He sees you have a pumpkin and gladly grabs it from you to add to his broth!
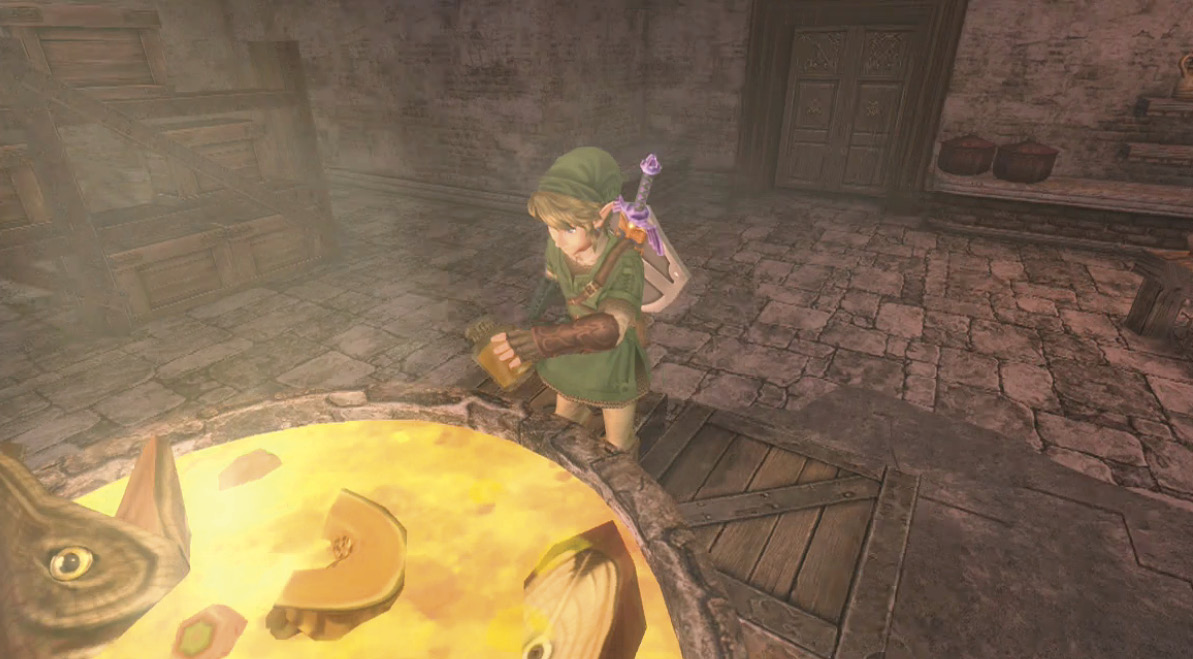
Before you leave, pumpkinless, you might as well taste the new soup. Climb onto the boxes near the cauldron, then dip your Bottle in. This is the Good Soup, which restores four Hearts.
 Good Soup
You put Good Soup in your Bottle! It smells sweet, like pumpkins.
Chamber 3: 1st Return to Yeta’s Hearth
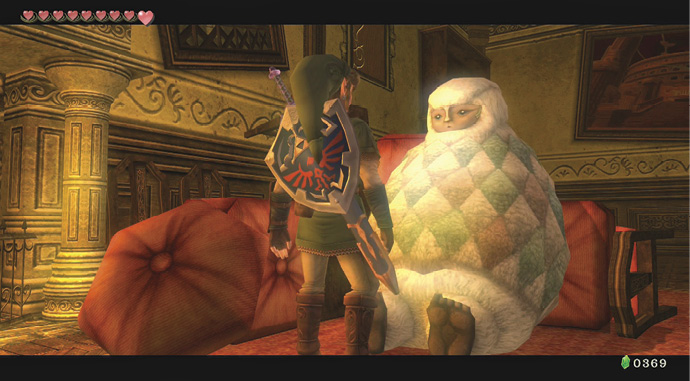
Leave the kitchen and return to Yeta. Since you haven’t found the key, she marks another chamber, in the northernmost part of the mansion, for you to explore. Exit via the door in the room’s northwest corner.
Chamber 7: 1st Return to Central Outer Courtyard
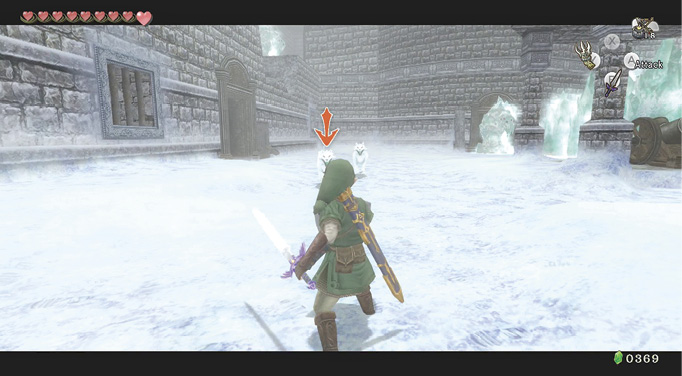
You appear on the side of the outer courtyard opposite the one you were on during your first foray here. However, the enemies are still the same; there are two White Wolfoses that jump at you, and another then appears. Take your time defeating them all, and stay on the shallow snowy areas so you aren’t bogged down.
Freezard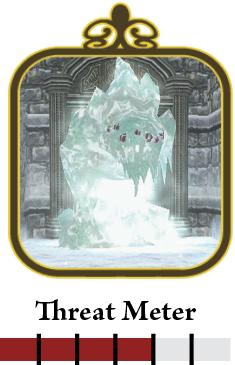
After you dispatch the White Wolfoses, head to the courtyard’s northern section. A large Freezard stands in front of a door. He shoots out a freezing breath that saps energy and freezes you. Defeating this monster requires quick targeting with the Ball and Chain or some other thick round object to smash into him. Retreat from him for the moment. 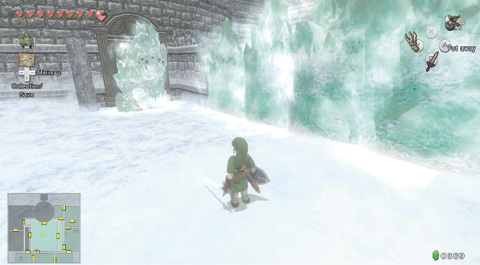
The bigger Freezards are thankfully immobile. However, they’re aggressive with their freezing breath, allowing others to strike you while you’re immobile. |
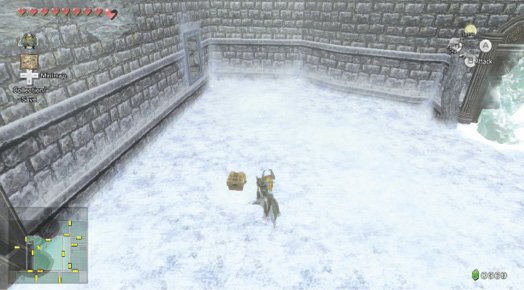
Treasure Chest: Thoroughly check the ground in this area, as there’s a chest hidden in the snow in the courtyard’s northwest area. Dig it out. It contains a Small Key you can use to open the door to your left. However, resist the temptation for the moment.
Treasure Chest #4:
Small Key
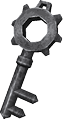 Small Key
You got a Small Key! This will open a locked door, but only in this area.
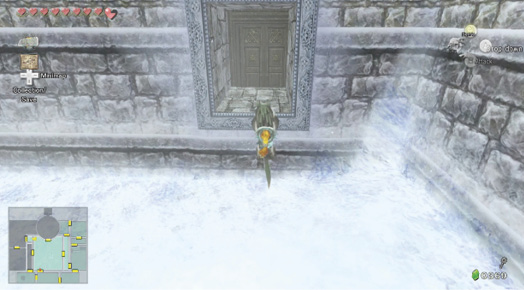
Inspect the rest of the chamber. In the middle of the chamber is a cannon, but it’s useless without a projectile. To the left is a locked door with an iron holder next to it. You can use the Small Key to unlock it, but for the moment, hop through the open window in this chamber’s northwest corner.
Chamber 11:Connecting Passage
Clamber over the windowsill to enter a tiny, square-shaped chamber with only one exit—the door ahead of you. Open it and enter the mansion’s armory.
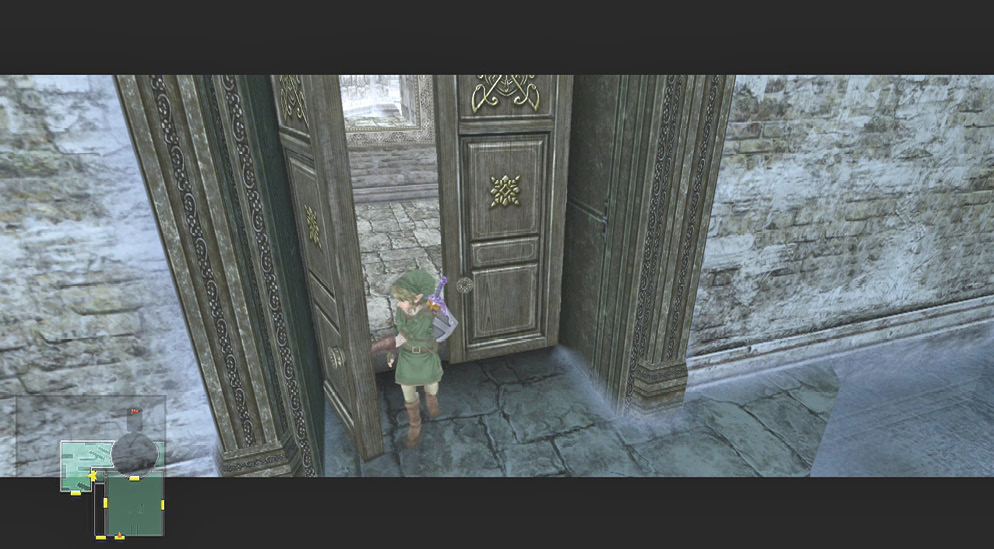
Chamber 12: The Armory
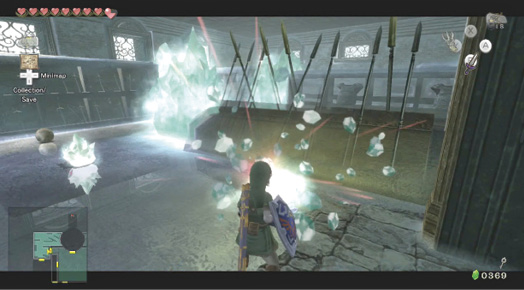
The armory is a treacherous place to roam, as there’s around seven Mini Freezards you must dispatch one at a time. Also, the entire floor is icy, so keep your running to a minimum. Defeat the bouncing Mini Freezards in the initial icy portion of this room, and then carefully walk forward, avoiding the ice blocks, which can freeze you.
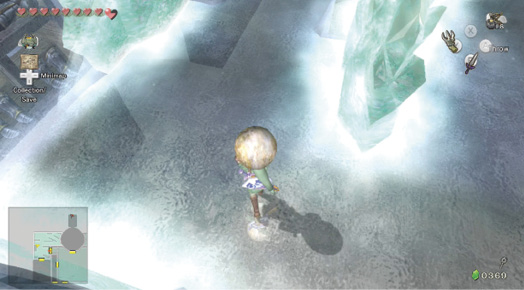
In front of you is a heavy iron cannonball. Pick it up; you’ll need it momentarily. Turn and head north, around the shelves of weapons, and face right. Another Mini Freezard is heading your way, so drop the cannonball, bring out your sword, and defeat him and the others in this vicinity.
|
Instead of placing the cannonball down, you can throw it (if you’re moving). If your aim is true, it can smash a Mini Freezard. |
|
Cannonballs appear as red dots on your in-game map. If you can’t find a cannonball, check your map for the nearest one. |
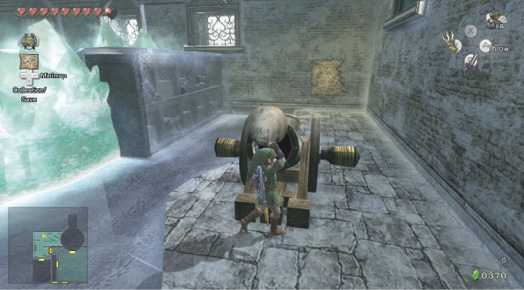
Continue winding around this armory until you reach the room’s northwest corner. There’s a cannon here. Ensure you’ve defeated all nearby Mini Freezards, and inspect the faded parchment on the wall. It reads: “Insert…iron…continue…put in…explosion…launch.”
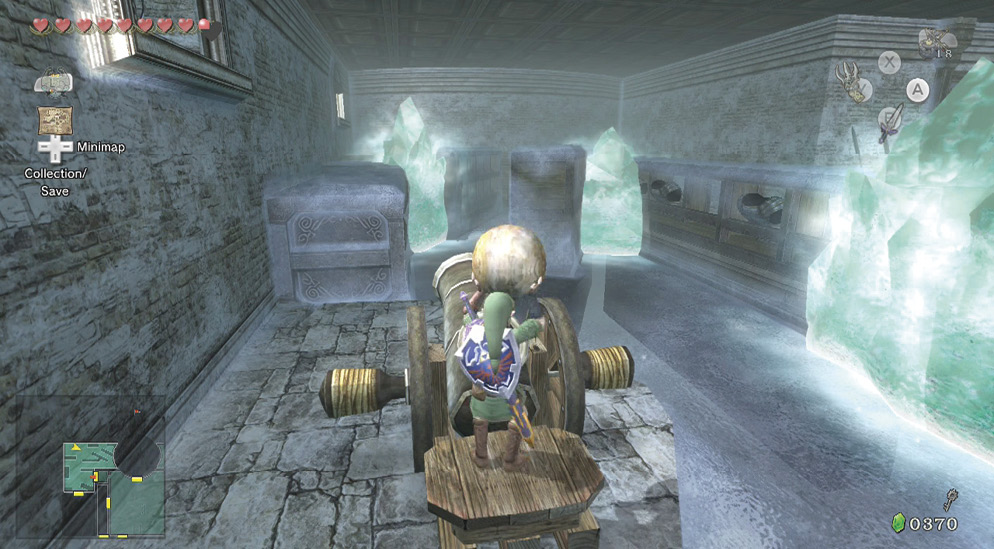
This clue is easily understandable; you need explosives to fire the cannon, so try it out! Leave the cannon where it is, and place the cannonball inside. Step onto the wooden plate and then place (don’t throw) a single bomb (or Water Bomb) into the cannon’s hole.
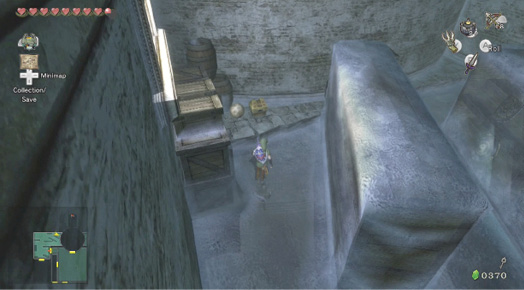
Treasure Chest: The cannon blasts the ball across the armory, and an icy block in the northeast corner explodes. Check out this newly accessible area to find a treasure chest next to the cannonball. Break open the chest, then carry the ball back to the cannon.
Treasure Chest #5:
Bombs (5)
 Bombs
Bombs
You got Bombs (5)!
Place the cannonball inside the cannon, then turn the cannon to face south. There’s a line of ice blocks you can shatter. This creates a pathway leading south, all the way to the exit door.
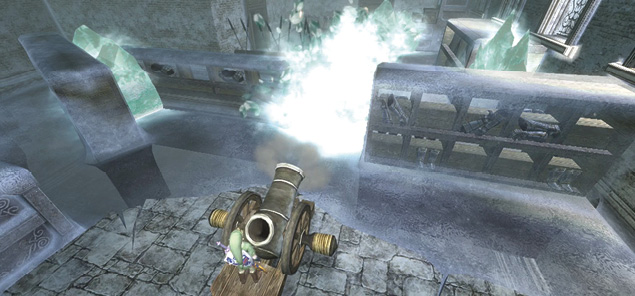
|
There are additional ice blocks that are still intact in the armory. Don’t worry about them or the items behind them; you can return to shatter these later. |
Chamber 13: Dilapidated Drawing Room
Enter the next chamber. This is a tricky room to negotiate, so carefully step to the right, and onto this wooden piece. Stop at the edge, and deliver a blow to two Ice Keese.
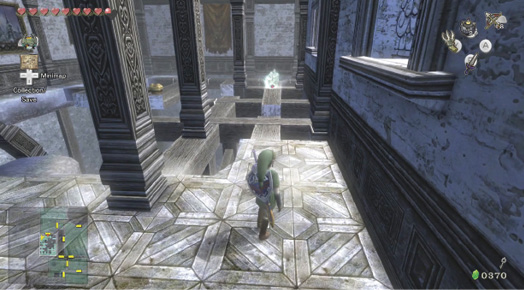
Stay facing south, and you’ll see a Mini Freezard blocking your path. Knock the Mini Freezard back with your Clawshot; he slides off into a second Mini Freezard, and both drop into the murkiness below. Now run and jump over to where the Mini Freezard was, and slide between these two pillars. Then stop!
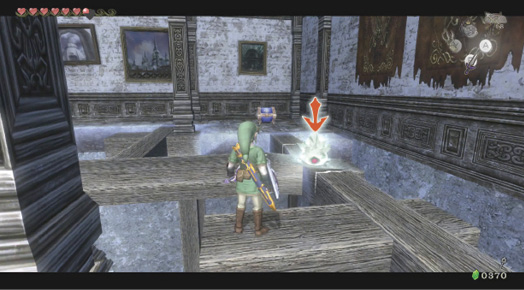
|
There are numerous slides, slopes, and icy patches in this room, and all of them cause you to plummet down into the darkness below. Move slowly and on an exact path to avoid this embarrassing temporary end to your adventuring! |
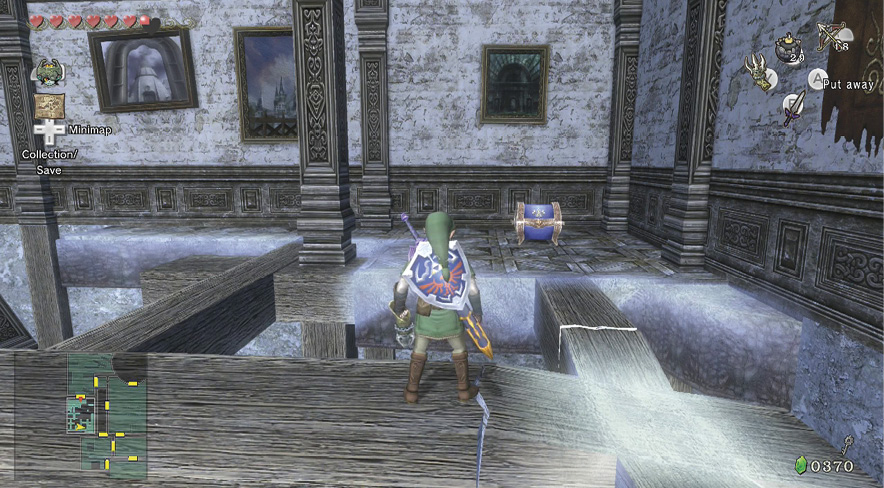
Be incredibly careful now. Turn and face east. Position yourself and jump to this jutting wooden beam. Then turn east again and leap to another beam. These beams don’t have ice and aren’t sloping.
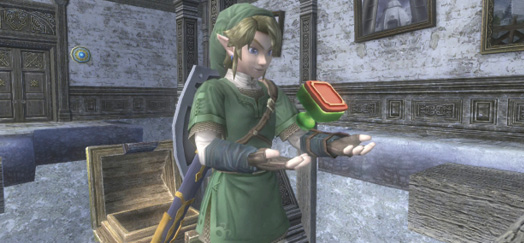
Treasure Chests: Now turn left and walk toward the small treasure chest at the edge of the beam you’re on. Ransack the chest for Hylian Letter Stamp B, then turn right and walk carefully to the sturdier floor in the room’s southeast corner. Inspect this second chest for the Compass.
Treasure Chest #6:
Hylian Letter Stamp B
Treasure Chest #7:
Compass
 Compass
You got the Compass! This handy tool will show you where to find objects hidden in this dungeon.
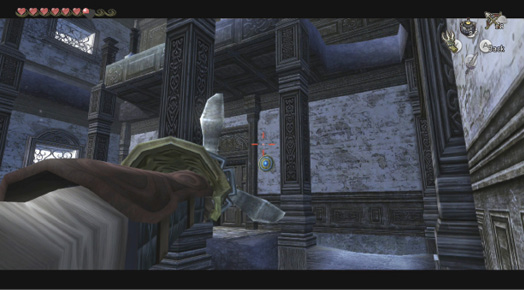
Now turn north and locate the Clawshot medallion next to the exit door. Propel yourself back here, and enter the armory, and head back to the Outer Courtyard.
Chamber 12: 1st Return to Armory, to Chamber 11 (1st Return to Connecting Passage) to Chamber 7 (2nd Return to Central Outer Courtyard)
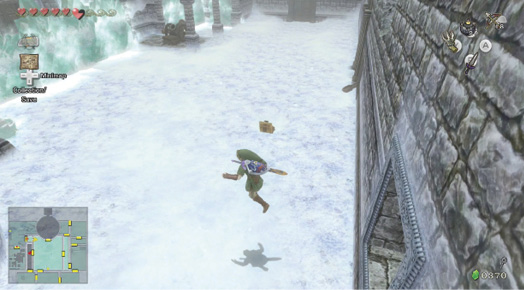
With the Compass and the knowledge of how to fire a cannon, you can now unlock the door to the Western Walled Courtyard Passage.
Chamber 14: Western Walled Courtyard Passage
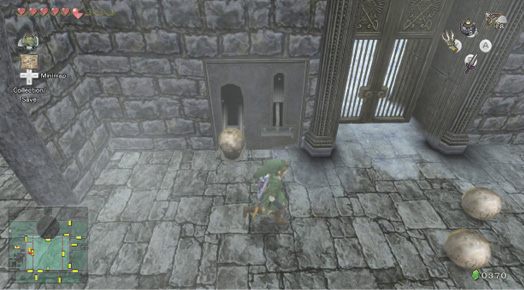
Once inside this chamber, grab one of the three cannonballs lying here and placing it on the iron scooped holder. Before placing the cannonball, you must tug the lever so the holder is down.
Chamber 7: 4th Return to Central Outer Courtyard
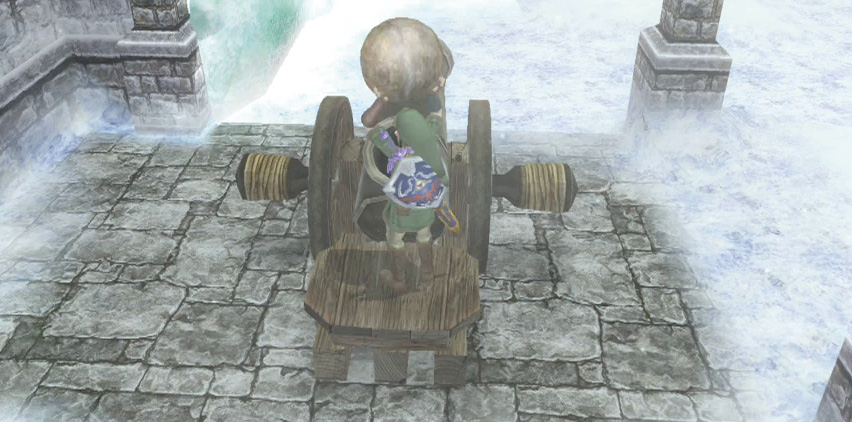
Exit via the same door you came in from, and inspect the lever next to it. Tug on it so the ball holder descends, and the cannonball rolls out and stops in the holder. Grab the ball, and ferry it over to the cannon in the middle of this chamber. It’s time to crack some ice!
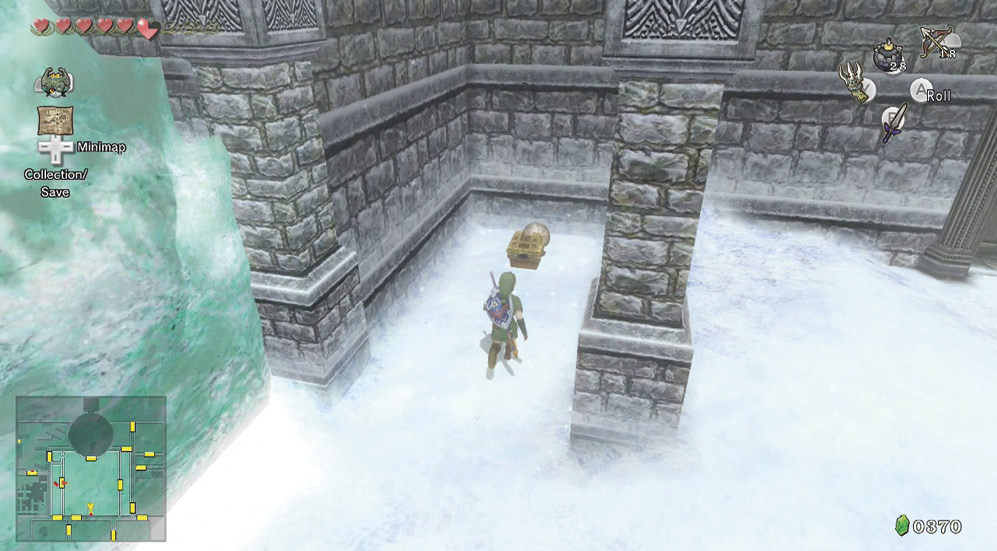
Keep the cannon facing south, and drop the cannonball into the cannon. Drop a bomb into the cannon and watch as the ball blasts through an ice block to the south. Behind it is a chest, with more bombs inside. Claim them, then take the ball and put it back into the cannon.
Treasure Chest #8:
Bombs (5)
Bombs
You got Bombs (5)!
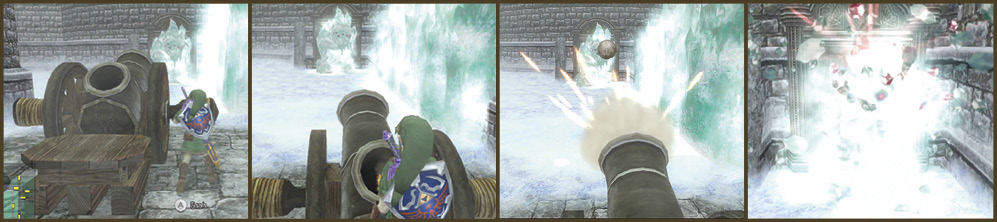
Slot the ball back into the cannon, then rotate the entire device so that it’s pointing north. Drop the bomb into the cannon, and watch as the ball flies across the courtyard and straight into the Freezard! It shatters, leaving only a Mini Freezard to contend with. Now head north and open the door. You’re hopefully near the key!
Chamber 15: Jail of Darkhammer

You run to the chamber’s north end, and suddenly the door ahead shuts and seals! You listen as the clanking of chains announces the arrival of a huge armored knight swinging a deadly Ball and Chain. He smashes a suit of armor and aims for you next!
Darkhammer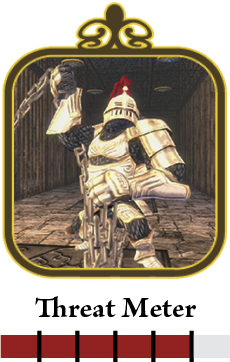
Step 1: Darkhammer isn’t carrying a hammer, but he is incredibly dangerous. You have two different options to try. The first is to immediately switch to your Clawshot, and aim at one of the medallions behind and above Darkhammer before he strikes you. Be sure to aim at a medallion, or you won’t be able to hang off the ceiling. When you achieve this, drop down when Darkhammer’s back is to you, or after he throws the Ball and Chain, and slash him. 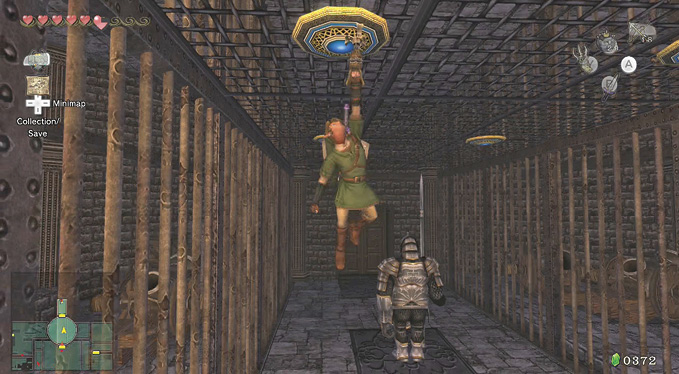
Step 2: If you can’t use the Clawshot, step inside Darkhammer’s Ball and Chain whirls for the moment. Here you’ll see he’s almost completely armored except for an exposed tail. Use this knowledge to your advantage. 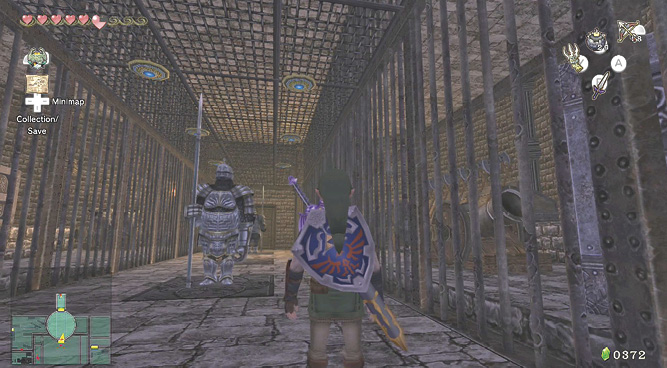
Step 3: Be patient, as rushing in only saps your energy completely. As Darkhammer advances, roll under his rotating Ball and Chain, and when he’s close to you, he attempts to throw the Ball and Chain. Roll out of the way. It is at this point that he’s prone to your sword. 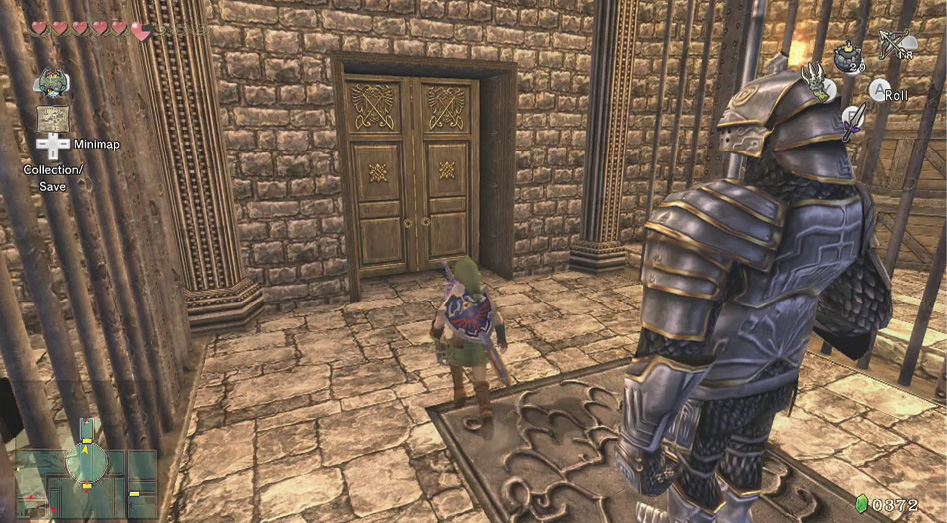
Step 4: Run around behind him, and ZL target his tail. Then bring the full force of your sword down onto that exposed scaly hide. Try a spin and two slashes, then back up before the Ball and Chain strikes you again. Then repeat either Step 1 or Step 2, and then Steps 3 and 4 two more times until Darkhammer loses all his energy. 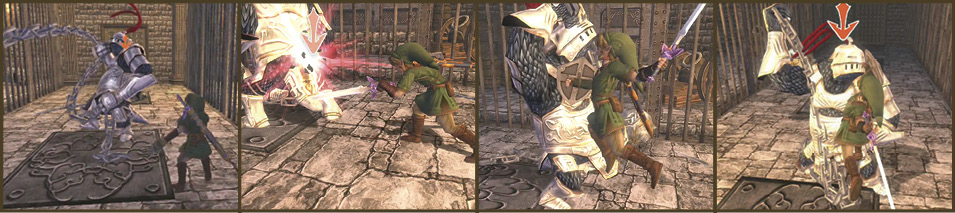
|
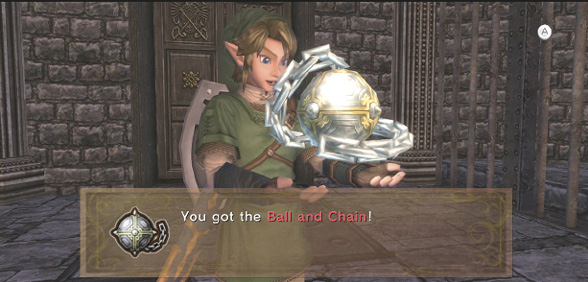
When Darkhammer has had enough, he staggers and collapses, disappearing in a puff of black smoke. Fortunately, he leaves his weapon behind. Quickly run over and take your newest piece of equipment: the Ball and Chain!
 Ball and Chain
You got the Ball and Chain! Set it to Y and swing to cause great damage.
Ball and Chain
The Ball and Chain is one of the most useful (but slow) weapons you’ll add to your repertoire. There are two methods of attack with this weapon, and both are used to smash objects and enemies that are in your way. The first is whirling it around your head. Hold ZL so you can move in this viewpoint. You can move with the whirl and will become nearly invincible when doing so. 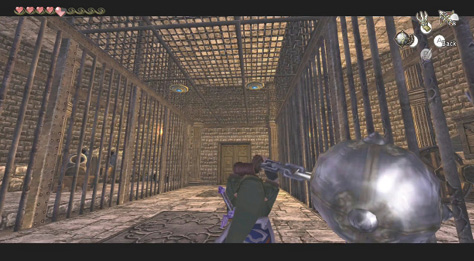
The second attack is a throw. This strikes twice, once on the way out and once on the way back. When you throw, use your red target to aim at where you want the ball to land. Watch out; you’re prone after the throw, before you gather the Ball and Chain back up again. This technique is great for hitting enemies at range and smashing ice blocks. 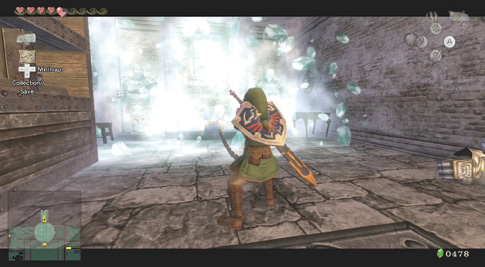
|
|
Utilize the Ball and Chain on your Wii U GamePad menu screen. Place the Ball and Chain on the Y button, the Hero’s Bow (with Bomb Arrows) on the X button, and the Clawshot on the R button; you’re now ready for anything! |