
The Legend of Zelda: Twilight Princess HD Guide Dungeon 5: Snowpeak Ruins
Task 8: Battle Twilit Ice Mass Blizzeta
Chamber 22: (3F) Boss Battle! Twilit Ice Mass Blizzeta
Twilit Ice Mass Blizzeta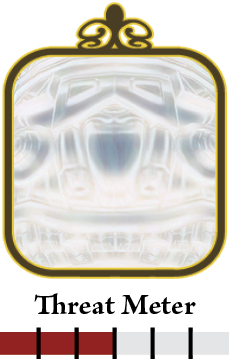
Yeta leads you into her bedroom and waddles over to the Mirror Shard. She looks at the mirror lovingly. The room darkens. “NOT TAKE MIRROR!” she growls, and transforms into a terrifying ice mass; behold Blizzeta! 
Step 1: Blizzeta can control the element of ice. She encases herself in a giant ice-doll sculpture. She slides toward you; bash her back with the Ball and Chain. 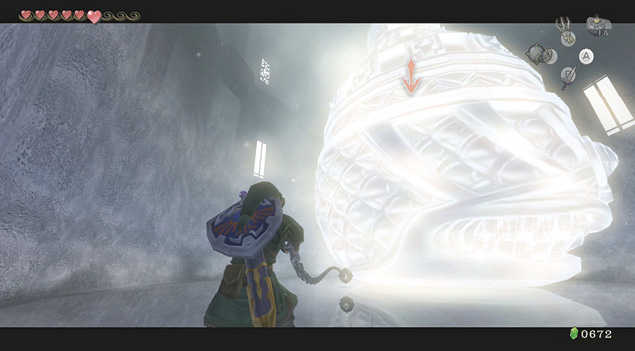
Step 2: As you strike her, her ice casing gets progressively smaller, and she sheds a load of Mini Freezards; whirl your Ball and Chain to deflect them. Continue this style of attack until all the ice layers fall away and you see Blizzeta. 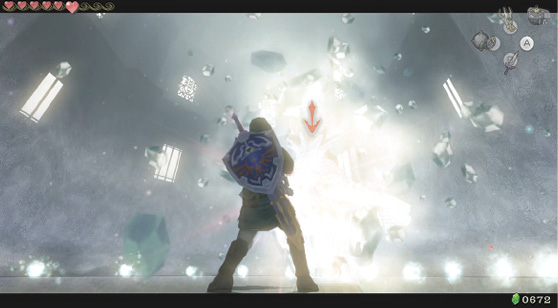
Step 3: Blizzeta wiggles and floats upward, creating an ice palanquin to sit in and surrounding herself with ornate shards. They follow you around the room. Look at their reflections, and when they start to descend, roll out of the way multiple times. 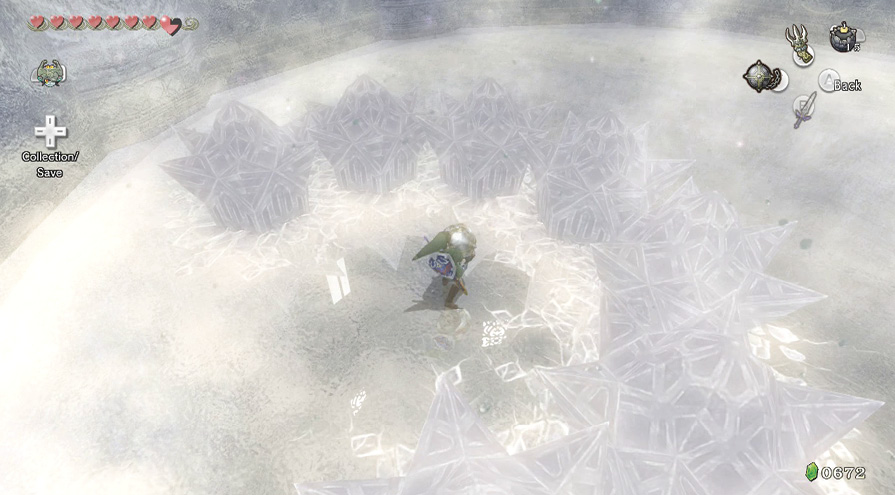
Step 4: As soon as the shards finish falling, quickly bring out your Ball and Chain and smash as many of them as possible. Try to split at least two apart. 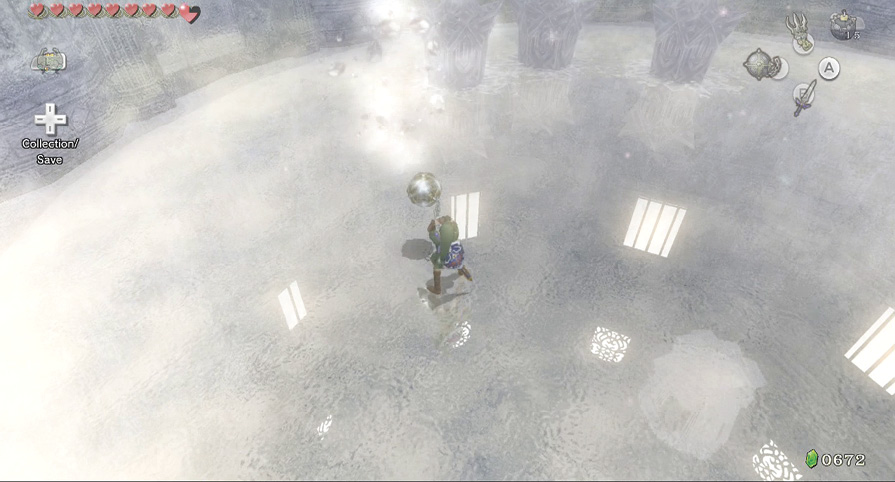
Step 5: The remaining shards form a circle, as shown, and descend, pinning you in the middle. This is when your smashing skills used in Step 4 come in handy; the gaps you made by bashing shards should be used to escape, or you’re flattened by Blizzeta’s falling palanquin! 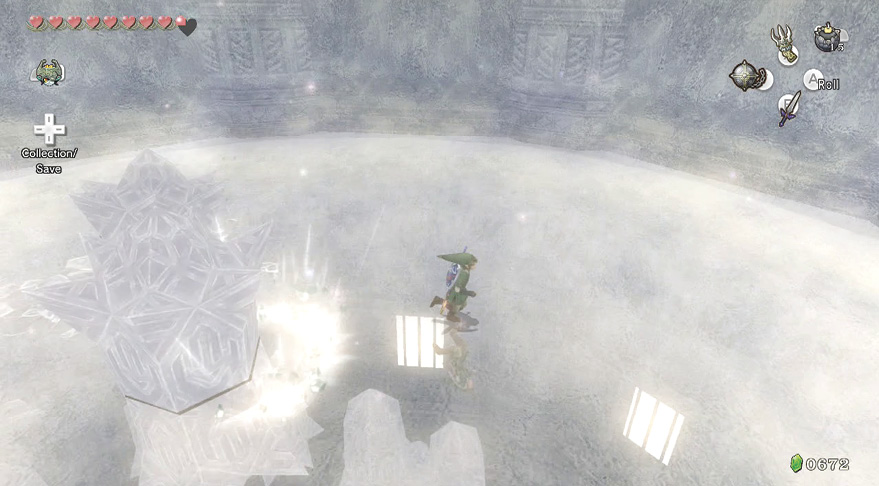
Step 6: The final step is to turn while you’re out of the circle (ideally when there’s only three or four shards left), and bash Blizzeta’s palanquin after it drops. Repeat Steps 3–6 twice more, and Blizzeta yields to your amazing ice-bashing prowess! 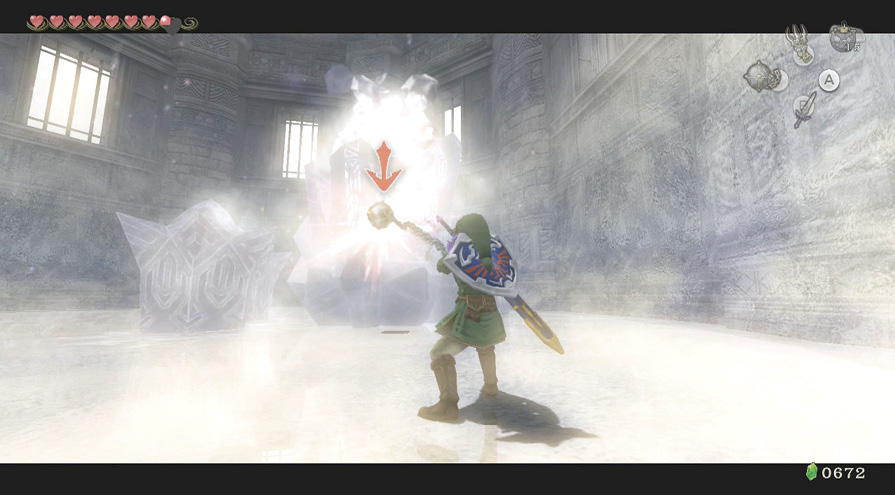
|
Author NoteDue to some horrific Fairy mismanagement earlier in the Dungeon, we approached this boss battle with only one Heart’s worth of energy! Fortunately, we managed to defeat Blizzeta the first time, with this miniscule amount of energy. How about an extra challenge? Why not finish this dungeon while wearing your Zora Armor? |

After her palanquin is smashed, Blizzeta is thrown against the wall and slumps on her bedroom carpet. The Twilight Mirror Shard falls into your hands. Midna promptly takes it and creates a warp portal out of here.
 Twilight Mirror Shard
You have the second Twilight Mirror Shard!

Yeto comes hurtling into the chamber and cradles Yeta. He’s shocked at her demeanor: “Look in reflection of Yeto’s eyes. There true beauty!” he yells. “Who need mirror?” he asks as they hug, and dozens of Hearts surround them. The Yetis are in love. Finally, a Heart Container pops out of their embrace! Take it, and warp from here.
 Heart Container
You got a Heart Container! Your life energy has increased by one and has been fully replenished! Heart Container #5 of 8.