
The Legend of Zelda: Twilight Princess HD Guide Overworld: Thorough Explorations and Saving the Zora Prince
Task 6: Escort Telma, Ilia, and Prince Ralis Safely to Kakariko Village
Let the Wagon Roll: Turmoil at Telma’s
You should now head back into town via the southern entrance. Pass the Gorons at the springwater stand (where there’s still a shortage) and turn right into the alley leading to Telma’s Bar. It’s time to rescue the Zora Prince!
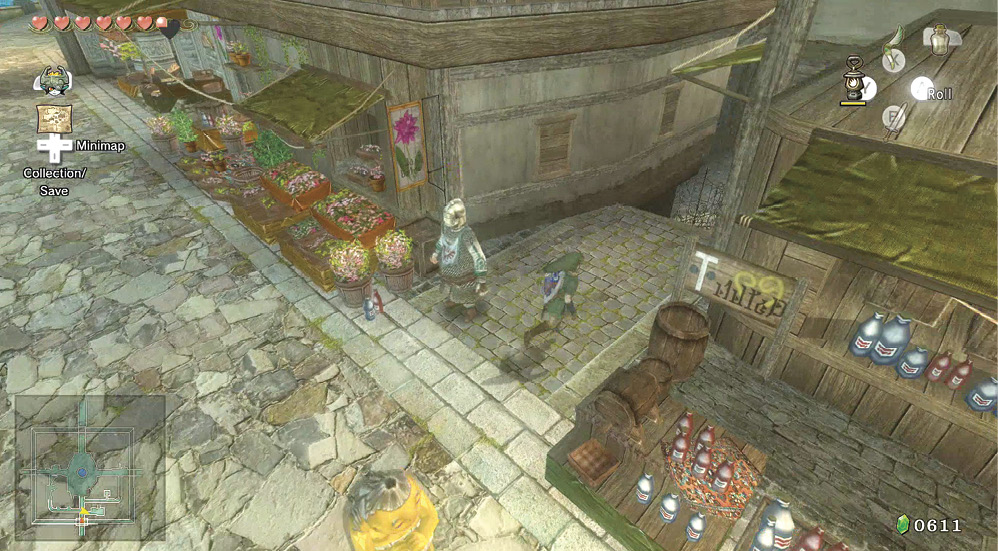

A strange, goggle-eyed old man with a doctor’s case leaves Telma’s Bar, shoving you aside. Ilia pleads with him to help save Prince Ralis’s life to no avail.
Telma has heard of a shaman in Kakariko Village who might be able to help. The Soldiers of Hyrule are pleased to accompany such a pretty girl until Telma mentions to Ilia that they must be escorted past dangerous beasts.
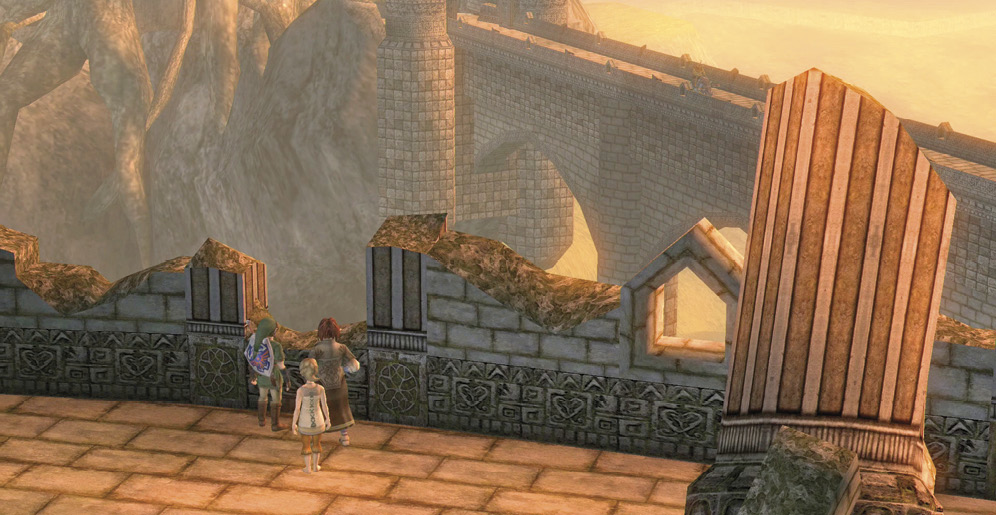
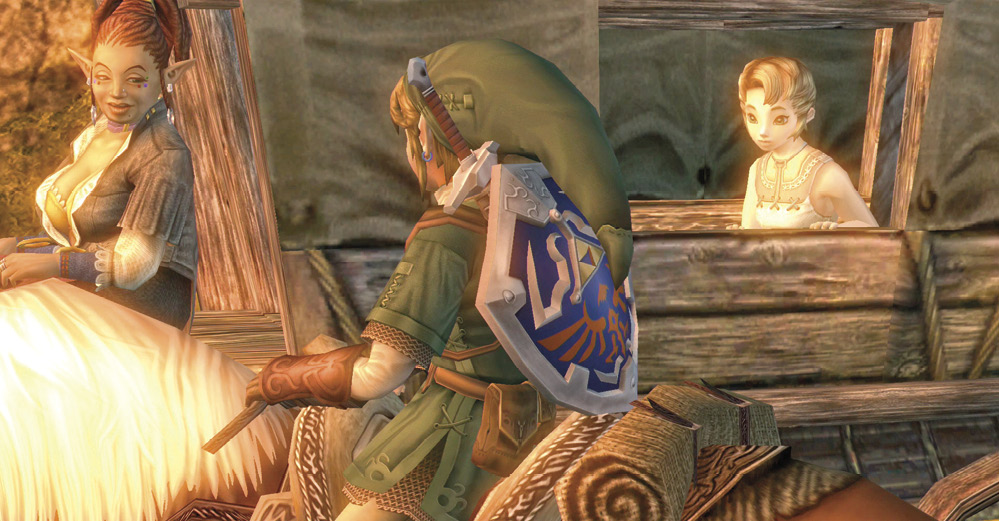
Telma knows you know Ilia, but the girl has completely lost her memory. There’s no time to worry about that now; the bridge to the west is the only option. Alas, it’s guarded by King Bulblin! Now in the wagon, Ilia thanks you. Did she just wink at you?
Borville: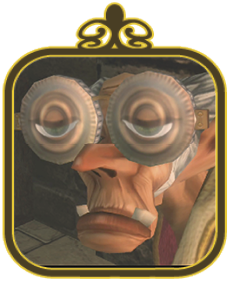
Borville is the town’s medical doctor who has excellent credentials and is a regular at Telma’s Bar. Where he falters is his bedside manner. He has stormed out of the bar when he was summoned to diagnose a problem with a Zora prince; these aren’t his specialty! Some say his rudeness to all his patients is actually a defense mechanism and that he’s really a coward. |
Louise: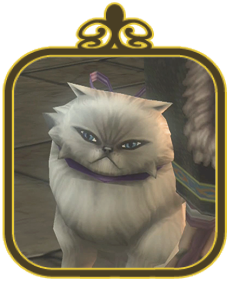
A Persian cat and resident of Telma’s Bar, Louise is spoiled by her owner, Telma. But she’s always a pleasant kitty and could be a great ally if you could speak to her in an animal tongue. |
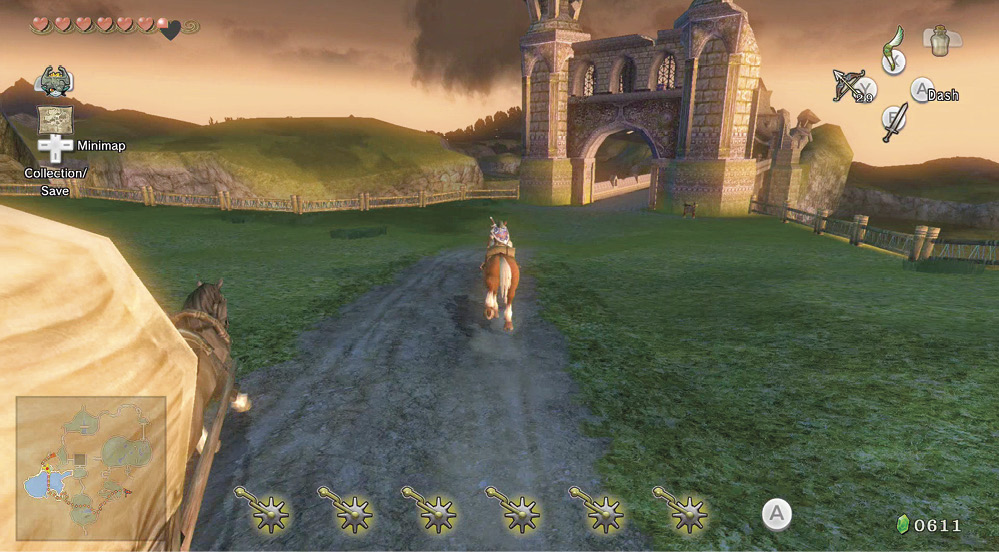
The wagon is rolling, and Telma isn’t messing around. She charges south toward the Great Hylian Bridge, and it’s up to you to catch her. Mount Epona and spur her on as quickly as possible. There’s a fearsome combat to come, so you can use spurs as much as you need to.
Let the Wagon Roll: Battle on the Bridge II
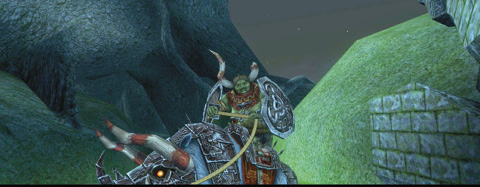
When you reach the bridge, King Bulblin (riding Lord Bullbo) stares you down from the opposite side of the structure. He produces two large shields that he’s wearing on each arm—this time he isn’t about to be struck from his Bullbo with a simple sword swipe! 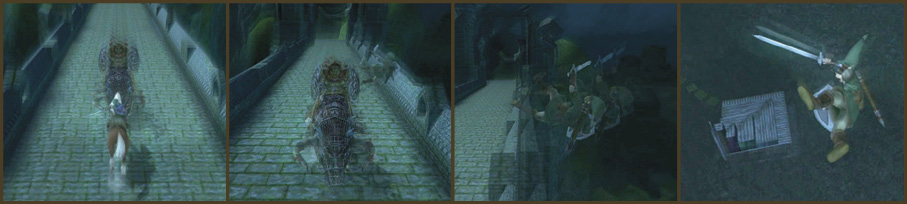
Step 1: This shows the beginning of a fine plan and also what happens when you leave your attack too late. To start with, slow Epona down; there’s a disadvantage to speeding up, as you don’t have enough time to aim and fire with your Hero’s Bow, which is the only way to defeat King Bulblin this time. He shrugs off sword swipes as he slams his shields into you, sending you flying over into Lake Hylia! 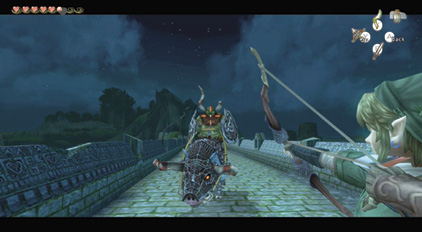
Wait until you see the evil red glow of King Bulblin’s eyes, then fire an arrow into that disgusting face! 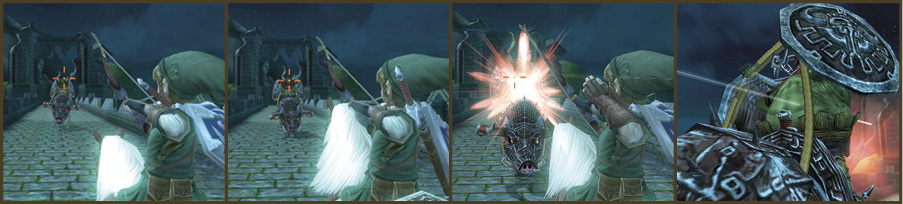
Step 2: Your plan should work if you fire at the point shown in this sequence of screens. Ready your bow as you canter forward, making sure it is aimed squarely at the head of King Bulblin. As he nears, fire when he’s about 10 feet away. He veers off around you. The second time you successfully strike him; he’s done for! 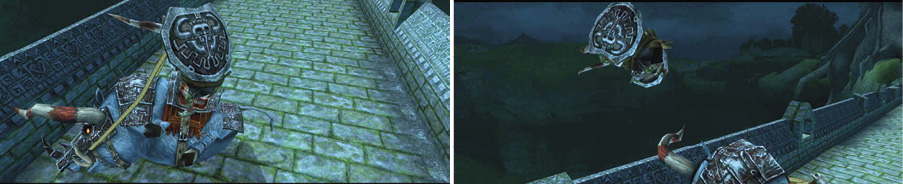
King Bulblin takes a nasty knock to the helm and temporarily loses control of his mount. It’s Lord Bullbo that makes a mistake, ramming the side of the bridge wall and sending King Bulblin flying off into the murky air, for a long plummet down into the lake below. |
Let the Wagon Roll: A Fierce and Fiery Fracas!
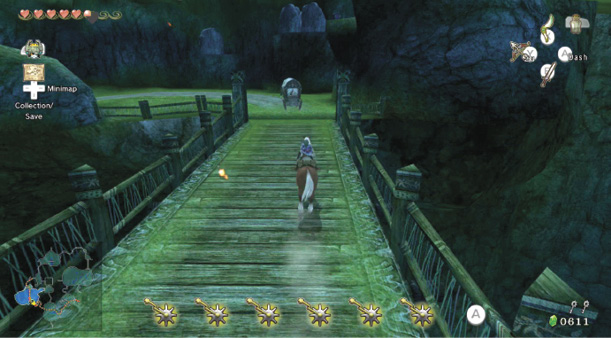
Telma maneuvers her wagon across the bridge, and the chaperoning continues as you and the wagon (which you should let through first) trundle down the rocky path toward the Hyrule Field plains. However, just after the small wooden bridge, several Bulblin Archers appear on top of the rocky canyon sides and begin raining down fire arrows. If you’re incredibly quick, you can target them (they’re too far to target with ZL) and dispatch them.
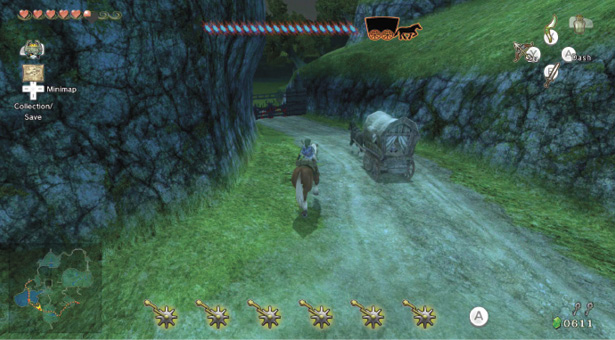
However, a wiser plan is to simply ignore these enemies and pass them; they don’t give chase. The arrows they fire are flaming, though, and this sets the wagon on fire. A meter at the screen’s top shows how tough the sturdy wagon is. When it catches fire, race toward it, bringing out your Gale Boomerang, and target the wagon to blow out the fire. Stop when you reach this closed gate.
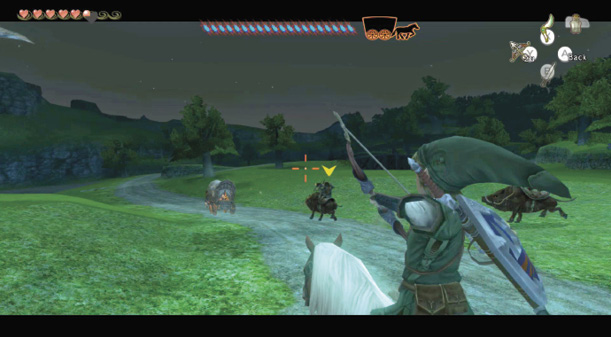
Dismount and open the gate by pushing its middle; then the overeager Telma races forward into the southern Hyrule Field plains. Quickly mount Epona and follow her in. As you reach a slight bend in the path, a group of Bullbo Riders join in the fray!
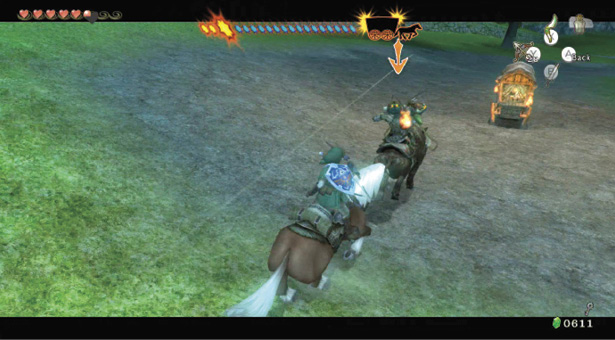
These riders are a constant menace, no matter how many you dispatch, so ride through them as they chase the wagon and use your spin attack to defeat each couple of Bulblins. Your real concerns aren’t with the Bulblin Riders though; you may not have noticed, but a Kargarok flies overhead and drops a bomb on the road. This always causes the wagon to veer off to the right.
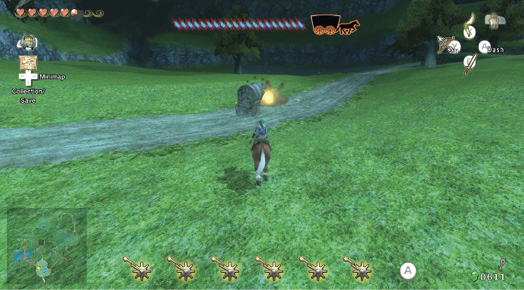
The wagon now takes a long circular path across the plains, and then back onto the path you were just diverted from. This is a real problem, as combat could continue indefinitely if you don’t get Telma to stay on the path! For the moment, though, slay any Bulblin Riders that are close to the wagon, and quickly switch to your Boomerang when the fire on the wagon reaches half damage or greater. Another Kargarok drops a bomb when you double back to this point.
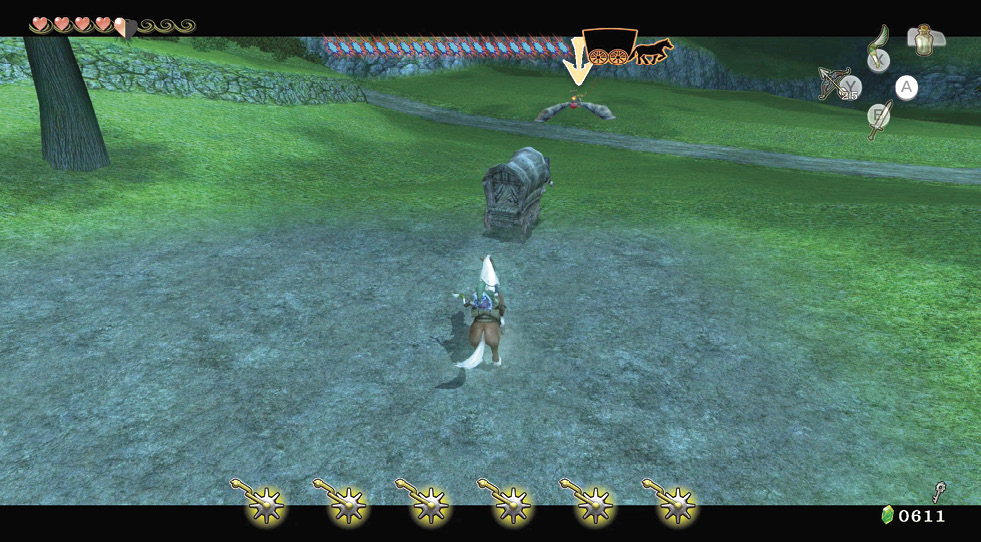
If the wagon is struck at this point, it goes off road and across the plains in a lengthy detour before emerging back near the shallow lake area where the combat began. As you reach this point in the road, douse the flames on the wagon and look out for a Kargarok swooping down.
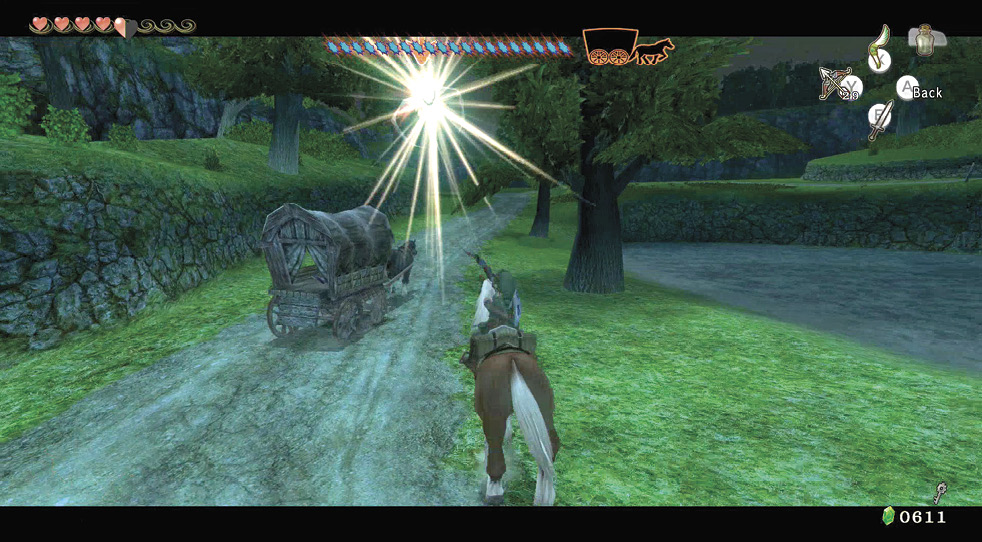
As you reach the road, gallop forward so you’re neck and neck with the wagon. You’ll be close enough to ZL target the Kargarok with your Gale Boomerang. Fire at the creature, and the bomb it was carrying explodes in midair. Now, instead of turning right, Telma trundles along the path and out of this area. You can now keep the wagon fire-free and slay the Bullbo Riders as quickly as possible.
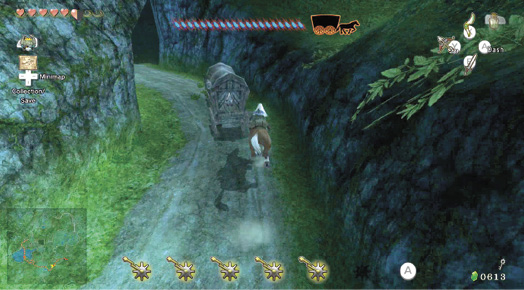
Combat continues into the canyon path between the two plains areas, and the riders become vicious. However, they are easily dispatched with a spin attack or arrows targeted with ZL. Keep the wagon from burning up, and stay about 20 feet behind it as you enter Kakariko Gorge.
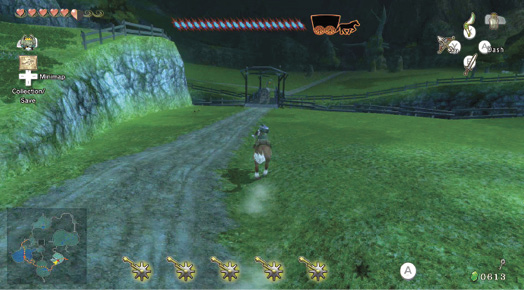
As you reach the bridge to cross the gorge, another Kargarok swoops in to lay an annoying bomb on the path ahead. If you’re incredibly fast, you can quickly ZL target and defeat him. More likely, however, Telma takes another detour, careening right into the plains. Fortunately, this area is a lot smaller, and the detour isn’t quite as long.
Bring out your Hero’s Bow and don’t follow the wagon. Instead, stay in the middle of the field, scanning for a Kargarok. When it appears, ignore the wagon and riders, and charge until you’re automatically targeting the creature. Fire, and it drops out of the sky with an explosion. You can now keep the wagon on track.
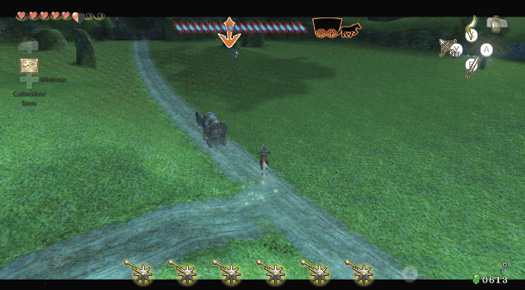
The wagon arrives at the closed spiked gate to Kakariko Village. Dismount after galloping around the wagon to see if you need to defeat any more riders. You may spot a couple, but spin attacks from the ground or Bomb Arrows are more than a match for them.
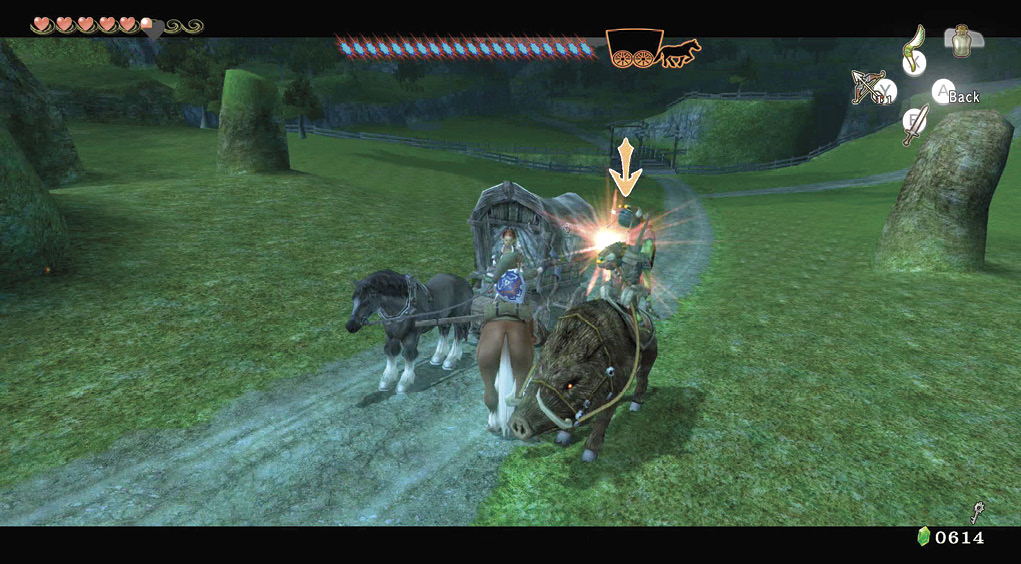
Mysterious fires are breaking out on the wagon. Check in front and behind; a couple of Bulblin Archers are the culprits. Tackle them, then open the gate and enter Kakariko Village.
Author NoteThis tumultuous battle where wagons, riders, and a flying fiend that wasn’t immediately obvious took the longest time to figure out. We just thought Telma was a terrible driver until we finally, after 20 straight minutes of blowing out wagon fires and shouting an increasingly loud series of panicked commands at the lady, managed to work out she was avoiding a bomb. |