
The Legend of Zelda: Twilight Princess HD Guide Dungeon 3: Lakebed Temple
Task 1: Enter the Connecting Bridges, Fight Enemy Lizalfos
Chamber 1: Entrance Tunnel and Grotto (2F)
|
Before you submerge and swim into this temple, bring along the following:
|
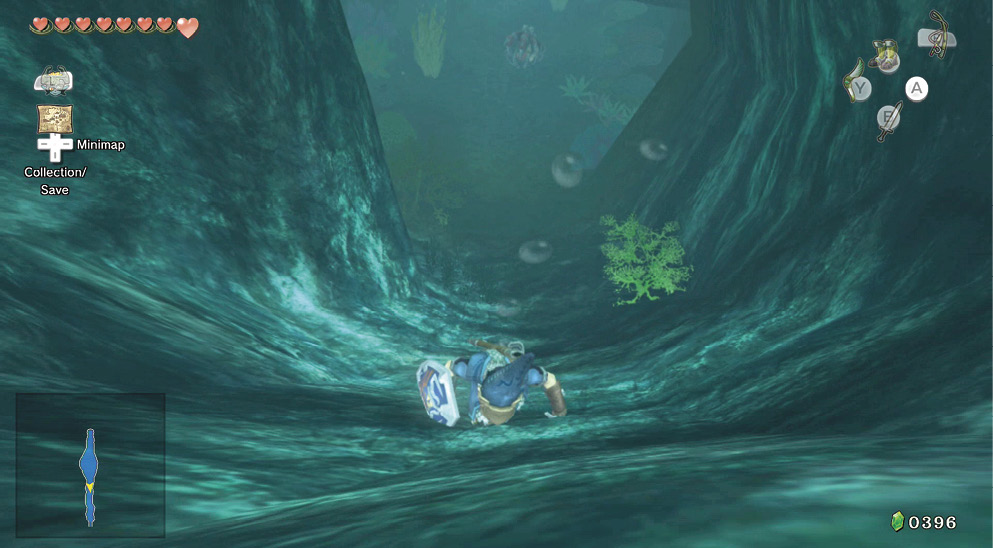
With your Zora Armor on (otherwise you’ll drown in seconds!), swim through a water-filled tunnel. This tunnel heads down at an angle, and then bulges out slightly to a grotto with a variety of plant life. Put on your Iron Boots.
Shell Blade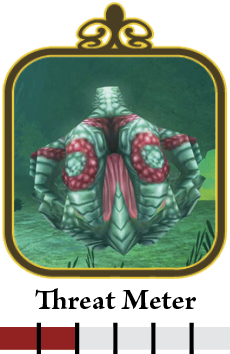
In this grotto lurks a nasty, clamlike creature known as the Shell Blade. It isn’t that threatening, but, its thick shell is impervious to vertical slashing moves. However, you can slice the squashy interior bits with any horizontal slice; the spin attack is excellent for this purpose. 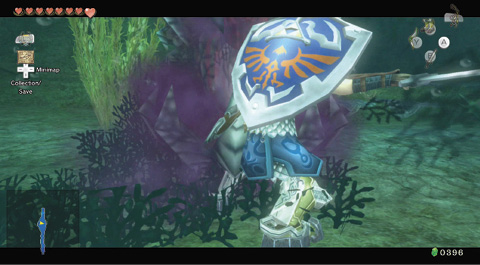
A spray of purple goop indicates that any horizontal swipe has hit home: shell shock for the Shell Blade! 
|
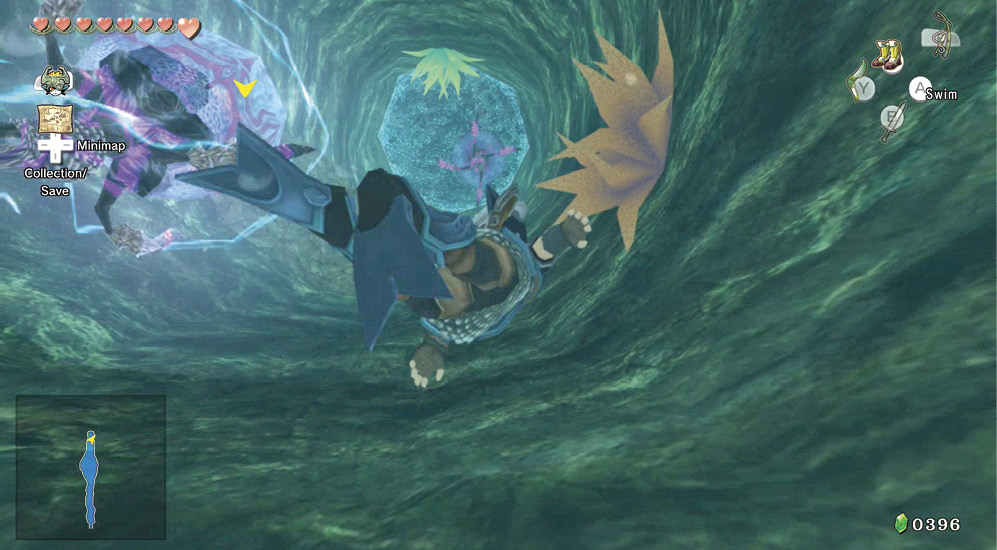
Escape the grotto and swim up a long conduit. Avoid the large, electric, jellylike beings. Currently, you have no way to defeat these Baris, but when you obtain a new weapon, you will prevail!
Chamber 2: Temple Entrance (2F)
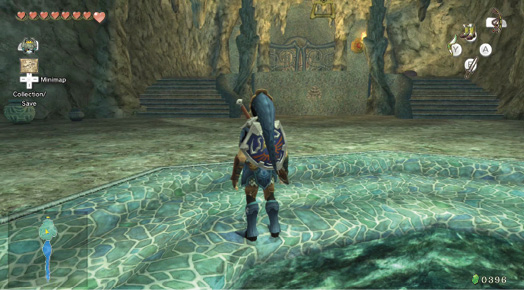
Swim to the conduit’s top to end up in a circular pool. Clamber out and draw your sword. A giant Purple Chu is about to attack! Use a mixture of shield blocking and sword swiping to cut it down to size, then defeat its smaller offspring. Tackle a Red Chu on the pool’s southern rim. Scoop it if you need extra energy in a Bottle.
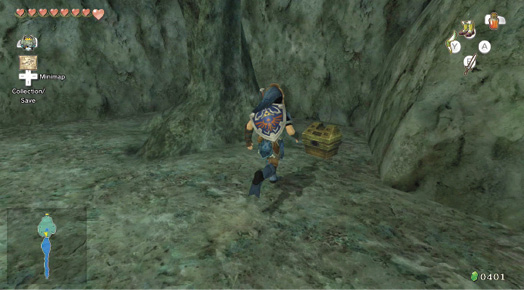
Treasure Chest: After dealing with the Chus, skirt the perimeter, smashing a couple of pots for the Hearts inside. Find a small chest in the room’s western part. It contains some arrows.
Treasure Chest #1:
Arrows (20)
 Arrows
You got arrows (20)! Use arrows to shoot far-off foes!
This room hasn’t given up all of its goods yet. Run south, and check out a small chest. This one offers Water Bombs.
Treasure Chest #2:
Arrows (20)
 Water Bombs
You got Water Bombs (10)! You can use these bombs in water, but not while swimming.
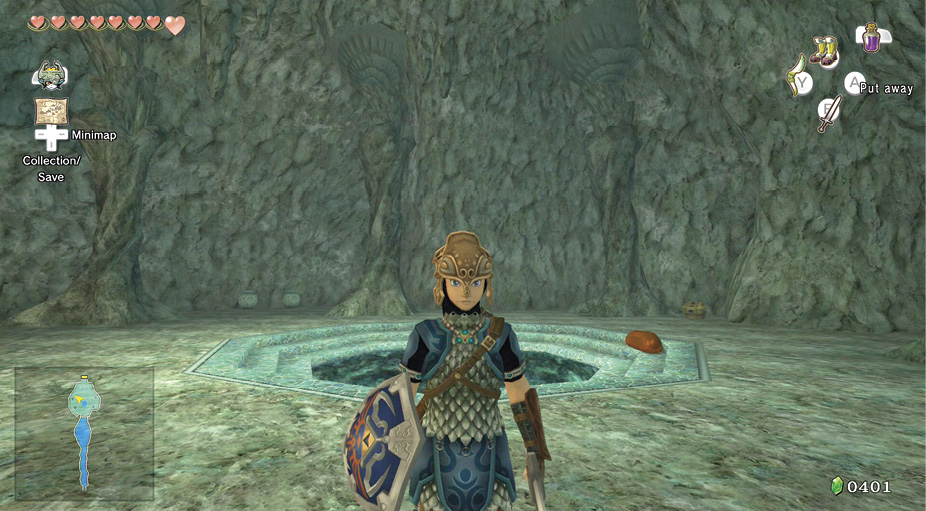
Check the chamber’s eastern part to discover two pots, but more importantly, a Red Chu. This provides another chance to scoop up its remains after combat. Then move to the northern temple entrance, and tackle a Purple Chu.
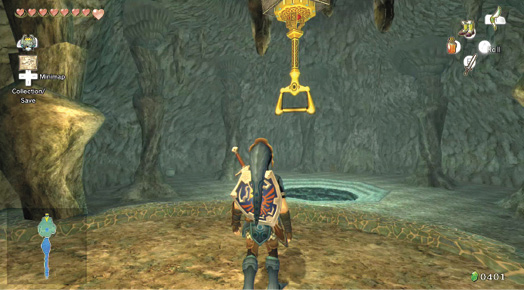
Run up the steps to the entrance door, which is sealed. That is, until you run from the ledge and leap off, catching the large gold handle and pulling it down. This activates the door, and you can move into the next chamber. However, a couple of Red Chus and a Blue Chu (which gives you an even more potent potion) ooze out of the walls. Tag and bag them!
Missing Links
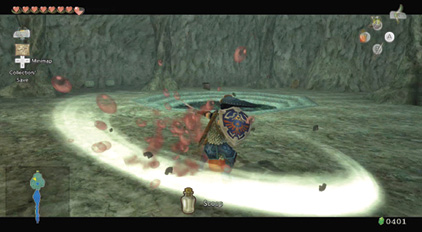
1. Chus Life
The longer you stay in this chamber, the more chance you have that a Red Chu will fall from the ceiling. Look up to see if any are hanging around (there are five total). There are purple ones too, but they don’t give you quite the energy boost.
2. Pottery Pulverizing
Smashing everything you can see works well in this chamber. Steal blue Rupees (5) and green Rupees (1) from pottery you smash.
Chamber 3: Stalactite Cavern (2F)
You appear in a strange cavern with many hanging stalactites and some odd-looking creatures charging about below. Before you leap down, Midna appears and advises you to make sure those rock formations are sturdy so they don’t fall on you. Oblige her.
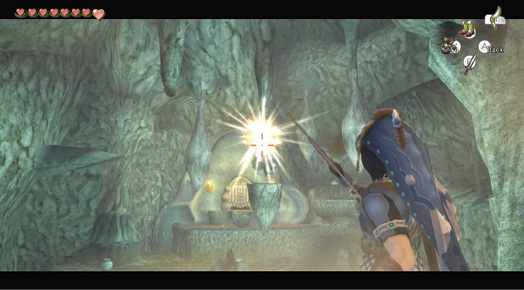
|
Midna is correct. If you continue forward, falling rocks won’t strike you, but you can’t climb up to the opposite side and leave the room without creating stepping stones from the stalactites. |
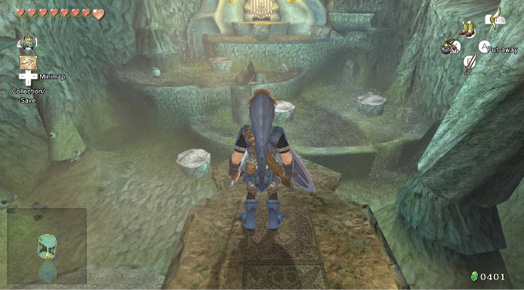
Bring out your Hero’s Bow, and combine arrows with bombs. If you have a stash of regular bombs, use these, and keep Water Bombs for later. Aim for the crack in each stalactite, and break apart all four of them; they fall and become platforms. Be sure the room looks like this before you proceed.
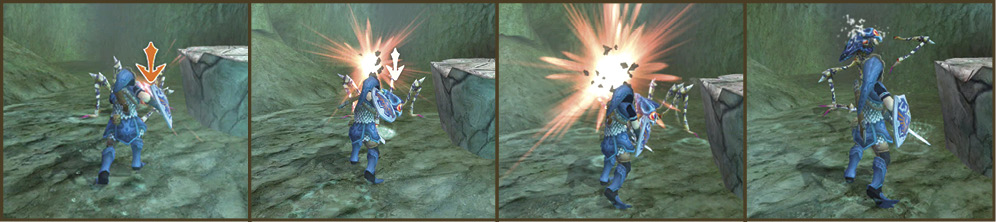
Head down the slope, bring out your sword, and drop off to either side. Ignore the strange enemy with the armored back for the moment, and locate a couple of Tektites skating below. Slice into both of them, until they expire and give you a Heart. Explore the area heading south, back up to the entrance door. There’s nothing except a series of ledges to climb to get back up to the sloping platform in the middle. Turn and head north. You have a new creature to tackle.
Helmasaur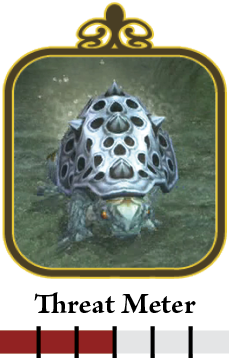
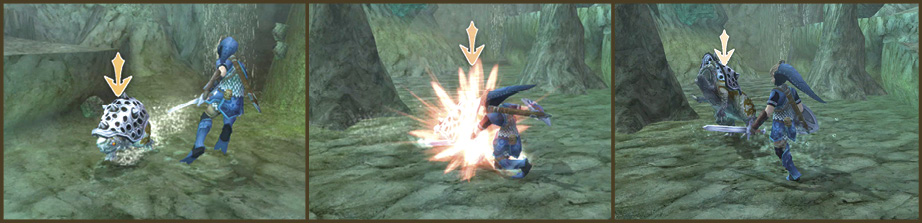
Climb to the first southern ledge, bring up your shield, and ZL target a trotting foe with a large armored helm. It will strike and send you flying off the ledge’s side. It can push you back even if you’re blocking. You cannot hurt the Helmasaur by hitting it from the front or sides. You must target it, then jump or maneuver around until you’re facing its rear, then strike (with a spin attack, or Hidden Skill #3, the back slice). Avoid confrontations in rocky spots such as this one, as it’s difficult to get behind it. When you receive the Clawshot later in this expedition, the combat options improve immensely! 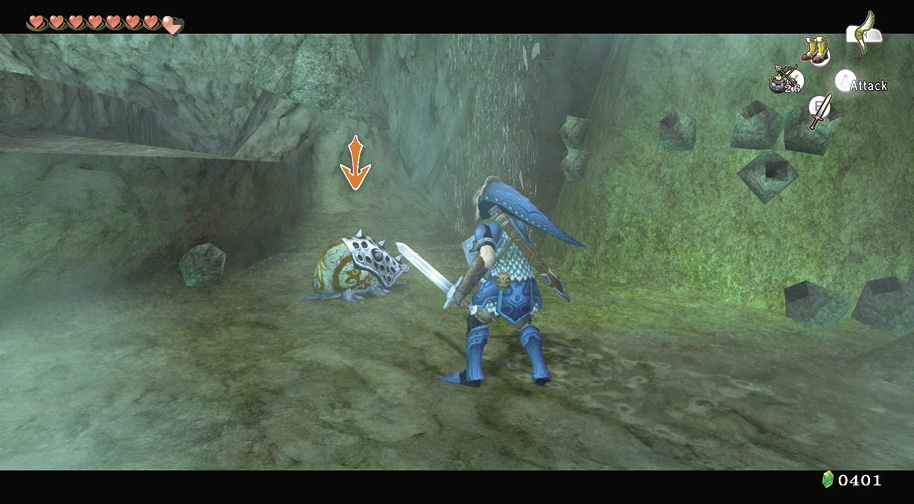
This creature is plated with an impressive armor that covers most of its body. Find that part that’s exposed, and it becomes helmless, and helpless!
|
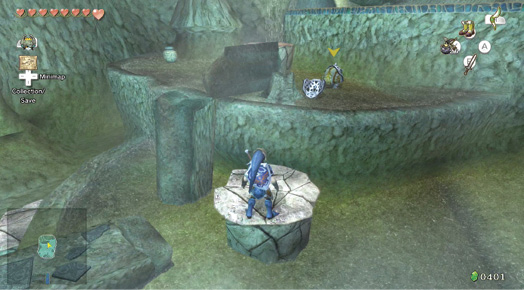
Defeat or avoid the two Helmasaurs on this ledge and jump to two of the stepping stones you created earlier, allowing you access up the northern ledges. Smash pottery as you go, and continue until you reach the exit door.
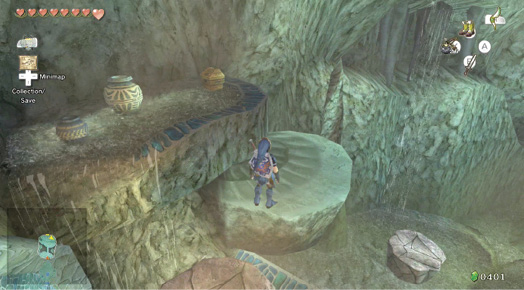
Treasure Chest: Don’t leave this chamber yet! In the chamber’s northeast corner are a couple more stepping stones and a small waterfall. Climb to a small ledge where two pots and a tiny chest reside. Open and loot everything, then return to the north door and open it.
Treasure Chest #3:
Water Bombs (10)
 Water Bombs
You got Water Bombs (10)! You can use these bombs in water, but not while swimming.
Missing Links
1. Pottery Pulverizing
This chamber holds a number of pots to break:
- Next to the northeastern wall on a large ledge, behind a stepping stone: Heart
- On an unreachable platform in the stalagmite cluster on the western wall; use the Gale Boomerang: blue Rupee (5)
- By a stalagmite in the upper ledge, northwest corner: Heart
- In the upper northeast corner, next to Treasure Chest #3: blue Rupee (5) and arrows
Chamber 4: Connecting Bridges (2F)
Enter an impressively large rock chamber with swirling waters below you, and a number of bridges jutting from a central column. Look closely to see a second corridor above you. For the moment, however, peer forward to see a scaly fiend running at you. Bring out the sword!
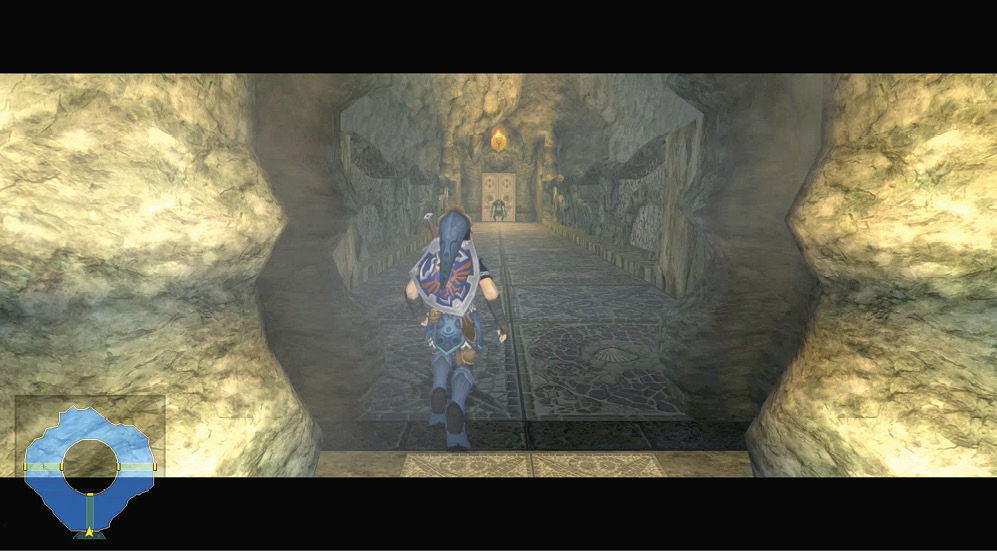
Lizalfos (“Axe-tail”)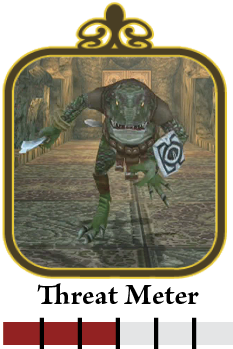
Padding down the hallway at you is a species of Lizalfos, a scaly denizen with a mean streak. It has two bladed attacks: a sword it carries and a tail with an axelike blade attached to it. This blade, when whipped around, can knock you off your feet. The Lizalfos is also skilled in defense, meaning you can’t simply wade in and defeat it. Multiple simple sword strikes are required to down it. A better plan is to shoot Bomb Arrows from range or use the back slice. Start by ZL targeting, ram it with your shield to stun it, then roll around with 3 and slice its exposed back! 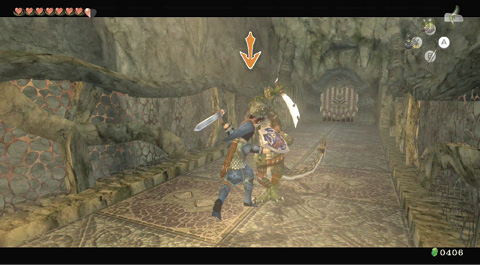
Don’t target and leap against a Lizalfos because it can slice faster than you. Regroup, and turn defense into offense. 
|