The Legend of Zelda: Twilight Princess HD Guide Dungeon 4: Arbiter's Grounds
Task 1: Gain Entrance to the Grand Ceremonial Hallway
Chamber 1: Entrance and Sand Traps
|
Before you enter these decrepit catacombs, you might wish to bring along the following:
|
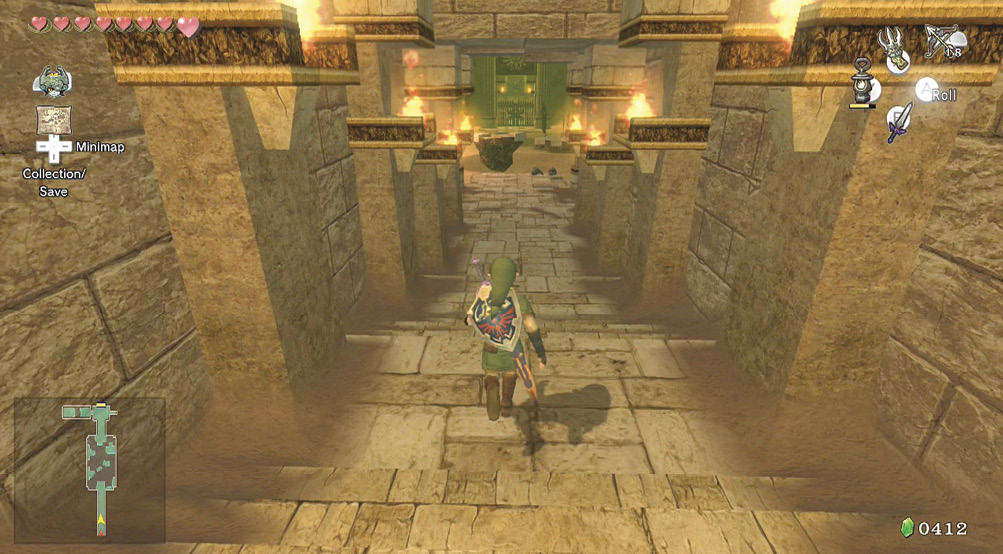
Enter the massive squared-off entrance and head north down some steps. You appear in an ornate chamber. The ground has already given way, and two Moldorms are burrowing through the sand.
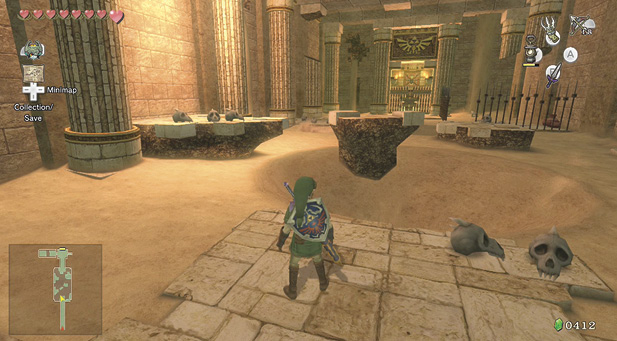
Your best plan is to ignore these critters, but if you must defeat them, launch a ZL targeted Clawshot to hook them and then slash away. Don’t try this on the edge of a sand trap (as shown) or your slashes cause you to fall into the trap!
|
The whirling sand in the middle of this chamber is deadly! Wade in here, and you’re sucked in to your doom. Then you must retry the room with one energy less. Your movement is also impeded whenever you step on sand, and you’ll slowly be sucked down into the sand. Keep moving, and use Link’s form because he isn’t as low to the ground as the wolf is. Head to flagstone areas as soon as you can! 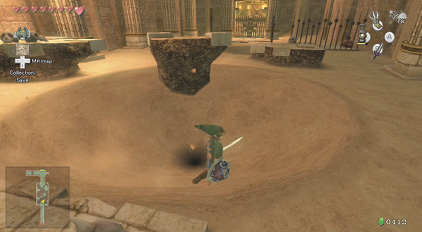 |
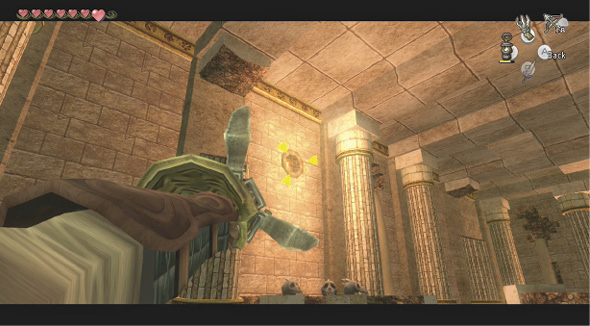
When you’ve finished looking over this entrance chamber scan the walls. Over on the left side is a Clawshot medallion. Use it and drop down.
You land on a jutting stone platform that’s positioned above the sinking floor. If you fall off this platform, you can’t make it back to the stone floor safely, so make every step count! Begin by smashing a few skulls; there’s a Heart in it for you.
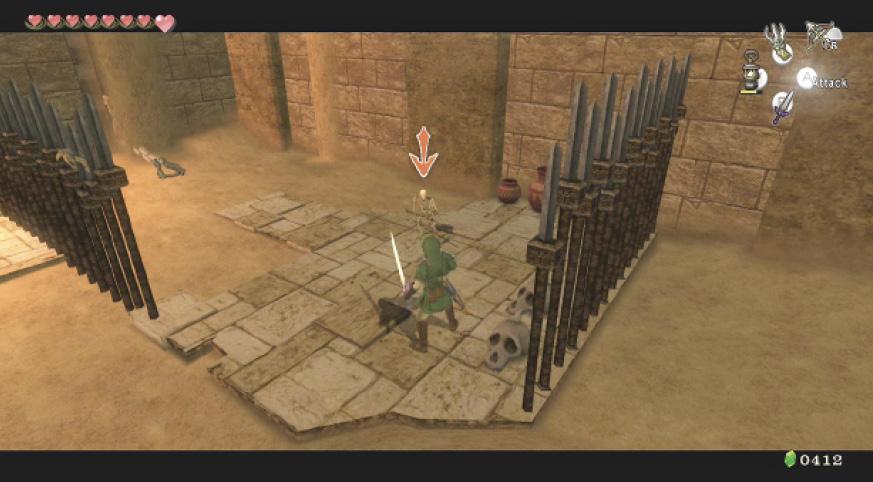
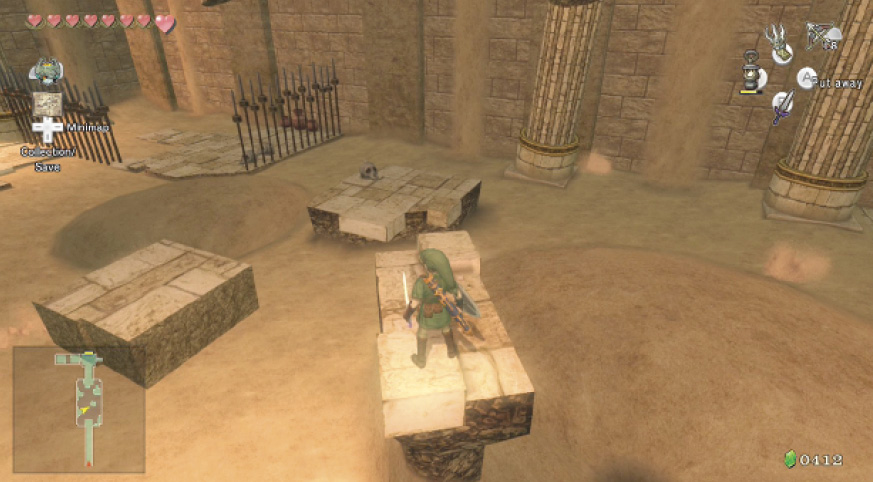
Now turn and face the room’s interior, and position the camera so you’re facing the next floating platform directly and leap. Don’t rush, or you might land right in the sand trap! From here, there are two other platforms. You can turn left, leap across, and ignore the platform in front of you, or take the long way around and jump to the outer platform. Smash the skull on the outer platform if you wish, then leap over to the section of firmer ground with the skulls on it.
|
You can transform into a wolf at any point during this dungeon exploration. You walk through the sand faster, but unfortunately you sink faster too! |
From your stone floor with skulls, smash a few (for a Heart), then look across to the north. There’s a gate ahead, so wade across the sand to it, and up onto the safer ground. But the gate is firmly sealed.
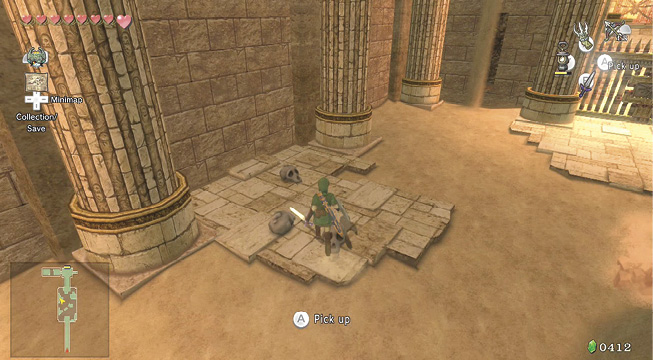
Turn and check out the chamber’s northeastern corner. There’s a chain to pull to open this gate, so wade past the skull stakes to another stone floor. Smash pots and skulls for Rupees and Hearts. Then watch as the earth stirs!
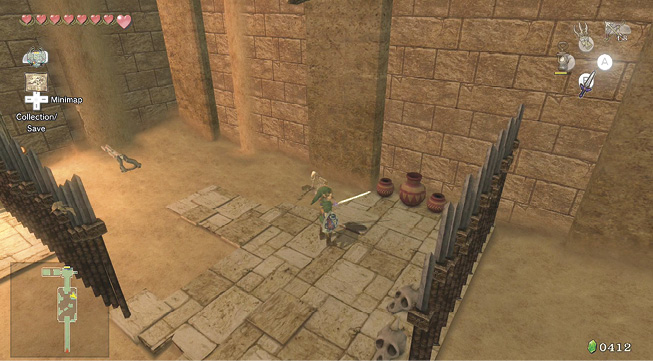
Stalkin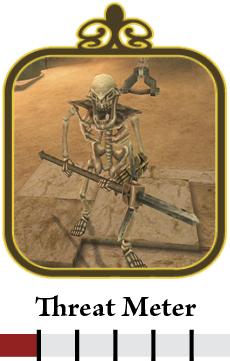 Something’s stirring in the sand. It’s a group of four Stalkins—animated bones still guarding the chamber’s entrance. They are easily dispatched with any attack you like, although if you have dozens of them congregating around you, the spin attack is by far the most impressive and entertaining way to defeat them. |
Missing Links
1. Skull Smashing, and Pottery Pulverizing
Skulls and pots are scattered about the floor. Skulls usually give you green Rupees (1) and Hearts. The pots here reveal a blue Rupee (5).
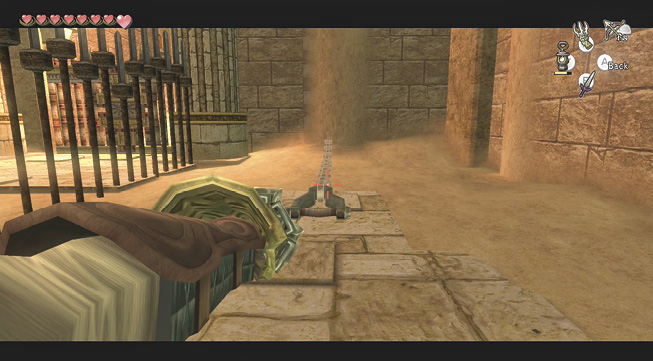
Look at the chain tethered to the north wall. This opens the gate. Aim at it with your Clawshot, pull it in, then grab it and heave southward. The gate creaks open!
Chamber 2: Entry Crossroads
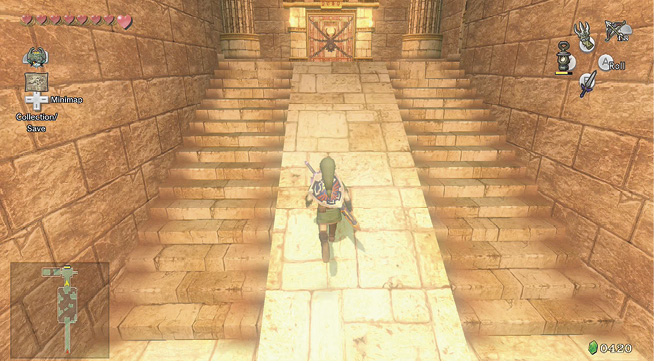
Pass through the open gate, climb up some steps, and stop at a crossroads junction. The door ahead is firmly locked. There’s a small chamber to your left with a chest at the end.
Treasure Chest: Bring out your sword, and quickly destroy the wooden planks blocking the doorway, step into the chamber. Run along the left side onto a stone platform, then quickly cross the sand. Head up to the chest, clearing the skulls (and grabbing a Heart), and open it.
Treasure Chest #1:
Small Key
 Small Key
You got a Small Key! This opens a locked door, but only in this area.
Poison Mite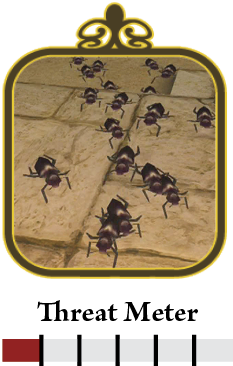 As you reach the sand you’re attacked by a swarm of disgusting Poison Mites. There are dozens of them! They don’t harm you, but they slow you down, and if you’re wading through sand, this can spell doom! Don’t stop and fight or you’ll sink! Struggle to solid ground then bring out your sword and execute a spin attack. 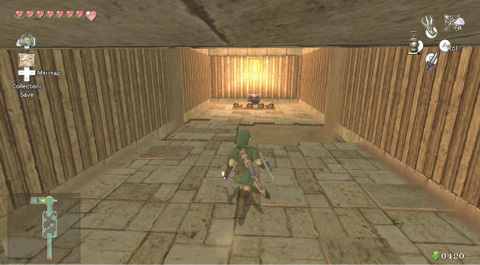 Or, you can shine a Lantern and the Mites retreat in fear, leaving you alone.  |
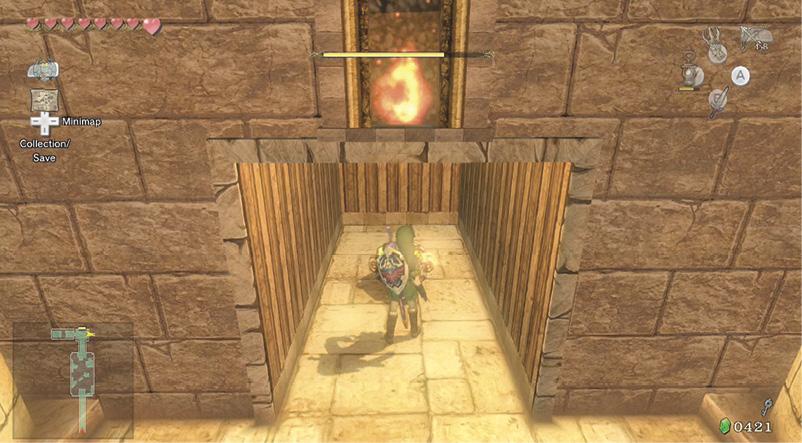
Run across from the chest chamber and check out the small alcove. Smash a couple of pots for Rupees, and inside you’ll find a ceremonial bowl of lantern oil. You can return here at any time to refill your Lantern, and any empty Bottles. Only a Lantern’s worth of oil is needed however. Now move to the door and unlock it.
 Oil
Oil
You got oil in your Lantern!
Chamber 3: Stalkin Ambush Room
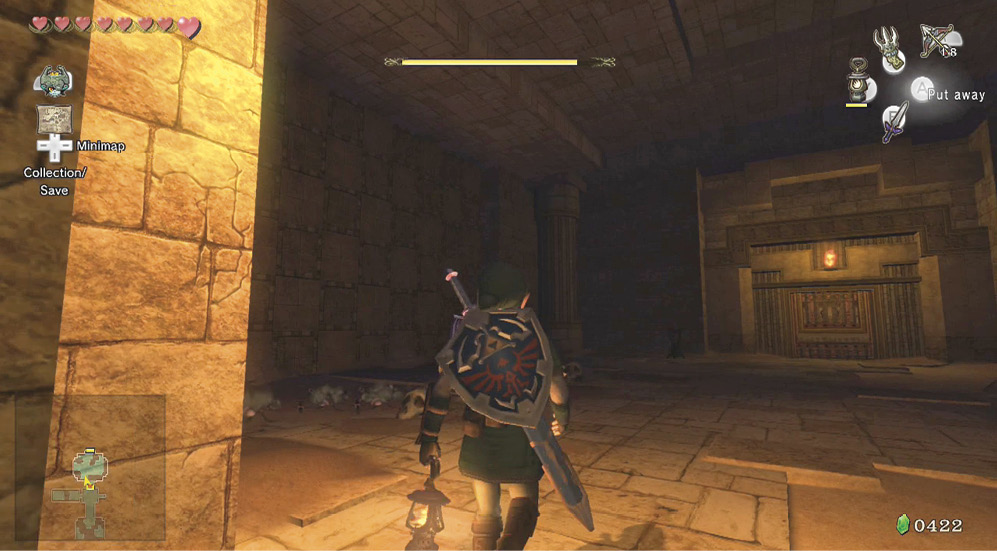
The Lantern is necessary in this chamber, as portions of the floor are covered in sand to suck you down. Bring out the Lantern, and as you progress, you’ll see disturbances in the sand. A whole squad of Stalkins rises up!
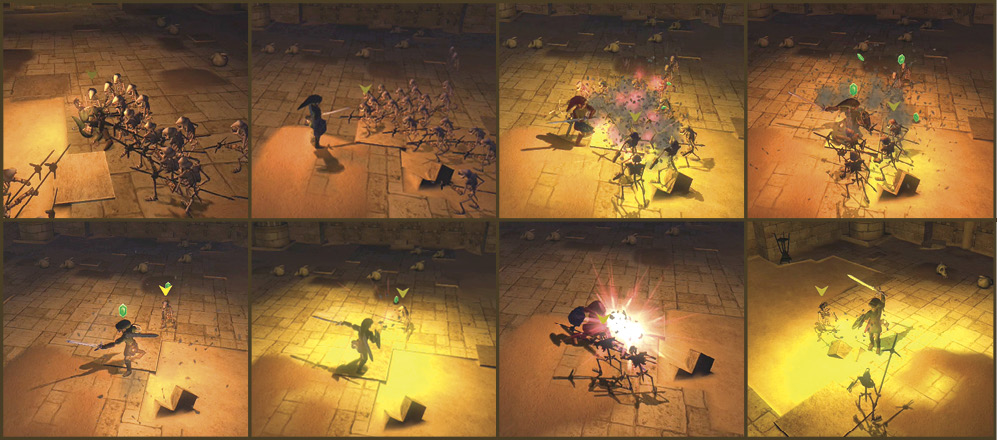
This calls for a spectacular retaliation! Run around the stone floor areas of this room, coaxing Stalkins from the sand in the four different areas, and when all of them are almost upon you, execute a vicious spin attack. The entire room is filled with explosions and flying bones as you disintegrate them all!
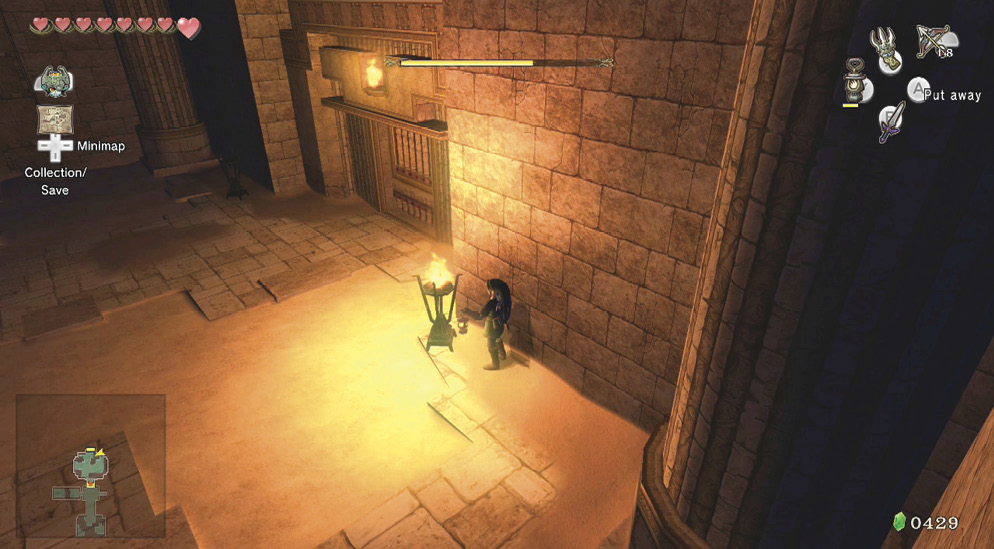
When the Stalkins explode, gather the Rupees and Hearts they expel, and look for skulls to smash for Hearts. Then follow the narrow stone floor paths and light torches on either side of the north door. Then enter the grand chamber to the north.
|
Before you head north, you may wish to refuel your Lantern once more. |
Chamber 4: Grand Ceremonial Hallway
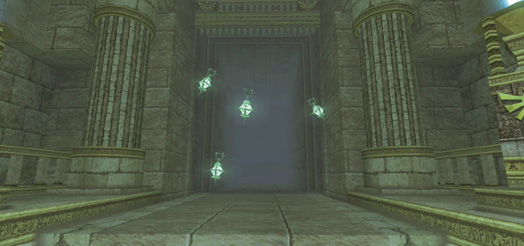
You enter a grand hallway with doors to the left, right, and straight ahead. Flanked by statues, four large torches with the Hylian crest carved beneath them stand on either side of the exit door. Four lamps appear, the door closes, and the lamps circle you menacingly!
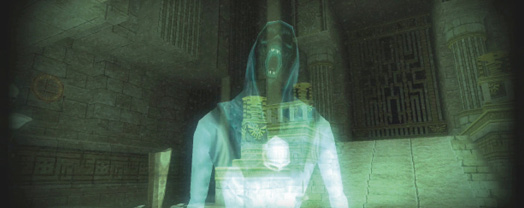
Poe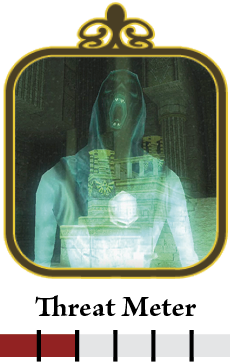 Poes inhabit the same ghostly plane as Imp Poes, but these cowled figures are far more imposing! Defeat them using your wolf’s biting attack, ZL targeting, and then leaping on the Poe and biting it until the specter throws you off. Remember, you can only strike a Poe when they are glowing. Do this twice, and the Poe completely deflates, and you can claim another soul for Jovani. 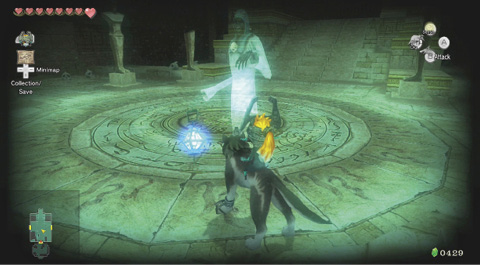 Four fearsome fiends can be seen and attacked only with your keen senses. Grab these gruesome ghouls, and add their souls to your collection!  |
Poe Soul #38 Your next Poe is in this chamber, and he attacks you immediately! Retaliate and take his soul quickly, after some biting tactics instead of the regular leaping attacks or area-effect takedowns.
|
 Poe Soul
Poe’s Scent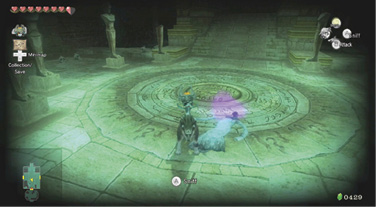 Once you’ve vanquished the first Poe the light of its lamp drifts and settles on one of the four ceremonial torches. However, if you sniff the area where the Poe departed, you’ll discover a new scent.
|
 Poe’s Scent
Missing Links
1. Pottery Pulverizing
This chamber has three pots in the southern corners, with Rupees, Hearts, and arrows inside. There are also some skulls here; the ones in the eastern and northeastern parts hold a Heart.
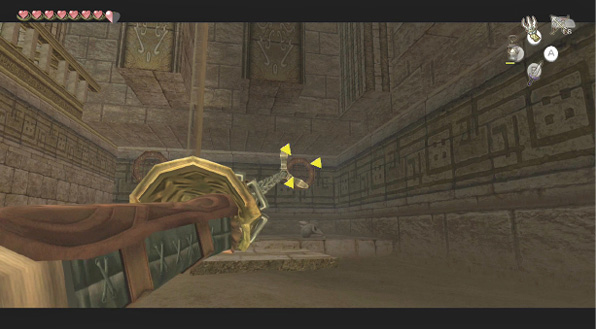
Treasure Chest: Before you sniff the air for more Poe trails, thoroughly inspect this area. Step to the eastern side, next to the main stairs, and peer into the gloom. There’s a chest ahead, it’s easiest to Clawshot there.
Treasure Chest #2:
Piece of Heart #27
 Piece of Heart
You got a Piece of Heart! Collect three more for another full Heart Container. Piece of Heart #27 of 45.
Now that you’re by the treasure chest, check the room out. Look at the sand falling from the upper level, and the large chandelier above you. Don’t try wading back through the sand; aim at the medallion on the outer wall, and propel to this point instead.
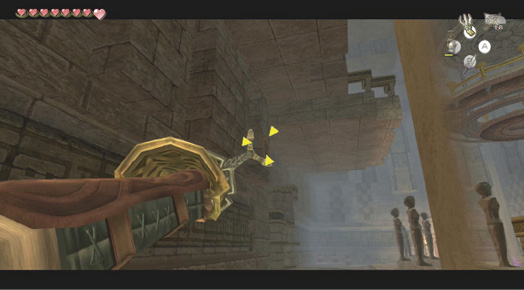
Treasure Chest: Move over to the opposite side of the staircase and draw your sword. Two Bubbles are flapping around so swipe them or bring them in with your Clawshot. Then walk north, onto the stone floor that sinks into the sand. Keep moving forward and you reach another chest. This contains the useful Dungeon Map. As before, use the Clawshot on an exterior wall medallion to avoid the sinking sand.
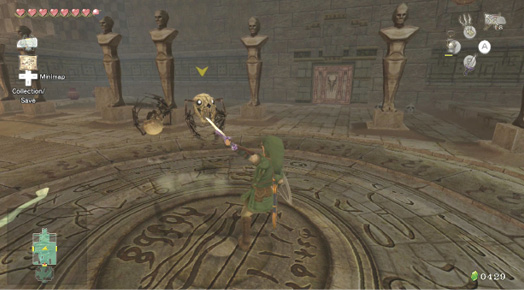
Treasure Chest #3:
Dungeon Map
 Dungeon Map
You got the Dungeon Map!
Now follow the Poe’s Scent trail around the chamber. It disappears into a small sandy opening in the stone floor. Dig at this point to uncover a buried handle with a chain attached. Pull the handle back, and a staircase appears in the floor! Although you can choose to open either the east or west door, the scent path is visible at this lower level. Descend.