
The Legend of Zelda: Twilight Princess HD Guide Dungeon 2: Goron Mines
Task 6: Complete the Key Shard from Gor Liggs
Chamber 12: Beamos Star Chamber
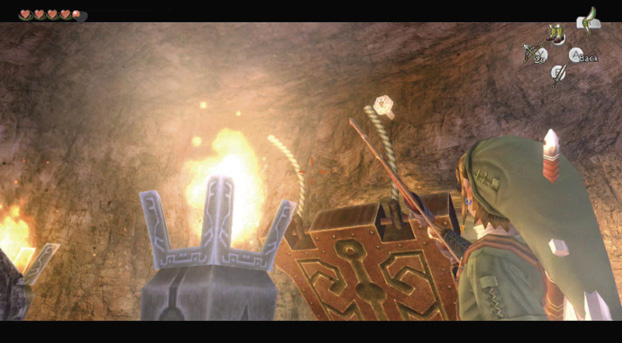
Step over the drawbridge, and check the ceiling of the room ahead. A Torch Slug offers archery practice. Drop it, then run into the star-shaped chamber. Beamos monoliths block each “point” of the star, so head north.
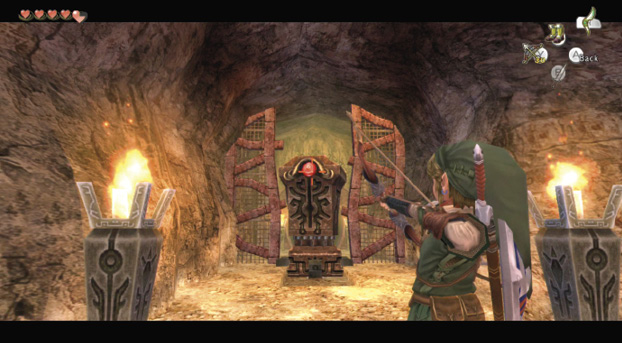
The Beamoses are dormant. That is, until you reach the one inside the small northern tunnel. Head toward him until he wakes up, then step back a few feet, and raise your Hero’s Bow. Make sure you’re out of his beam range, then fire an arrow into that eye!
This is the preferred method of dispatching Beamoses!
|
Whenever you encounter these foes from this point forward, bring out your Hero’s Bow. |
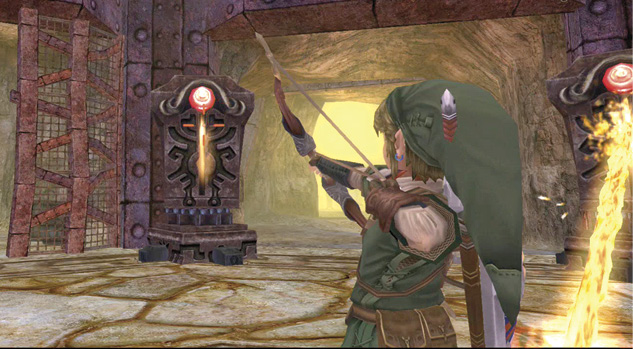
Turn south, and stop at this chamber’s entrance. The beams of the two nearest Beamoses can’t reach you if you’re standing in the middle (as shown). Take aim and shoot each of the seven Beamoses from this position until all are smoldering! Enter the chamber and ransack the goods the Beamoses were guarding; push or pull the Beamoses in front of the points, and run around them.
Treasure Chest: The items in the northwest, northeast, southwest, and southeast corners are all optional, but you should definitely move the Beamos out of the way in the chamber’s western point. A chest holding the Compass is here.
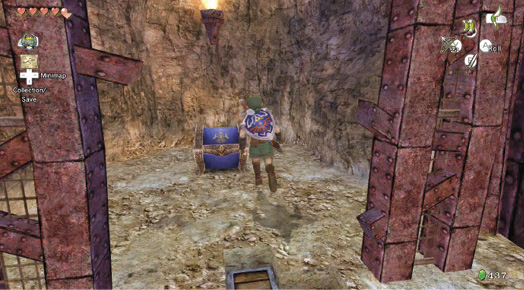
Treasure Chest #14:
Compass
 Compass
You got the Compass! This handy tool shows you where to find objects hidden in this dungeon.
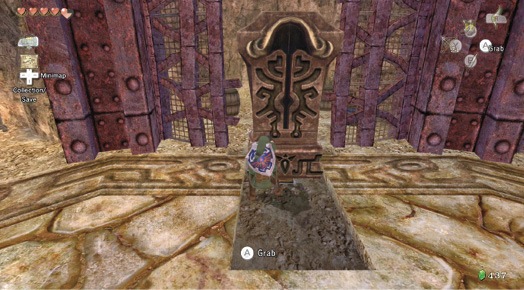
Move to the opposite side and maneuver the eastern Beamos out of the way. He was blocking a doorway, which is your next chamber to visit.
Missing Links
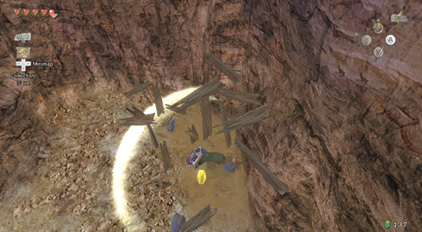
1. Beamos Goods: Northeast Point
There are four barrels to smash. One holds a yellow Rupee (10).
2. Beamos Goods: Southeast Point
Push the Beamos out of the way. Barrels and pots hold a single green Rupee (1).
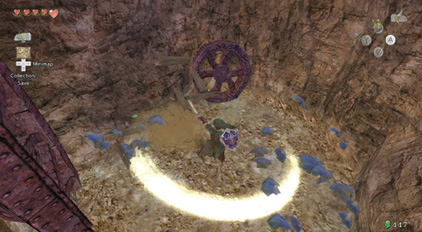
3. Beamos Goods: Southwest Point
Push the Beamos out of the way. Barrels and a pot hold a yellow Rupee (10) and a Heart.
4. Beamos Goods: Northwest Point
Two barrels and a Torch Slug are here. A Heart is in one of the barrels.
Chamber 13: Gor Liggs’s Shrine Room
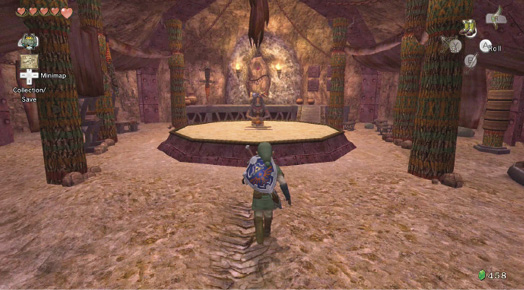
Roll down the passage into the chamber, which has the familiar look of Gor Coron’s wrestling ring. A thin and elderly but sprightly looking Goron with tribal paint and tattoos is meditating. This is the room of Gor Liggs, Goron elder!
Gor Liggs: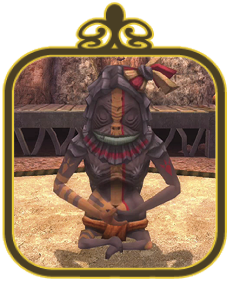
Another old Goron is the third most important one, Gor Liggs, who spends his time listening to trancelike, melodic beats in his meditation chamber. He doesn’t take life too seriously and is a mellow fellow, but his attitude shows he has had fascinating life experiences. He believes in one love and in the potent healing powers of Hot Springs Water. |
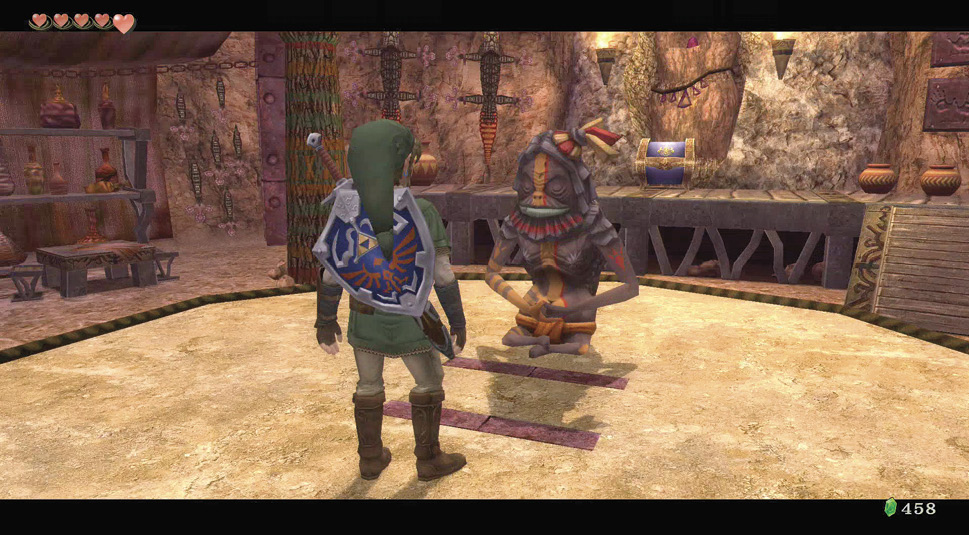
Speak with this meditative elder, and he provides a Key Shard and assembles the Big Key for you!
 Big Key
You collected all three Key Shards and completed the Big Key! Hurry to the boss.
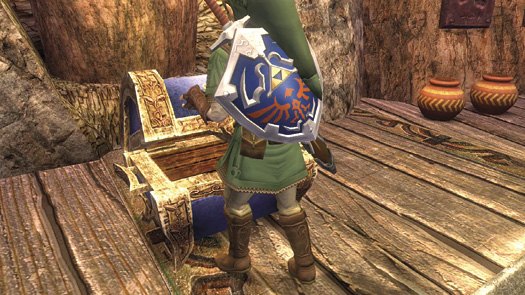
Treasure Chest: When the conversation with Gor Liggs finishes, he returns to his meditation, and you can step off his ring and run forward up the ramp, then to the middle of the shrine platform to open another chest! Leave this chamber the way you came.
Treasure Chest #15:
Purple Rupee (50)
Missing Links
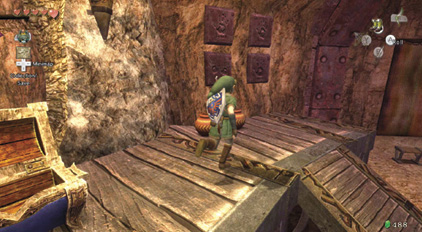
1. Pottery Pulverizing
Although Gor Ebizo doesn’t allow weapons in this room, you can still smash his collection of pots left and right of the shrine. There’s a Heart in one of them. You can also smash the rocks near the seating, but they don’t hold anything.
2. Dodongo Wall Skins
During your pottery-smashing, did you notice that Gor Liggs has covered parts of his wall in Dodongo skins? They make the perfect addition to a Goron shrine! He also has additional hand print plaques.