The Legend of Zelda: Twilight Princess HD Guide Overworld: The Great Hylian Treasure Hunt
Task 1: Journey to Princess Zelda
The Route to Hyrule Castle: To Telma’s Bar
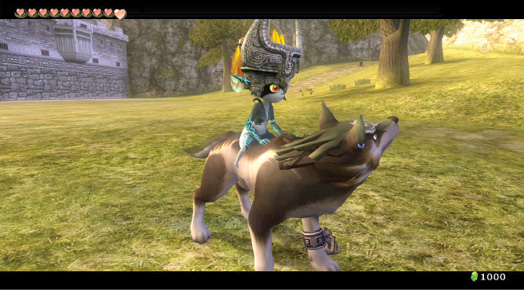
You begin your quest to reach Princess Zelda in the field north of the castle. Ignore the enemies for now, and run south to the Hyrule Field west of Castle Town. On the way through this field, dodge a Deku Baba and more Bulblins.
Missing Links
1. Digging for Victory
Even with Midna slumped on your back, you can still locate a couple of good dig spots in this field: in the field’s southwestern corner (Hearts and Rupees), in the field’s southeastern corner (Hearts), and in the western clump of grass (Rupees).
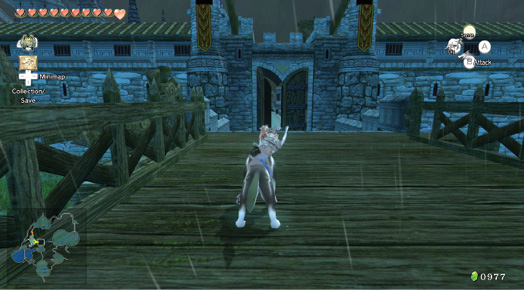
Locate the Castle Town gate, run over the bridge, through the inner doors, and head south along the alley. Talk to a tiny cat, found near the market stalls, who gives you a hint: you must reach Telma’s.
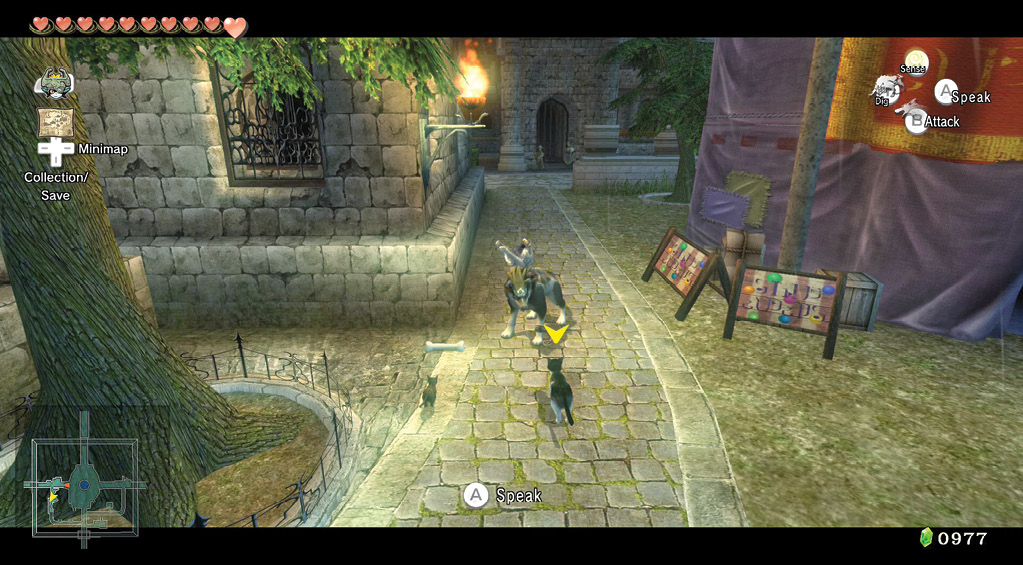
Take the cat’s advice. Run down the alley and into Telma’s Bar…
A moment after you’re thrown outside, Telma’s cat Louise appears. She lets you in on a secret: the window leads along the attic ledges of the bar, and to the waterway passage you need.
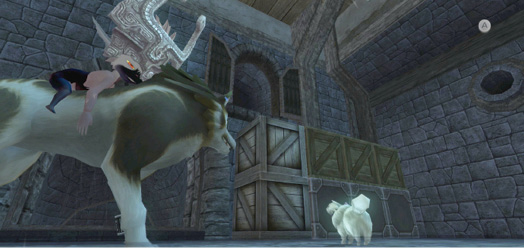
To reach this upper window, get behind and push a large crate to the rest of the crates in the alley’s corner. Leap onto them all, and through the window.
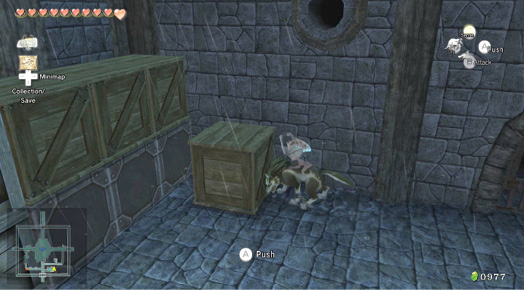
The Route to Hyrule Castle: Across the Attic
|
Watch out! Although your instinct will be to smash every pot perched on these ledges, if the patrons hear the breaking, they spot you and remove you from the bar. |
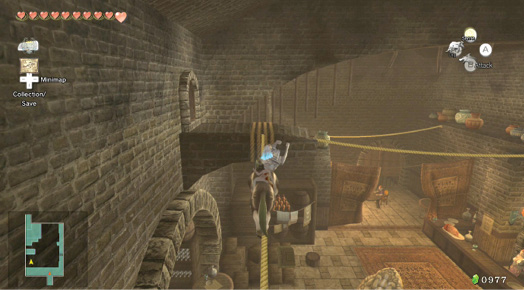
Silently, turn left and walk to the rope at the end of the ledge on which you are. Line yourself up with it, and walk across to a small platform. Turn 90 degrees to another rope, and walk across this, to the eastern ledge above the bar. During your creeping, you can hear Telma and a Goron’s complaints.
Turn north, and make your next maneuvers as slow and delicate as possible. Gently shift some pots, either by rubbing against them or by picking them up, turning, and placing them back on the right behind you. This allows you to reach the last rope.
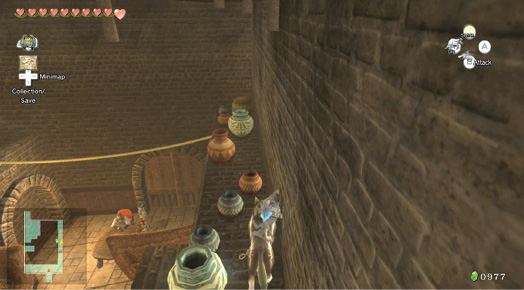
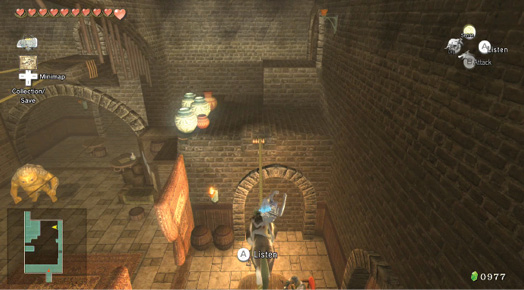
As you cross this rope, listen to a heated discussion at the table below, as three townsfolk discuss the “hero.” Exit via the opening in the room’s northwest corner.
Auru: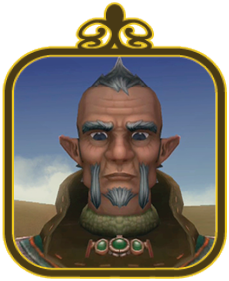
Between 60 and 70, Auru is a senior member of the resistance, a group of people seeking to restore the kingdom. Auru used to be the royal family’s tutor, then he retired and kept his distance. He recognized that something unsettling was occurring, so he came back to offer his aid. He knows about the royal family, and their past history with an ultimately evil entity called Ganondorf. Though aged, Auru remains in good physical condition and is a very skillful fellow. |
Shad: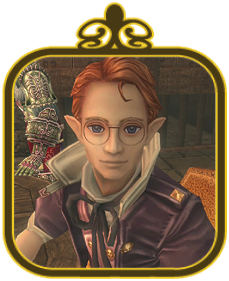
Between 18 and 20 years old, Shad is another member of the resistance. He’s a handsome city boy, with glasses. When Shad was a child, his father (who was a butler with the royal family) told him a tale about a city floating in the sky. Since this time, Shad has studied about this city, and he realizes that a secret pertaining to its origin is somewhere under the graveyard in Kakariko Village. With the current terrors Hyrule faces, he believes the airborne people (the first Hylians to roam the land) could help the cause. |
Ashei: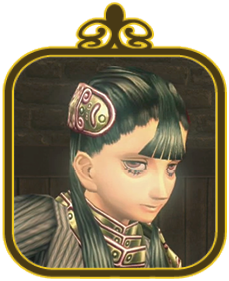
She is around 24–25 years old, and one of the members of the resistance. Her father was a soldier for the Hyrule royal family, but he left the kingdom due to trouble with a superior. She has learned combat skills from her father, and hearing the gossip that the Hylian soldiers are weak and powerless, she decides to visit the kingdom. Currently, she’s studying about a small tribe of Yeti that inhabit Snowpeak mountain. Stronger than most men, with a slender physique, Ashei is cavalier, but quiet. She favors strong, muscular men as companions. |
The Route to Hyrule Castle: Jovani’s Curse
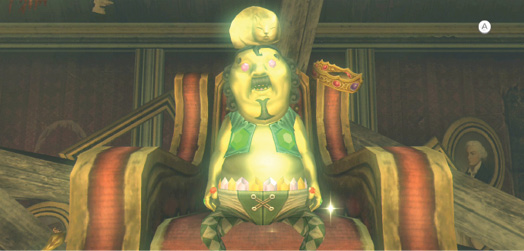
The opening leads to a small house bulging with the most treasure you’ve ever seen! A silent man sits on a throne. Nearby, a strange floating lamp wafts about the room. Speak to the frozen man, then defeat this ghost!
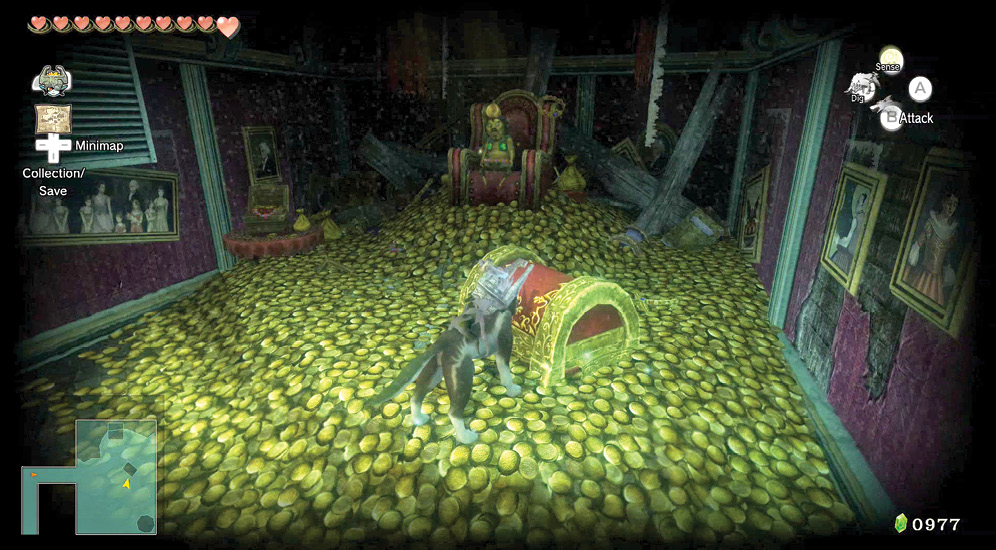
Poe Soul #1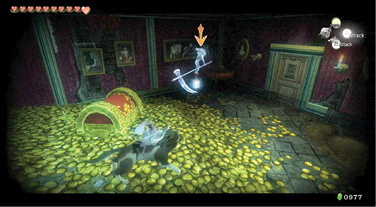
The lamp is the only part of an Imp Poe you can see. Facing one for the first time as a wolf, switch your sense view on to see the ghostly fiend with a sickle ready to fight! ZL target this ghoul and strike him twice. He falls onto his back. Target him again to see that his soul is exposed. Dive onto it, and grab that soul! 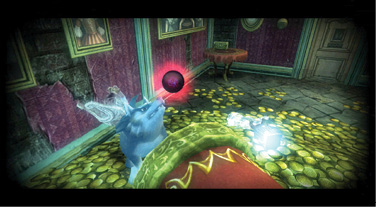
Congratulations! You’ve grabbed your first Poe Soul! Your ghostly collection begins now!
|
 Poe Soul
|
Check your Collection menu. The final icon in the cluster of eight under your picture has been filled in. Every time you find another Poe and defeat him, this total increases. |
|
Return to talk to the frozen fellow, Jovani. He sold his soul for gold! He mentions that the Poes have stolen parts of his soul! Collect 20 of them and he might be able to move again. To return, you can use the outside dig spot, near where the cats are. It’s raining, so he opens a treasure chest, which is actually a secret entrance to the waterways.
Jovani: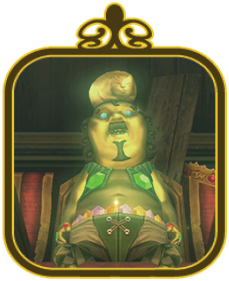
About 40 years old, Jovani made a deal that was shortsighted and greedy, and sold his soul to an evil spirit, which has rendered him (and his cat) immobile. He asks you to reclaim his soul from the Poes. He hopes his girlfriend will still remember him! |
Gengle: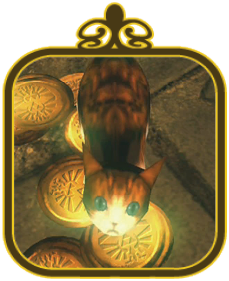
Jovani’s cat is his best friend, but Jovani’s greed has turned the feline into a cat-sized rock of gold, now perched on his head. The other cats in town are worried about where Gengle’s got to. Gengle is immobile, but knows he wants to rid himself and his master of all riches as soon as possible! |
The Route to Hyrule Castle: The Waterways
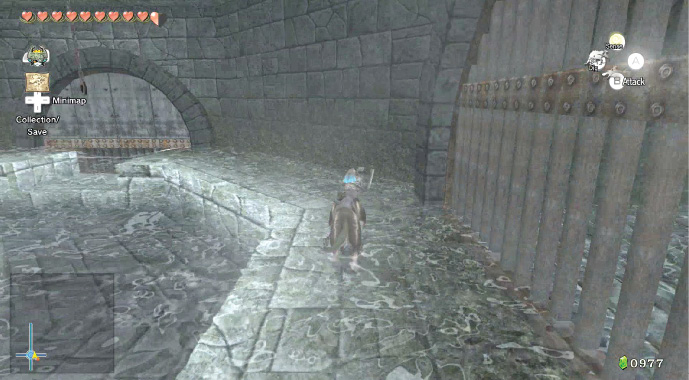
This entrance leads to a water conduit that you ride down into a large sewer pool, with multiple barred passages. Swim to the shallow ledge on this area’s exterior, and battle a few Rats, staying on the ground so you aren’t prone. Then run to the northern part of this sewer and grab the handle that releases the adjacent gate. Ride another chute to a second part of the waterways.
|
Midna is severely weakened, and by now, you should have realized that you cannot perform her area-attack technique (holding B). You must rely on your teeth, and ZL targeting! |
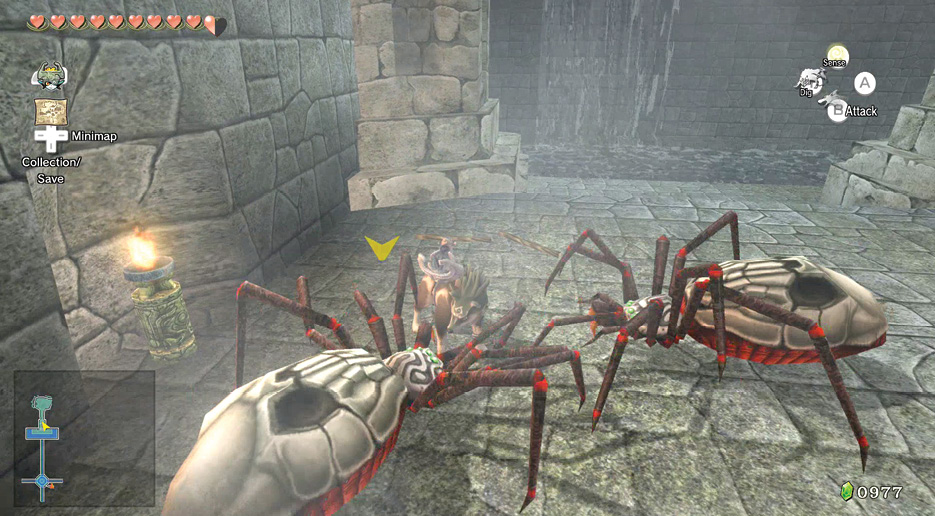
You land in a large pool. Climb the stairs, and a Skulltula attacks you. There’s a second at the web, atop the stairs. You can circle each Skulltula, then leap and attack from the side or behind. Or, you can grab a stick, light each end, and charge the Skulltula with it.
After defeating the arachnids, smash skulls, pick the stick up again, light either or both ends, and burn the web.
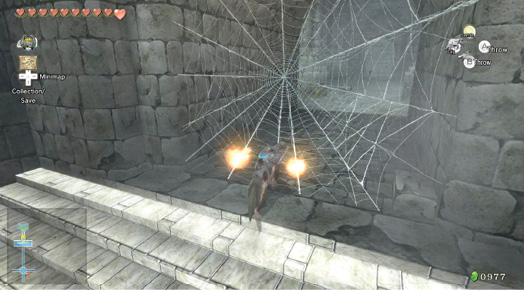
Take the stick and head through the web, into a debris-filled castle labyrinth. To the side as you enter is another torch, light it. In a moment you’ll see why you need to keep a constant source of flames.
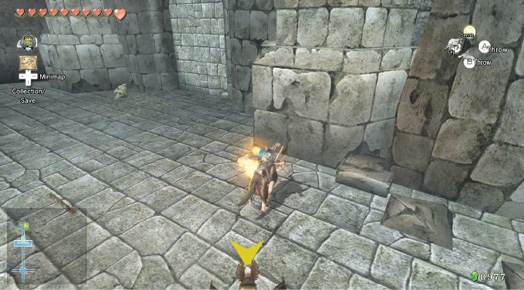
Move to the right and light another torch. Place your stick down, and engage a couple of Keese, then head north to the massive, blocked-off archway, and light another torch in this vicinity. When this last torch is lit, you can temporarily drop the stick, and finish off any other Keese. Smash some more skulls for Hearts, and loot a group of crates in one corner for Rupees.
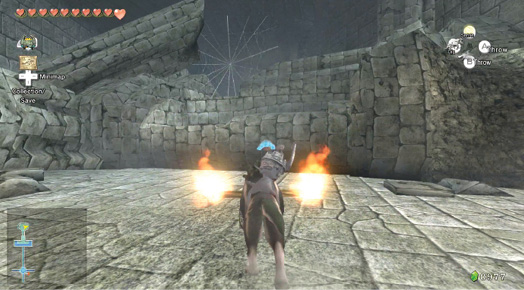
The reason for the torch-lighting is now obvious: turn and face east. There’s a web to burn through, so use the torches to lit the stick and burn that web.
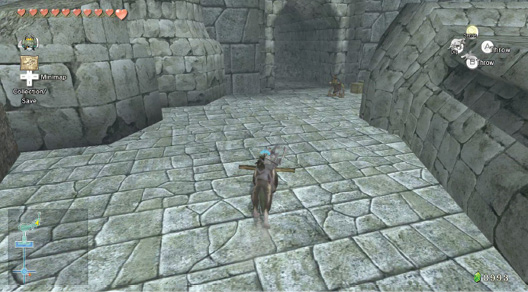
Bound through into an area of ruined columns, and fluttering Keese. Drop the stick and run north (the crates are empty). Amid the Keese is one Bulblin. Defeat them all. Destroy the final batch of crates for a green (1) and red (20) Rupee, then exit via the archway.
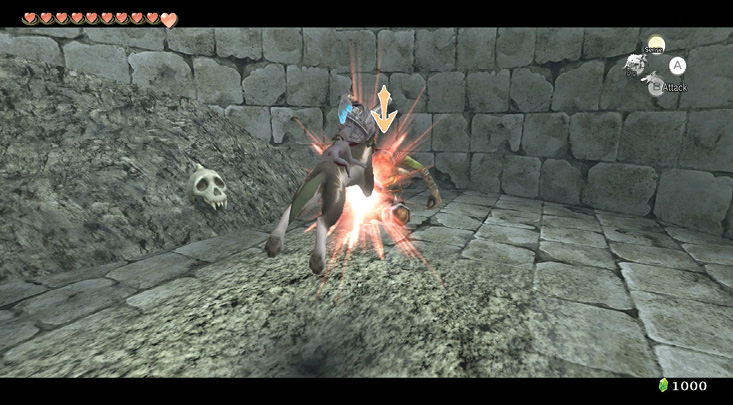
This brings you to a dead end, and a Bulblin Warrior. Defeat him then search the area. The earthen floor in the middle is a clue; there’s a dig spot here, so tunnel down. You appear in the catacombs you visited after Midna first found you!
The Route to Hyrule Castle: Sewers and Battlements
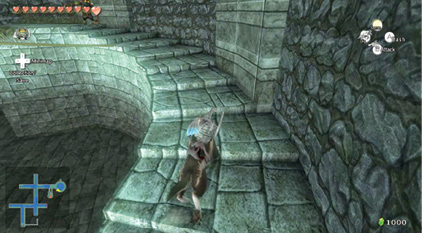
The area below you is impassable, so move up the dirt ramp, scavenge Hearts from the skulls, and climb the tower. Bound up the stairs, zigzagging to avoid a Bulblin Archer’s flaming arrows. Target and bite into him.
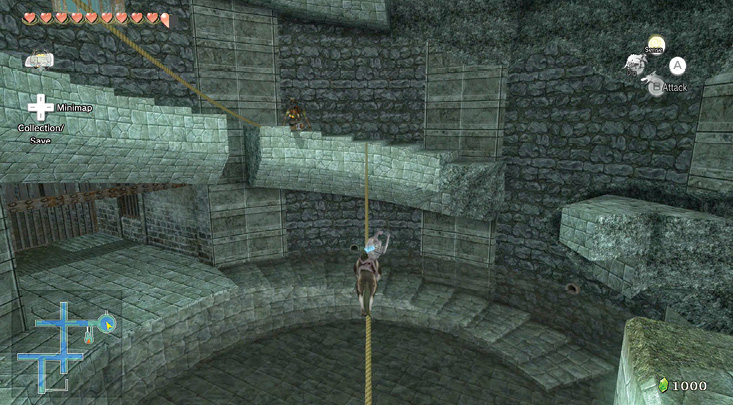
Pad across the rope, to another part of the crumbling spiral staircase, and land on the steps before targeting and dispatching another Bulblin. Climb the staircase, using every rope you come across until you reach another couple of Bulblin warriors on different levels. Dispatch them after you finish your rope-walks.
The ordeal ends with a series of smaller ropes linking the last of the staircase, and a final rope to the fenced top area. A Bulblin is waiting here, but stay on the rope, and then spin attack to avoid this problem.
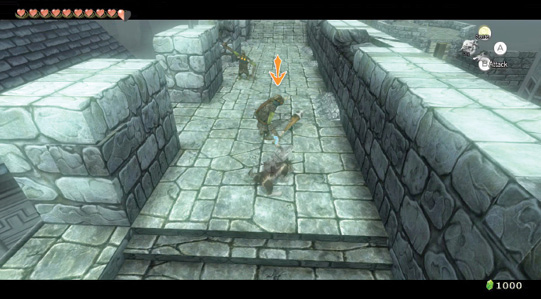
You emerge at the tower’s base. Leap at and defeat a Bulblin Archer, and finish off a couple of Keese afterward. The exit is easily spotted. Head out the open door, and onto the castle battlements. Circle the two Bulblins to avoid their arrows, and pounce!
|
There are a couple of skulls to smash as you exit onto the battlements; one contains a Heart you might need. |
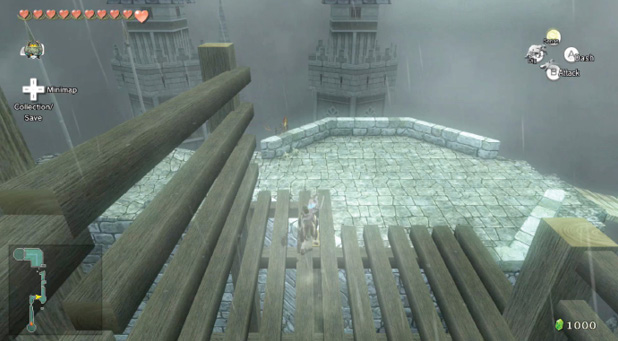
You’ve done this before so progress quickly. Defeat another Bulblin, then turn and clamber onto the wooden structure, and leap across to the next section of crenulations. A Kargarok swoops to attack you: ZL target, don’t leap off, and jump attack as the Kargarok moves into range.
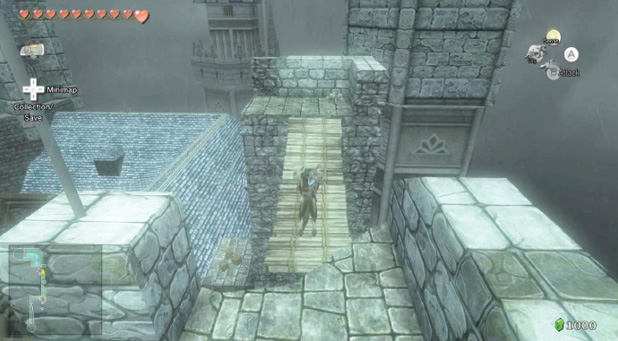
Continue north, optionally smashing the skulls for Hearts, until you reach the piece of flapping wood that used to be a bridge to a tower. This fearful jump is the only way forward! Wait until the howling wind blows the wood horizontally, then leap on and run to the small tower. The skulls here give you a green (1) and blue (5) Rupee.
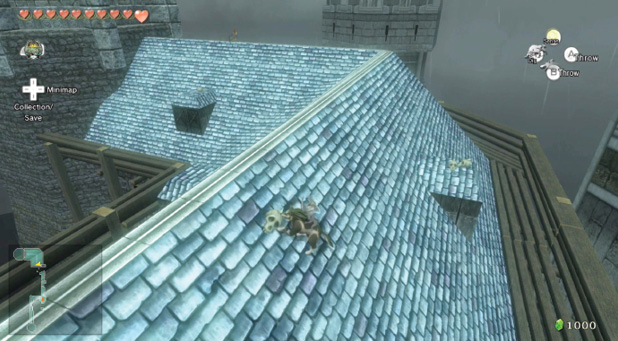
Turn and drop onto the roof of the castle. The remainder of your rooftop ramble is to reach the open doorway to Zelda’s tower. The crates, skulls, and other debris you can smash for cash and Hearts are in the same places as before. Ignore the Kargaroks, or else wait for them to swoop in, then dispatch them. Climb to the doorway, and exit.
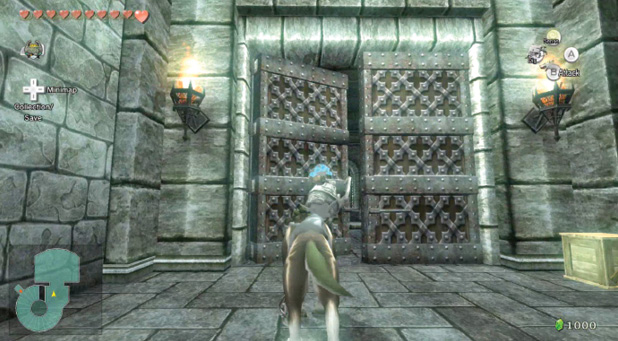
You appear halfway up the spiral staircase to Zelda’s room. Move up to the door that’s ajar. Enter it, optionally cracking open a couple of crates to the right with Hearts inside.
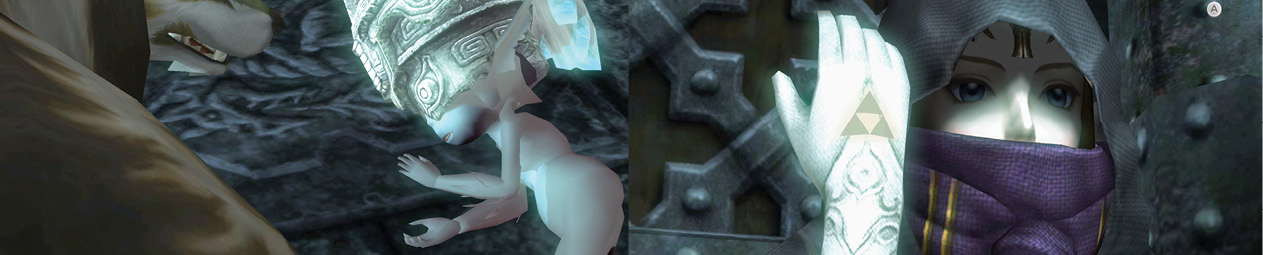
You enter Zelda’s bedchamber. Midna asks how your curse can be removed. Zelda informs you that you must leave for the sacred grove that is deep within Faron Woods where the Master Sword waits for you! Evil is cloaking you, and only the sword can remove it!
Midna hopes you can continue without her, and find the Mirror of Twilight. Zelda transfers her energy, despite Midna’s protests. Midna is healed, but at what cost?
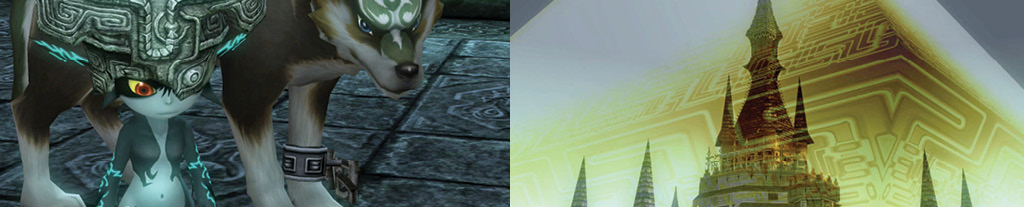
As you gallop out of Castle Town, Hyrule Castle is bathed in an eerie yellow light. It seems the castle is sealed from you. Only the location of the Mirror of Twilight can help!
As soon as you can, follow the princess’s advice to the letter, and head directly for North Faron Woods. Don’t go there on foot; it would take ages! Instead, warp there using Midna’s newly regained power. Select “N. Faron Woods” as your warp point.