The Legend of Zelda: Twilight Princess HD Guide Dungeon 9: Hyrule Castle
Task 4: Traverse the Collapsing Chamber of Staircases
Chamber 8: Collapsing Chamber and Staircases (3F to 4F)
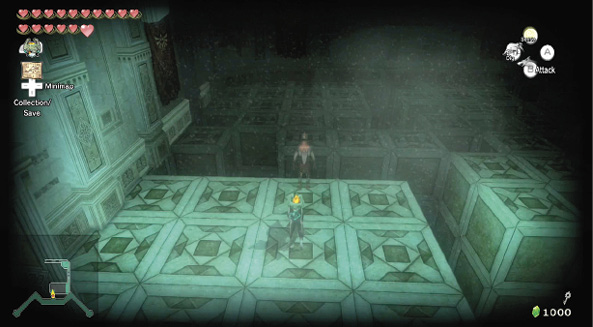
Enter the door, and you find yourself in a reasonably large and boxy room with a variety of gaps in the floor. Upon further investigation you realize that most of these floor blocks are unsafe and cause you to fall into the bottomless pit beyond! You must call on the spirits to guide you. Change to wolf form and switch on your sense view, and you see a number of spirits. Step only on the blocks they point to, and carefully walk to the subsequent spirit. Keep this up until you reach a half-collapsed staircase.
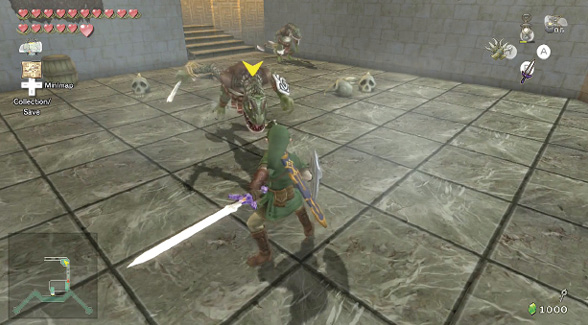
Change to Link when you reach the steps, then carefully leap across the gaps, all the way to the small connecting chamber. Two Lizalfos are waiting to pounce, but if you stay at the top of the stairs, you can fire a Bomb Arrow and defeat them without brandishing your sword. Or, you can attack them with your preferred combo. Collect one Heart from the crates and barrels, then move to the next staircase up.
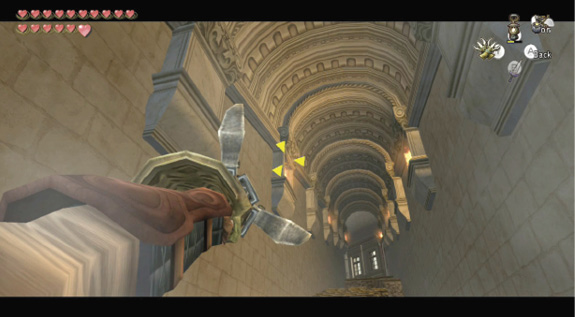
This staircase is in an even worse state than the previous one! In fact, there are gaps here you cannot jump, so bring out your Double Clawshot, and fire at the sconces clamped to each wall. You must land on the left side of the steps at the top, or you’ll fall.
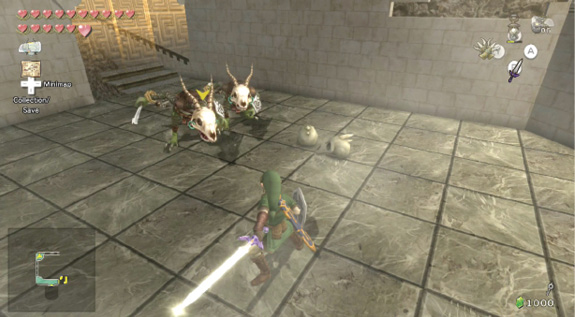
Drop to the top of the steps, and venture into another connecting chamber. Two more Lizalfos are waiting to run in and attack, and once again, you can resort to Bomb Arrows from range, or run in and execute a spin attack and take them both down with a single, well-timed blow! Smash the nearby barrels and debris for a Heart and arrows.
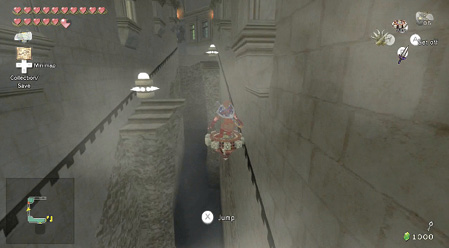
The final staircase isn’t really much of a staircase anymore; it’s more of a fissure! Spike spinners zip back and forth, and you must activate your Spinner too. Simply journey up the right side of the fissure, then jump to the other wall and dodge the spiked spinners.
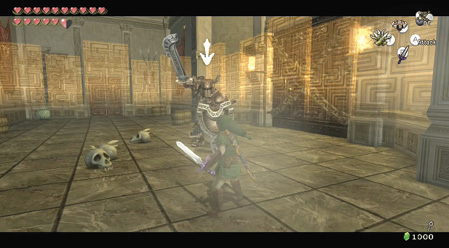
The final chamber awaits! Before you reach it however, you must face another Darknut who guards the door that the Big Key fits. Bring your quickest reactions to this combat, defeating the fearsome foe using the techniques you attempted earlier. Remember that there are casks around the perimeter to smash for Hearts.