
The Legend of Zelda: Twilight Princess HD Guide Dungeon 2: Goron Mines
Task 1: Locate the Volcano Center and Forge
Chamber 1: The Lava Pit
|
Before you enter these mines, bring along the following:
|
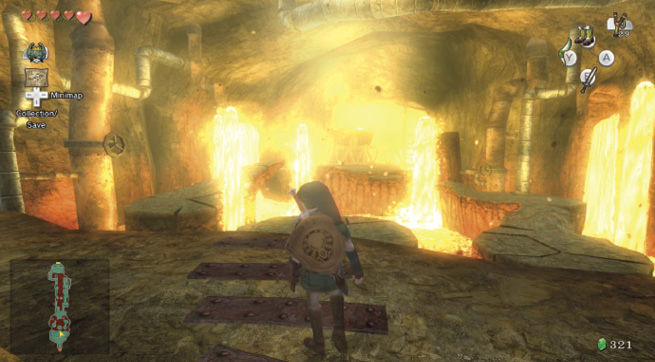
Ahead of you, lava jets rise and fall, and molten ooze burns in a large pool beneath you; you’ll succumb to the flames if you fall in, and restart this chamber with less health, so stay away from the hot stuff! You can, if you wish, follow the Goron rolling track in the earth down to this pit’s edge, and position yourself near the rock platform.
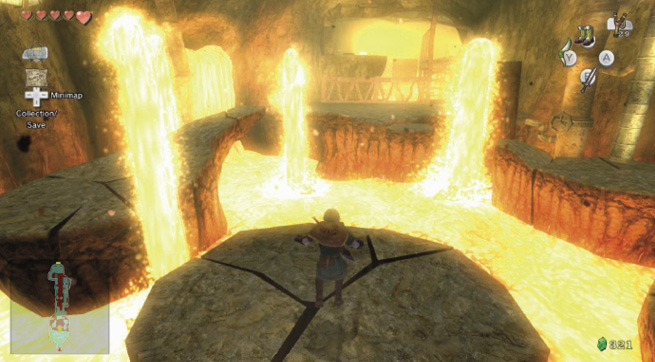
Or, you can leap from the top of the initial ground, straight over the winding path, and land near the edge. Place yourself on one of the metal beams sunk into the ground.
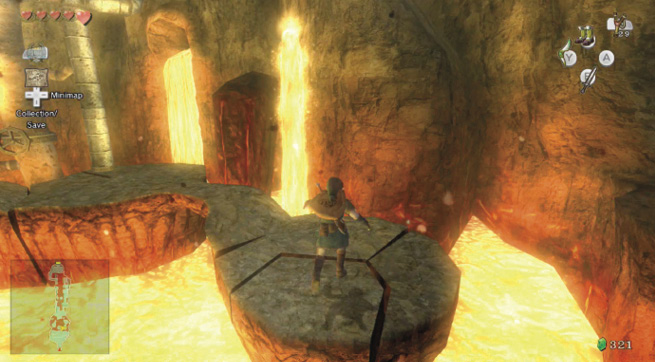
Make a quick leap onto the first platform. You don’t need to press a button—you’ll leap automatically. Once on the first platform, you can turn either left or right.
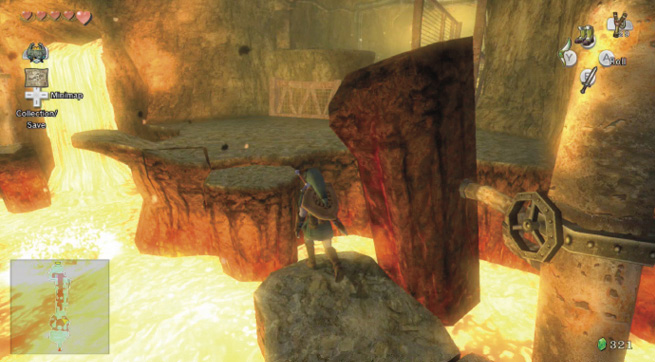
The route is similar; jump past a lava plume, onto the next stone platform. If you judge the distance well, you can leap to the side of the plume while it’s still jetting upward! However, it is better to wait until the jet subsides.
|
Being caught in a lava jet knocks you back to the platform you were on, and you lose a quarter of a Heart. If you’re jumping at an angle, you’re sometimes knocked straight into the lava instead. Not good! If you land in the lava, you restart this room, with two Hearts of energy lost. |
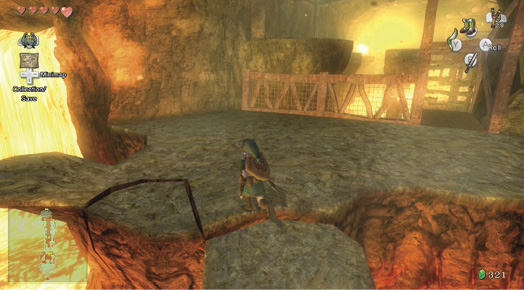
Move to the next platform edge, then line up your jump so you’re leaping straight over the gap. If you approach at an angle, you may miss the area of flat rock ahead and hit the lava. Either side leads you to the same spot, although the left route is easier. Wait for the lava jet to stop, and make the jump.
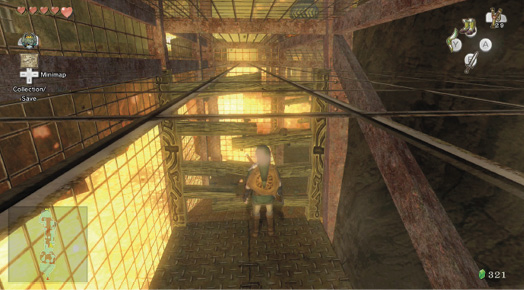
Run along the flat stone ground, and into a cagelike corridor on your right. This is an old mine structure, and a feeble attempt was made to block your path. A quick spin or some sword hacking breaks the wooden beams stopping you from continuing.
Author NoteThis chamber was a brutal challenge to begin with, so don’t feel bad about falling in the lava more than a few times; we fell many times. The trick here is to keep steady and not rush any of the sections; dashing to the middle of the room usually results in a misstep and fiery plunge! |
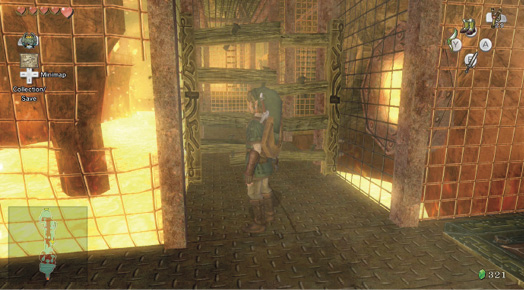
After a small right turn, you come to a second set of wooden beams blocking your way, and a massive fire jet belching from a furnace along the right wall. Draw your sword and smash this set of beams, but don’t continue yet!
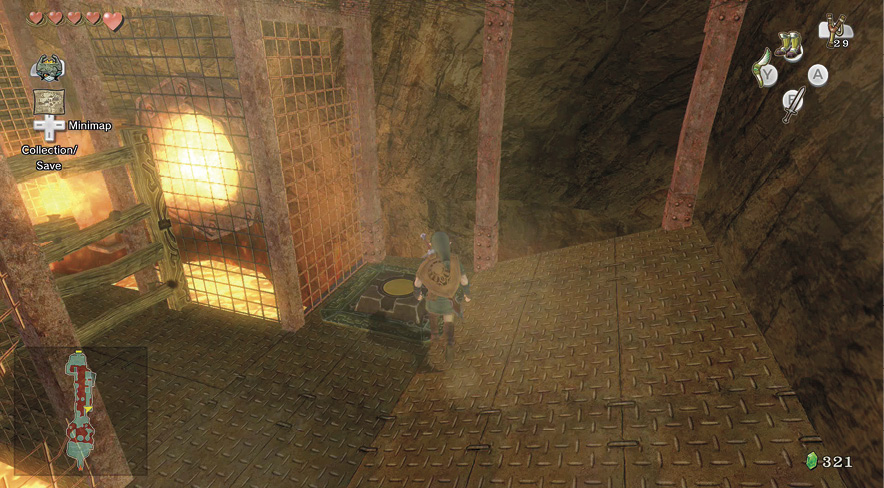
After you smash the doorway blockage, move to the floor switch, and stand on it using your Iron Boots. This switches off the fire jet for five seconds. Take off your boots (you don’t want to clump slowly along this gantry), and run past the furnace wall.
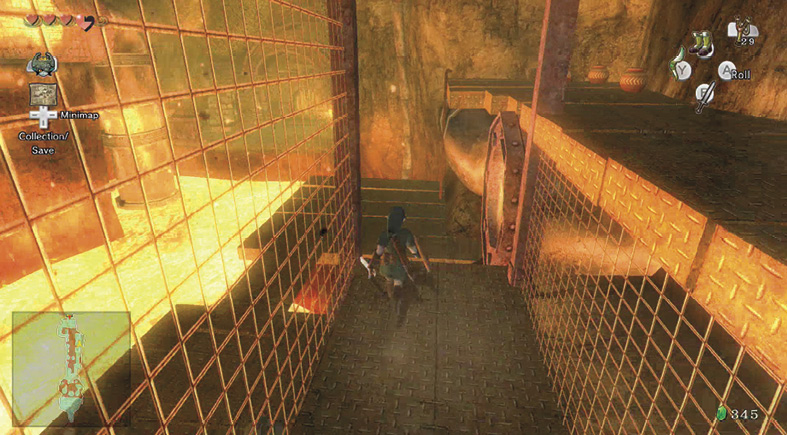
Stop at a second floor switch, near a small rock (you can pick up and smash the rock, but no items fall out). You must tame another belching fire jet, so put on your Iron Boots, switch off the jet, take the boots off, then run along this next gantry area. Jump across onto a lower, open gantry as you pass the furnace wall. Stop for a moment.
|
What happens if you’re caught by the fire jet? You’re launched into the lava pit and must begin this chamber again, with two fewer Hearts in your energy bar! |
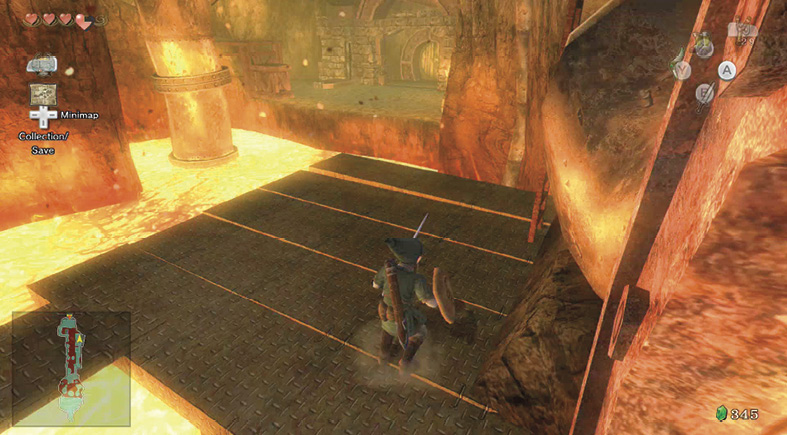
Survey the scenery. A door is to the north. Your map indicates that this is the only exit, so you must reach there, but the lava pit is blocking your path! Optionally climb the ladder to your right. If you do, you must backtrack and shut down the second fire jet again.
The best plan is to activate the second floor switch. Roll and leap past the deactivated jet, then turn left and run over the small exposed gantry heading south. Stop before you reach the gap. You’re now south of the jet, but on the gantry’s middle edge. Turn to face a new foe in the pit.
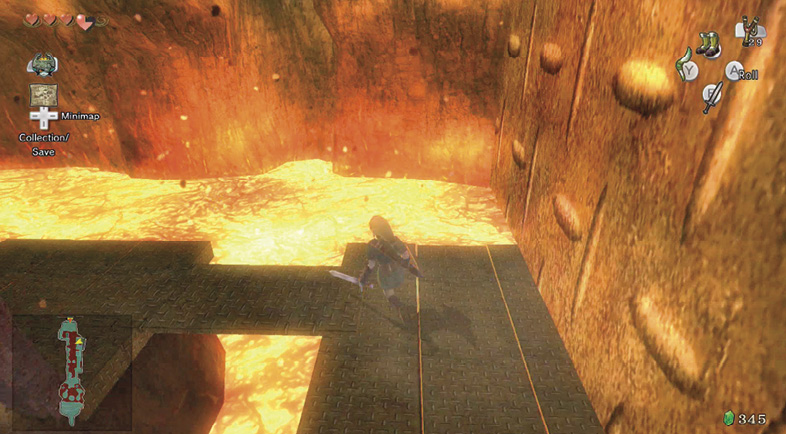
Fire Toadpoli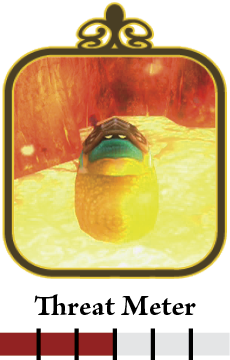 There’s a lurking beastie in the lava! Your Slingshot and Boomerang don’t affect him, and he spits out a fireball that can damage and knock you off the ladder you’ll climb in a minute. It’s better to face this foe down, as long as you’ve negotiated the fire jet first! Raise your shield and ZL target the Fire Toadpoli in the lava. When he spits the fireball, knock it back with your shield (move your Nunchuk forward). Time it early for best results. Stay at the edge, near the Toadpoli, because if you just block the fireball, you’re knocked back. One rebounded fireball is all it takes to defeat this fiendish foe! 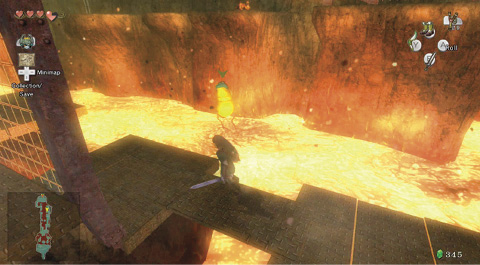 The Toadpoli spits and belches out fireballs. Return the favor for a permanent case of indigestion! 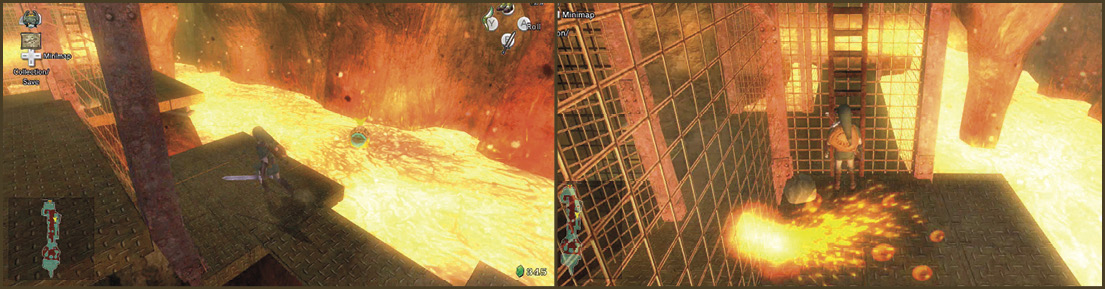 |
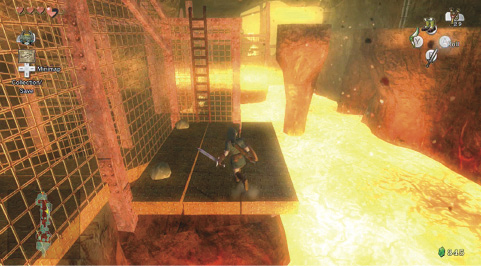
Jump the gap, move to the ladder, and climb to the top of the caged gantry area. From here, optionally turn and walk north, and drop to the right to investigate the pots above the second fire jet. This isn’t necessary, so head south instead.
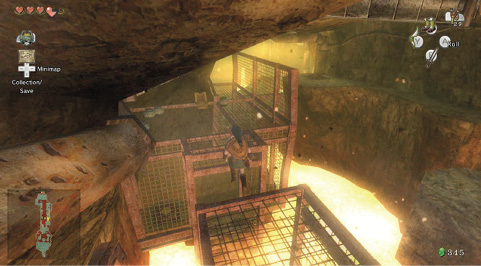
Position yourself south, and run forward atop the cage. You leap the gap over the first jet and come eye-to-eyestalk with a new lava lurker: the Torch Slug!
Torch Slug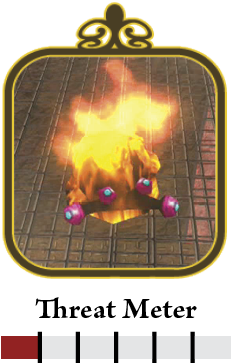 Torch Slugs are slow-moving, docile creatures until you get near them. Then they emit a small puff of fire that can damage you. Combat them by executing a quick sword attack (but not a leaping attack, as they can repel you). The only problem you may have is that they also like to sit on cave ceilings, dropping to startle you. If this occurs, bring out a ranged weapon and deal with them before you near. 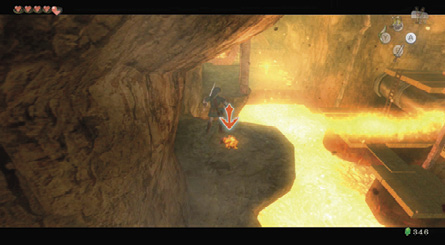 These slugs are less menacing than Hanch from your village! A quick slice, and they’re done and dusted!  |
Treasure Chest: With the Torch Slug slugged, break the pots (for Rupees and a Heart), then claim the real prize—the first treasure chest in this dungeon. There’s a red Rupee (20) inside. Turn and face north, and leap the gap between cages.
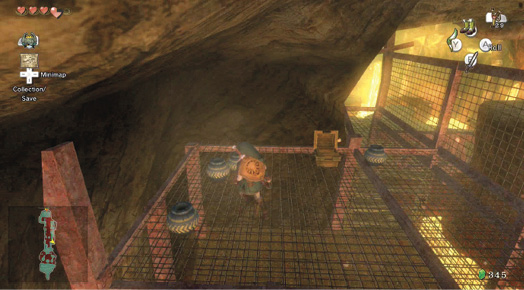
Treasure Chest #1:
Red Rupee (20)
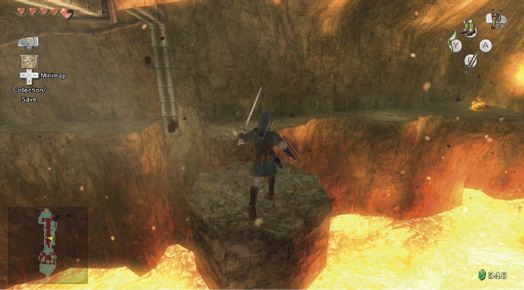
When you make the jump, turn to face west and you’ll notice a stone platform allowing you access to a high northern ledge. Point yourself at the platform, then leap to it, and again to the long ledge.
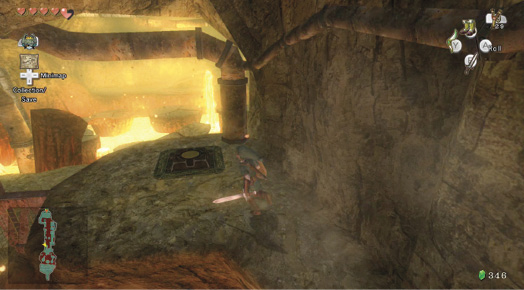
Turn south, as a third fire jet prevents you from continuing farther north. Leap across the ledge’s gap, and look for the floor switch. However, also watch out for the Torch Slug dropping from the ceiling. Hit it with a Slingshot or Boomerang, or edge forward until it drops, then slay it with your sword.
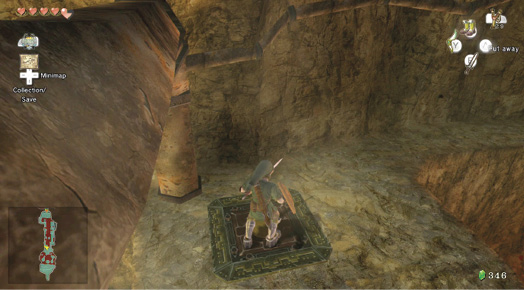
With the Torch Slug out of the way, face north, stand on the floor switch, then put your Iron Boots on. The third jet of fire stops belching from the ledge’s north end, and you can escape this infernal chamber! Take off your boots, hug the left wall, and run along the ledge. Watch out!
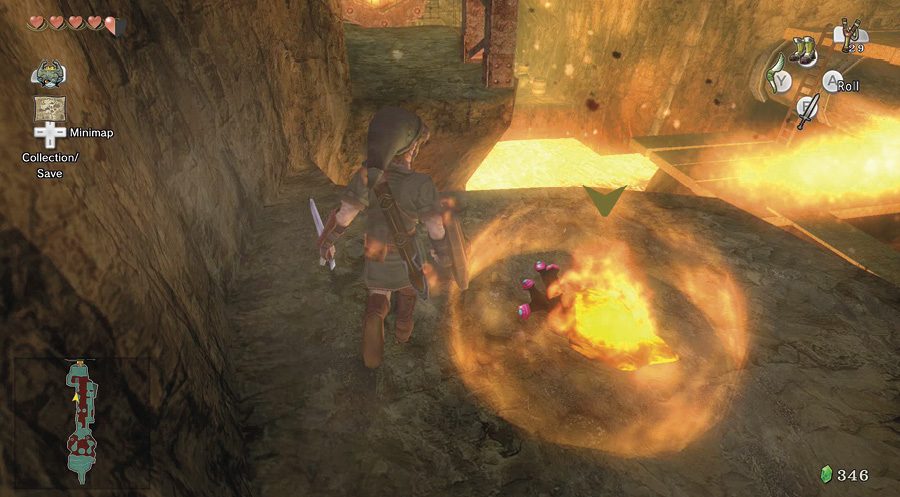
As you reach the final jump to the fire grating, a Torch Slug drops from the ceiling. Stay to the left and avoid the beast, keeping your speed up! Or, look up and right before you activate the switch, and tackle this foe from a distance. When you’ve dodged the Torch Slug, leap the gap, and round the left corner before the fire reactivates.
|
Do not stop to slash at the Torch Slug; if you do, the counter finishes ticking down, and the jet of fire blasts you! Even if the Torch Slug hits you when it falls, there’s still time to escape. Ignore this creature. |
Once away from the fire jets (the reactivated third one blocks your way back), head around and onto a small metal gantry. Ahead is a steel door. First, however, drop and defeat the Torch Slug and his two friends who fall from above.
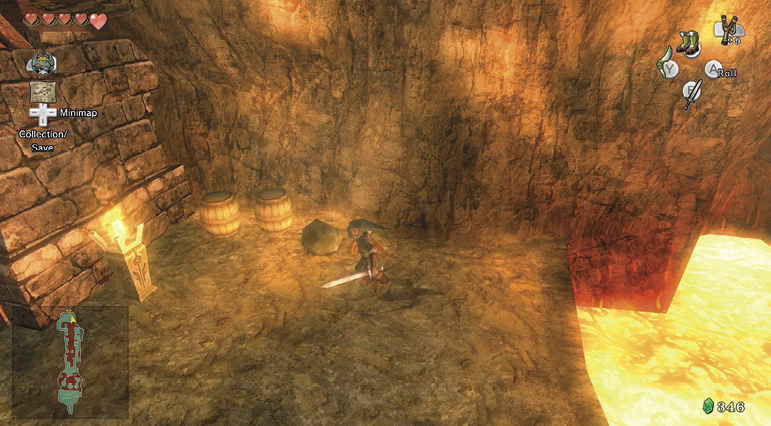
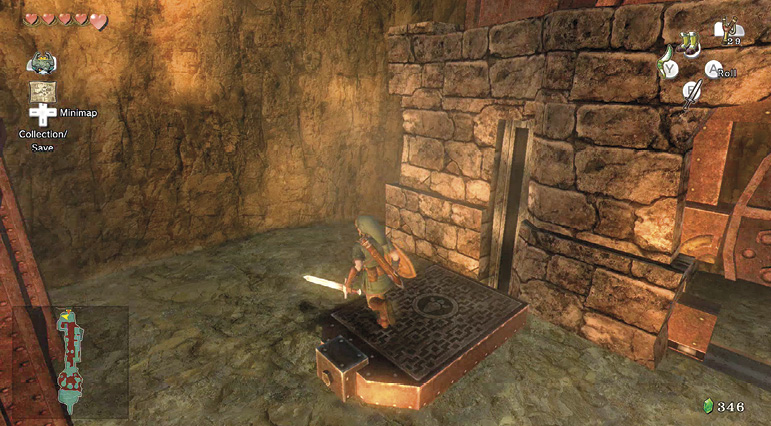
You can’t open this door by hand, so climb up to the small metal gantry, turn and face the platform to one side of the door, and leap across to it. Your weight doesn’t shift this platform until you wear your Iron Boots. Don these, the platform descends, and the door opens. Inside is a dungeon door; open it.
Missing Links
1. A Heart in the Right Place
You can smash the three boxes on the entrance’s right side as you enter this chamber. The far one contains a Heart!
2. Ladder to Pulverizing Pottery
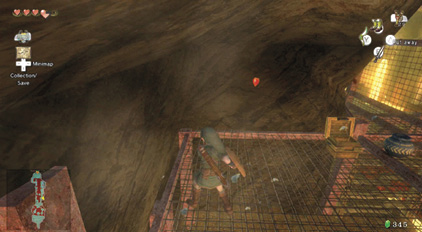
Climb the ladder past the second furnace fire vent to a small alcove containing two pots; one carries a Rupee and Heart. Drop by the ladder, or fall into or behind the vent you leapt past!
3. Rock Bashing
There’s a plentiful supply of small rocks in this chamber, but none of them reveal an item when you lift or smash them against a wall. You can use them to smash other scenery, such as barrels.
4. Roll out the Barrel
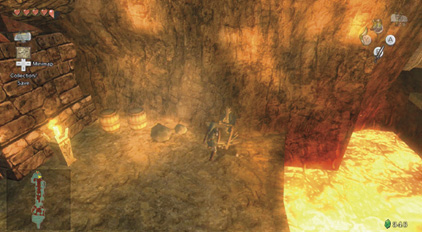
At this pit’s north end, near the exit door, are three wooden barrels, one containing a Heart; rip through them with your sword if you need the additional energy.