
The Legend of Zelda: Twilight Princess HD Guide Overworld: From Faron Province to the Goron Mines
Task 3: Fill the Vessel of Light with Tears from Parasites
The Sanctuary: Twilit Parasites #1, #2, and #3
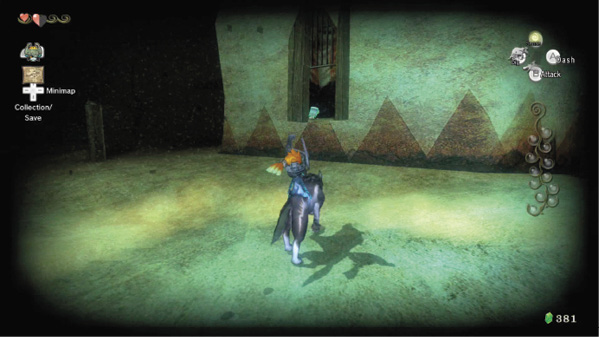
Follow the Youth’s Scent in a winding path, and it ends at the front doors of what looks to be the home of the village shaman. Use your sense view and you can see an odd-looking man staring nervously out of the window. Make a quick sweep of the village, learning what the nearby signs say.
|
The sign by the entrance to the village shows directions to the Sanctuary (ahead), the Springs (to the right), and the Thoroughfare (left). The sign at the foot of a long rising pathway snaking around and to the right indicates a Dead End Ahead, courtesy of the Elde Inn Management. |
The time has come to find another way into this sanctuary. (Notice the bell on top of the structure? You might want to ring that later!) Move around from the front door to a dead tree. Midna can transport you to the roof of the structure with a triple lock-on leap. Once you’re up here, find the loose boards and fall through a hole in the ceiling.
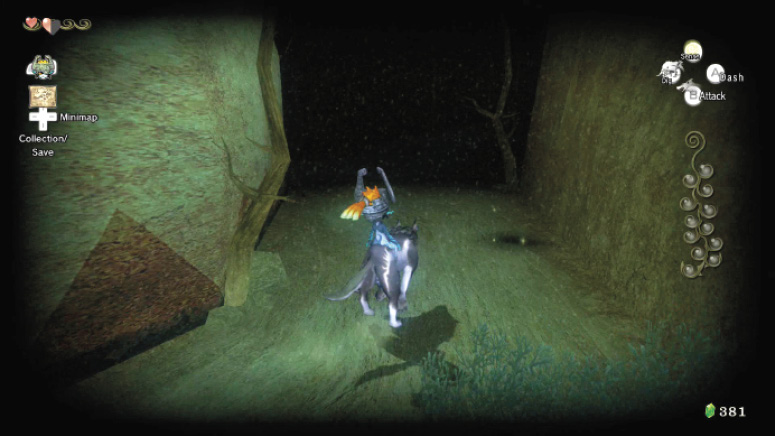
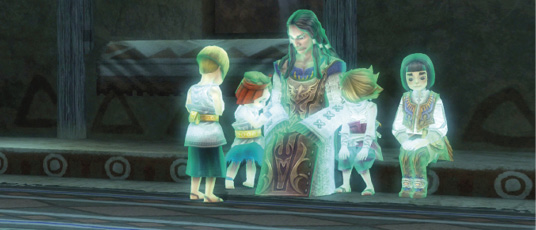
Turn your sense view on, and the many spirit flames turn into recognizable people inside the sanctuary. Beth, Talo, and Colin are sitting next to another girl and a tall man with long braided hair; he must be the shaman. An agitated fellow at the window says he doesn’t see any shadow monsters nearby.
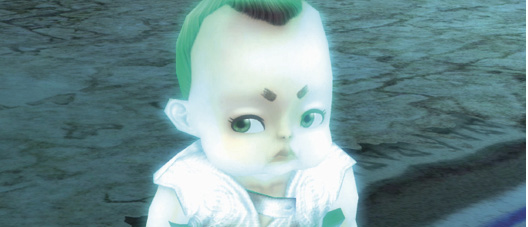
The shaman gently reminds Talo that he is safe inside this structure. The mechanic isn’t sold on this idea. The beasts weren’t affected by his bombs! The lady at the general store has disappeared (Malo looks interested at this point). The mechanic thinks the sanctuary is next!
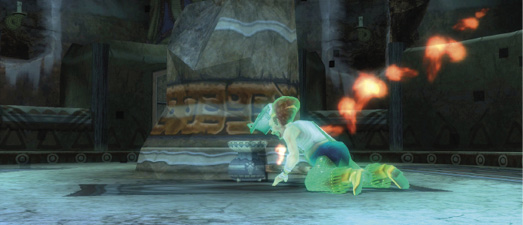
“Barnes!” the shaman roars, as Beth begins to sob. Barnes gets down on all fours: “Renado…” he says, “it’s risky here!” Renado, the shaman, mentions that a cellar exists under the building, for additional protection. The entrance opens only after all the candles are lit.
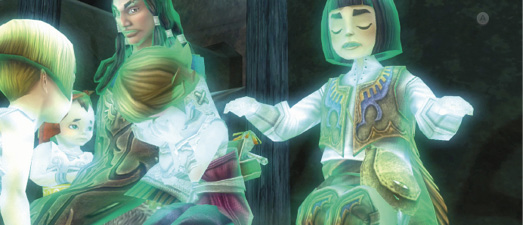
Barnes grabs a torch and is about to start lighting the candles when Renado’s daughter speaks up. She warns Barnes that there were Twilit Parasites appearing down there too. Colin comforts Beth. He’s sure Link is coming to save them all. Well you are, aren’t you?
Renado:
Somewhere between 30 and 40 years old, Renado is the village shaman, or priest. He is Luda’s father. He hides the children from the darkness inside his sanctuary. He is always wise, calm, and collected. He possesses experience and grace, treating everyone evenly. He talks politely to everyone, even children and you. He is a kind-hearted soul. |
Luda:
About 10 or 12 years old, she is the daughter of Renado of Kakariko Village. Luda is compliant, polite, and reliable, and she acts very mature for her age. She is the most grown-up of the children. Like Renado, she enjoys taking care of children such as Colin. |
Barnes:
He’s somewhere between 30 and 40 years old. He lives in Kakariko Village and runs a bomb shop. Barnes is quick to panic and has a blabbermouth, speaking first and thinking about it later. This sometimes annoys Renado, but Barnes is a jovial fellow and fine jester. |
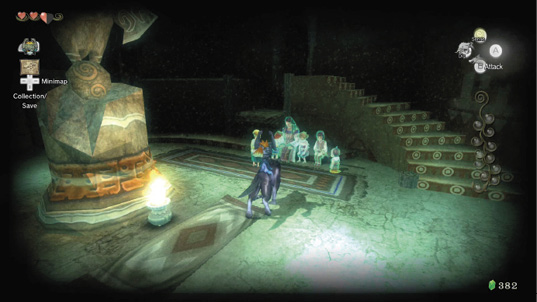
Your map indicates that a Twilit Parasite is around here. The best way to locate it would be to try to reach the cellar. Beforehand, you can activate your sense view and bound across the room to listen to Renado again, as well as Barnes, who isn’t overly confident in your skills!
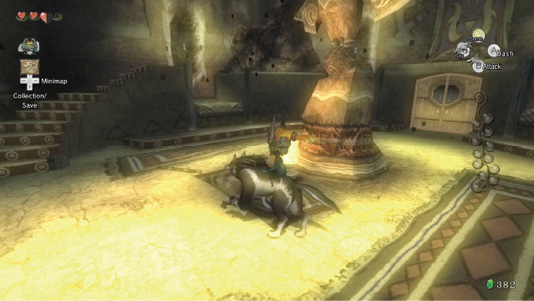
As an invisible wolf, you have a distinct advantage! Start by grabbing the piece of wood lying next to the flaming torch. Light both ends on the torch, then climb up the steps to the ledge surrounding the room. Leap around this ledge, remaining as close to the wall as possible, and you’ll light all four candles. Do this in any direction. If the wood burns out, light it again.
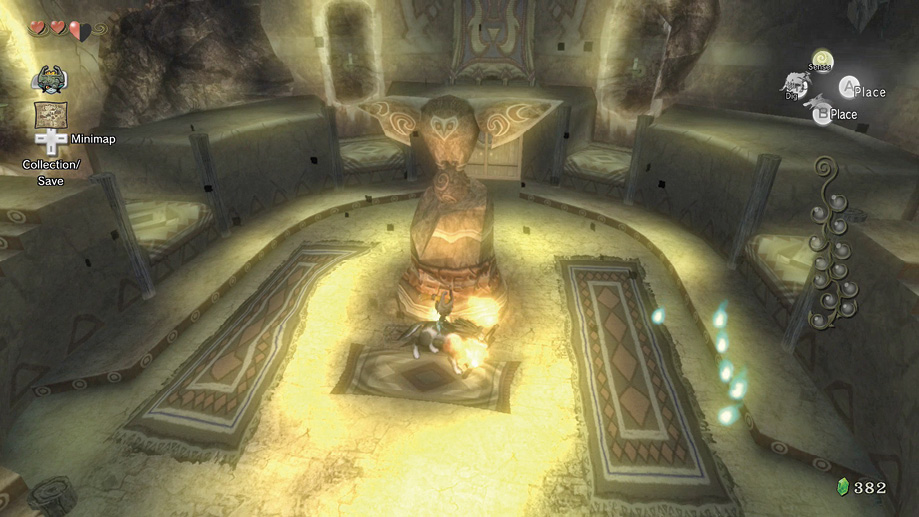
After the fourth candle is lit, the massive owl carving in the middle of the sanctuary slides across the room, revealing a hole in the floor. Bound down, and drop into the hole.
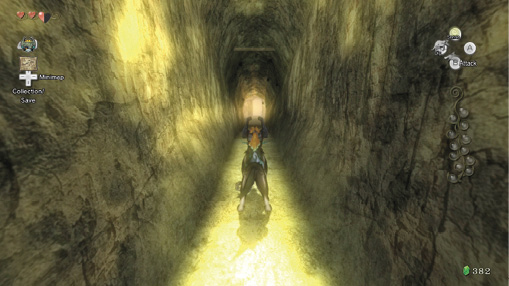
You appear in a long and very thin passage, ending in a small antechamber with another of those odd owl statues in it. Note the flashes in the air; turn on your sense view and you’ll discover three Twilit Parasites scuttling about here! Jump and chew on each of them, and fill the first three container sections of your Vessel of Light.
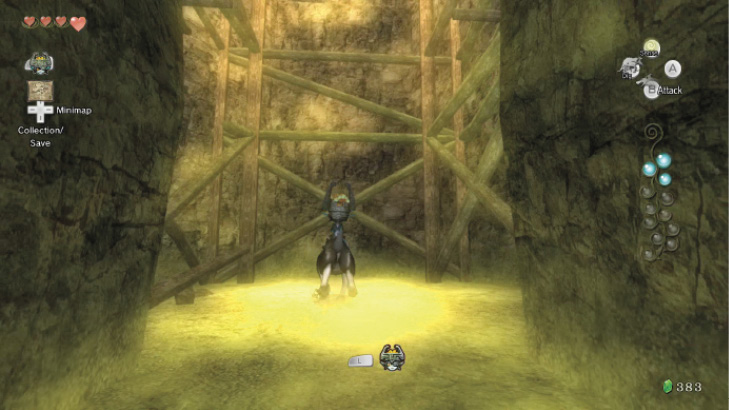
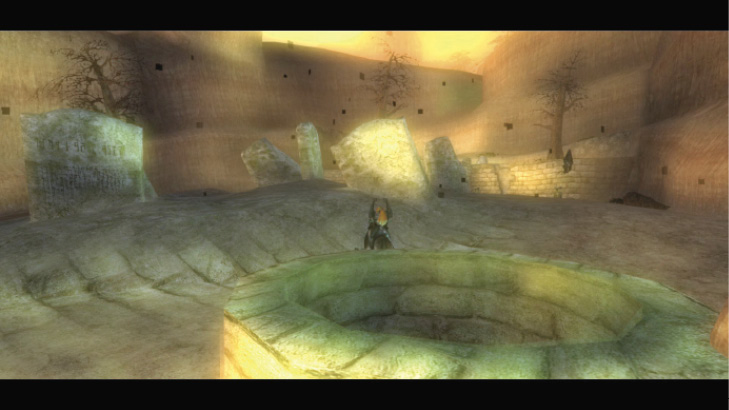
Optionally take some time digging up sparkling earthen areas, then head north to the opposite end of the cellar corridor. Midna can help you climb up the scaffolding. Auto-target her and make the jumps, up and out of the sanctuary. You appear out of a well-lit tube in the village graveyard. Continue your Twilit Parasite search!
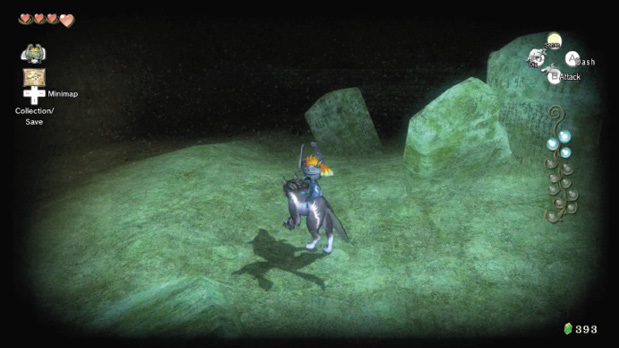
There’s little else to do in the graveyard, besides inspect the area. There are two unlit torches in the southeast corner, and an odd rock in the west wall. Are those Zora carvings on it? Then leave via the path to the west.
Loose Roof Building: Twilit Parasite #4
Scamper back into the village and head to the north-south thoroughfare. There’s little point in investigating the town until all the Twilit Parasites are captured, so find them in this order: stay on the right side and leap onto this Cucco coop. Then scramble onto a series of low rooftops, heading north. Jump the gaps!
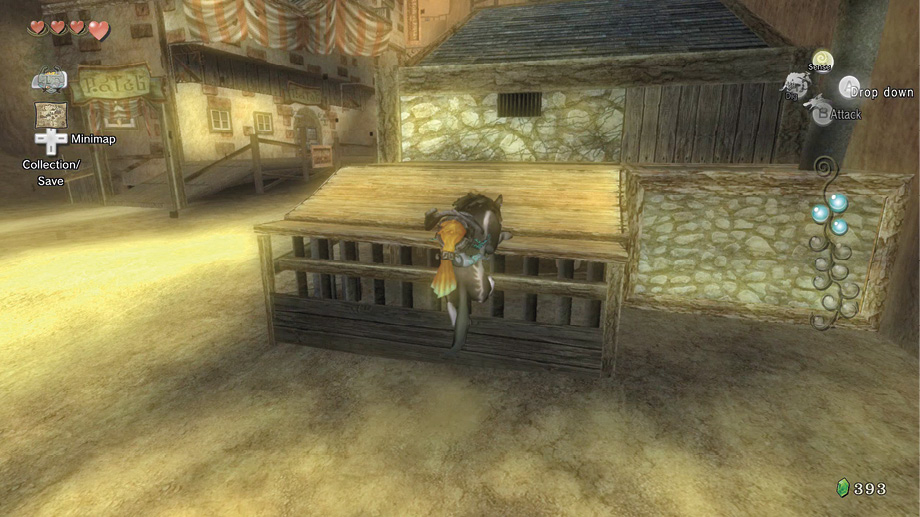
Continue heading north to the rooftop where two Twilit Keese threaten you. Keep the jumping to a minimum so you don’t fall off and have to retrace your steps! Then stand on the middle of the roof. The debris gives way and you drop into the building.
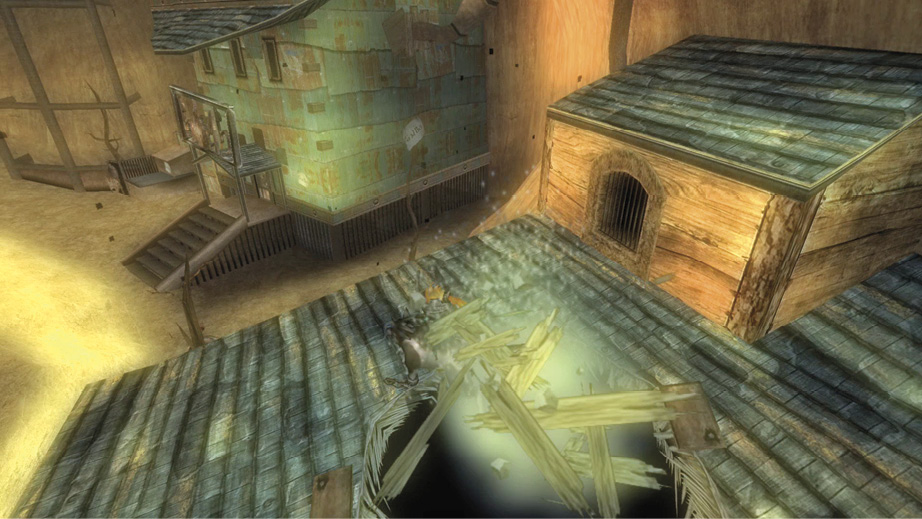
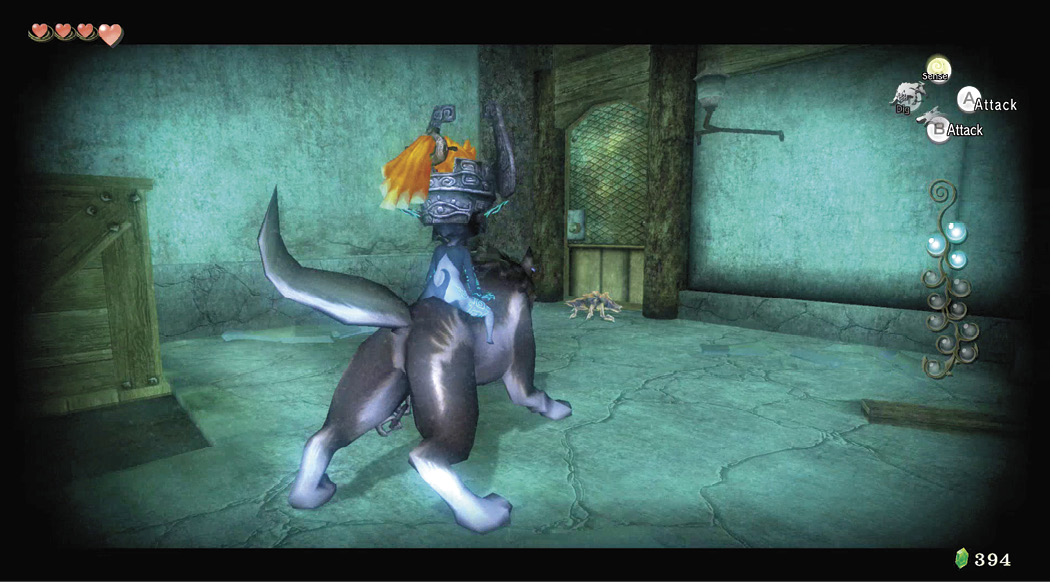
This single-room dwelling is unused and musty, but your map indicates there’s a bug loose somewhere around here! Switch on your sense view, and you realize the bug is trapped under the crate. Push the crate toward the wall and the Twilit Parasite scuttles out. Jump on him and secure another orb of tears for your Vessel. Summon Midna to escape this building by jumping on the wardrobe.
Barnes’ Bomb Shop: Twilit Parasite #5
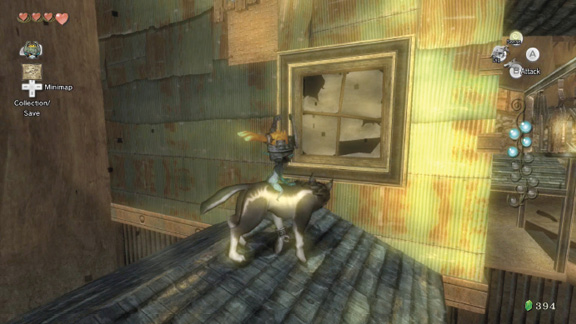
Although you can locate the Twilit Parasites in any order, it’s easy to find them by completing a counter-clockwise tour of Kakariko Village. The next stop is Barnes’ Bomb Shop. The front door is locked, so climb the small outbuilding to the left and leap through the window. Line your jump straight on or you won’t make the jump!
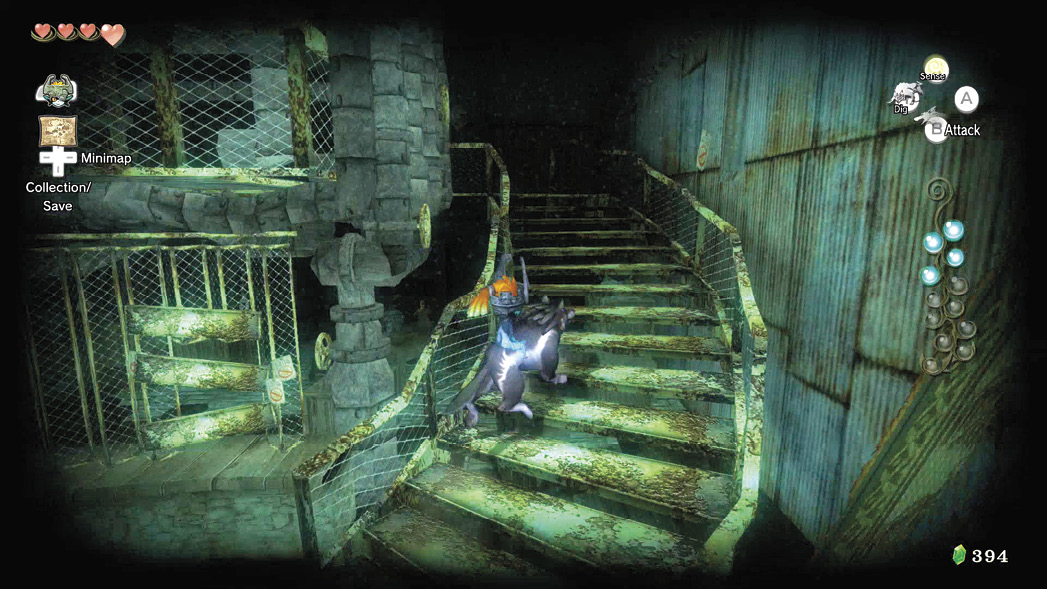
Barnes isn’t kidding about the explosives in his shop. Read any of the notices to learn that Lanterns are strictly prohibited. What happens when you light one? Find out later! Climb the stairs to the right of the main store, which is currently empty (Barnes is hiding in the sanctuary).
When you reach the top of the steps, run around to a ladder and a wardrobe. With your sense view, you can see that the Twilit Parasite is inside the wardrobe, so run into it. It topples over, freeing the bug. Target and leap at it, then collect the orb of tears it leaves behind. Continue upward by jumping on the fallen wardrobe, then onto the table with the rug on it, onto the platform with the ladder, and finally out of the door.
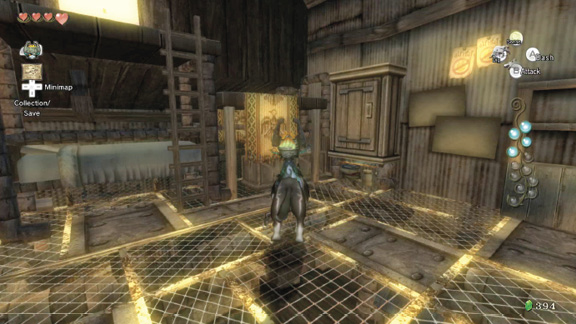
Above Barnes’ Bomb Shop: Twilit Parasites #6, #7, and #8
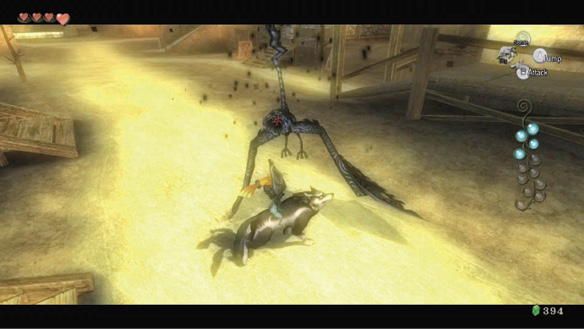
Run out onto the roof of Barnes’ Bomb Shop and turn around. Follow the shallow steps up and onto a number of high ledges overlooking the village. A screeching announces the arrival of a Twilit Kargarok. Attack it away from the edge, so you don’t fall back down to the ground below.
|
There’s good news and bad news regarding falling from heights in Kakariko Village. The good news: you almost never lose any energy, and all drops are fine to try. The bad news: you have to retrace your steps to get back up here, at least until you’re in Link form and can find a Cucco to help you get about! |
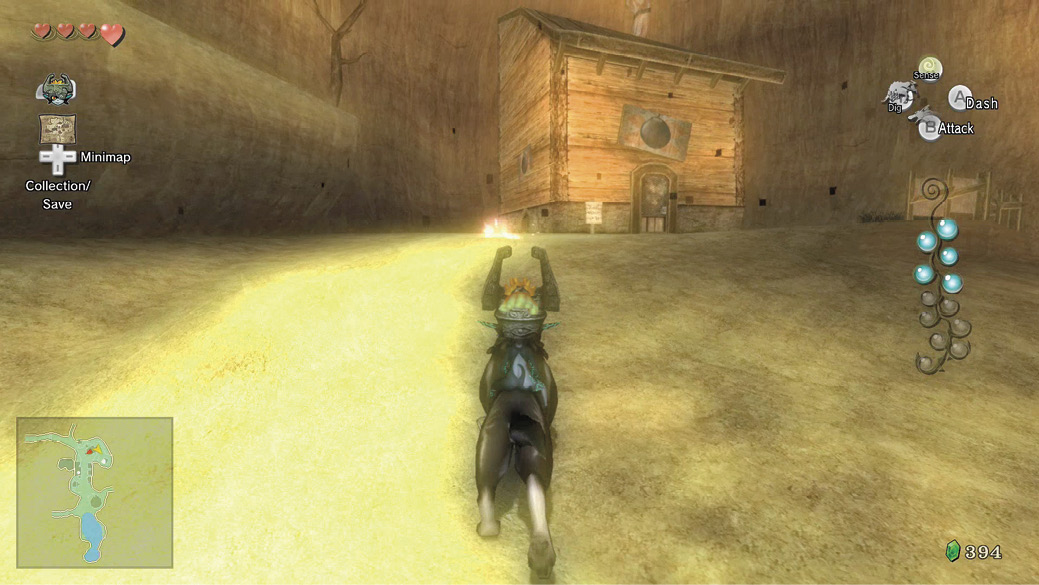
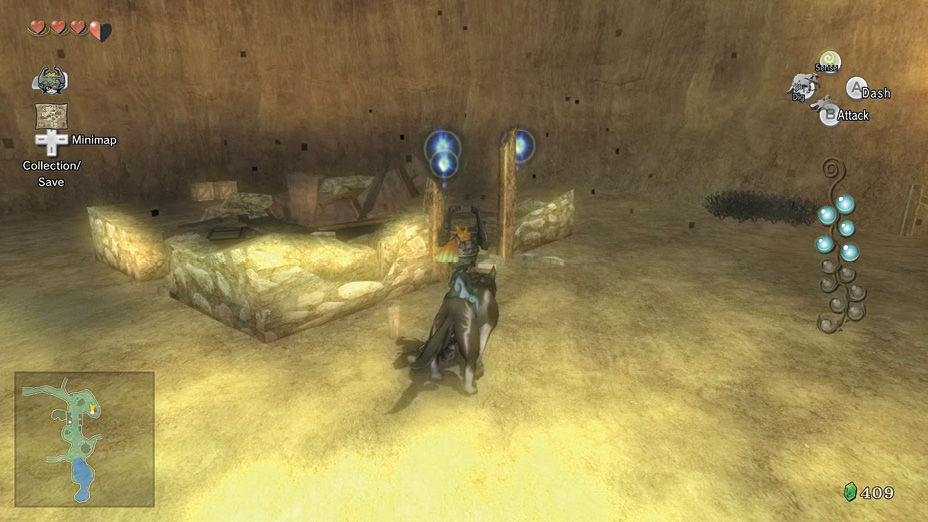
Head to the south and east along the path to an upper corner of the large promontory, where Barnes has built a bomb storage shack! He’s written a sign telling you of the danger. He’s also secured the area completely—well, except for the hole in the side of the building! Position yourself in front of it and enter the hole. Once inside, you can optionally smash a pot opposite you for Rupees and a Heart.
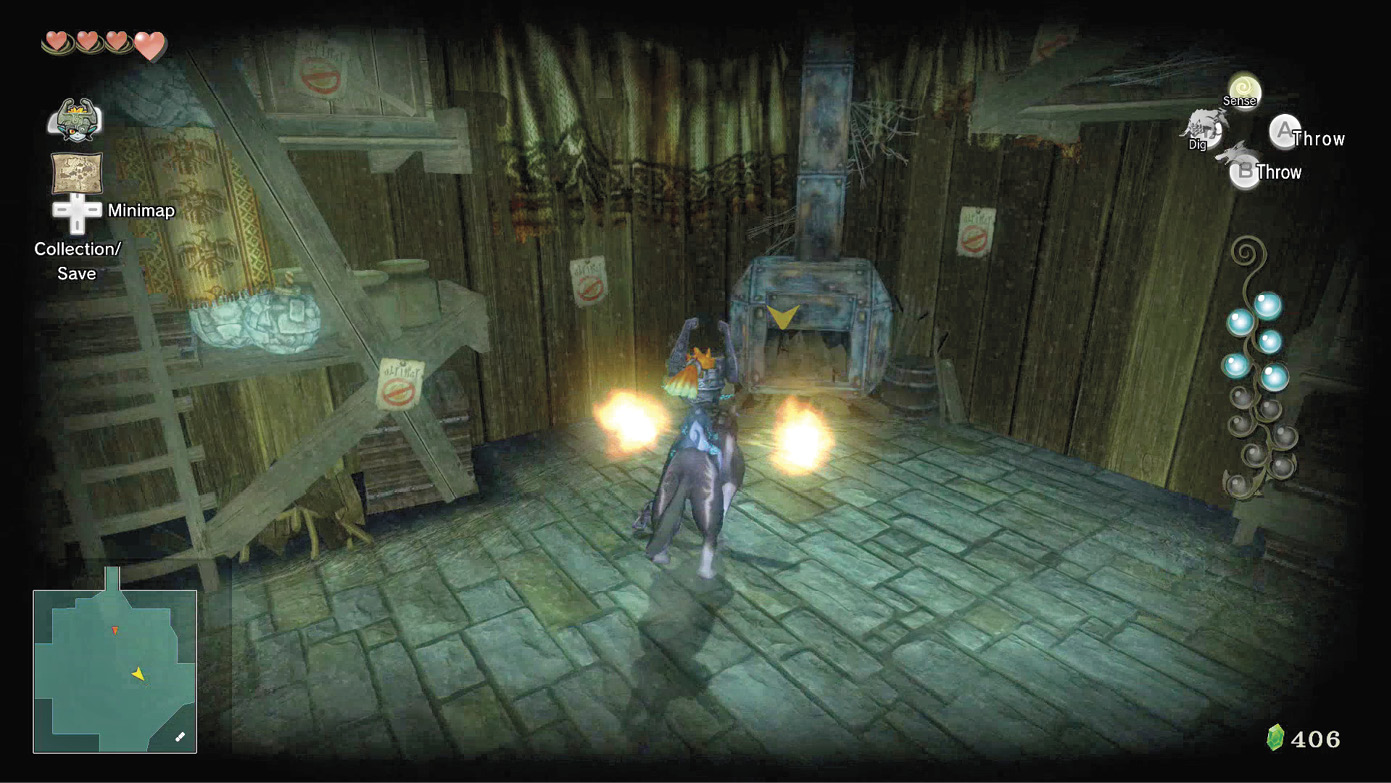
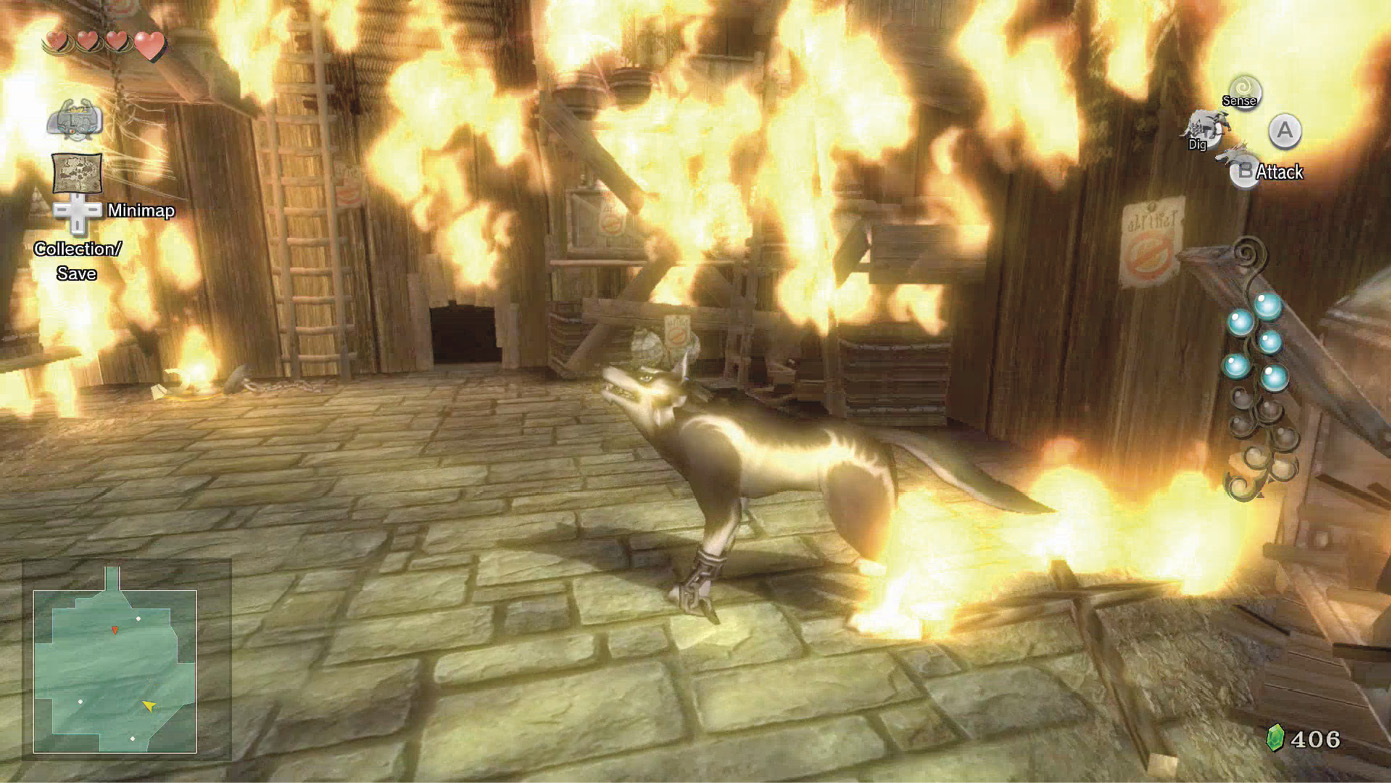
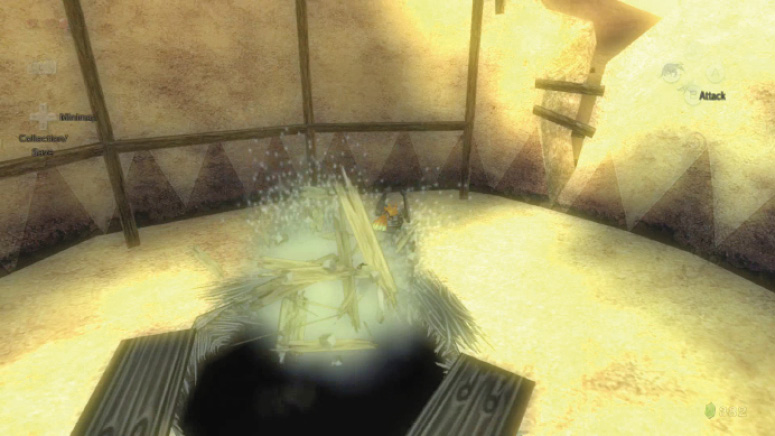
The Twilit Parasite isn’t budging from the stove, and you can’t strike it, so pick up a piece of wood near the stove (in the southeast corner) and bring it across to the small fire that’s burning. This smokes the Parasite out, but the sparks it generates set the entire building on fire. Midna leaves you, and you have moments before the building explodes! Quickly run to the hole in the north wall.
Bang goes the bomb storage! Barnes may be furious, but you should be happy; there were actually three Twilit Parasites hiding in the building! Collect the three orbs of tears from the rubble. Dig in the middle of the rubble if you wish to find Hearts and a Yellow Rupee (10). You’re halfway through your hunt!
Elde Inn: Twilit Parasite #9
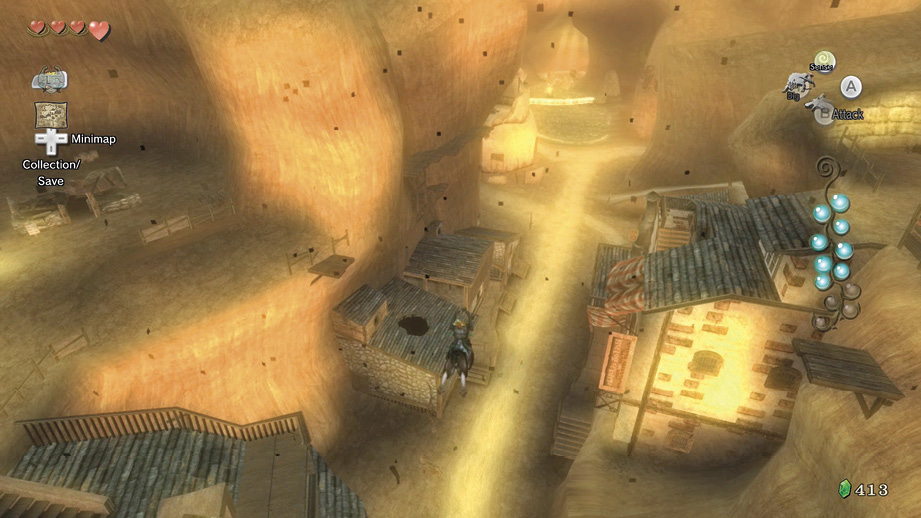
Exit the lookout shack and check your map. You have only one more white dot left to find! Descending via the promontory and rooftops takes too long, so simply leap off the wooden platform. Don’t worry; you don’t take any damage. Run southward to the shaman’s sanctuary, but stop short of that place, and instead make a right turn up the supposedly dead-end path. A Twilit Kargarok flaps into view; make short work of it before you continue.
|
The long sign tells you the Elde Inn’s rates (100 Rupees per night). The hot springs are the important part of this message. |
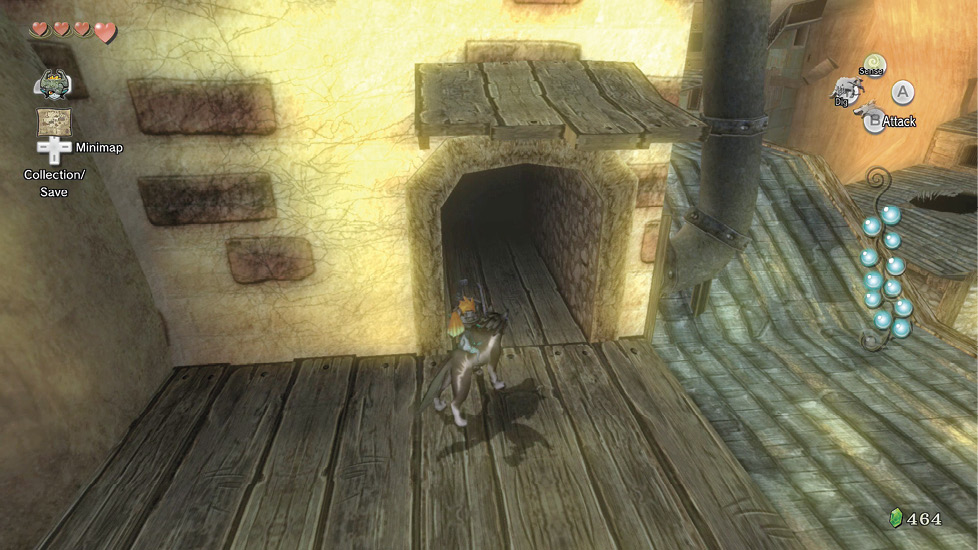
Run up and along the curved path above the closed store until it ends abruptly, with a sign telling you the management accepts no responsibility for jumping accidents. Jump across to the wooden platform and enter the arched doorway.
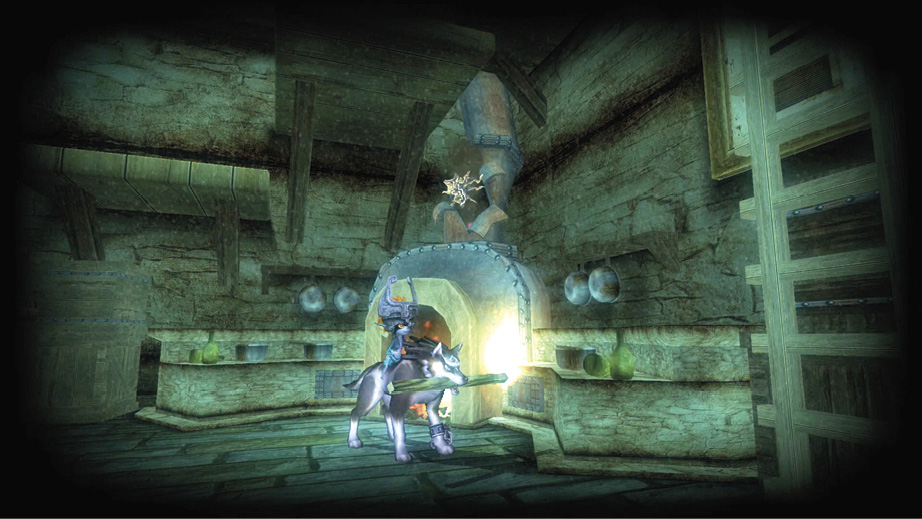
Enter the ledge above the storage room inside the Elde Inn and drop down, optionally shattering the two pots for a couple of Hearts. Pick up the piece of wood from near the stove, then jump on the table and light the wood with the candle near the door. Run to the fireplace in the southwest part of the storeroom and light the fire. The Twilit Parasite sparks, and you can defeat it in this room.
Now investigate the rest of the Elde Inn. Step through the doorway into the saloon, bound over or around the bar, and attack two Twilit Bulblin Warriors milling about. Use bites and the spin attack for an easy takedown. Then search the room. Amid the breakable scenery, there’s a chest under the stairs. Don’t forget it!
Overworld Chest #8:
Red Rupee (20)
Check the map; the only available white dot in the village is somewhere inside the general store. The door is locked, so head around the side, below the curved dead-end road. Struggle into a small hole in the base of the wall, near an empty crate you can smash.
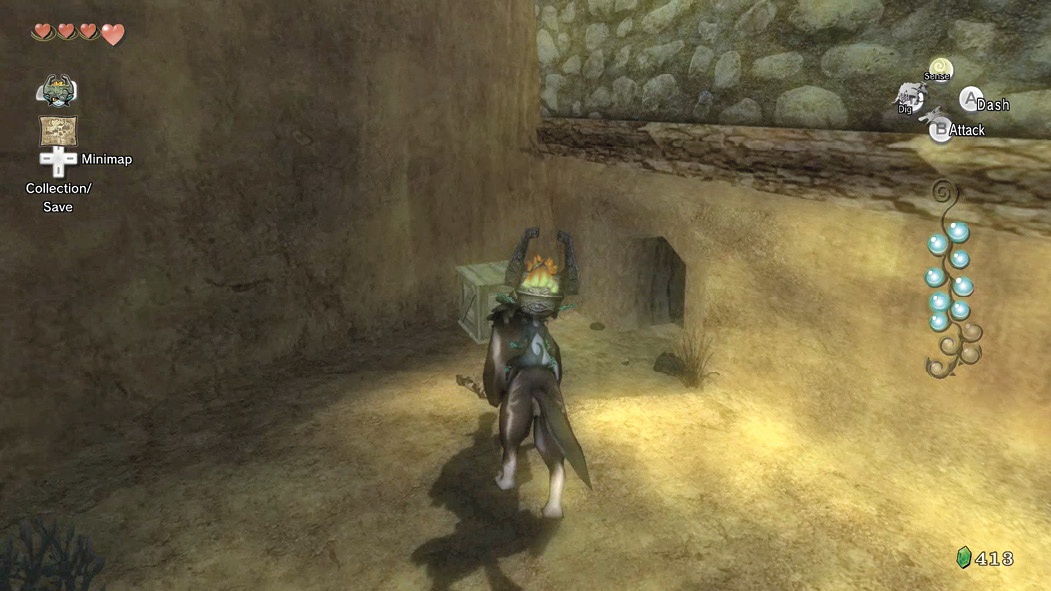
Climb up behind the store counter and begin to ascend to the top of the room, heading to the southeast corner where the Twilit Parasite seems to be lying low. You can smash pots and crates on the way. The bug is on the wall and remains still. Use your sense view, target, and dispatch! Then exit via the same hole you crawled in from.
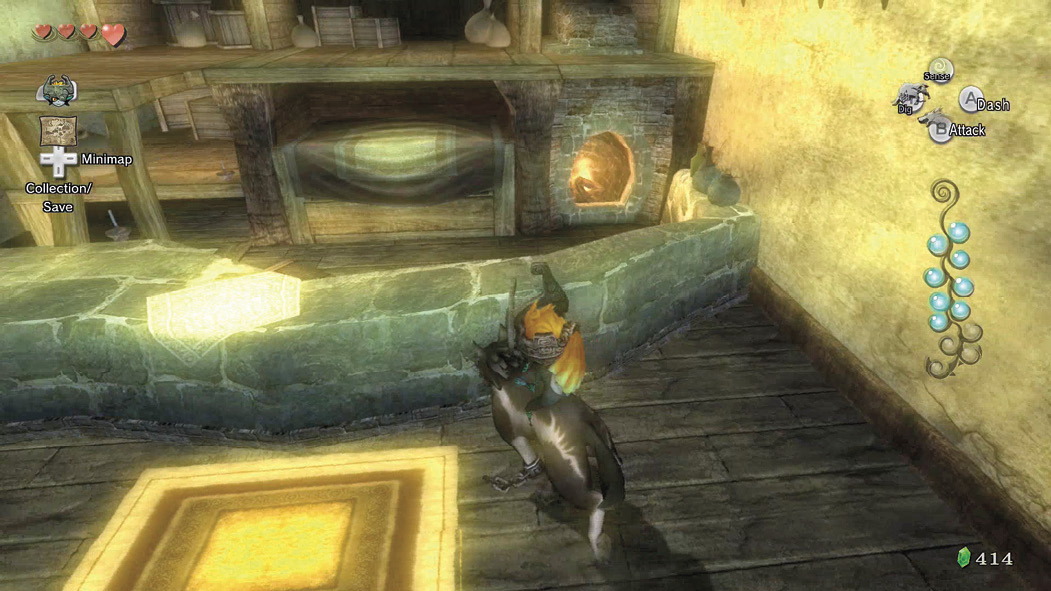
Author NoteThis Twilit Parasite took more than a few minutes of puzzle solving. We thought the metal pipes, lighting, crates, and exterior walls were part of the problem. Of course, we were being zapped by the bug throughout this time. It was only after three good punishing hits from the bug that we realized we just had to look for him! Over-thinking puzzles is a common mistake…. |
Kakariko Village: Final Exploration
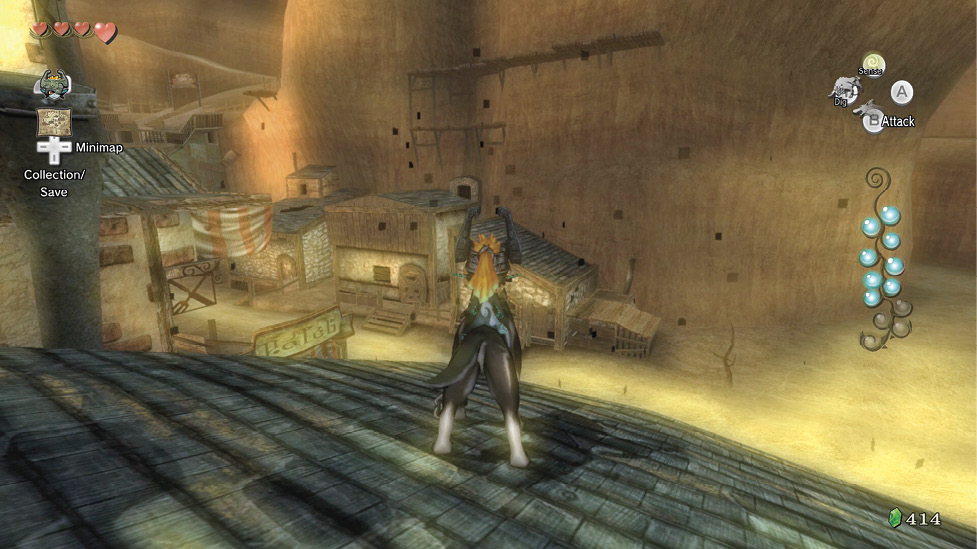
All of the Twilit Parasites seem to have been nullified in Kakariko Village, so take a little extra time to run up the dead-end curved road, leap onto the Elde Inn roof, then use the exterior staircase and ramps to scramble all the way to the top of the village on the west side. The final ramp leads to the hot springs, which is currently empty. Now that you’ve seen most of the village, check your map. The final Twilit Parasites are north of the village. Drop down and scamper north until you see a rocky cave mouth. Read the sign: straight ahead is Death Mountain, and Hyrule Field is to your left. Death Mountain? That doesn’t sound too encouraging!
Before you attempt the treacherous route up toward Death Mountain, check the main road to your left toward Hyrule Field. Unfortunately, this route is also blocked by two Twilit Bulblins. These are easily crushed, but that gate is much more solid—impenetrable, in fact.
Missing Links
1. Bomb Rock Wall
Check out the rock wall near the southern exit and the Eldin Springs as soon as the Twilit Messengers are defeated. A Bomb Rock here definitely needs exploding.
2. Kakariko Village Dig Spots
Kakariko Village has a number of dig spots. Here are some general places to look:
- The eastern bank of the springs, up on dry land (Hearts)
- In the owl room of the cellar, under the sanctuary (Rupees and many Hearts)
- By the northeast tree in the graveyard (Hearts)
- In the northeast corner of the village, ground level
- At both sides of Barnes’ Bomb Shop (multiple green Rupees and one blue Rupee)
- In the rubble after you destroy Barnes’ bomb storage shack (multiple Hearts, yellow Rupee)
- By the dead tree on the winding ramped path overlooking the bomb shack (Heart)
- By the dead tree on the “dead-end” path above the store (Rupees)
- Just to the left of the Elde Inn, below the curved dead-end road (Hearts and Rupees)
- By the dead tree and fence, next to the hot springs above Elde Inn (Rupees)
- By the sign for Death Mountain (Rupees)
3. Kakariko Graveyard: Gravestone Pushing
During your Twilit Parasite search, and any time afterward, you can push some of the gravestones and discover Rupees inside. There may even be a nasty spirit known as an Imp Poe in one of them, but he isn’t here yet.
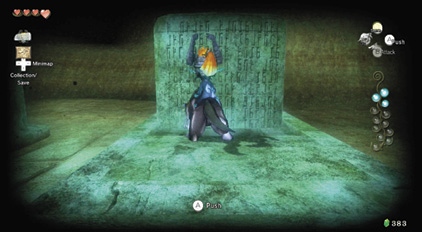
4. Kakariko Promontory: Bomb Storage Crates
Just before you accidentally demolish Barnes’ bomb storage shack, try breaking open the crates along the eastern wall area. There are Rupees and Hearts to gather.
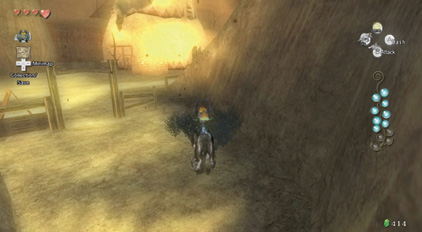
5. Kakariko Promontory: Rupees in the Weeds
Usually, the weeds don’t produce that many rewards, but a clump on the winding path to the lookout shack offers four green Rupees (1).
6. Kakariko Lookout Shack: Pot Luck
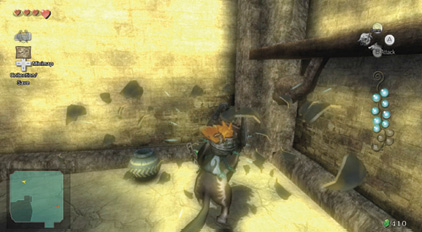
Apply this excellent technique whenever you see pots out of reach on a shelf above you. Simply ram into the wall, shaking the pots loose. There are 11 Rupees here!
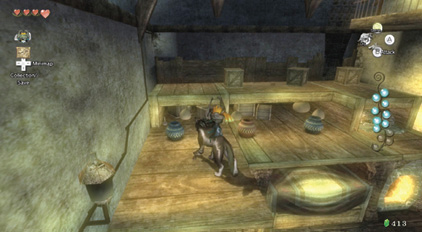
7. Kakariko Elde Inn: Cracking Crates and More
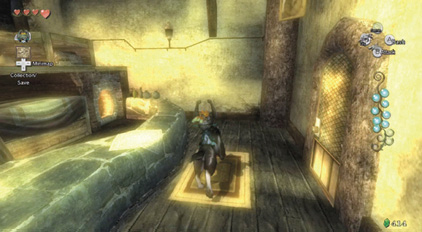
During your stay at the Elde Inn, stop hunting for Parasites for a moment and smash the crates near the central wooden support beam for Rupees. Find more in the northeast and southwest corners. There are even more in the upstairs bedroom, and wardrobes to ram and topple for Rupees, too.