
The Legend of Zelda: Twilight Princess HD Guide Dungeon 4: Arbiter's Grounds
Task 8: Defeat Twilit Fossil Stallord in Combat
Chamber 23: Boss Battle! Lair of Twilit Fossil Stallord
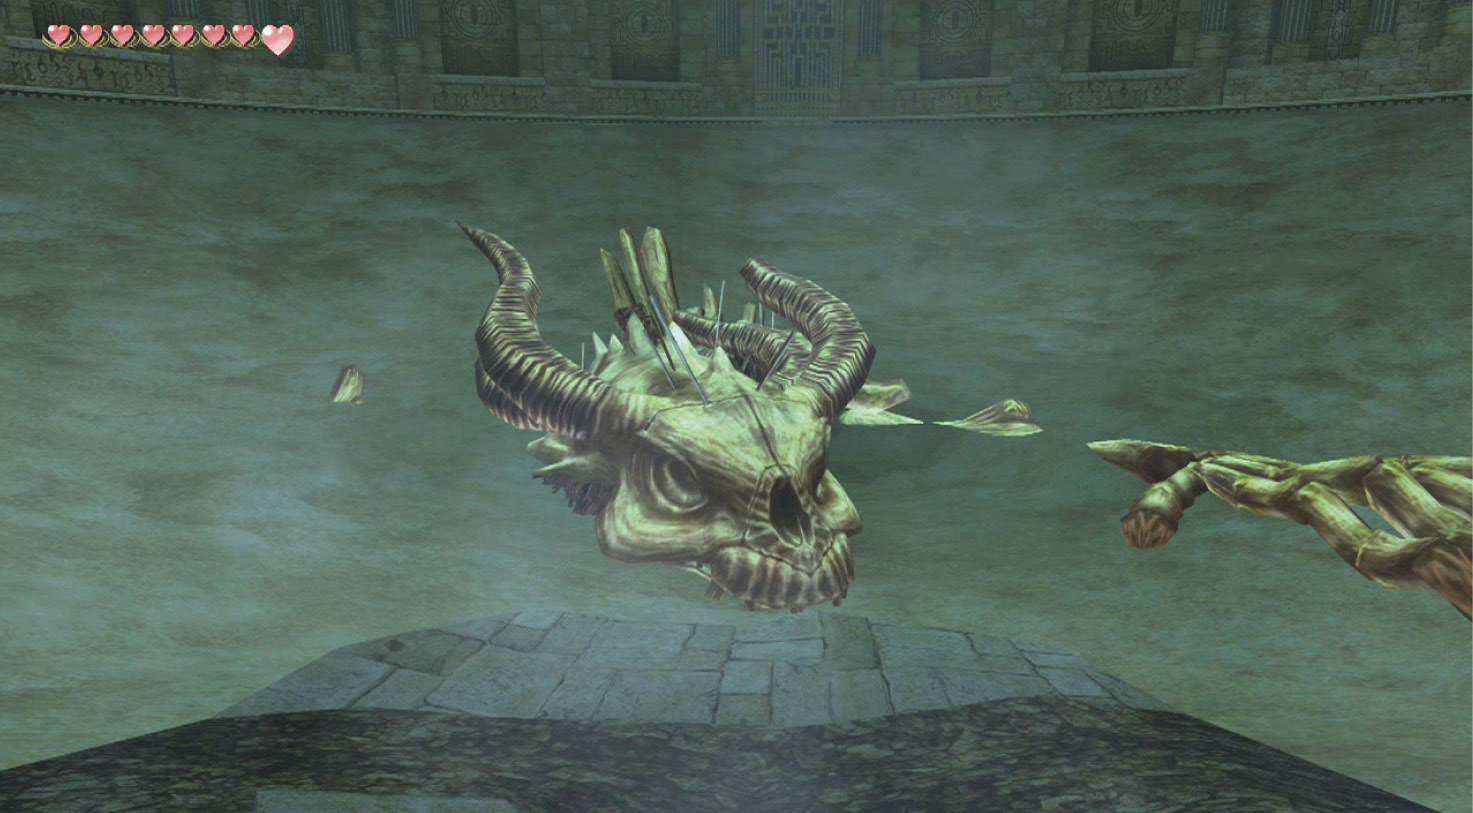
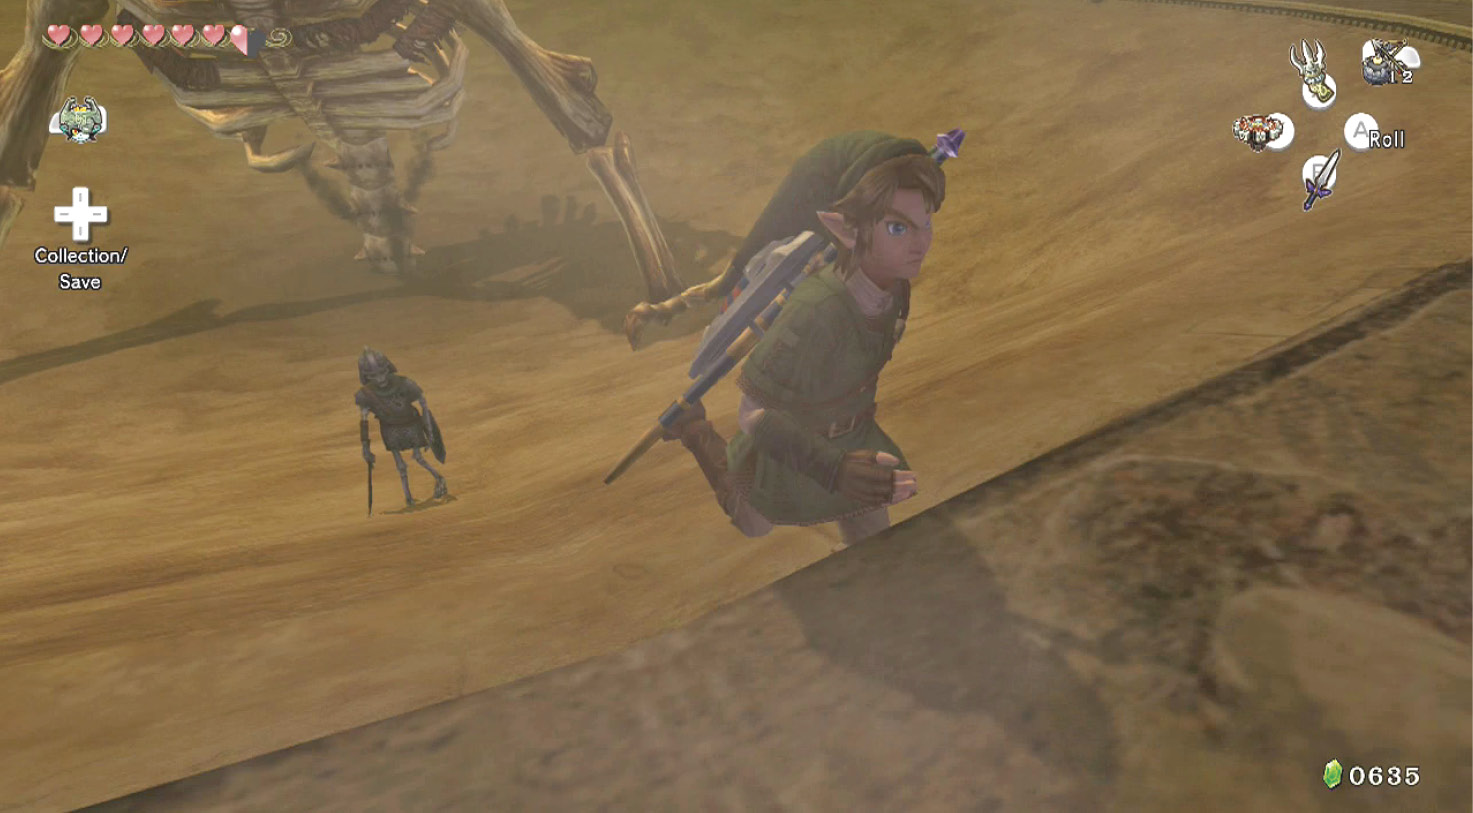
You’re in a giant circular arena, with a rim of stone around the circumference, and a large sinking dip in the middle. In the sand is a gigantic skeletal beast.
Twilit Fossil Stallord
As you run down to inspect the bones, Zant appears! He is surprised that you are still living, but the reunion is bittersweet! He summons a shard of twilight and stabs it through the skull of the giant beast. The eye sockets flicker! It rises up and roars! Form 1: Giant Stallord Half-Skeleton
Step 1: The Stallord is still emerging from the sand, and he seems to be sealed in the dirt. This means he can turn but is otherwise stationary. Take your Spinner, and race around the groove in the outer ledge. Jump with Y when a spiked Spinner closes in on you, or you’ll be struck by it. Two are zipping around this groove with you. 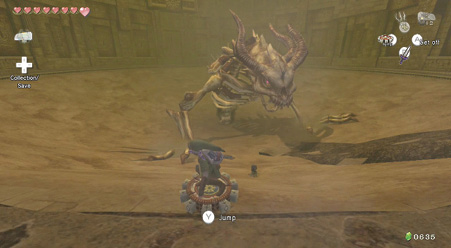
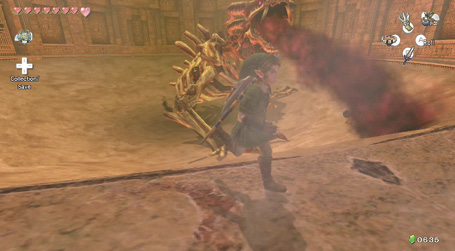
Step 2: The Stallord searches the room, turning around on the spot, and then rearing up to belch a disgusting concoction of purple spew. Run in either direction if this happens, or steer your Spinner away from the jet. It stops in a few seconds. 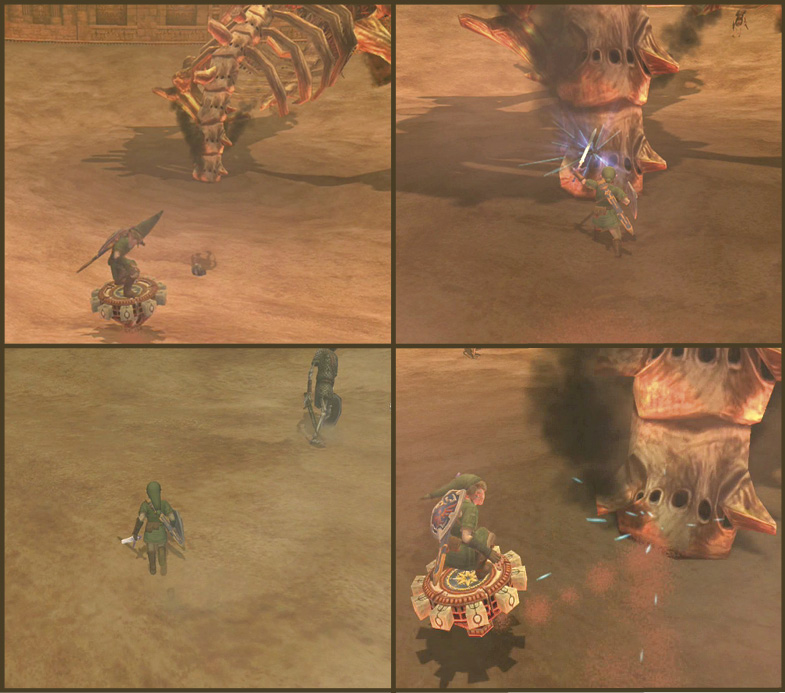
Step 3: The Stallord summons Staltroops to block your path to him, but don’t let that dissuade you from leaping on the Spinner. Use the rim of the arena as a groove to accelerate, and then jump off the groove and steer directly into the Stallord’s spine. As you head into the middle of the arena, dodge the Staltroops and then press Y just as you reach the spine. It cracks, and the beast roars! Staltroop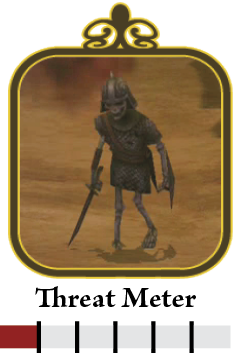
The Staltroops are the Stallord’s minions: resurrected warriors with no intelligence. They are simply obstacles to your goal, which is striking the Stallord’s weak spine. Avoid them, and if you’re standing on the sand (because your Spinner slowed down too much) roll back up to the groove, and avoid the Staltroops. 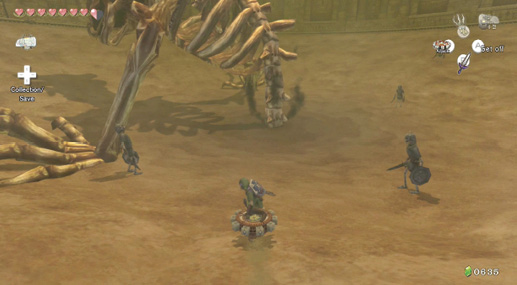
The Staltroops are simply automatons, with no aggressive tendencies. Simply avoid them, or you’ll slow down and sink! 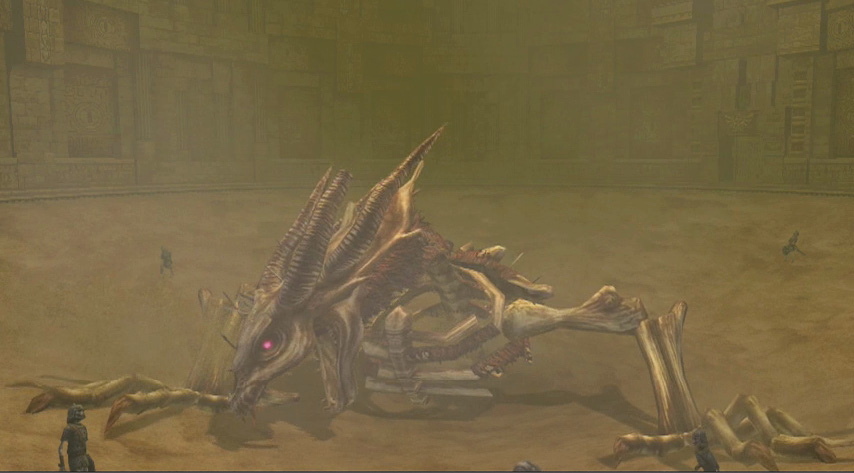
Keep steering down to the Stallord’s spin, executing Step 3 two more times, until the Stallord collapses under his own weight! He sinks slowly into the sand that begins to fall into a large pit below. You drop down. Run around the perimeter of this pit, smashing pots and collecting Hearts. Form 2: Giant Stallord Floating Fireball Skull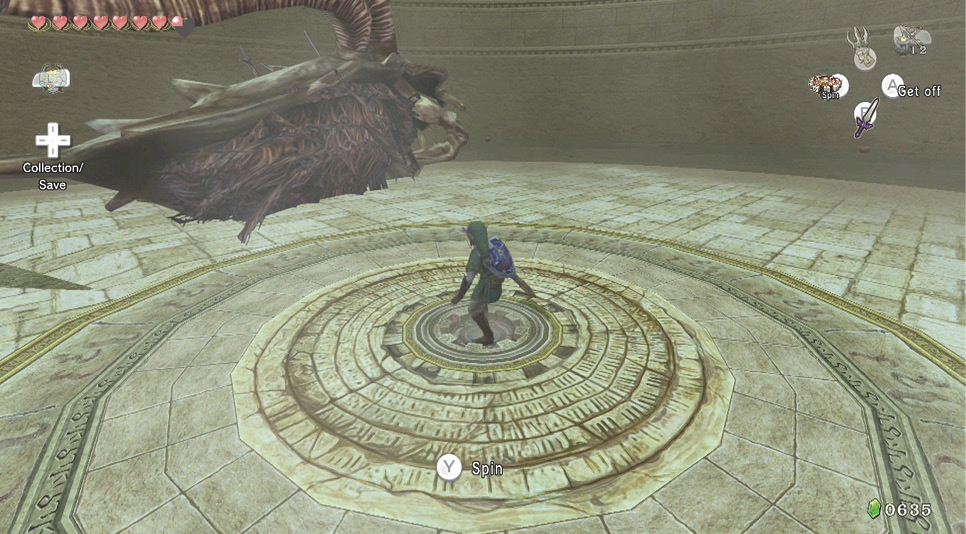
Once you’ve finished your energy collection, inspect the giant skull. It seems lifeless, so head to the very center of the chamber, and slot your Spinner into the circular groove. Begin to spin, and you raise a giant cylinder in the middle of the pit. What’s that sound? 
As the cylinder rises, the giant head’s eye sockets flicker into life! The giant skull head floats up, opens its disgusting mouth, then swoops in and knocks you off the cylinder! 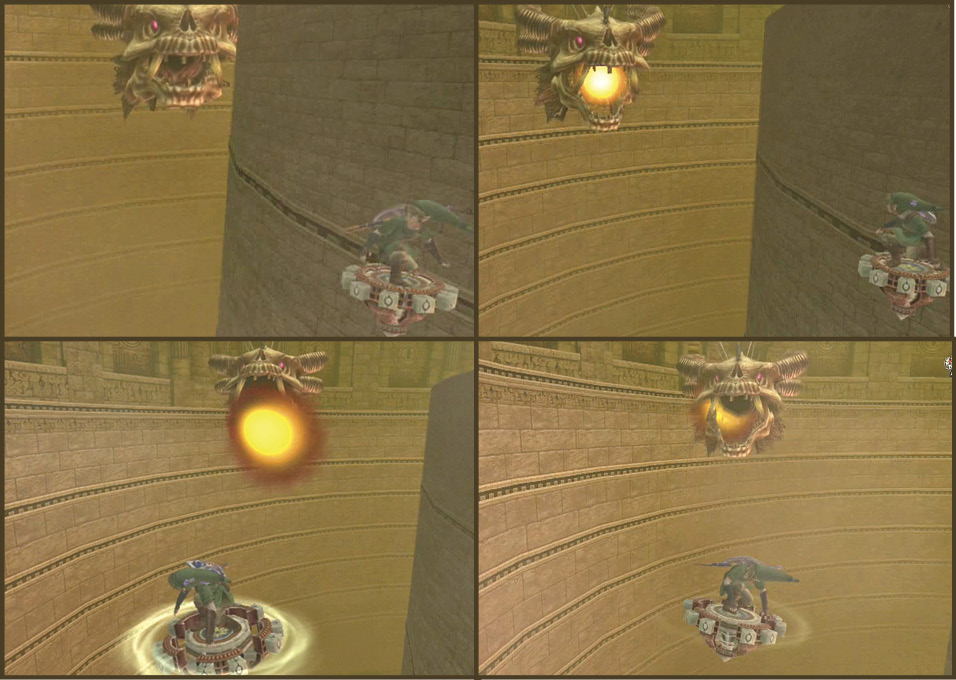
Step 4: You must now reach the top of the cylinder by riding along the spiraling groove. The outer wall also has grooves, but they remain at the same level. As you reach the top, the Stallord head appears and summons a huge fireball! If this strikes you, you fall back to the ground, so leap as the fireball emerges from its mouth. You land on an outer groove. Wait for a second fireball to emerge, and leap back. 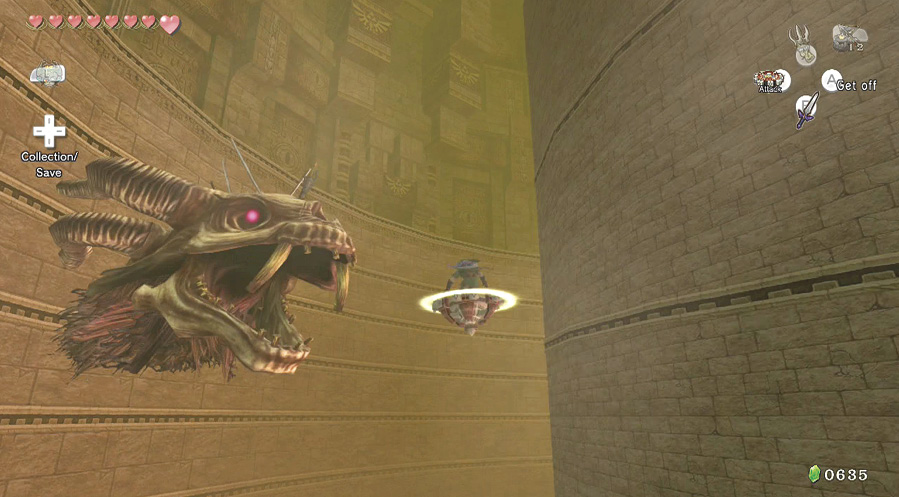
Step 5: The next step is to continue ascending the middle cylinder. As the skull turns to look at you and closes in, leap off with Y, and strike the skull right in the jaw! It tumbles to earth and lies motionless. Run over to it immediately, with your sword drawn! 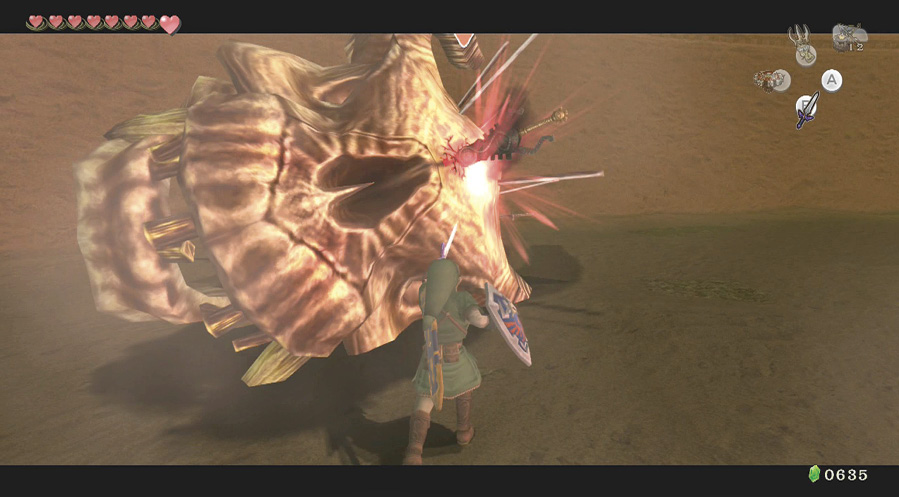
Step 6: ZL target the shard embedded in the skull, and begin to slash it rapidly with your sword. Quick slicing techniques and (of course) the spin attack are mandatory. Keep on slashing! The skull floats up again. Repeat Steps 4, 5, and 6, but bounce away from a spiked Spinner when you encounter it.
|

As you strike the twilit shard in the skull for the second or third series of blows, the shard finally ruptures and sends the skull flying up into the arena roof, before it tumbles down to the ground, rolls away, and explodes. The shard lands at the top of the cylinder and explodes. A Heart Container appears, and a bridge extends to your exit.
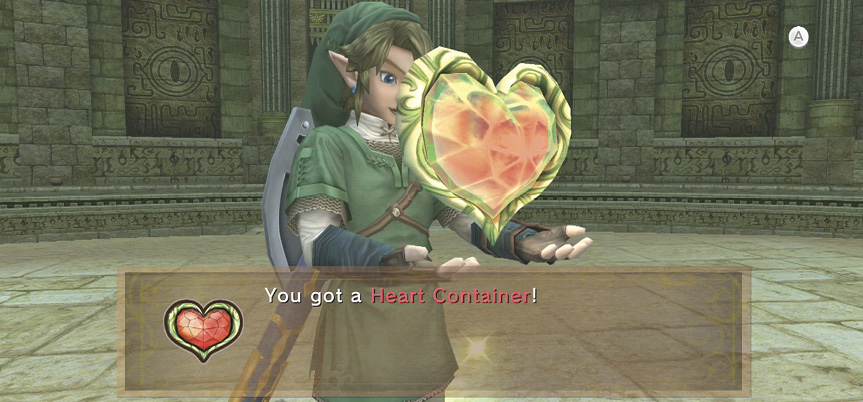
Midna is impatient for you to leave, but first head over to the Heart Container and claim it. Your energy is now at impressive levels! Now exit this place.
 Heart Container
You got a Heart Container! Your life energy has increased by one and been fully replenished! Heart Container #4 (of 8).