
The Legend of Zelda: Twilight Princess HD Guide Overworld: Assembling the Mirror of Twilight
Task 3: Collect All Remaining Poe Souls, Meet Jovani and Gengle
An Epic Quest: Complete the Cave of Ordeals!
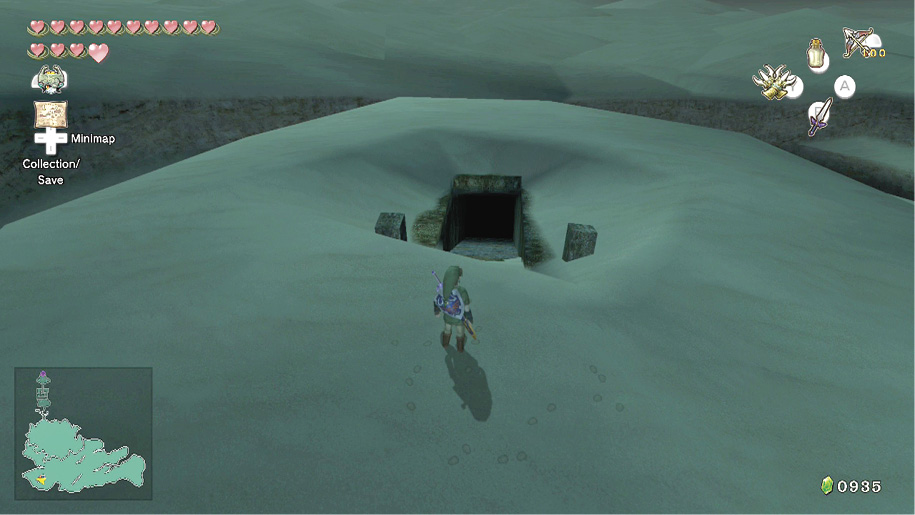
Your next task is a brutal one, but it’s worth it if you want to test your mettle against the most difficult side dungeon in Hyrule! The Cave of Ordeals is now available to play all the way through. Warp to the Gerudo Mesa. You’ll find the entrance to the Cave of Ordeals directly under where the Eldin Bridge chunk was sitting.
You need the Double Clawshot to get past some of the later levels in this dungeon. This is also where you’ll meet the final three Imp Poes, and complete your collection of 60 Poe Souls!
|
It is advantageous (but not vital) to have the following before you enter the Cave of Ordeals:
|
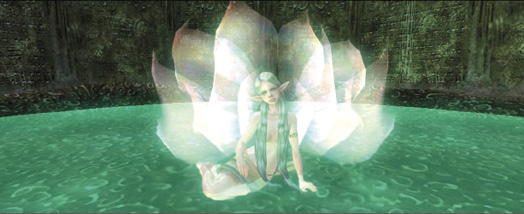
For every 10 levels you complete of the Cave of Ordeals, Fairies are released into a particular spring in Hyrule. Complete the dungeon, and the Great Fairy blesses you with an amazing gift: the Great Fairy’s Tears! This acts just like the Rare Chu Jelly, granting you all your energy back and a temporary boost of attack strength (you can easily strike enemies for around a minute).
The Cave of OrdealsRoom 1: Bokoblin Sentry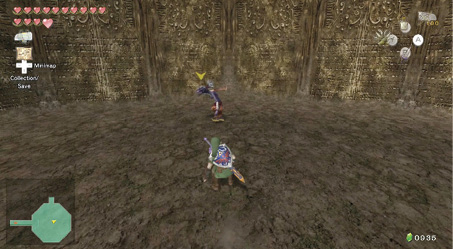 The Cave of Ordeals starts off easily enough. Run and jump off the narrow entry ledge to land in the first chamber, where you encounter a lone, blue-skinned Bokoblin. Defeat the creature to open the passage to the next room. Room 2: Keese and RatsThe second chamber houses a handful of Keese and Rats. Leap down from the entry ledge and have at them, using the spin attack to wipe them out fast. Room 3: Hanging Baba SerpentsThree Baba Serpents hang from the third chamber’s ceiling. Before leaving the entry ledge, use the Clawshot or Hero’s Bow to sever their heads from their stalks. Then leap down into the room and quickly dispatch them with a spin attack. Room 4: Skulltula DenThree hungry Skulltulas patrol the next chamber. Jump down and begin your assault with a spin attack to stagger them, then target one and finish it off with the ending blow maneuver. The Shield Attack also works wonders on these eight-legged foes. Room 5: Bulblin Archers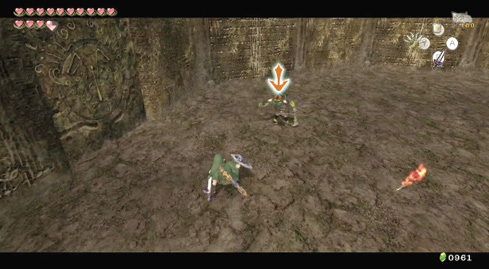 Three Bulblin Archers are spread out near this chamber’s walls. ZL target one at a time and jump attack each of them. You can hold still while ZL targetting to deflect their arrows, but a well-timed jump attack will also send their arrows flying.
Room 6: Torch Slug LairBefore leaping into this chamber, use the Clawshot or Hero’s Bow to defeat all of the Torch Slugs on the ceiling. Then jump down and finish off the ones on the ground. Room 7: Dodongos and Fire KeeseThe Dodongos are the real threat in the cave’s seventh chamber, but they’re not fast enough to track you. Run about and use the spin attack to defeat the Fire Keese in the room, then start hacking away at the Dodongos’ tails. Room 8: Tektite TroubleThis room’s packed full of Tektites. Leap down and use the spin attack as often as possible to thin them out. Keep moving and try not to stay in one place for too long. Room 9: Lizalfoses and Bulblin Archers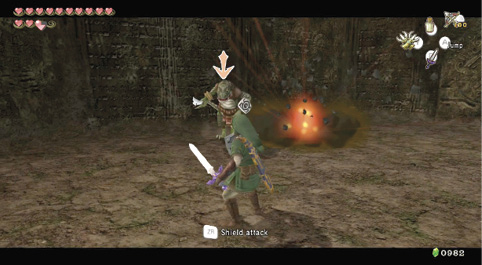 Two Lizalfoses stand in plain sight in this second chamber, but watch out: two Bulblin Archers are hiding beneath the entry ledge as well! Leap down and quickly defeat the Bulblin Archers, then turn your attention to the Lizalfoses. Room 10: Great Fairy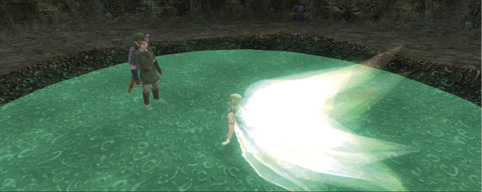 The Great Fairy awaits you in the cave’s 10th chamber. She welcomes you to the Cave of Ordeals, and rewards you: Fairies will now appear at the Ordon Spring in Ordona Province! This gives you a place to go and fill your Bottles with Fairies whenever you need them. You can also find the Surprised Link Stamp to the left of the door leading to room 11.
Room 11: Helmasaurs and Rat HordeThe 11th chamber features some Helmasaurs and a large pack of Rats. The Rats chase after you the moment you drop into the room; use the spin attack. Afterward, ready the Clawshot and begin assaulting the Helmasaurs. Stay mobile in this chamber or the Helmasaurs will track you down. After securing the room, use the Spinner to travel along the Spinner track and reach the door to the next chamber. Room 12: Giant Purple ChuOne enormous Purple Chu defends the cave’s 12th chamber. Keep your distance and use the Clawshot to whittle the Chu down, eventually separating it into tiny Purple Chus that you can defeat with the Clawshot from range. Room 13: Angry Chu WormsYou face a group of Chu Worms in this chamber. Use the Clawshot to rip them from their bubbles, then slice them up. Defeat each Chu Worm in turn. Room 14: Bubble Surprise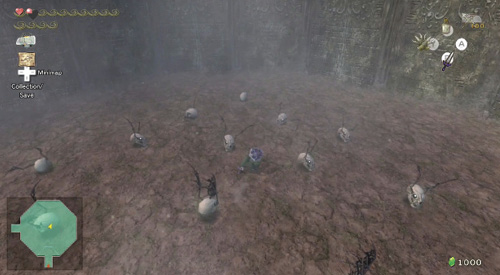 After you drop into this chamber, the many skulls on the ground sprout wings and attack! Run around and let these Bubbles come to you, then wipe them all out with a well-timed spin attack. Round up any stragglers. You can also find a dig spot directly in front of the door leading out of the room. Dig at this spot with Wolf Link and you’ll uncover a nice orange Rupee (100) all for you. Room 15: Bulblin Brute SquadThe 15th chamber is filled with Bulblins. Drop down and have at them, using the spin attack to create breathing space whenever they swarm in. Room 16: More Keese and RatsYou face another large group of Keese and Rats in this room. Drop in and dispatch them quickly, using the spin attack as often as possible. Room 17: Stalhound GangThe 17th chamber is loaded with Stalhounds. An Imp Poe also lurks down here. Run around to round up the Stalhounds, then unleash a spin attack to defeat the majority. Finish off any survivors, then change into wolf form and attack the Imp Poe. 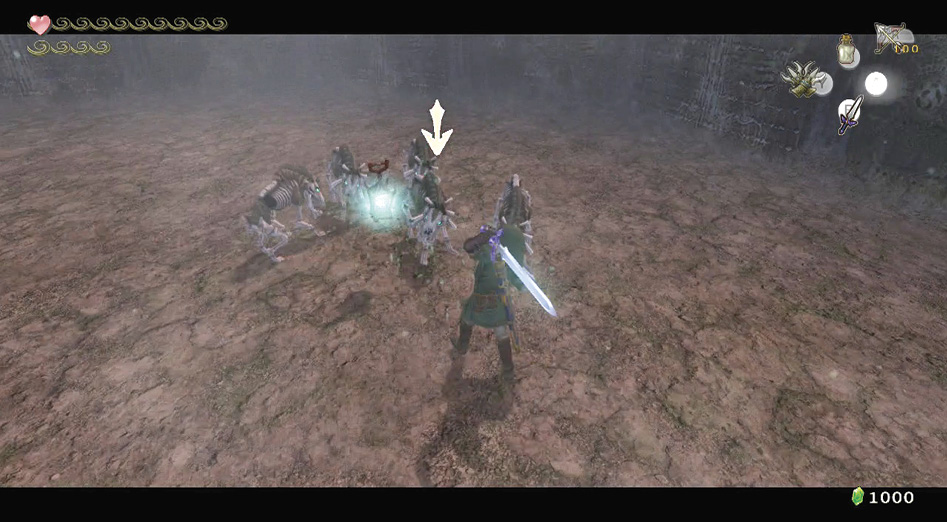
Room 18: Jeepers Leevers!This chamber seems empty until you leap from the entry ledge, then multiple Leevers emerge from the ground and attack! Allow the Leevers to circle you for a moment, then unleash a spin attack as they begin to close in. Time it just right to defeat them all in one shot! 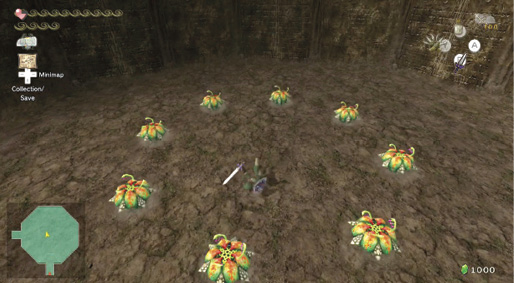
Room 19: Chu HordeIf you’re carrying empty Bottles, now’s the time to fill them! A ton of Chus drop from the ceiling after you drop into this chamber, including a Blue Chu and a few Red Chus. The Blue Chu is the one to get. Run straight over and defeat it, then scoop up its remains. Run away from the horde afterward and begin methodically defeating the remaining Chus with your Clawshot. Room 20: Great Fairy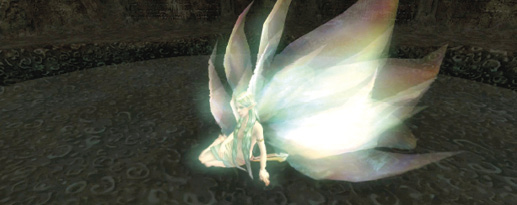 You encounter the Great Fairy again in the cave’s 20th chamber. She praises your valor and says she’ll now release Fairies into Faron Spring in Faron Province! This gives you another convenient place to go and fill your Bottles with You can also find the Angry Zelda Stamp sitting next to the door out of the room.
Room 21: Bokoblins and Ice KeeseThis chamber’s easy enough, featuring some blue-skinned Bokoblins and a handful of Ice Keese. Use the spin attack to pulverize these fiends, then use the Ball and Chain to smash through the giant block of ice that’s covering the door to the next room. Room 22: Keese, Rats, and Ghoul RatsHere’s another room full of Keese and Rats, but the real fiends here are the invisible Ghoul Rats who slow your movements. Use the spin attack to defeat the visible foes, then change into wolf form to eliminate the Ghoul Rats.
Room 23: Stalkin CryptThe moment you touch down in this chamber, a vast number of Stalkins pop up from the ground and swarm you. Let them draw near, then use the spin attack to wipe out most of them. Run away from any that remain and repeat this tactic. Room 24: Redead Tomb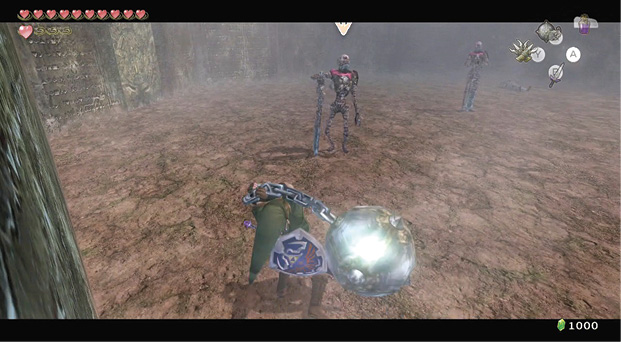 A group of Redeads slumber in this chamber. Slowly walk off one side of entry ledge so that you grab onto it as you fall, then drop straight down. This way you don’t wake all the Redeads at once. Inch toward one of the Redeads until it rises up, then drill it with the Ball and Chain. The first hit stuns the Redead, and when you yank the ball back toward you, it strikes the Redead a second time, defeating it! Use this tactic against the remaining Redeads. Room 25: Bulblin Battleground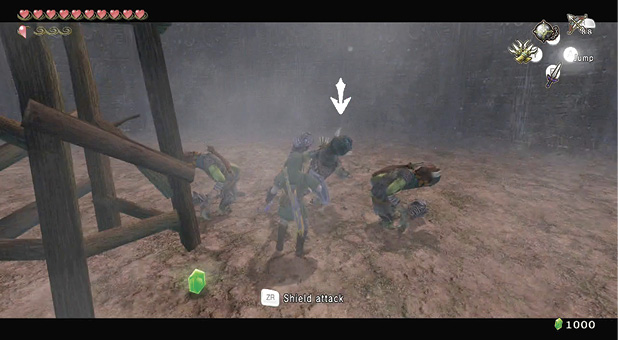 Be careful when stepping onto this room’s entry ledge; a Bulblin Archer fires arrows at you from the room’s watchtower! Deflect its arrows with your shield, then quickly dispatch it with an arrow of your own. Leap down into the room afterward and roll about, defeating the remaining Bulblins and Bulblin Archers with spin attacks.
Room 26: Stalfos VaultA trio of Stalfoses lurk in this chamber. Ready the Bomb Arrows, then leap down and quickly roll away from them. Get the Stalfoses together into a group, then launch a few Bomb Arrows to defeat them all at once. If the Stalfoses keep closing in, execute a few quick backflips to create some breathing room. Room 27: Skulltulas and BubblesThree Skulltulas hang from this chamber’s ceiling. Sever their webs with the Gale Boomerang or Clawshot, then drop into the room and combat them, using the ending blow to finish off each one. A handful of Bubbles occupy the room as well; employ the spin attack to quickly eliminate these foes.
Room 28: Red Bokoblins and Lizalfoses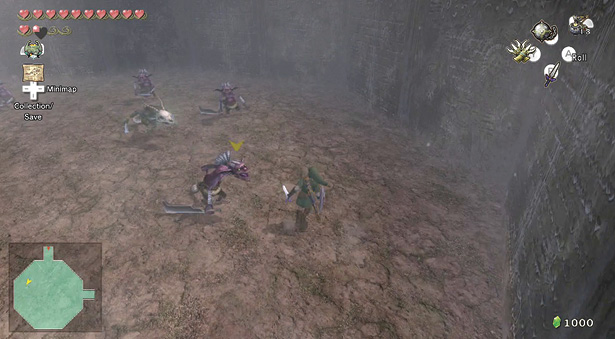 This chamber involves a frantic melee. A pack of red-skinned Bokoblins backed by two Lizalfoses attack you here! The spin attack is the obvious choice for this chamber, but if you’d like to thin the enemy ranks before diving into the fray, fire a few Bomb Arrows from the safety of the entry ledge. Room 29: Stalfoses and Stalkins This chamber is filled with skeletal fiends. Leap in and use the spin attack to wipe out the majority of the Stalkins, and once the little guys are no more, finish off the larger Stalfoses with Bomb Arrows. Or simply eliminate the Stalfoses with Bomb Arrows from the entry ledge! Room 30: Great FairyYou encounter the Great Fairy again in the cave’s 30th chamber. She praises your heroic display, and as a reward, releases Fairies to the Eldin Spring in Eldin Province! Now you can easily collect Fairies from three different places in the Overworld. You can also find the Happy Midna Stamp next to the door leading out of this room.
Room 31: Beamoses and Keese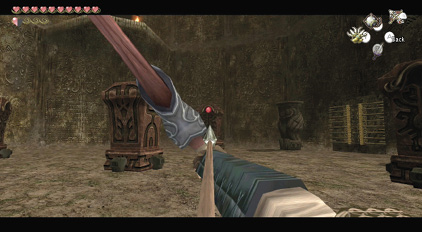 Five Beamoses stand in this chamber. It’s best to fire arrows at them from the safety of the entry ledge, but if you leap into the chamber beforehand, find safe spots from which to fire near the room’s walls. After clearing the room, use the Dominion Rod to move the two owl statues off the pressure plates they stand on. This opens the way to the next chamber. Room 32: Trial by FireFire-based enemies abound in this room. Defeat the Torch Slugs on the ceiling with the Hero’s Bow or Clawshot, then leap forward and slice through the Fire Bubbles and Fire Keese with a few well-timed spin attacks. There are a few Dodongos down here as well; stay mobile and attack them last. Room 33: Redeads’ RevengeHere’s another chamber full of Redeads. One is hidden beneath the entry ledge, so have the Ball and Chain ready to go before you hang and drop into the room. Pound the Redead below as soon as you land, then defeat the others in turn. Stay close to the room’s walls to avoid drawing the attention of the Imp Poe that hovers in the center of the room; it’s best to deal with it last. 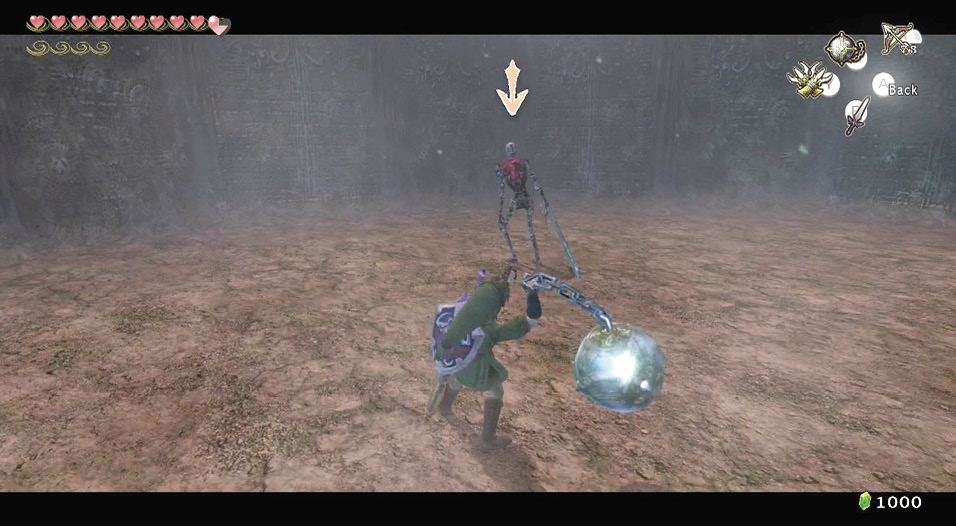
Room 34: Chu and Ghost Rat LairReady an empty Bottle before diving into this chamber. Try to grab the jelly of a Red or Blue Chu for a free Heart-restoring potion, but move fast or they’ll merge with the Purple Chus and become diluted. Also watch out for the Ghost Rats in this chamber; they slow you down, making it tough to avoid the Chus’ leaping attacks!
Room 35: Frightening FreezardThis tricky chamber features a central Freezard surrounded by a number of Ice Keese. From the entry ledge, run and leap to one side of the room, stay close to the walls and run circles around the Freezard, defeating the Ice Keese as you go. Then use the Ball and Chain to smash the Freezard during the short intervals when it isn’t spewing out frost.
Room 36: Chilfos Chamber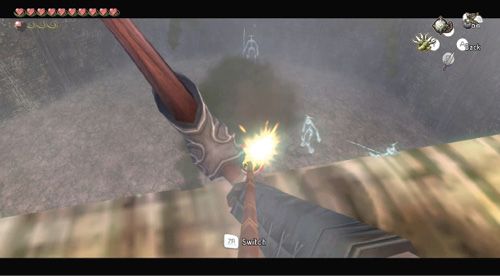 A group of Chilfos warriors defend this room, the Ball and Chain can rip through them in short order. Firing Bomb Arrows at the Chilfoses from the entry ledge is also effective. Two hits are required to defeat each Chilfos. The second Bomb Arrow must land before the Chilfos brings out another ice spear, however, and it only takes them a few seconds to do this.
Room 37: Leevers and Ice BubblesThis chamber is a breath of fresh air after challenge of the previous one. Leap into the center of the room, and you’re quickly surrounded by Leevers and Ice Bubbles. A few spin attacks later, you’re moving on to the next room. 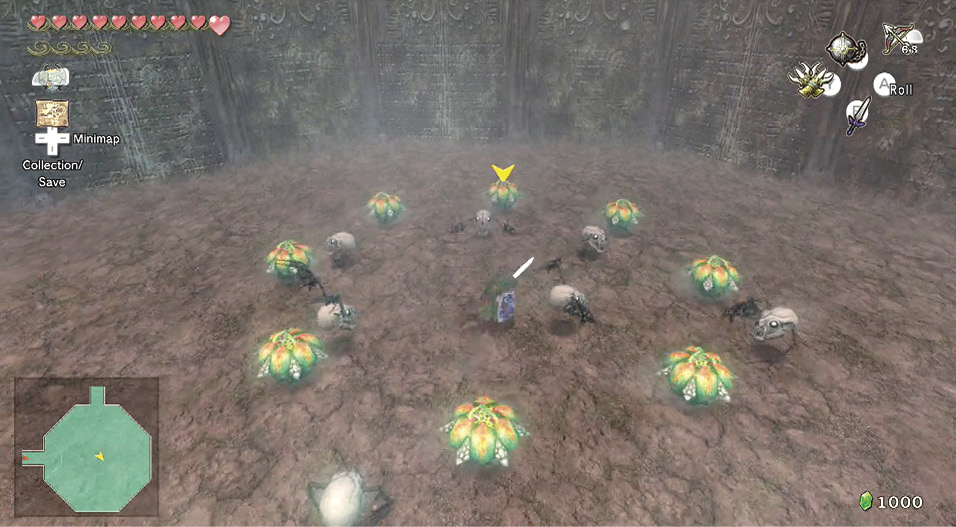 Room 38: Chamber of IceThis room is filled with all sorts of ice-based enemies. Two Freezards stand at either side of the chamber, backed by groups of Chilfoses, Ice Bubbles, and Ice Keese. It’s best to fire Bomb Arrows at the Chilfoses from the entry ledge; try to destroy them all before leaping into the room. Keep away from both Freezards as you take out the Ice Keese and Ice Bubbles. Afterward, slam each Freezard twice with the Ball and Chain during the brief periods when they’re not spewing out frost. Also use the Ball and Chain to smash the Mini Freezards that appear after you shatter the large ones. Room 39: Darknut Duo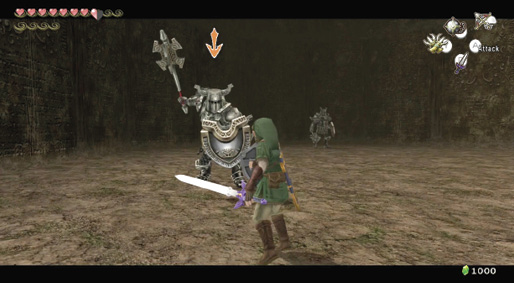 The last chamber was tough, but this one’s even worse! Here, two fearsome Darknuts stand ready for battle. You don’t want to draw the attention of both at once, so hang and drop off one side of the entry ledge, then inch toward one of the Darknuts until it begins stomping toward you.
Back up and let the Darknut come to you. Keep your back close to the wall, leaving just a bit of room behind you. When the Dark Nut is near you, hit its shield with a basic attack. As soon as it deflects the attack immediately hit ZR to perform a Shield Attack. Once you’ve landed a successful Shield Attack, quickly follow-up with a Helm Splitter by pressing A. After the Helm Splitter makes contact and Link lands back on his feet, continue to attack the Dark Nut with basic attacks until it raises its shield again, then repeat the process. It’ll be defeated in no time at all! Once you’ve destroyed the Darknut’s armor, it draws a sword and becomes more aggressive. Change tactics and begin using the back slice maneuver to circle around the Darknut and stun it from behind, then follow up with a fast combo to inflict damage. Don’t worry if you attract the other Darknut, just keep repeating this tactic until the first one falls. Then repeat this entire strategy for the second Darknut. You can also find a dig spot in the center of this room containing a silver Rupee (200). Room 40: Great Fairy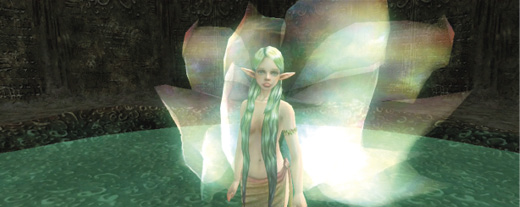 The Great Fairy visits you once again in the cave’s 40th chamber. Impressed that you’ve made it this far, she releases Fairies into the Lanayru Spring in Lanayru Province! You may now collect and bottle Fairies at any spring in the Overworld! You can also find the Heart Container Stamp to the left of the door leading into the next room.
Room 41: Army of Armoses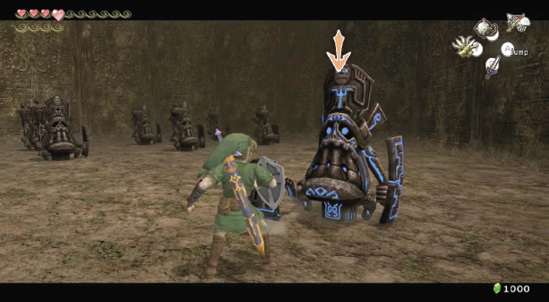 Look before you leap into this dangerous chamber. Three rows of three Armoses stand silently, taking up most of the space. Do not leap into the center of the room! Instead, carefully hang and drop from one side of the entry ledge, then target one of the corner Armoses and inch toward it. Watch the Armos carefully and back away when it begins to awaken. Press your back to the wall and let the Armos come to you. Carefully circle around it and attack the crystal on its back, which is its only weak spot (the Ball and Chain work wonders for this). Take your time defeating this one, and whatever you do, don’t move close to the others in the room! After defeating the first Armos, go after another. Repeat the same procedure, defeating each Armos in turn. You create more breathing room as you defeat each of these enemies. After clearing the room, use the Double Clawshot to navigate the Clawshot medallions on the walls and reach the next chamber. Room 42: Red Bokoblins and Baba SerpentsThis chamber is a refreshing change of pace after the slow, methodical approach you employed in the previous room. Here, a gang of red-skinned Bokoblins and a bunch of Baba Serpents swarm you the minute you enter. Use the spin attack as often as you can, then finish off the Bokoblins with the ending blow. To simplify this room, fire some Bomb Arrows at the Bokoblins from the entry ledge before leaping into the fray. Room 43: More Lizalfoses and Bulblin Archers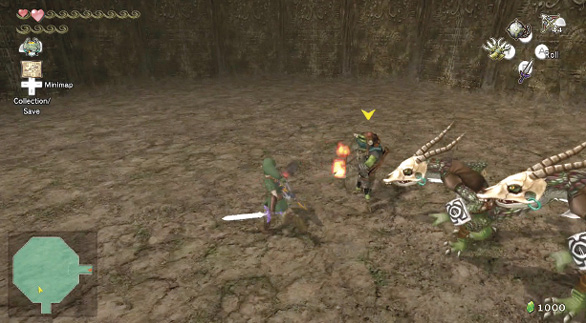 Lots of Bulblin Archers line the walls of this chamber, and a group of Lizalfoses stand near the center. It’s best to soften up these foes with Bomb Arrows from the entry ledge, but be careful of the Bulblin Archers’ return fire! When you finally leap into the room, roll to each Bulblin Archer in turn, defeating it with spin attacks. Then take out the Lizalfoses.
Room 44: Dangerous DynalfosesFour hulking Dynalfoses patrol this chamber, along with a troublesome Imp Poe! Drop of either side of the entry platform and slowly creep your way toward the nearest Dynalfos while hold B to charge your spin attack. If you have access to the Great Spin the Dinalfos will all die in a single hit! If not the back slice is a sound maneuver for these armored fiends. After dealing with the Dynalfoses, transform into a wolf and defeat the Imp Poe.
Room 45: Redeads, Bulblin Archers, and ChusBring your shield out as you move toward this chamber’s entry ledge; two Bulblin Archers fire arrows at you from tall watchtowers! Keep to one side of the tunnel that leads to the entry ledge so that only one Bulblin Archer can fire at you, and defeat them both in turn with the Hero’s Bow. Then step onto the entry ledge and launch Bomb Arrows at each Redead inside the room to eliminate them. 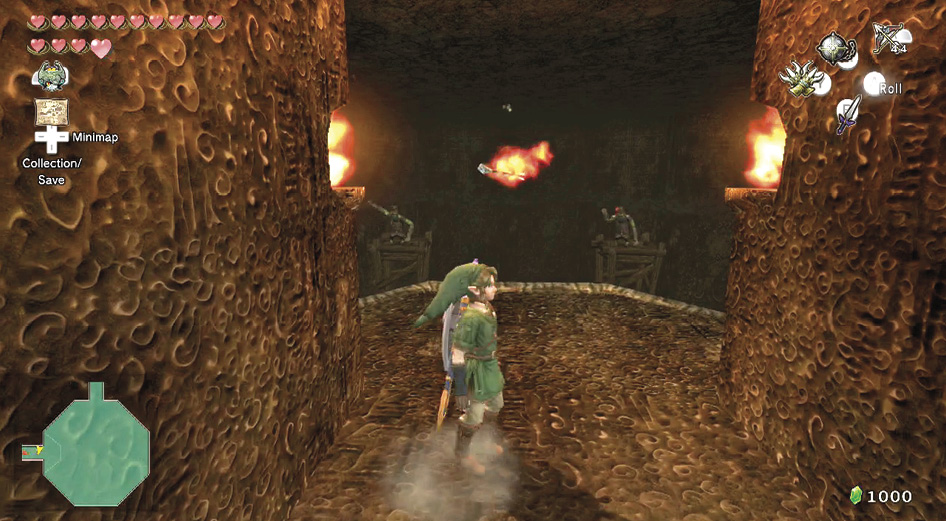 Ready an empty Bottle and leap into the room. A bunch of Chus drop from the ceiling, including a golden Rare Chu! Defeat it and quickly scoop its remains into your Bottle This will come in handy very soon!
Room 46: Freezards, Chilfoses, and Ghoul RatsFour Chilfoses patrol this chamber, backed by two large Freezards. (One of the Freezards is hidden beneath the entry ledge.) Shatter all four Chilfoses with Bomb Arrows, then change into wolf form and leap to one side of the room. Turn on your sense view to find a swarm of Ghoul Rats down here. Keep out of range of the Freezards as you defeat them. Then return to human form and smash apart the Freezards (and the Mini Freezards they spawn) with the Ball and Chain when it’s safe to do so. Room 47: Little GuysThis chamber must have been designed to lull you into a false sense of security, because you face nothing more than a blue-skinned Bokoblin, a group of Stalkins, and a pack of Rats. Drop into the room and tear through these enemies, making good use of the spin attack. Room 48: Darknut and Aeralfos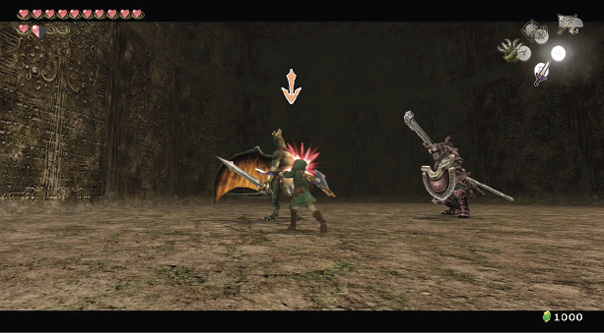 This challenging chamber features two Aeralfos and a big, scary Darknut. They all seem to notice you as soon as you drop into the room. Therefore, the best approach is to target one of the Aeralfoses and focus on grounding it with the Clawshot, then punish it with fast attacks. Defeat each Aeralfos in turn in this manner while striving to avoid the Darknut at all times. With the Aeralfoses gone, just hang in there the Darknut is a breeze; use the old tactics against him to defeat him.
Room 49: Terrible Trio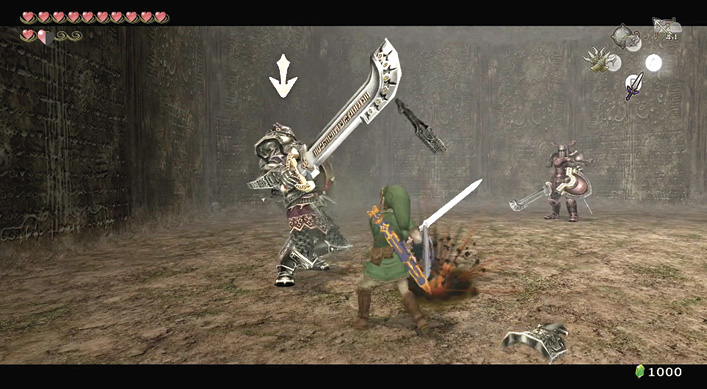 Naturally, the final enemy-filled room of the Cave of Ordeals is one of its toughest. Here stand three Darknuts, ready to thrash any intruders. One of the Darknuts is hiding beneath the entry ledge; make it your first target. Jump off one side of the ledge, keeping as close to the wall as possible. Quickly turn around and face the Darknut beneath the ledge.
Remain as far away from the other two Darknuts as possible while combating the first. You’ll probably end up drawing their attention at some point, but at least try to remove the first one’s armor before that occurs. Backflip away from the first Darknut’s attacks, then jump attack and follow up with sword combos. Another even more effective way to deal with the Dark Nuts is to use the Shield Attack followed by the Helm Splitter. You can hit a Dark Nut’s shield with a basic attack, follow it up with a Shield Attack by pressing ZR, then chase that with a Helm Splitter by pressing A after a successful Shield Attack. As soon as the attack completes, you can get another four or five basic attacks in. As soon as the Dark Nut lifts it shield again, just hit it with another basic attack and repeat the process. It makes the Dark Nuts incredibly easy, but only if they’re separated. If they’re grouped up, then the jump attack counter attack method will work better. After removing its armor, use the back slice to open its defenses and finish it off. Because the back slice is such a chaotic (yet effective) maneuver, it’s common to draw the attention of the other Darknuts at this point. If this occurs, focus on defeating the one you’ve already weakened. Target it and circle around the Darknuts to keep the unarmored one at the front of the pack. Backflip a few times to create some breathing room, then charge and unleash a jump strike. With the Darknuts in a tight group, this move often staggers them all at once, allowing you to sneak in a few quick attacks before they recover. As soon as you leave the room, you’ll find a chest containing the Fairy Stamp on the ledge leading into room 50.
Room 50: Great Fairy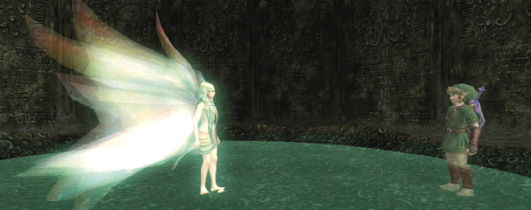 The Great Fairy awaits you in the Cave of Ordeals’ final chamber. Impressed by your bravery, she awards you with some Great Fairy’s Tears! Also, from this point onward, you may visit the Great Fairy by journeying to any province’s spring. Speak with her to receive more Great Fairy’s Tears whenever you run out!
|
 Poe Soul
 Poe Soul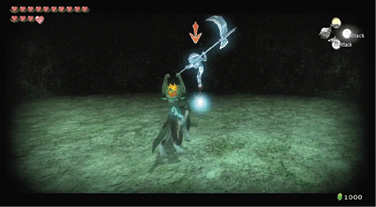
 Great Fairy Tears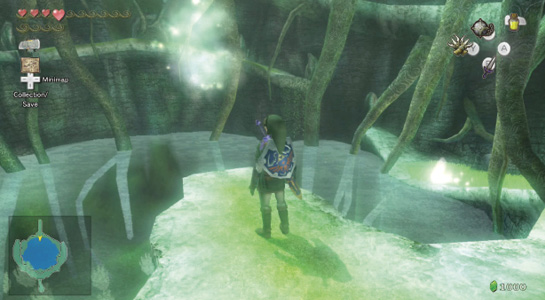
Once the Cave of Ordeals is complete, you have unlimited Great Fairy Tears (but you can carry only one at a time)! Visit any spring throughout Hyrule with an empty Bottle, and providing you don’t already have some, you’re automatically given the tears from the spirit of the Great Fairy. You can also Bottle Fairies at any spring.
The Cave of Ordeals: Second Completion
Think you’ve mastered everything the Cave of Ordeals has to offer? Think again! Once you’ve finished the Cave of Ordeals, you can re-enter the 50-floor side dungeon again, and battle through a second time! On this occasion, certain enemies multiply. For example, the last dungeon room has four Darknuts! Four!
|
Not only that, but if you complete the Cave of Ordeals for a second time, you’ll see the Postman reading a letter on the edge of the last ledge before you meet the Great Fairy. What is he reading? What does he say? We don’t know! We ran straight past him and couldn’t get back to talk to him! Don’t make the same mistake! |
Saving Jovani’s Soul: 60 Poe Completion
If you’ve finished the Cave of Ordeals (or at least, reached Floor 44 and captured the final Poe Soul), you can return to the dig spot outside of Jovani’s house. Gengle the cat meets you. He wants to go outside and play with his cat friends.
Run up to Jovani, and speak with him. Now that his soul is completely purged of Poes, he’s feeling fantastic! He may be a shadow of his former portly self, but that’s great news for him! He thanks you with a generous prize: a silver Rupee (200).
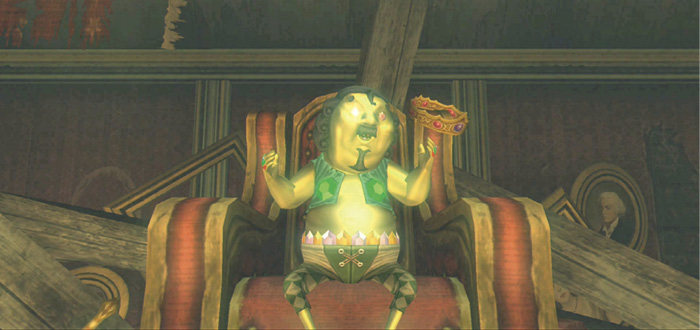
Leave Jovani’s house and return, and Jovani has vanished! Gengle tells you he’s left, and hints that he doesn’t know what to do with all the money. You find Jovani in Telma’s bar, sobbing uncontrollably. His girlfriend hadn’t seen him for so long, she started dating another man!
Saving Jovani’s Soul: Saving Infinite Rupees!
If you leave Castle Town and return, you can enter Jovani’s hut again and receive a different message from Gengle. Jovani has no one to impress any more, so Gengle is giving their money away! He gives you another silver Rupee (200) and the Rupee Stamp.
|
Leave Castle Town (via walking, not warping) and head to any field. Then return, enter Jovani’s house, and you’ll receive another silver Rupee (200). This never stops, and it’s useful when you’re preparing for the Cave of Ordeals second attempt, and need Rupee power for your Magic Armor. |
Dig Cavern #18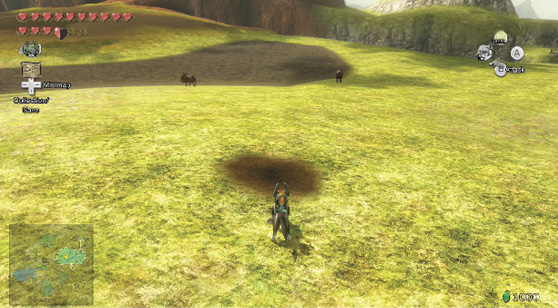 You can find this cavern just north of the Hyrule Field (North)’s largest pool of water, which can be found on the south end of the area. Dig in and defeat all of the Bombskits scurrying about. Once the room is clear, light the torches to make a treasure chest containing the Hylian Letter C Stamp. |
Dig Cavern #19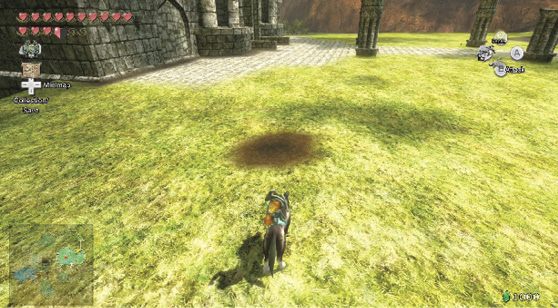 This dig cavern is just slightly left of the Bridge of Eldin’s south end. Once you dig into it, you’ll be met with a pool of water that is positively filled with Bomb Fish. Take them out from the platform or equip the Zora Armor and the Iron Boots, then jump in and get to slashing. You’ll find a chest containing the Sad Link Stamp. |
Dig Cavern #20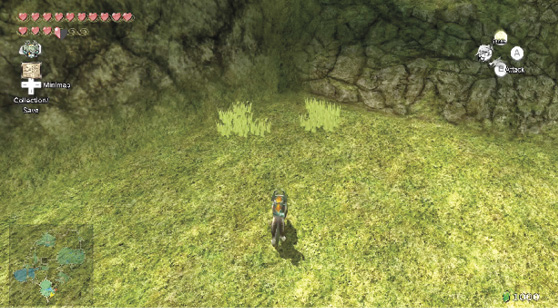 If you head to the southeast corner of Hyrule Field (South) and look for two patches of grass pressed up against the southern wall, you’ll find the entrance to Dig Cavern #20. You’ll find plenty of resistance in the form of Keese, Rats, Deku Babas and a single Blue Chu. Defeat all of them then head to the far side of the cavern to find a treasure chest. Open the chest to get your hands on the Wolf Link Stamp. |