
The Legend of Zelda: Twilight Princess HD Guide Overworld: Journey Through Lanayru Province
Task 5: Journey to the Domain of the Zoras
The Path to Lake Hylia
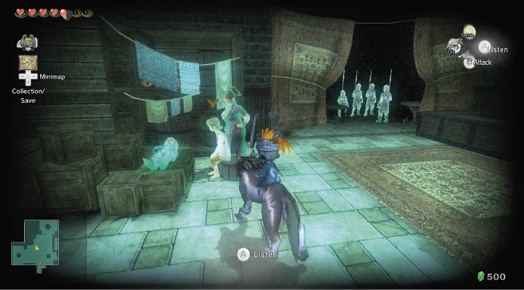
Enter Telma’s Bar and switch your sense view on. Approach the group of spirits ahead and to the left. It is Ilia! She is watching over the Zora prince, along with Telma, the owner of this establishment. Even though you’ve found Ilia, she’s in spirit form, so you can’t speak to her.
Telma: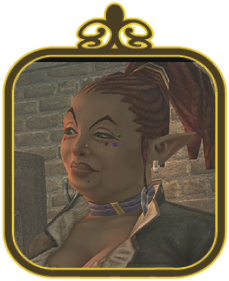
Between 30 and 40 years old, Telma runs a bar in Castle Town. She is bossy but obliging. With an unyielding spirit, Telma is actually the leader of a resistance force, a group that wants to restore the kingdom. She is hoping to find a worthy man to recruit to help her forces. |
Prince Ralis: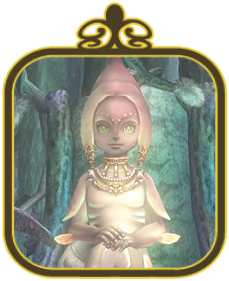
About 10 years old, this boy is part of the Zora tribe and was on a mission to deliver a message from the Zoras’ queen (his mother) to Princess Zelda when dark forces waylaid him. Ilia rescued him. He has received a fine upbringing and speaks politely. He is reliable but worries he won’t be able to fulfill his eventual destiny as the leader of the Zora tribe. |
Move to the bar’s back room to hear a group of soldiers speaking about their orders. The people can’t send prayers to the spring spirit of Lake Hylia, so the sergeant has marked on the table map the area to investigate. Look at the map on the table; a red flag marks the spot.
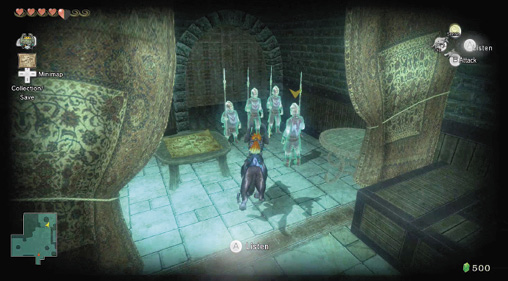
Hylian Soldiers: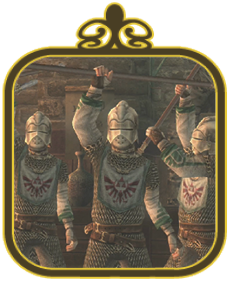
These soldiers comprise the military force that protects the kingdom of Hyrule. They have fought bravely in the past, but once the kingdom fell to the twilight, the soldiers became fractured. You’ll encounter sorrowful mourners, cowardly quitters, and the brave knights who still wait for a hero to rise. |
|
The fabled map of Hyrule is spread over this table in Telma’s Bar. Whenever you’re stuck, return here and check the map to see where you should head next. After you view the map, the clue also appears on your in-game map. The spring in Lake Hylia shows up as a red flag now. Onward! 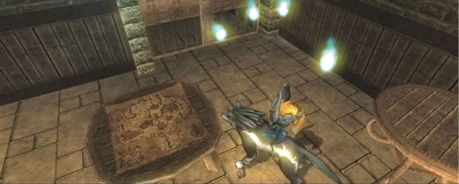
|
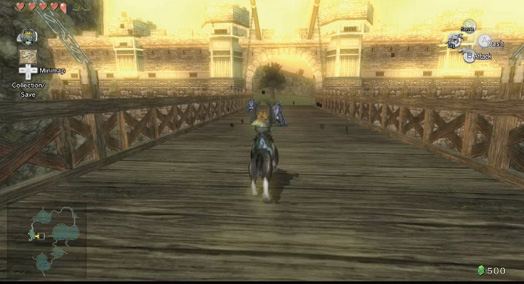
Leave the comfort of Telma’s Bar, ignoring that orb for the moment, and leave Castle Town to search for a route to Lake Hylia. The south exit is blocked by people milling about at the Goron’s store. The east exit is closed. The only way out is via the door you came from. Back on the bridge, bite and claw at a couple of Twilit Bulblins.
Leave Castle Town and head south and west. Head over the rise to an old stone amphitheater, where you find a chest and two Twilit Bulblins. Defeat the foes but ignore the chest; you can’t reach it until much later. You need a rod of some kind here.
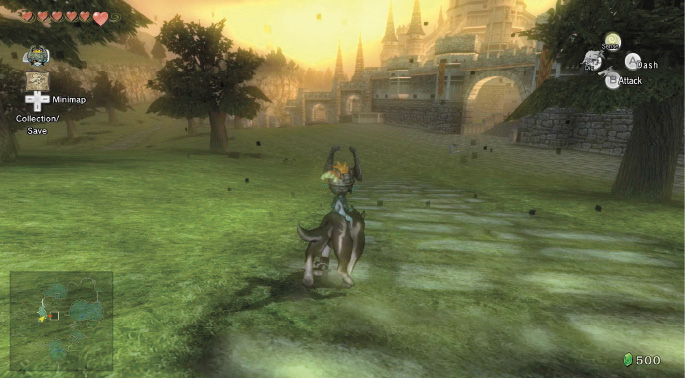
Leave the amphitheater and journey northwest, along the side of the zone to the opening in the western rock wall; enter the path leading to the bridge overlooking Lake Hylia. This is your first time in this region, so watch for a trio of Twilit Bulblin en route.
Trot forward to the fork in the path. The bridge is to your left. Be aware that Fyer and Falbi’s Watertop Land of Fantastication is nearby. That sounds wild, as does the main attraction: Flight-by-Fowl.
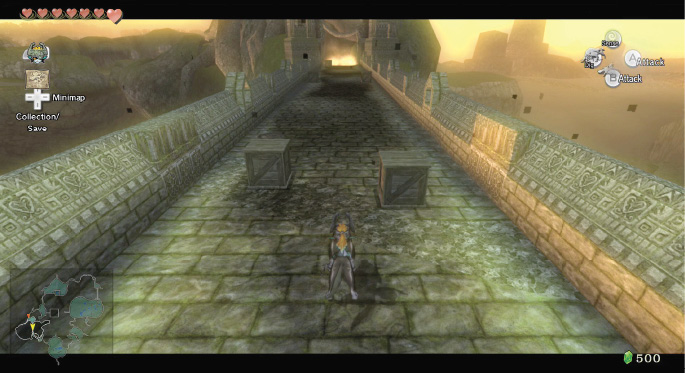
Inspect the area to find a Bomb Rock and an odd alcove to your left and behind you. Ignore this for the moment and run toward the bridge entrance. As you move onto the bridge, notice that the ground is glistening. Continue south.
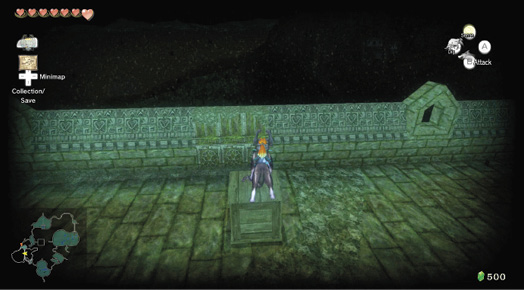
You stop as a Twilit Bulblin Archer fires off a flaming arrow, setting fire to the bridge. You’re standing on oil, and there’s a fire coming from both ends of the bridge! Sprint past the first two crates and stop at the second set. Move to the crate’s base and get on top, then leap to the crenellation on the bridge’s side. From there, leap off the bridge to a huge drop below!
|
You must find this second crenellation near the box; it is shorter than the rest, which block your path. If the fire catches you, you have to restart your game at the bridge, with three Hearts filled with energy. |
Missing Links
1. Dig Spots and Grass Cutting
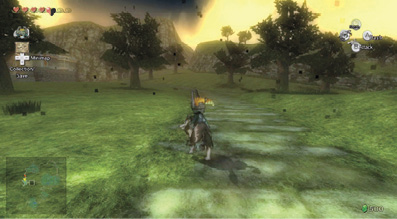
On the earthen road leading to the bridge entrance are three or four dig spots, each containing a Heart. When you reach the fork in the road, cut the grass on the right to find a Heart. For another Heart, cut the grass behind the sign, in the middle of the small boulders. Slice the grass just left of the bridge entrance for loads of green Rupees (1)!
The Dry Lakebed of Hylia
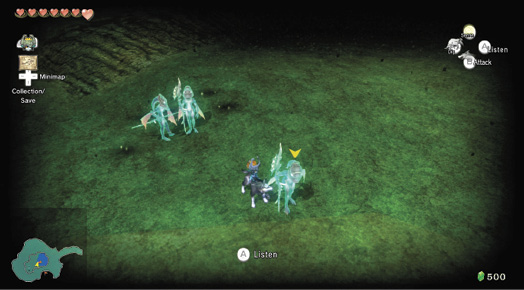
Dog-paddle toward the odd building in the distance and switch on your sense view to check the ghostly floating fires ahead. These change to Zoras, a friendly people now downtrodden by the water shortage. According to the warriors, the problem seems to be coming from the water’s source, Zora’s Domain.
The Zoras: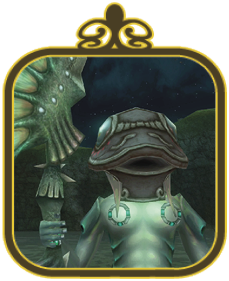
An aquatic tribe of people with gills and lungs, the Zoras are a proud and ancient race, led by a beloved king and queen. Recently their lands have become embroiled in turmoil as their water supply has dwindled. Now full of melancholy, they wish for happier times. |
|
This lakebed is a hot spot for digging. There are at least 40 holes to burrow into for Hearts and Rupees. |
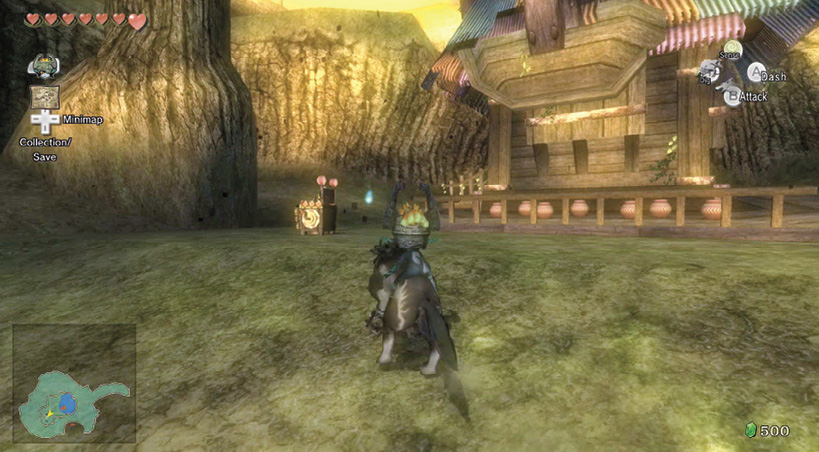
After you finish with your big dig, head toward the odd and colorful shack and listen as the depressed owner, Fyer, mumbles about the ruined grand reopening of his fantastication ride. He isn’t sure if the Zoras in their domain are to blame or if it has something to do with the Lanayru spirit. He’s then spooked by a Twilit Bulblin Archer roaming the lakebed.
Fyer:
Although he looks much older, Fyer is between 20 and 30 years old and is a former member of the circus. Short, hunched, and lazy-looking, he’s recently started his own small business firing folks from a cannon, although there’s limited potential on the floor of the lake! He’s a great mechanic, however, and specializes in rebuilding old cannons. |
Twilit Carrier Kargarok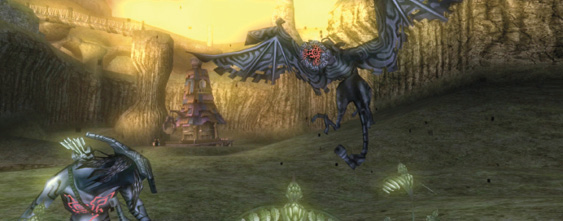
Run across the lakebed to the Twilit Bulblin Archer who’s roaming this area. He stops when he spots you, then moves quickly to a patch of grass. After playing an unspeakable tune, a giant Twilit Carrier Kargarok swoops down from the heavens and the archer mounts it! The Twilit Carrier Kargarok is a strange, giant, mutant version of the Kargaroks you’ve encountered before, but is covered in Twilit skin. The beast and rider begin with some annoying arrow-firing; you can’t reach them, so run away from the arrows. When the rider draws the Twilit Carrier Kargarok down and swoops in on you, be sure you use ZL to target early, then make a leaping jump onto the beast. Tap the A button furiously to bite the Twilit Carrier Kargarok multiple times, until he throws you off. Do this a second time and the Twilit Bulblin Archer falls. 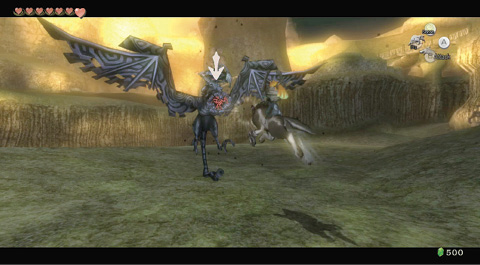
The Twilit Bulblin Archer loves to fire from outside your range, so make the best use of close-combat situations and leap, cling, and bite! 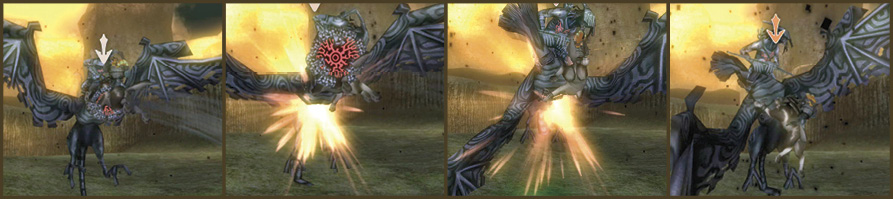
|
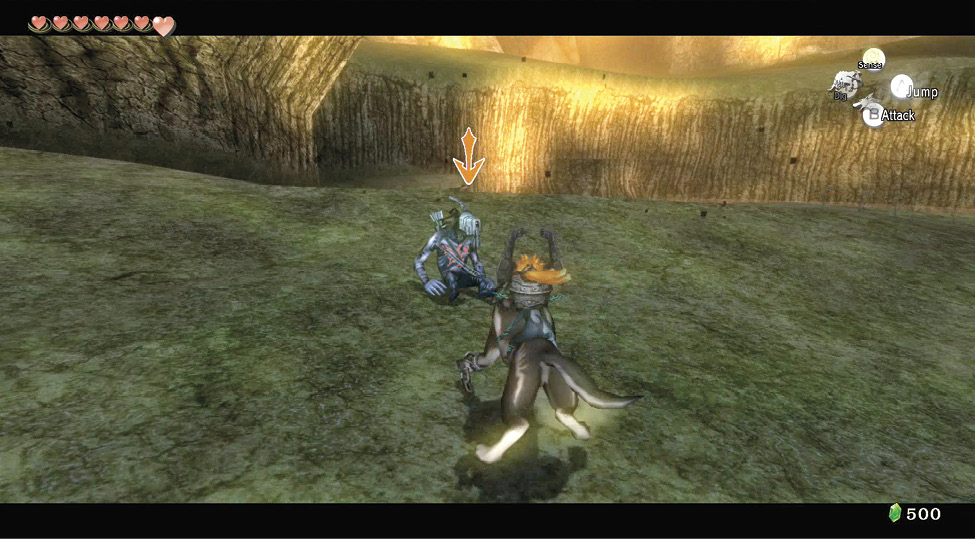
The Twilit Carrier Kargarok is still flapping about as the Twilit Bulblin Archer falls to the lakebed. Target him immediately and finish him off. Then watch as Midna teleports across the skies and lands on the beast’s back! She asks if you want to fly to the Zora’s Domain. Agree.
Missing Links
1. The Great Lakebed Dig
This is the only time you’ll be able to dig (as the lake should be full the next time you visit), so switch on your sense view and prowl the perimeter; there are at least 12 areas around the sides of this bed and Fyer’s cannon house. All give you Rupees (mainly green [1] and blue [5]) and Hearts. You’ll find them all in about 10 to 15 minutes.
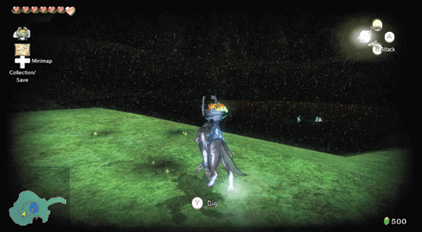
2. Finding Fyer’s Funds
After you speak to Fyer, take the Heart and a few Rupees from his collection of pots; there are a few more pots containing a Rupee or two on the other side of his shack.
Flying Up the Riverbed
You’re soaring through the great gorge with the riverbed below you, your physical body clamped in the Twilit Carrier Kargarok’s claws. You control the winged beast with the Left Analog Stick—fly in the direction of the light blue target. Dash by pressing the A button.
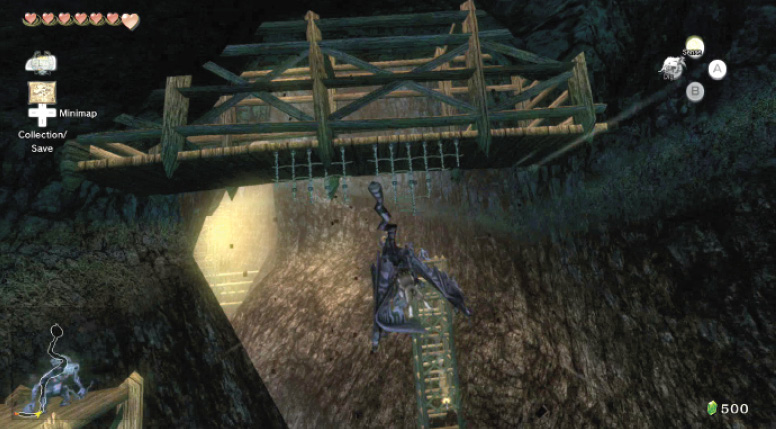
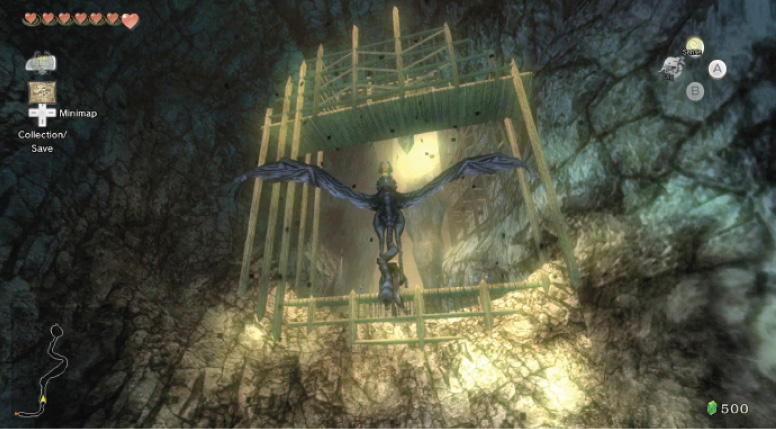
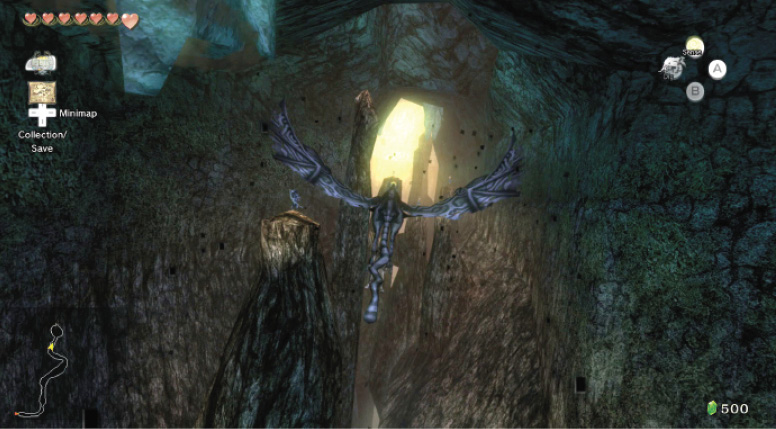
Steer by pointing your target toward the lit areas, and dash between the two long towers that contain archers.
You’re traveling directly north; point your carrier up toward the bridge light and dash. Be sure you clear this bridge with archers on it; fly up and dash over.
Swoop under each of the detonating rocks that fall to the side and move left when the central rock falls forward.
In the final section of river, fly with periodic dashing, staying in the open and always aiming for the light. Stay to the side of the falling boulders, then aim for the brightly lit exit.
|
You can also dash and strike any of the archers that are on exposed rock areas, although this is difficult. It is less dangerous to avoid them by racing by. |