
The Legend of Zelda: Twilight Princess HD Guide Overworld: Climbing Snowpeak Mountain
Task 1: Locate All Available Items with the Spinner
Past Terror at the Mirror of Twilight
Leave the Arbiter’s Grounds, and you appear at the base of some stone steps. Leap up them, avoiding the gaps, until you reach a curved corridor with arched alcoves along each side. Follow this until you reach the impressive Mirror Chamber. Walk forward.
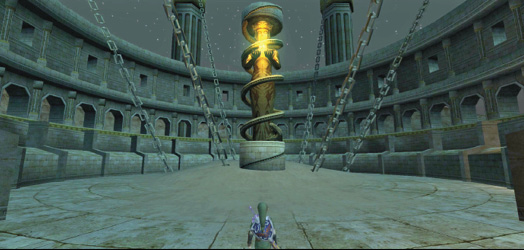
Warp PortalFive Twilit Messengers drop out of the sky, and you can attack them in either form, although wolf is preferable, because the area attack has the widest range. Defeat the initial two Messengers, then turn right and bite the third, before finding the last two and dispatching both together. 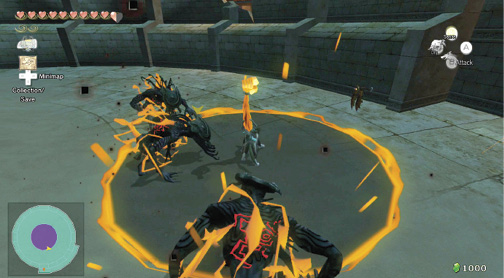
Five Twilit Messengers descend on you. The wide combat area allows you to coax the last two together easily—let rip! |
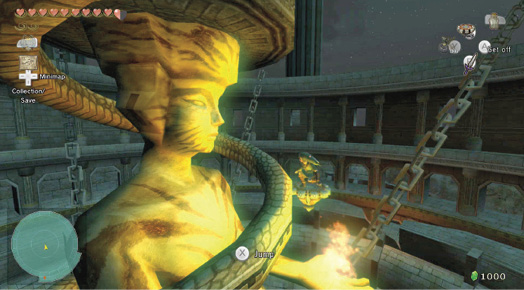
Move to the central statue in this Mirror Chamber, and inspect it. It doesn’t take long to figure out that you can ride up that grooved channel using your Spinner. At the top, stop, reposition yourself in the massive statue’s center, and tap the button the Spinner is assigned to.
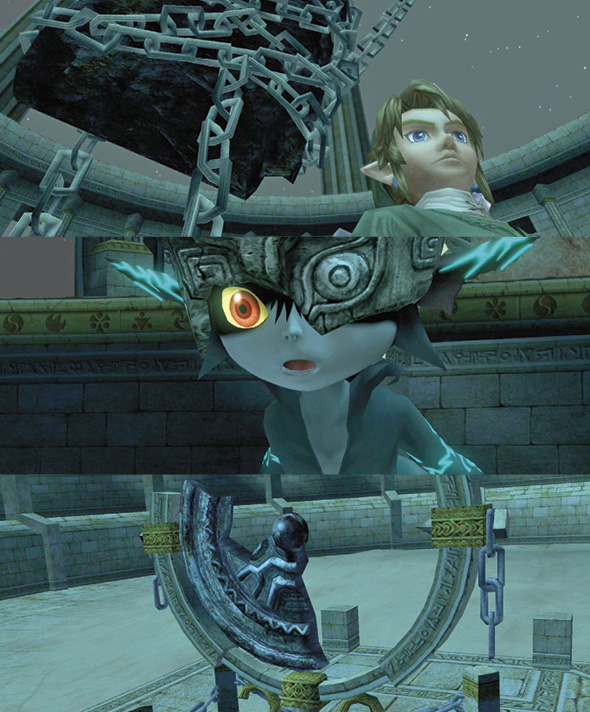
Your spinning in the circular groove creates a small seismic disturbance as a giant rock, harnessed by the chamber, rises from the ground. Steps appear too, and the Mirror of Twilight is at the top of them. Midna floats over to look and is shocked. The Mirror of Twilight is cracked!

Midna is startled as ghostly figures form at the top of the chamber’s spires. These are Sages, who have guarded the Mirror of Twilight since ancient times. The Mirror has been fragmented by mighty magic, dark magic that only one possesses—Ganondorf!

A leader (and demon thief) of a band of thieves who invaded Hyrule to hold dominion over the Sacred Grove, Ganondorf was a powerful magician who used his powers to thwart and terrify. But he was blind to danger, so he was subdued and brought to justice.

By some divine prank, he too had been blessed with the chosen power of the gods, his hand glowing with a symbol few had seen, and of which fewer had knowledge. Ripping free, he cast aside the ceremonial sword and was quickly banished into the twilight world.

Perhaps that malice and power has been passed to Zant! But Midna thinks it’s too late. However, only the true leader of the Twili can destroy the Mirror. Zant has simply broken it into pieces. One is in the snowy mountain heights. One is in an ancient grove. And one is in the heavens.
Sage: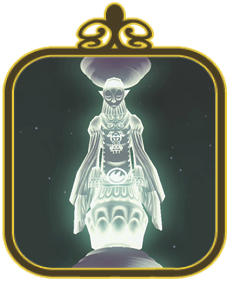
Approximately 50 years old, but with a strange ethereal power masking their true age, there are seven Sages of ancient times who succeeded in capturing the mad warrior magician known as Ganondorf. Executing him with a ceremonial blade, they attempt to keep the world of Hyrule at peace. They don’t possess physical bodies, and they have graceful, poetic movements. |
Warp from the Gerudo Desert area. Your task is clear: you must search for the Mirror of Twilight’s second piece (the first is in the frame). Warp to the Hyrule Field; ideally the Bridge of Eldin.
Preparation for Snowpeak: The Spinner Hunt
|
As soon as you warp to a place with a pathway, expect a letter delivery from the constantly breathless Postman. It’s from Barnes, who is letting you know he’s got a rare type of bomb in stock. However, this is only the Bombling, which you’ve already inspected. This letter arrives to prompt you if you haven’t checked the Bombling out yet. 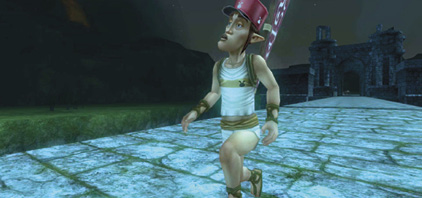
|
 Letter #9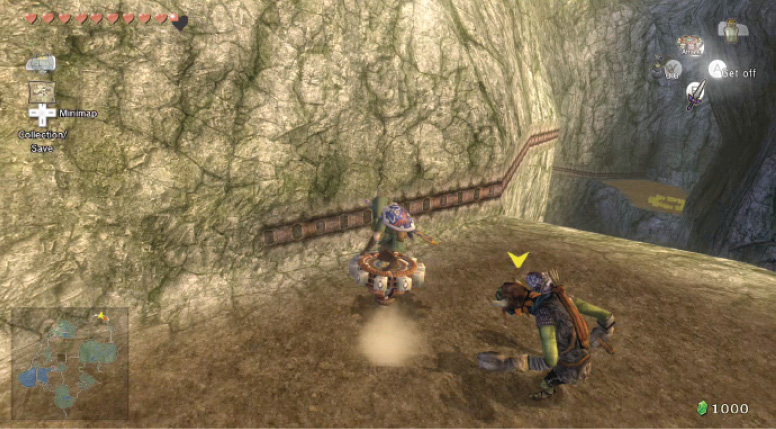
Head to the winding rocky path that runs from the Bridge of Eldin to the north Hyrule Field. When you reach the small wooden bridge holding the Bulblin Archers, halt and defeat all the foes you wish to. Look for the Spinner track groove in the rock wall here.
Dig Cavern #15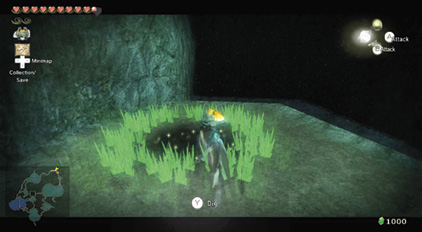
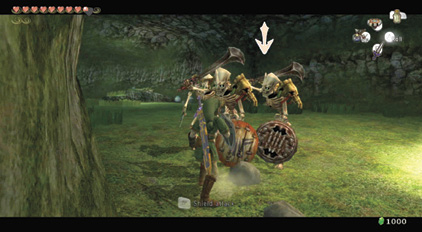
Ride along the Spinner track until you land on a remote and rocky ledge. Don’t jump from the Spinner or you’ll plummet into the gorge! Inspect the ring of grass (there are Rupees and Hearts), then dig in the middle. You land in a dig cavern. Change to Link and arm yourself with Bomb Arrows. Three Stalfoses are advancing on you! Defeat them with a Bomb Arrow (or a bomb if you have no arrows). 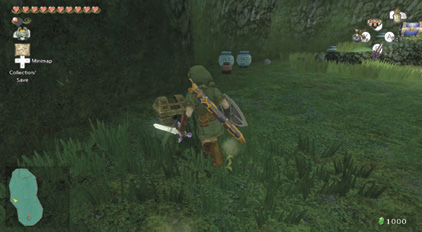
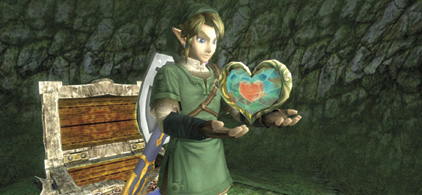
If you have no bombs, don’t despair. There’s a small chest partially obscured by grass in the western part of the chamber. Kick it open to find five bombs. Once the Stalfoses are defeated, you can smash pots, cut grass, and then open the chest that’s appeared. The reward is worth the fraught combat! Once you claim it, exit and ride the Spinner back to the path.
Overworld Chest #79:Bombs (5)
|
 Bombs
Bombs Piece of Heart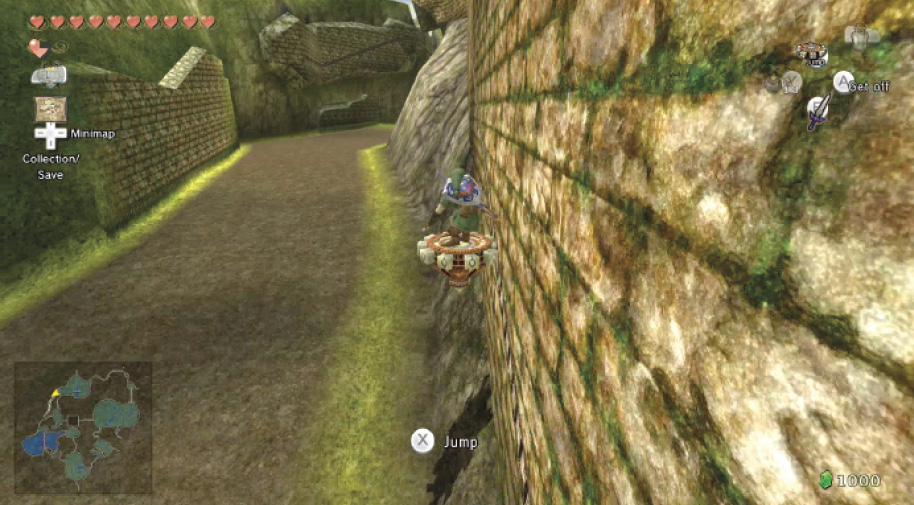
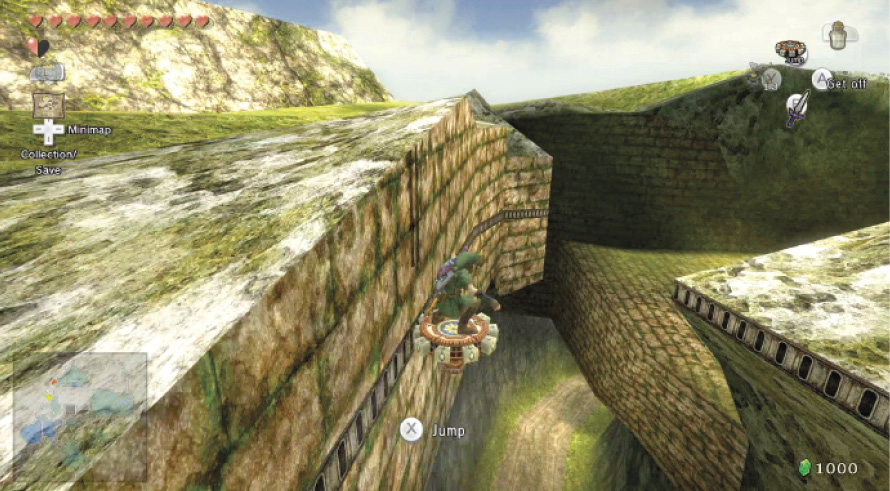
Head westward now, over the north Hyrule Field, to the far western road that leads to the Great Hylian Bridge. As you reach this part of the path, stop and ride the Spinner on the track of the outer wall. Ride it up.
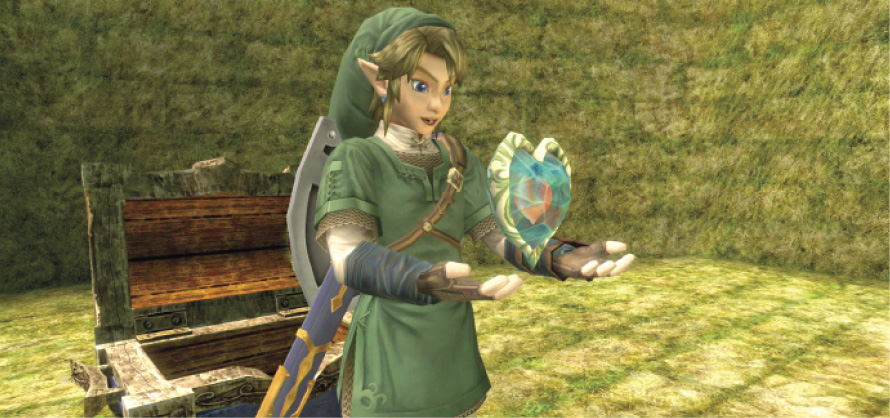
Ricochet left and right along the broken sections of marked wall, high above the path! A Lizalfos prowls the path below, but ignore him, and press the A button as you reach the end of the wall section you’re on, and bounce to the opposite side. You reach a high ledge with a lone chest. Open it!
Overworld Chest #81:
Piece of Heart #30
 Piece of Heart
You got a Piece of Heart. You collected five pieces and formed a new Heart Container! Piece of Heart #30 of 45.
Move to southern Hyrule Field just outside Castle Town, where Agitha was sitting in the flower bed, and the Goron smashed a rockfall for you. Propel up to the right tower outside the main gate, where you previously opened Overworld Chest #51.
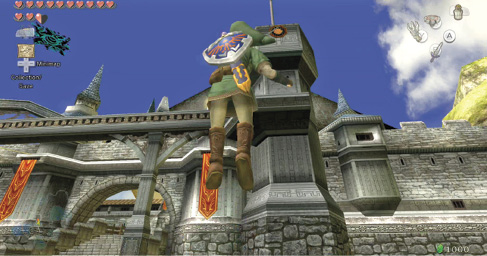
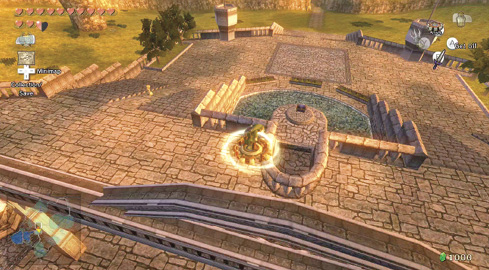
This time though, you’re not going to be walking the tightrope or moving hand-over-hand to the other tower. You can use the Spinner track here. When the Spinner reaches the middle of the track, jump with the button you assigned the Spinner to and steer yourself over the stone wall to the chest above the pool. Open the chest.
Overworld Chest #82:
Surprised Zelda Stamp