
The Legend of Zelda: Twilight Princess HD Guide Dungeon 4: Arbiter's Grounds
Task 6: Obtain the Big Key
Chamber 18: First Return to Chamber of Traps
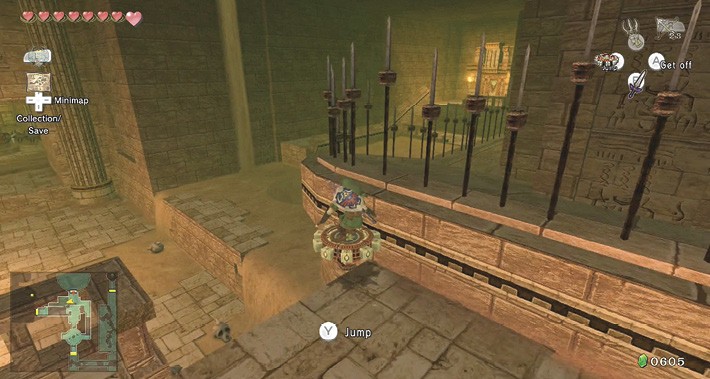
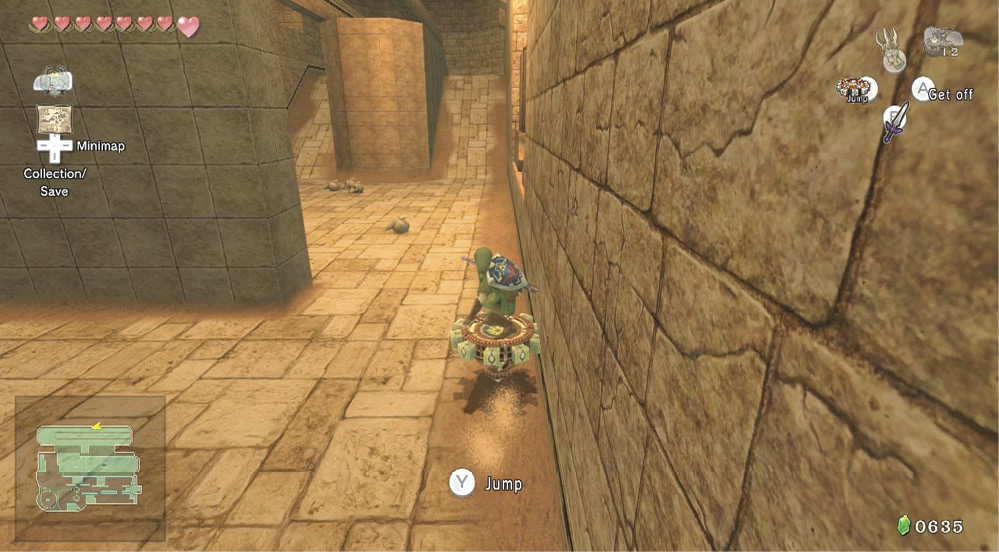
Exit the domain of Death Sword, and inspect the previous chamber. Look carefully, and you’ll see a groove in the right wall, so produce your Spinner and ride it around. As you reach the western sandy part you haven’t explored before, press Y to jump off the groove, and steer it to the opposite wall. Ride this up the slope, to the exit door.
Chamber 20: Spinner’s Paradise (B2 to BF to 1F)
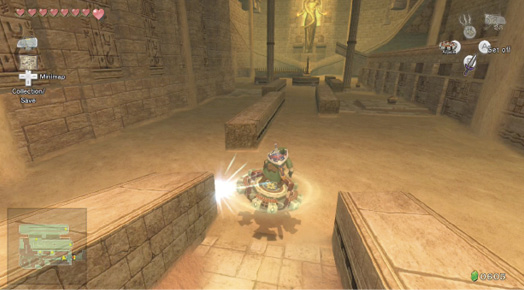
Enter this giant chamber and you can uncover the Spinner’s full potential! Here’s the quickest route out of here: begin by speeding west on your Spinner, using the low grooves to bounce between.
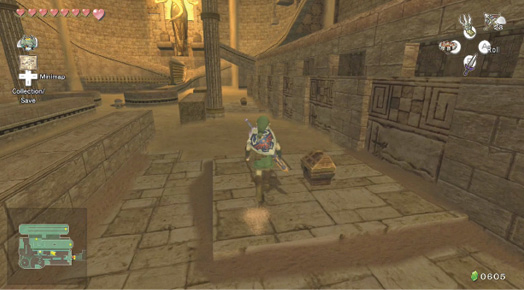
Stop here, on the lower ground, climb over the low groove wall, and open this chest.
Treasure Chest #14:
Bombs (10)
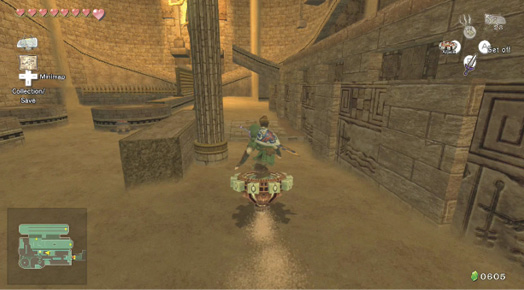
Spin across the sand to the next chest, on the second stone tile area. Open this too.
Treasure Chest #15:
Red Rupee (20)
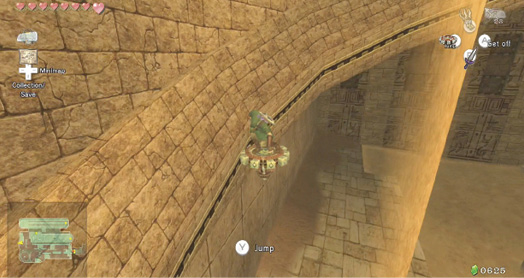
Now get back on the Spinner, and head between these two low groove walls. Continue in an westerly direction.
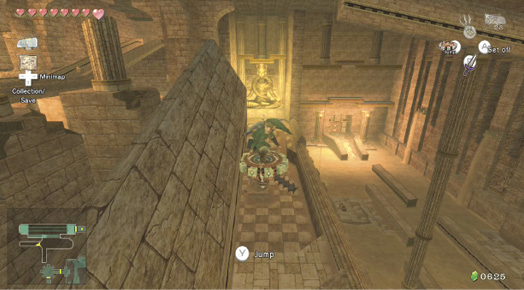
Then follow the sloping wall with the groove in a semicircle until you’re traveling east. Drop off the end and land in the second part of the floor below.
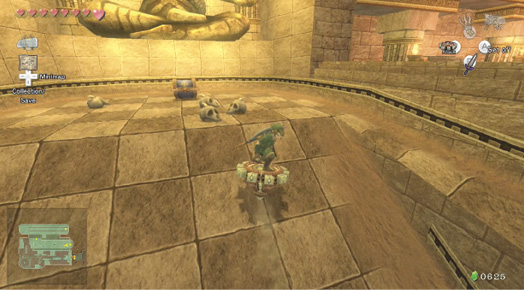
Continue to stand on the Spinner until you reach this upper area, and optionally knock into the Stalfos. Get off the Spinner, then engage the Stalfos in combat, ideally with Bomb Arrows. Then pry open this chest. This one’s a keeper!
Treasure Chest #16:
Piece of Heart #28
 Piece of Heart
You got a Piece of Heart! Collect two more for another full Heart Container. Piece of Heart #28 of 45.
Turn and stand on the Spinner, then face west and ride along the right groove wall, timing the move so you aren’t struck by the rotating spike trap. When you reach this point, as the wall runs out, press Y and hop across to the other wall, then back again. This leads to another leap across to a circular groove track.
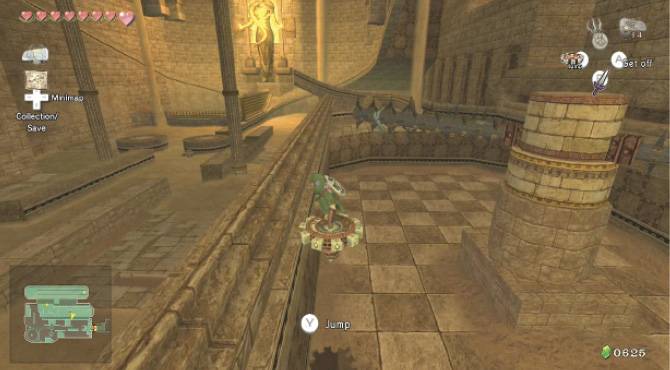
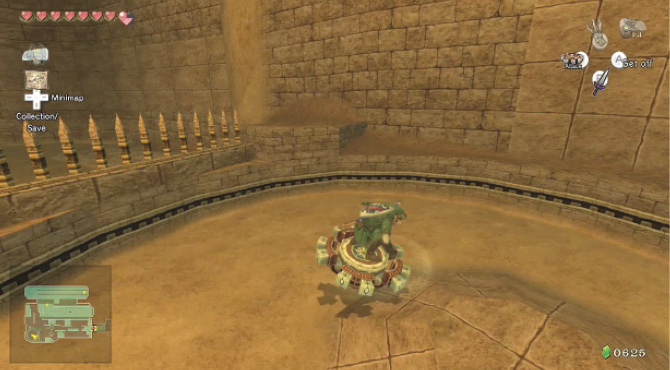
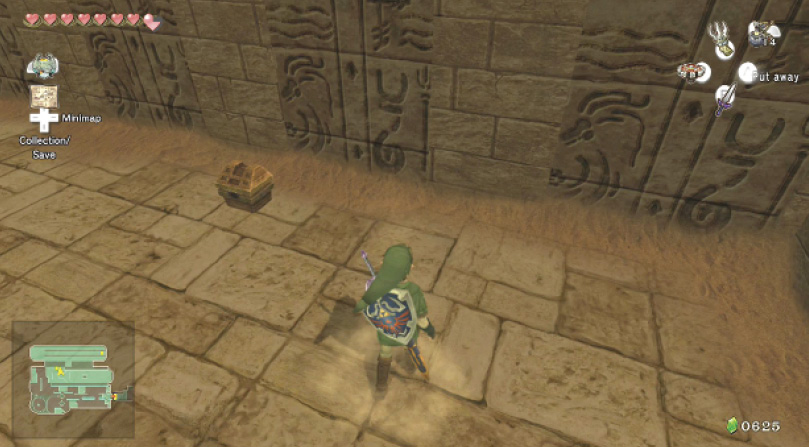
Before you make this jump, drop off the right wall at this point. A chest is cunningly hidden below you.
Treasure Chest #17:
Yellow Rupee (10)
Stop the Spinner, and land on the small slightly domed island in the chamber’s southwest corner. Stand on the Spinner again, and this time ride in the opposite direction, counter-clockwise around the chamber’s outer perimeter. At the end of the groove, drop to the northern section of this area.
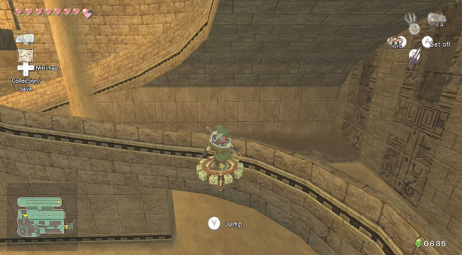
Land in this northern area, which is one long grooved chamber, and ride the Spinner to the east, locating this chest. Drop down, then engage two Stalfos in battle. Fire off two Bomb Arrows to defeat each one, then pry open this chest.
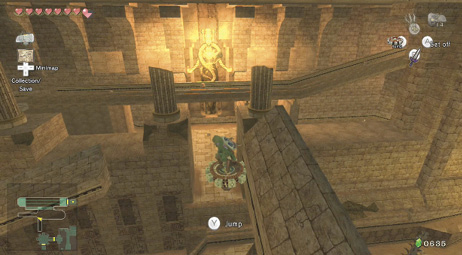
Travel to the far western end of this grooved section, to a ramp in the middle. Ride the Spinner eastward now, staying on each groove until you’re about to be struck by a spiked Spinner, then leaping across with Y. Dodge the Spinners until you reach the exit door.
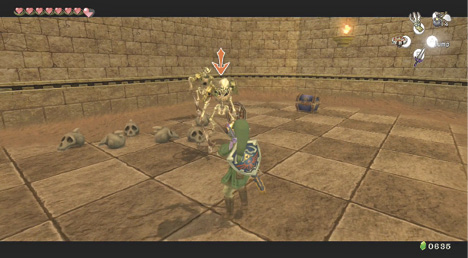
Treasure Chest #18:
Hylian Letter Stamp D
Chamber 21: Big Key Passage
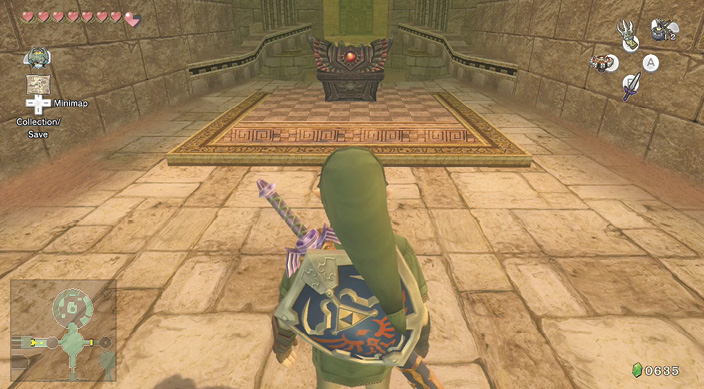
The exit from Spinner’s Paradise dumps you back in the midst of the dungeon, in the small thin chamber where you saw the Big Key chest so you can claim this most important item. Then use the Spinner to head back to Chamber #14.
Treasure Chest #19:
Big Key
 Big Key
You got a Big Key! Use it to gain access to the lair of this dungeon’s boss!