
The Legend of Zelda: Twilight Princess HD Guide Dungeon 6: Temple of Time
Task 8: Defeat Twilit Arachnid Armagohma!
Chamber 13: Boss Battle! Twilit Arachnid Armagohma
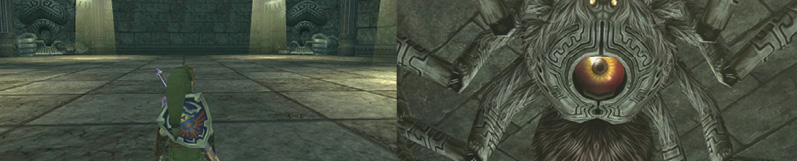
You enter a large and imposing arena. In each of the corners stand a giant statue, with a huge hammer, dormant and waiting. Something is scuttling on the ceiling. Look up to see the gigantic Armogahma. Her huge eye has spotted you! Engage!
Twilit Arachnid Armagohma
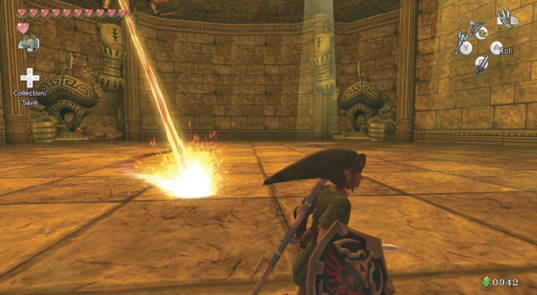
Step 1: Armagohma is a fearsome furry arachnid with additional abilities her young don’t have, and she starts with a nasty bolt of fire that streams forth onto the stone arena below. It can really sting (picture 1)! As you can see where the stream is going, roll away from it quickly, so she traces a tight circle in the ground; you definitely won’t be struck like this. 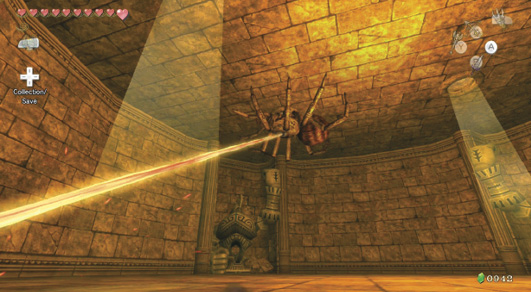
Step 2: After two jets of fire, Armagohma scuttles about the ceiling, and comes to rest randomly in one of four corners. As soon as she stops her fire, stand in the middle of the chamber, and bring out your Hero’s Bow. As soon as she stops, fire an arrow directly into the eye in the middle of her back. This can be done as shown; even when she begins to fire her next jet of fire! Step 3: As soon as she begins her fall, run directly to the corner, and around the twitching arachnid, bringing out your Dominion Rod as you go. 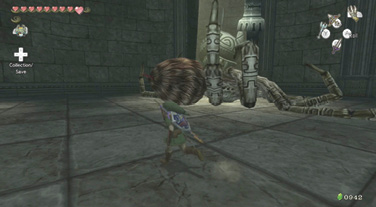
Target the giant statue and possess it, and then attack so the statue brings its heavy fist down into the middle of Armagohma. Repeat Steps 1–3. 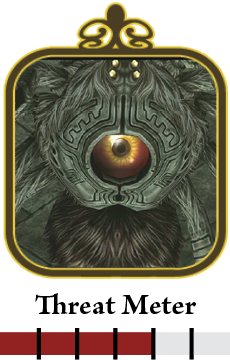
Step 4: When you’ve inflicted a nasty knock on her a couple of times, she lays a couple of dozen Baby Gohmas to waylay you during the next battle. Quickly run around, slashing at them, and make sure all of them are dispatched. Then dodge the jet again, and repeat Steps 1–4. 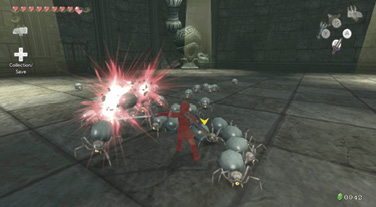
After the third fist pummeling by giant statue, Armagohma rolls onto her back, turns an inky black, and explodes! After the explosion has dissipated, you can see that only the eye is left, and it’s actually a Gohma, surrounded by Baby Gohmas! The mass tries to escape, scuttling away from you. 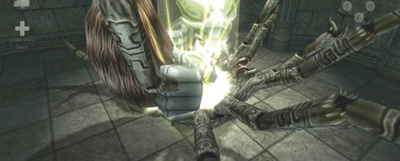
Step 5: There’s nowhere to run for this feeble arachnid! Bring out your Hero’s Bow and launch a couple of manually aimed shots at the eyeball from a distance, and they all explode! 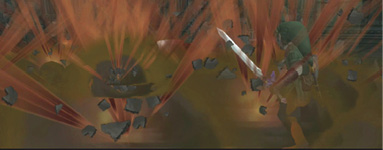
Out of the mass of twilight descends the third Mirror Shard! Midna takes it, and tells you that you need to reach the sky, as that’s where the last shard is supposed to be. She creates a warp portal for you. Collect your Heart Container, and depart. 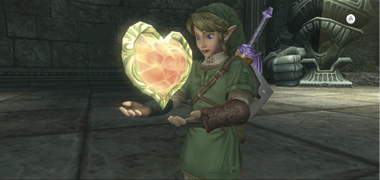
|
 Mirror Shard
 Heart Container