
The Legend of Zelda: Twilight Princess HD Guide Dungeon 6: Temple of Time
Task 4: Face the Deadly Darknut in Combat
Chamber 7: First Return to the Scales of Time (7F), to Chamber 9: Upper Spiketrap Corridors (7F to 8F)
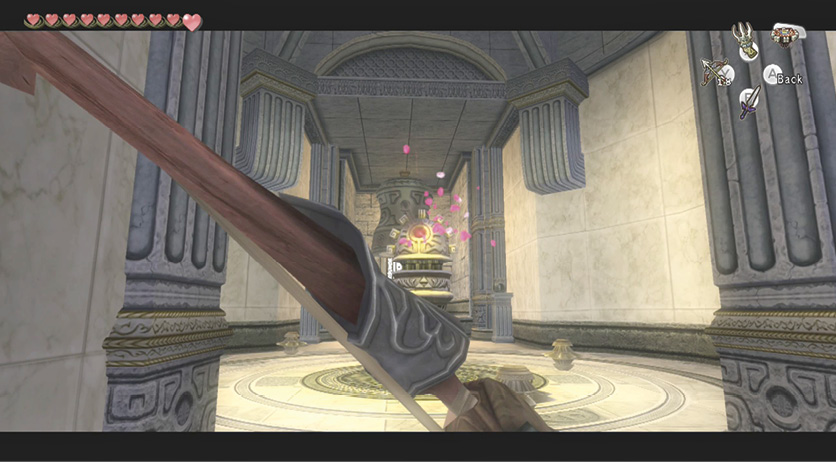
Return to the chamber with the giant scales, and turn south. Run past the chest you opened, to the exit door in the south wall. Notice the bell in the alcove? You’ll need to use that later on, but ignore it for the moment. Open the door, bring out your Hero’s Bow, and shoot the White Beamos in the corridor junction ahead.
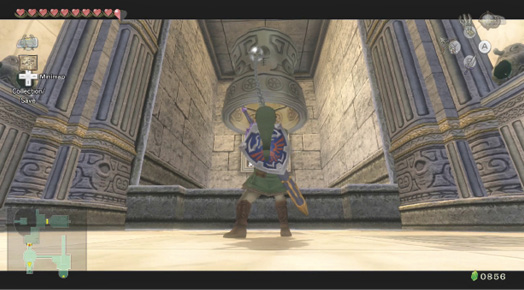
Run into this circular junction chamber, and stay on the outer rim, as you won’t be hit by any of the spiked Spinners rotating around the now-defunct Beamos. Head to the south alcove, where there’s another bell. Ring it with a Ball and Chain for another red Rupee. Ignore the horned statuettes for the moment, and head east.
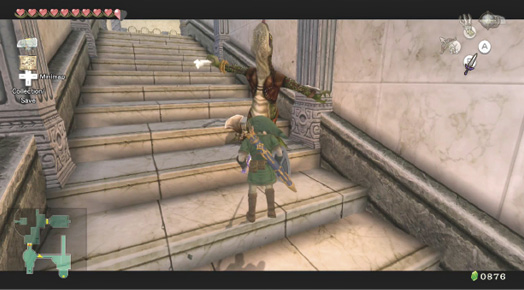
The staircase to the east has a Lizalfos waiting for you, and two more (one with a skull face) at the top of the stairs. Bring them down with whatever combat techniques you’re happy with (long-range sniping with Bomb Arrows, or shield pushes to stagger them, then sword slashes or your jump strike are all viable options).
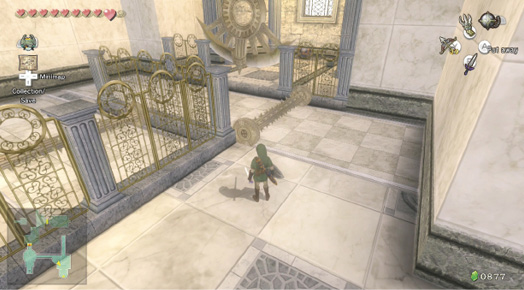
Treasure Chest: Now negotiate some sharp and spiky traps. Move to the floor-rolling spike pole, and when it rolls to the left, run after it, then south, and roll under the swinging axe pendulum, into a small alcove with a couple of horned statuettes. Open a chest here and take the Small Key inside.
Treasure Chest #12:
Small Key
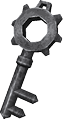 Small Key
You got a Small Key! This opens a locked door, but only in this area.
Smash the pots on either side of the chest (one has a Heart in it), and then run under the pendulum, stop, and when the rolling spike trap moves away, run to this point, between the two rolling traps. Then run past the second rolling trap, directly north.
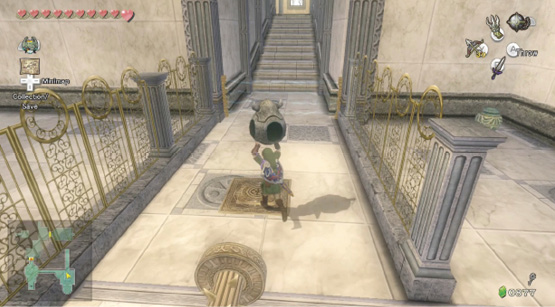
Move to the small alcove where you can pick up a horned statuette, but only after you smash a couple more pots (one has three Hearts inside). Then take the statuette, wait for a gap as the rolling trap moves to the eastern wall, then run 180 degrees around so you’re facing north. Drop the statuette on the floor switch. This deactivates an electrical fence.
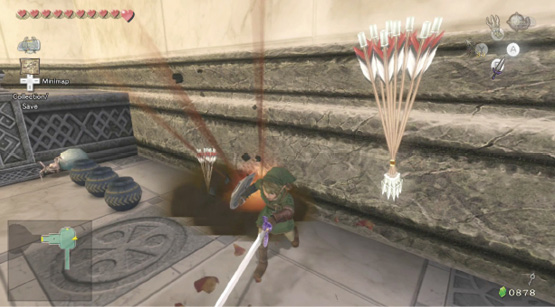
Chamber 10: Armos Guardian Room (8F)
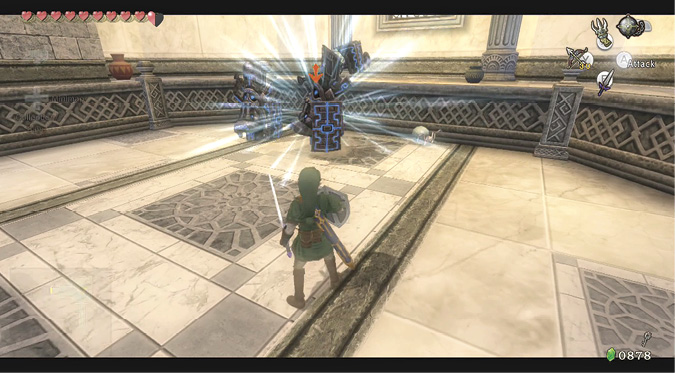
You’re now at the highest point in your dungeon exploration, a shallow, level chamber with two Armos at the far end, and a dozen or so Baby Gohmas. Leap right in, and defeat all of the scuttling sacks, and optionally refill your Hearts and arrows afterward by smashing the 11 pots along the right wall.
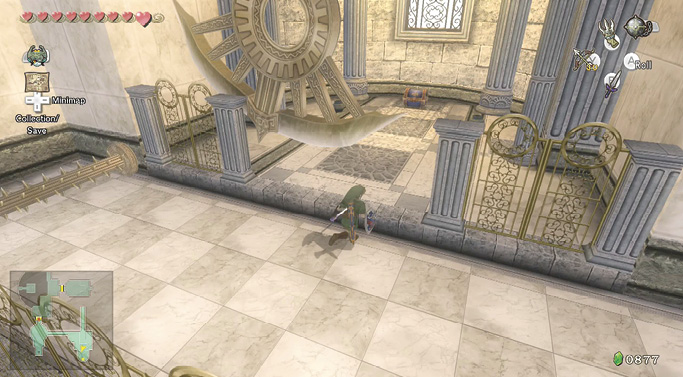
Treasure Chest: Once all the Baby Gohmas are gone, a chest appears in a flash of brilliant light. Ignore this for the moment, and instead concentrate on activating one of the two Armos; fighting one at a time is much easier! Slice the rear of each Armos, and once they both explode, a gate along the left wall opens. Claim the purple Rupee inside the chest, and smash any remaining pots you wish.
Treasure Chest #13:
Purple Rupee (50)
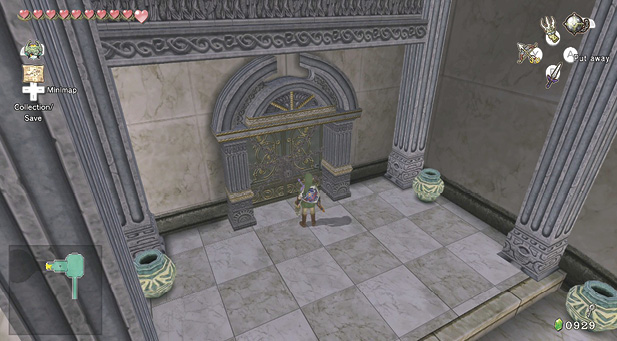
Scour the room for more pots to smash, and raise your energy to full if it’s low; you’re going to need it! Then run about the area that was immediately behind the gate, smashing more pots. Head for the locked door, and step through. Prepare for battle!
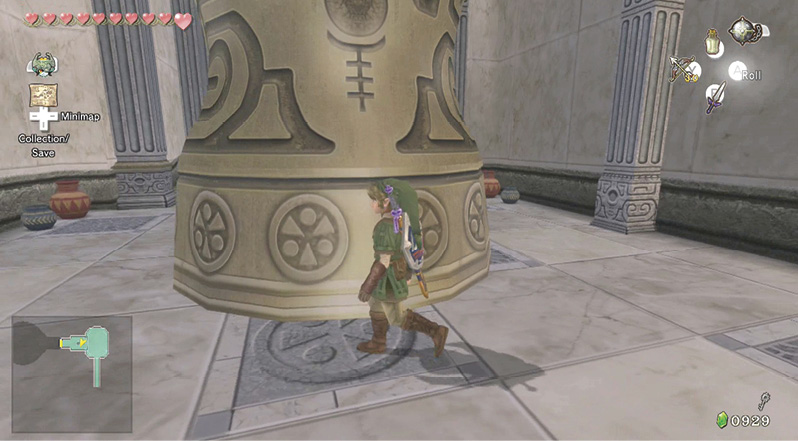
Before you begin your battle, stop at the entrance door, and look up. Ring the bell here with your Ball and Chain and a Fairy floats out. Use your Clawshot to retrieve it from inside the bell, and scoop it into a Bottle. You may need it!
 Fairy
Fairy
You caught a Fairy in a Bottle! When you fall in combat, this faithful friend gives you Hearts.
Chamber 11: The Arena of Darknut
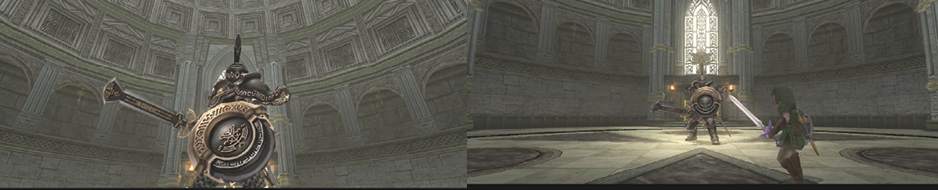
You open the door, and it closes behind you. You step into a large circular arena, with light streaming in from the windows. On a high shelf rests an armored mechanical contraption like the one guarding the first room. A large, black knight clad in onyx armor turns and faces you. This is the domain of Darknut!
Darknut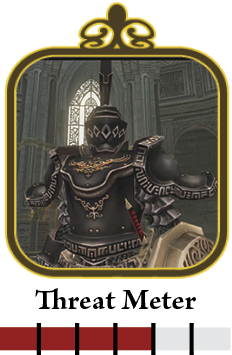
A simple dodge, and your trusty Master Sword can whittle down Darknut’s armor in moments. Patience and timing lead to victory! 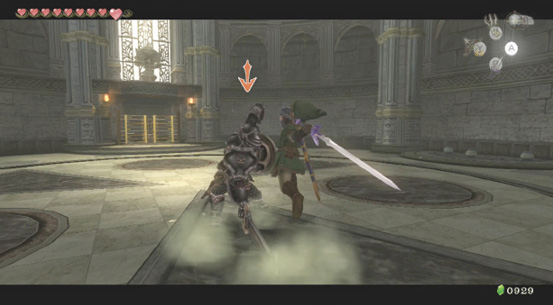
Step 1: Fighting Darknut is almost impossible if you don’t follow this excellent technique. If you do though, you can defeat him without being hit at all! First, ZL target him and wait until Darknut raises his massive sword like this. 
Step 2: At this precise moment, or as quickly as you can when he steps back with his sword raised, execute a backflip (down and A). You then flip out of the way as Darknut’s sword comes crashing down where you were standing! 
Step 3: Immediately after performing the back flip, press the A button without pressing a direction and you leap in with a massive sword slash that rocks Darknut, and pieces of armor fly off everywhere. Combo this move two more times until he raises his shield. 
Step 4: Now repeat this technique around five or six additional times. Each time you strike back, more of Darknut’s armor peels away and flies off around you. Continue until Darknut looks like this. He’s about to change weapons. Get ready for round two! 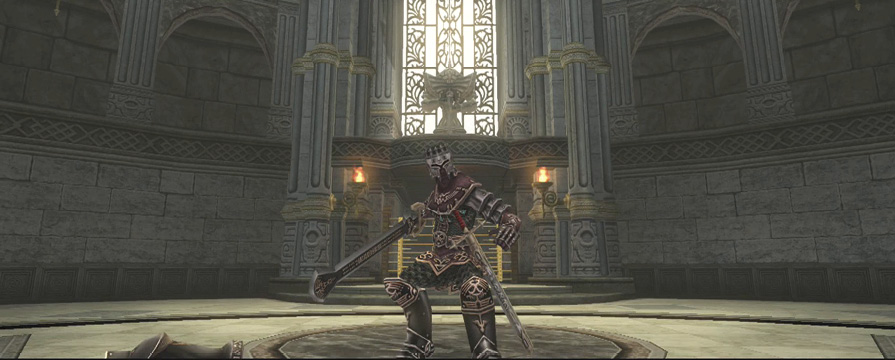
Step 5: Darknut sheds his sword and throws it at you. You automatically dodge it, but if you fight Darknut again, roll out of the path of the sword. Now Darknut is faster, and a different technique is called for. When Darknut thrusts forward, roll around him using to the left or right after pressing A. Do this until you’re at his back. 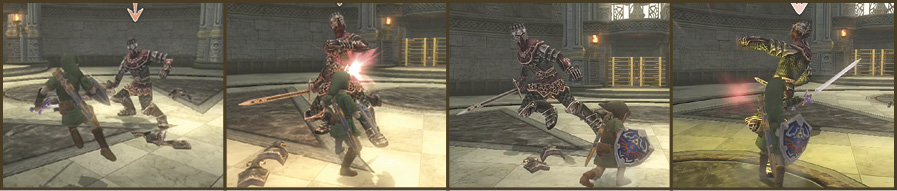
Step 6: Then try to inflict damage with a back slice or a spin attack. Even if Darknut blocks (as he does here), the follow-up slashes can strike him two or three times. Then back up quickly so you aren’t struck when Darknut begins to block your strikes. Repeat Steps 5 and 6 until Darknut falls! 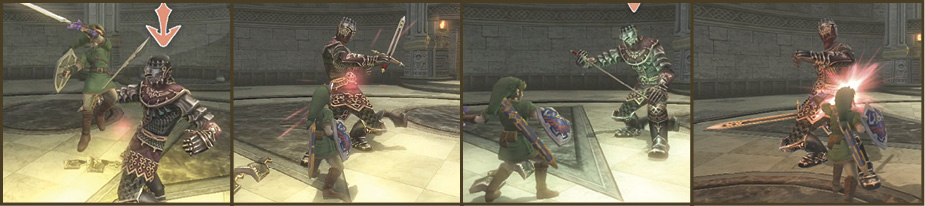
|
Treasure Chest: Now move to the far end of the arena, to the chest that Darknut was guarding, and pry it open. Inside is another exceptional weapon. This one is the Dominion Rod!
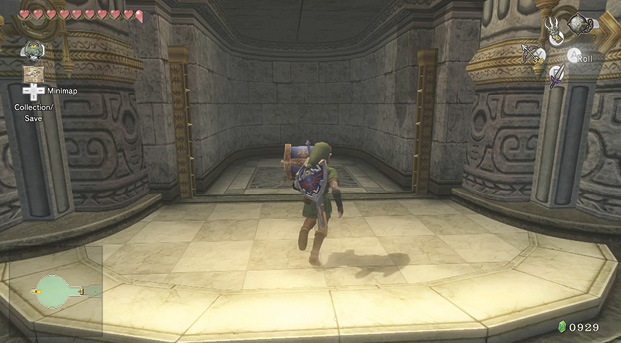
Treasure Chest #14:
Dominion Rod
 Dominion Rod
You got the Dominion Rod! This mystical artifact breathes life into ancient statues.
Dominion Rod
The Dominion Rod is an arcane device that isn’t strictly a weapon, but it does allow you to control a few ancient statues and pieces of machinery. It imbues them with a green glow when you target the statue and swing with Y. Place this weapon on your Y immediately, and aim at the mechanical statue on the ledge above you. It pulses with green energy and follows your movements. If you head north, it heads north, until it hits a wall, and then stops. If you hit a wall, it keeps going until it hits a wall (this is important when controlling the statue in tight areas). When you swing your Dominion Rod, it swings its weapon, which can crush stone and a few enemies you’re unable to bash! Watch out though, because it can strike you, too! 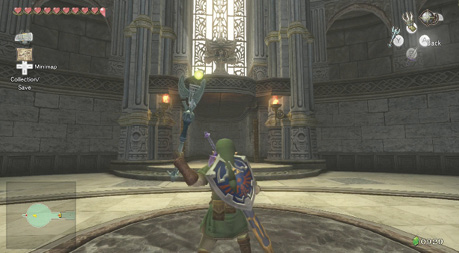
|
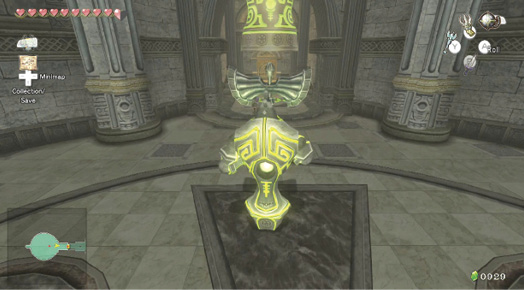
Coax the controlled statue to the arena entrance, and all the way to this bell. When the statue bounces onto the platform under the bell, everything glows green, the bell descends, and the statue is sucked up into the bell area. Remember to bash the bell with a Ball and Chain before the battle to secure your Fairy (or you can grab it now).