
The Legend of Zelda: Twilight Princess HD Guide Amiibo and the Cave of Shadows
Amiibo
Along with a shiny new coat of paint, Twilight Princess HD comes with a new challenge area and amiibo support. This section of the guide will break down what each amiibo does when used in game and how to conquer the Cave of Shadows, a new grueling dungeon that will put your Wolf Link skills to the test.
There are a total of six amiibo that work with Twilight Princess HD; each one does something to either aid or hinder Link after it has been used. The amiibo that can be used are Link, Toon Link, Zelda, Sheik, Ganondorf, and the Wolf Link amiibo that came with the retail copy of this game.
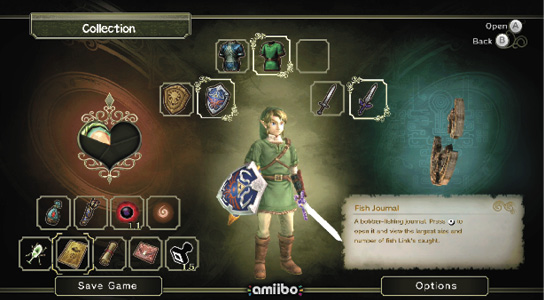
In order to use an amiibo you have to press down on the D-Pad while in-game to pull up the Collection screen. When you see the “amiibo” sign on the bottom-middle of the Collection screen, you’ll know you’re good to use an amiibo whenever you’re ready. Set the amiibo on the bottom left corner of your Wii U GamePad (where the little square icon is) and hold the amiibo perfectly still. When the game has registered your amiibo, a message will pop up both onscreen and on the GamePad, indicating that the amiibo has been sensed and its effects have been activated.
Most of the amiibo that can be used with Twilight Princess HD help Link by giving him valuable resources; the catch is that you can use those precious resource-giving amiibo only once per 24-hour day, so use them sparingly and only when absolutely necessary!
Amiibo functionality is unlocked in-game after completing the first Tears of Light quest to remove the Twilight from Faron Woods (Found in the “A Wolf Howls in the Twlight” chapter of this guide). Once it’s completed, the “amiibo” sign will appear on the Collection screen any time you open it–you may have to wait a few seconds before it pops up, so be patient and don’t worry if you don’t see it immediately.
Usuable amiibo and Their Effects
Each amiibo will either hinder or help Link when they are used. This section will breakdown what the effect of each amiibo on the game is.
Wolf Link
Unlocks and teleports you to the Cave of Shadows. It is also used to replenish Hearts once inside the Cave of Shadows once per trip. It can only replenish Hearts after your first trip through the Cave of Shadows and it will only replenish Hearts that it stores up from all of your complete Cave of Shadows runs. Any Hearts you have at the end of a run through one of the Cave of Shadows’ challenges will be stored in your Wolf Link amiibo. When you use your Wolf Link amiibo while in the cave, it will either refill all of your Hearts or just refill your Hearts in the amount that it’s stored up to that point..
Sheik
Fully restores Hearts once a day (Can be used in Cave of Shadows).
Zelda
Fully restores Hearts once a day (Can be used in Cave of Shadows).
Toon Link
Replinishes your arrows once a day (Can’t be used in Cave of Shadows).
Link
Replinishes your arrows once a day (Can’t be used in Cave of Shadows).
Ganondorf
Link takes twice the amount of damage.
Cave of Shadows
If you’re a Twilight Princess veteran and looking for a new challenge to sink your teeth into, or new to the game and looking to push your skills to their limits, the Cave of Shadows is for you. You have to play through this brutal challenge dungeon exclusively as Wolf Link. No items, no sword, no bottles full of healing potions; just pure, unfiltered wolf combat. If you weren’t a master of Wolf Link before, the Cave of Shadows will quickly catch you up to speed.
Your goal is to fight through each floor listed in each challenge all for the goal of Rupees and a bigger Rupee wallet. Every floor has specific enemies to fight and defeat before you can move on, and some of these enemy combinations are absolutely devious. We list every floor under every challenge and we also give you the best, safest strategies to get through each floor, taking as little damage as possible.
The Cave of Shadows is broken down into three challenges, each one unlocks as you progress through the game (you can see the conditions at which each challenge unlocks on the floor breakdown ahead). Each new challenge unlocks more floors for you to take on, but the catch is you have to do all the floors from the previous floor to get to the new floors. As an example, to complete challenge one you need to defeat all the monsters on floors 1-5. When you unlock challenge two, which unlocks floors 6-18, you’ll have to play through floors 1-5 before you can play through 6-18. That means when you unlock the third and final challenge, you’ll have to playthrough a whopping 38 floors to complete the Cave of Shadows. Pretty tough, right? It gets worse.
Playing as Wolf Link isn’t the only big restriction for the Cave of Shadows: The enemies don’t drop any Hearts at all. You can find a scant amount of Hearts as you battle your way through the cave to hold you over. The Cave of Shadows is a true test of endurance, skill, strategy and reaction times.
Have we put fear into your heart? Feeling intimidated? Let’s take it back a notch then. You may not find more than a small handful of Hearts while battling through the Cave of Shadows, but there are ways to heal. Using the Wolf Link amiibo while in the Cave of Shadows will recover all of your Hearts once per visit to the cave. Using the Zelda or Sheik amiibo while in the Cave of Shadows will also recover all of your Hearts, but they can only be used once a day, inside or outside of the cave, so you should only use them when you’ve used your Wolf Link amiibo recovery and you’re near certain that defeat is around the corner.
Now that we’ve covered how to avoid death, let’s talk about what happens when you succeed. Every time you complete one of the challenges you’ll be met with the Record screen, which breaks down how long you played, how many Hearts you lost during that playthrough, and how many enemies you defeated without taking any damage. You can also see profile images of Wolf Like Ganondorf and Princess Zelda at the top of the screen. These show when you used those specific amiibo so you can keep track of your personal bests. Managed to get through the whole Cave of Shadows without needing a Zelda or Wolf Link heal? Those profile images will stay dark. Activated Ganondorf at the beginning of the cave and managed to make your way through the entire thing without dying? You’ll see a ‘B’ followed by the number of the floor you activated the amiibo on, so you can challenge your friends to do the same. You can play the Cave of Shadows again and again to improve your records and prove that you are the best Twilight Princess player there ever was.
For True Heroes OnlyWant a true challenge? Try playing through the cave on Hero Mode with the Ganondorf amiibo activated, then avoid using Wolf Link, Zelda, or Sheik amiibo to heal yourself. |
Challenge 1
This challenge consists of Floors 1-5. It unlocks along with amiibo functionality after reviving Faron by completing the first Tears of Light segment.
Floor 1: Three Twilit Messengers
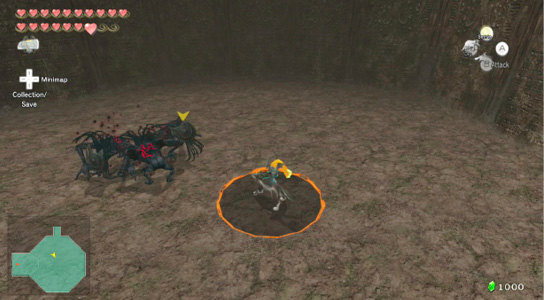
There are three dig spots in this room, each with a green Rupee (1). Turn on your wolf sense (press the X button while in wolf form) to see the dig spot. Make sure to wait until you’ve cleared the room of enemies before trying to find and dig up the dig spots in the Cave of Shadows.
Either take one of the Messengers out with normal attacks, then ensnare the remaining two in your energy field attack, or gather all three in your energy field (hold B, then release when the enemies are inside your energy field) and take them all out together.
Floor 2: Four Twilit Messengers
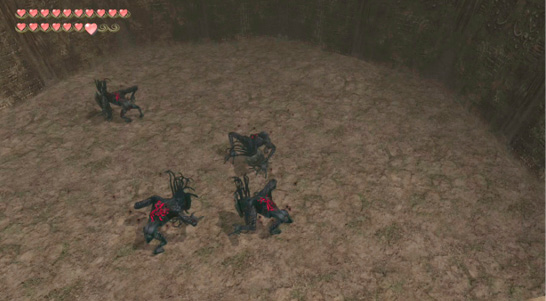
The strategy for this room is pretty much the same as the last one: take out one or two with normal attacks, then gather the remaining Messengers in your energy field attack–or you can just gather them all together and knock them out at the exact same time if you’re feeling gutsy.
Once you’ve cleared all of the Messengers out, stand directly against the wall on the northeast side of the room. The R button will begin flashing on screen, letting you know Midna wants your attention. Press the R button and Midna will fly up onto a platform with pots on it. ZL-target her and press A to reach the pots. The pots contain two blue Rupees (5) and a single green Rupee (1) for your troubles.
Floor 3: Three Twilit Babas, Four Twilit Vermin
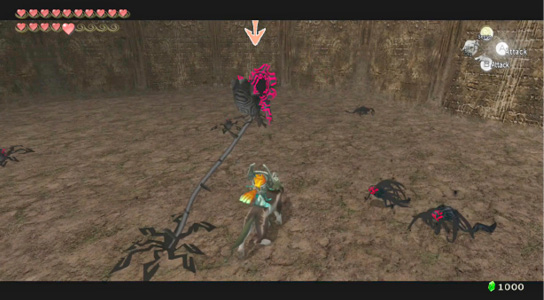
You can find a dig spot with a red Rupee (20) in it in this room.
Focus on the four Twilit Vermin before taking out the Babas. The Vermin are mobile and will gladly attack you while you’re working on the Babas. The Babas, on the other hand, are entirely stationary and have a limited range; if you keep your distance from them while taking out the Vermin, you’ll be perfectly fine.
Floor 4: Four Twilit Vermin, Four Twilit Keese
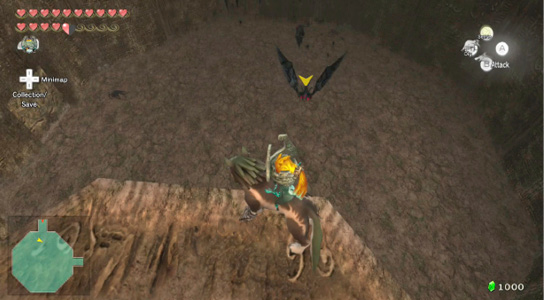
You can find a dig spot with a yellow Rupee (10) in this room.
Before dropping down into this room, approach and wait on the far edge of the balcony. You can get some of the Keese to fly up to you while you’re still on the balcony by approaching the edge and standing there, or by walking slowly over the edge to get Link to slip off and dangle from it. This will make the room a bit easier. Just make sure not to jump off the balcony while attacking a Keese.
Once you’re down on the ground, wait for the Keese to come to you and clear them out, then go for the Vermin.
Floor 5: Four Twilit Vermin, Four Twilit Messengers
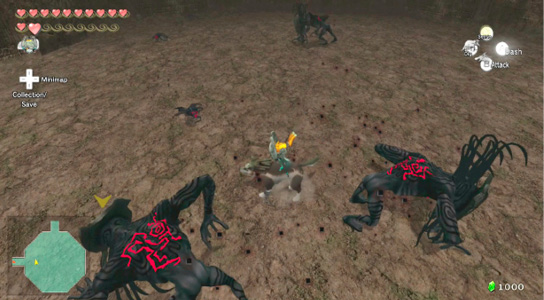
Focus on the Vermin before challenging the Messengers. The Messengers require you to use the energy field attack, which makes Link move much slower—a perfect time for the Vermin to come over and muck up the works. On top of that, the Messengers aren’t particularly fast, so you could roam around the room taking out the Vermin and not have to worry about the Messengers’ attacks.
Prize 1: Red Rupee
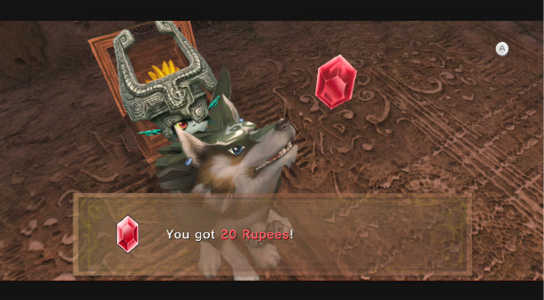
Your prize for completing the first challenge is a red Rupee (20). Every time you reach this floor in following playthroughs, this treasure chest will always be here to give you another red Rupee.
If you’re reaching this room during the second or third challenge, make sure not to miss the dig spot in the center of the room. You can find a single Heart in it, which will help make up for any attacks you might have taken on the floors leading to this room. You can find this dig spot while on the first challenge, but since this marks the end of the first challenge the Heart isn’t all that useful at the moment.
Challenge 2
Consists of floors 6-18. This challenge will appear after completing Arbiter’s Grounds and watching the cutscene about Ganondorf’s imprisonment. These floors are behind the door that was locked at the end of Challenge 1, which will now be open when you reach it again.
Floor 6: Four Bokoblins
You can find a dig spot with a yellow Rupee (10) in this room.
Drop off the left or right side of the balcony and hug the wall. Simply hold B and wait for any of the Bokoblins to file in, then release it. The energy field attack defeats nearly everything in one hit and the Bokoblins aren’t known for their stunning wit and lightning-fast speed, so repeatedly unleashing the energy field attack while they sluggishly meander your way is a safe and sound plan.
Floor 7: Eight Keese
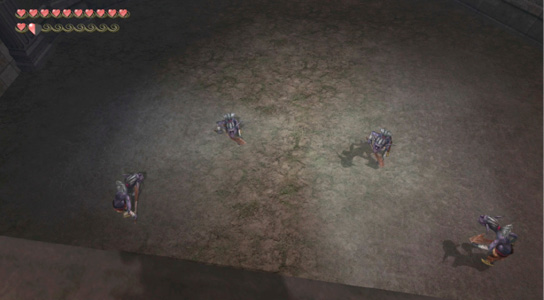
Things can get a little hairy in this room if you let the Keese group up. Either quickly pick them off one at a time or use your energy field attack (hold B, then release when enemies enter the energy field) to defeat several at once if they start grouping together.
Floor 8: Six Baba Serpents
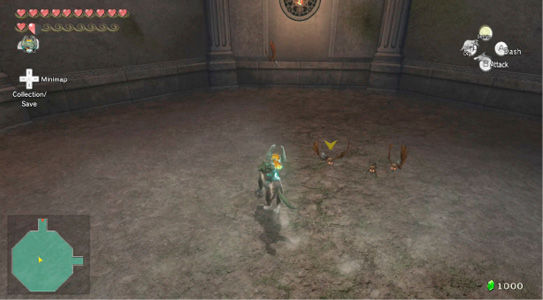
You can find a dig spot with a single Heart in this room.
Despite their frightening appearance, the Baba Serpents in this room are a total cakewalk. Simply ZL Target a Baba, hold forward and mash the A button; Link will take care of the rest.
Floor 9: Four Helmasaurs
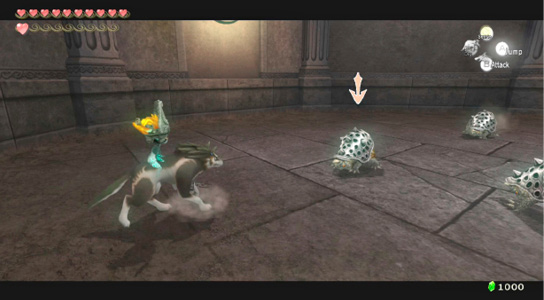
These tenacious little dinos can be a real headache for impatient players (we definitely have fallen into that category on more than one occasion), but with an observant eye and a quick hand, you can get out of this room unscathed.
Jump toward the side of the room that is the furthest from any of the Helmasaurs. Slowly approach them, then wait for them to charge you. ZL-target them and press A while holding forward on the Left Analog Stick. A single jump attack on their oh-so-tender hindquarters is all it will take to knock these steely foes out.
Floor 10: Nine Torch Slugs
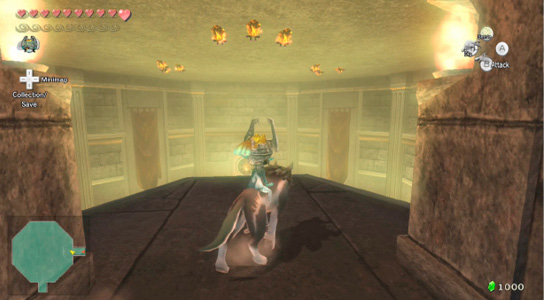
Look at the ceiling before dropping down into this room. You’ll see several Torch Slugs ready and waiting to ambush an unsuspecting, unobservant Link. Walk to the edge of the balcony to make three of the Slugs drop to the ground. Now hop down and carefully defeat those three, then carefully get another set of the three to drop by looking at the ceiling and slowly walking toward them, ready to jump back the second you hear their telltale dropping sound. Defeat them as well, then repeat this one more time for the final group and you’re good to go!
If you want to play it extra safe, you can use your energy field attack once you have an entire group inside of it. This prevents the Slugs from hitting you with their flame discharge attack in case you miss one.
Floor 11: Six Red Tektites
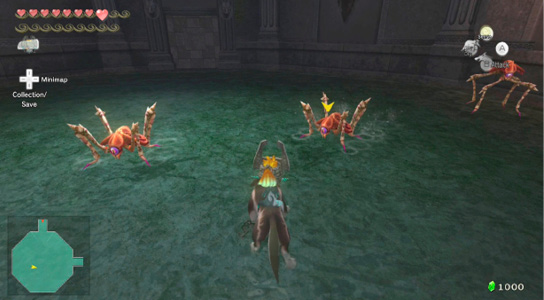
These enemies can take a beating, so if you want to get out of this room unscathed, use your energy field attack on any Tektite you can get to fall into it. Repeat this for all six of the Tektites to make quick work of this room.
Floor 12: Three Bulblin Archers
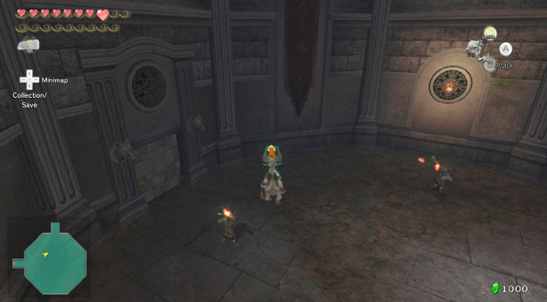
You can find a dig spot with a single Heart in this room.
It’s a real challenge getting out of this room without taking damage. The best method we found for dealing with these obnoxious archers is to circle the room and do a jump attack (ZL-target, hold forward, press A) once on each one, then circle the room and do it a second time. The jump attack knocks the Bulblins onto the ground, preventing them from firing at you until they get up again. As an added bonus, when they get up they usually aren’t targetting you again unless you happen to be near them. If you time your jump attacks just right, you can also knock their arrows out of the air as they fly your way.
Two jump attacks is all it takes to defeat a Bulblin Archer.
Floor 13: Three Dodongos
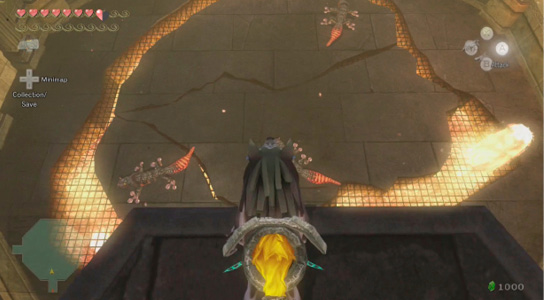
Stay off of the grates at all times and try to take keep the Dodongos from grouping together by focusing on one at a time and doing so carefully. Make sure to avoid ZL-targetting the Dodongos until just before you’re ready to strike. ZL-targetting slows you down, making it much harder to get to the Dodongos’ tails and also making you much easier to hit with their fire breath.
Wait for a Dodongo to breathe fire before attacking. Once it starts shooting fire out of its mouth, move behind it and jump attack it three times quickly and consecutively. Repeat this for all three to clear the room.
Floor 14: Every Flavor of Chu
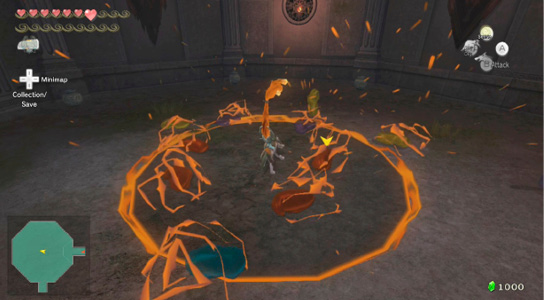
There are eight pots around the room, each with a yellow Rupee (10) in it. Jackpot!
This room isn’t hard under almost any circumstances (except if you blindfolded yourself, tied your hands behind your back and played the game with your teeth!) You can stand in the center of the room and use your energy field attack to take out large groups of the rainbow jellies or just hold the ZL trigger, hold forward, and mash A to jump attack your way through this room.
Just keep your eyes open (unless you’re doing the afformentioned no eyes, no hands, teeth control challenge) and you’ll be completely fine.
Floor 15: Ghoul Rats
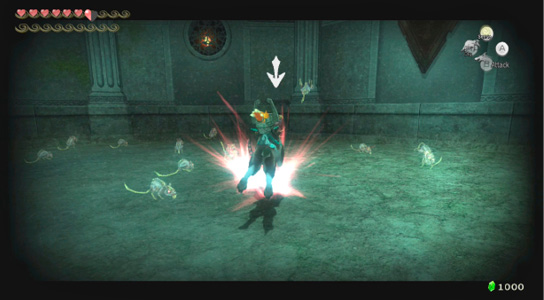
This room is a breeze. Just turn on your wolf sense and start spin attacking all of the Ghoul Rats in the room. There’s not much they can do to cause you any real trouble, so consider this room a gimme.
Floor 16: Fifteen Bubbles
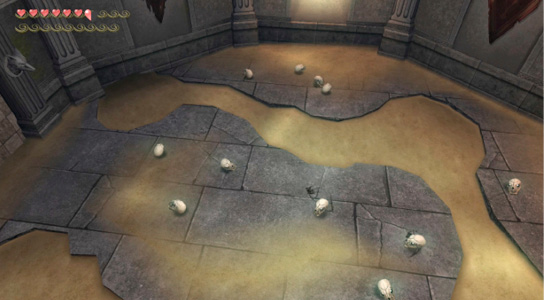
You can find a dig spot with an orange Rupee (100) in this room.
The energy field attack is extremely beneficial in this room. Things can get out of hand pretty quickly here, but if you use your energy field attack on any nearby groups of Bubbles, you can keep things under your control.
Just make sure to avoid the quicksand as much as possible; it’s a lot easier to sink in it than you might think, and sinking will restart the room, meaning every Bubble you defeated is back and ready to fight again.
Floor 17: Stalkins
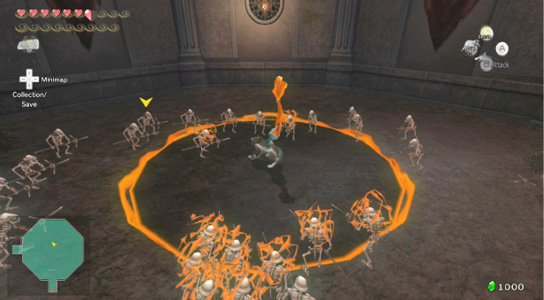
Like the floor before this one, using the energy field attack will make this room mostly a breeze. Just don’t let the Stalkins get too close and you’ll be perfectly fine.
Floor 18: Two ReDeads, Poison Mites
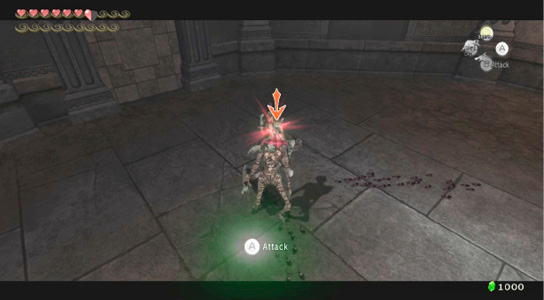
Ignore the Poison Mites while in this room—unless they’re causing you trouble. Race over to either one of the ReDeads and do a jump attack on it. This will allow Link to chew on the ReDead and incapacite it while doing so. As soon as Link jumps off your chosen ReDead, immediately jump attack again and mash that A button one more time to finish this creepy baddy off.
Repeat this for the remaining ReDead and you’re good to go. The Poison Mites will perish automatically after both ReDeads have been defeated.
Prize 2: Purple Rupee
Two challenges down, one to go. The next one is nothing to scoff at, but you’ll have plenty of time to prepare before you run into the third and final challenge.
You can find a dig spot with a single Heart in it in the center of this room.
Challenge 3
Floors 19-38. This challenge is unlocked during your visit to the Palace of Twilight when you aquire the light-infused Master Sword.
Floor 19: Three Skulltulas, Five Deku Babas
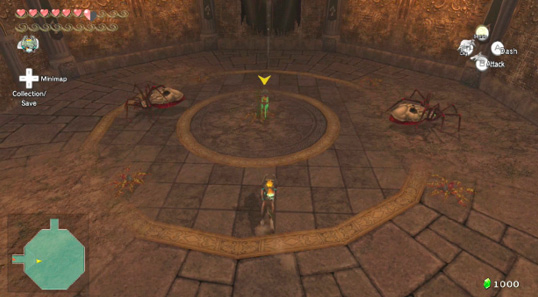
Don’t let the Skulltulas spook you; this room is pretty easy if you know what you’re doing. Drop down and focus on any enemies directly beside you to keep things under control. Once you’ve cleared them out, move on to another enemy and carefully take it out, as well. Repeat this until all the enemies in the room have been defeated.
Floor 20: Ghoul Rats, Three Helmasaurs
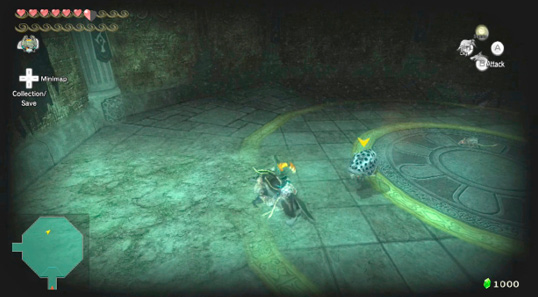
This room can be quite a challenge, but it’s definitely beatable. There are three Helmasaurs roaming around the room. They wouldn’t be a problem were it not for the Ghoul Rats that latch onto and slow you down, making you a perfect target for a Helmasaur’s horned helmet.
Look over the ledge of the balcony and find out where the Helmasaurs are. Now, jump off the balcony in the area closest to you with the fewest Helmasaurs. We’re going to use the turtle method to get through this room without taking any damage. Once you land, turn on your wolf sense and take out any nearby Ghoul Rats while trying to keep an eye on any nearby Helmasaurs. Once you’ve cleared the immediate area of Rats, start slowly making your way toward your nearest Helmasaur. Try to carefully bait the Helmasaur into charging you, side-step out of the way, then attack its all-too-vulnerable hindquarters. Repeat this process for the other two Helmasaurs while defeating any Ghoul Rats you see in the interim.
If there are no safe spots to jump from the balcony, then immediately focus on the Helmasaur that is antagonizing you, then try to take out any nearby Ghoul Rats before moving on to the next two Helmasaurs.
Floor 21: Two Lizalfos (Skull Face), Four Armos, Six Bokoblins
This room is very tough to walk out of without taking at least a hit or two, so don’t feel bad if you get a little beat up. The goal here is to avoid waking up any of the Armos on the four corners of the room while taking out the Lizalfos and the Bokoblins. Once you’ve taken out all of the Lizalfos and Bokoblins, you’re free to challenge the Armos one by one. Take caution to avoid using the energy field attack if an Armos has entered the energy field. Hitting them during the attack will just make Link bounce and cancel his attack prematurely, leaving you wide open for the Lizalfos and Bokoblins.
There are a couple of ways we found help make this room easier: the crazy way and the conservative way. First, let’s go conservative: Jump off of the left or right side of the balcony and try to get as much in the middle of the north or south walls as possible. As soon as you land, start holding B and wait for any of the Bokoblins or Lizalfos to enter your energy field, then release and repeat.
Now for the crazy way: Jump into the middle of the room (which also happens to be in the middle of all the Bokoblins and Lizalfos), then immediately do a spin attack (rotate the Left Analog Stick in a circle and press B). This will knock down any of the nearby enemies, which will give you time to immediately follow-up with an energy field attack as soon as an enemy enters the energy field. Continue to use your energy field attack until all of the Lizalfos and Bokoblins have been defeated.
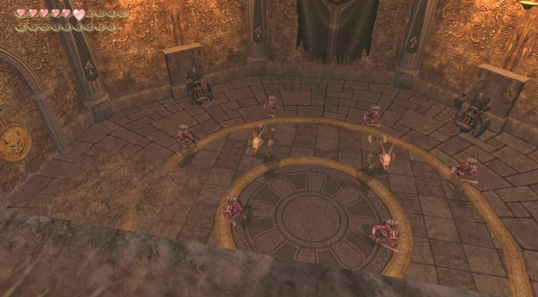
Now focus on each Armos individually. Make sure to jump back as soon as they start to malfunction. They begin swinging their hammer around wildly, which is an attack that is very easy to get hit by. Once you defeat all four Armos, you’ll be in the clear.
Floor 22: Four ReDeads, Eight Deku Babas
Don’t let the Deku Babas intimidate you here. The ReDeads are absolutely the biggest threat in this room and you need to extinguish that threat as soon as possible. Focus solely and completely on the ReDeads until they’ve been defeated. Once the undead no longer walk amongst the living, the Deku Babas are little more than overgrown house plants.
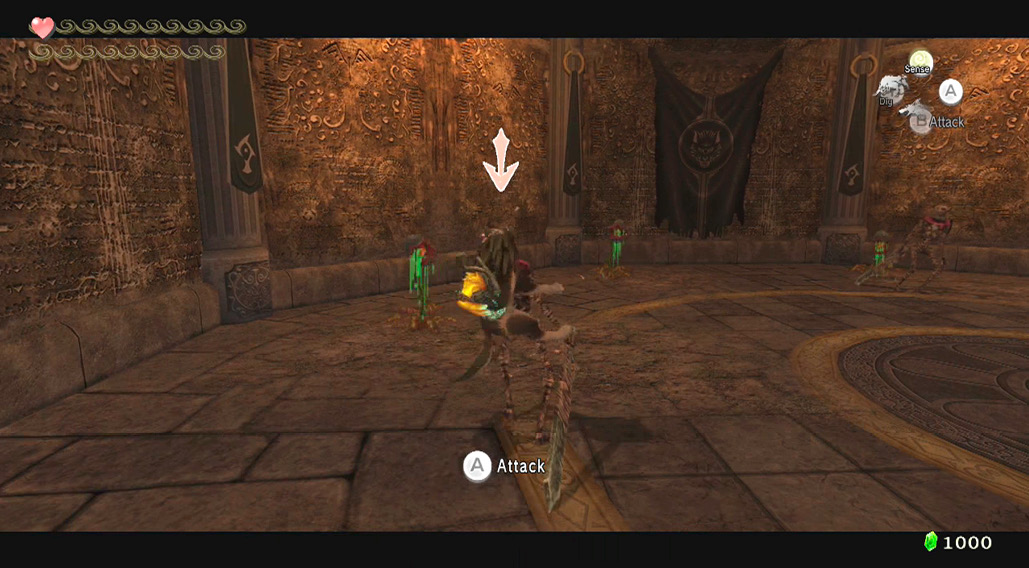
Floor 23: Two Dodongos, Six Fire Keese, Fourteen Torch Slugs
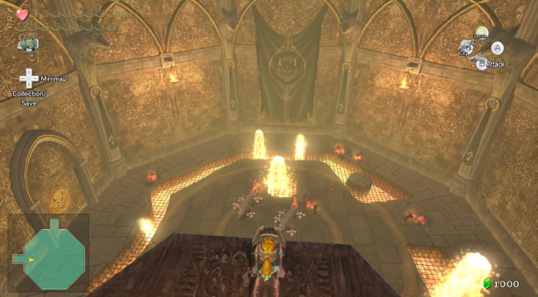
There are two dig spots in this room: one with a yellow Rupee (10) and one with a green Rupee (1). There are also lava fountains that shoot up through the grates, so make a point to stay off of the grates.
Stay on the outsides of the room and avoid the middle and using the energy field attack at all costs. If you accidently ZL-target one of the Dodongos, immediately let go of the ZL trigger; it’s very ease to accidently side-step into a Dodongo’s flame breath or a lava fountain while ZL-targetting.
Once you’ve cleared all of the Keese and Slugs on the outer edges of the room, head into the center and take out the Dodongos. And make sure to stay off of the grates at all times unless you fancy some deep fried wolf.
Floor 24: Five Bokoblins, Five Keese (On the ceiling), Ghouls Rats
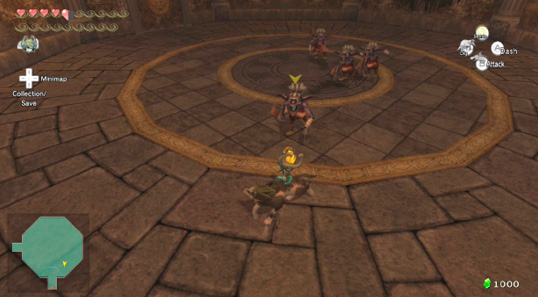
Drop down off the left or right ledges of the balcony and do so while staying as close to the wall as you possibly can. Use your energy field to take out any Bokoblins that come near you. When you feel you can safely get away with it, spin attack to defeat any Ghoul Rats hanging off of you.
Try to defeat the Ghoul Rats before taking on the Keese. Ghoul Rats weigh and slow you down, making attacks against the aerial blood-suckers nearly impossible.
Floor 25: Two Bublin Archers, Three ReDeads
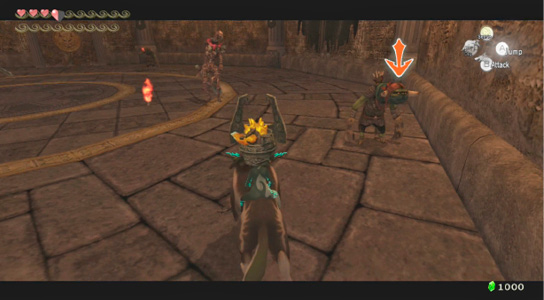
There is a dig spot with a single Heart in this room.
Make sure to avoid looking over the ledge into this room. The Bulbin Archers are all too eager to make a pin cushion out of Link and looking over the balcony is more than enough temptation for them to take a few pot shots at our canine friend.
Weave between the ReDeads to the best of your abilities and take out the Archers ASAP. These bad Robin Hood knockoffs will foil any attempts at defeating a ReDead, so don’t bother until the Archers have been defeated. Once you’ve dealt with them, the ReDeads are actually quite easy to defeat.
Floor 26: Six Ice Keese, Six White Wolfos
There is a dig spot with a single green Rupee (1) in this room.
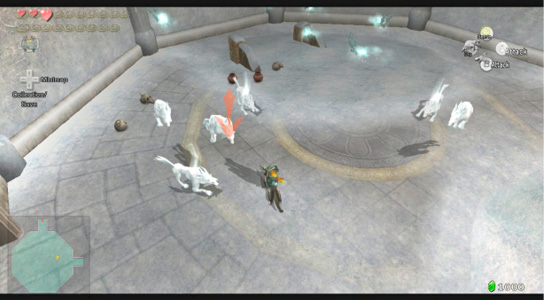
Don’t hold still around the Wolfos. Stay mobile, get a few attacks in, then move on. Holding still is nearly guaranteed damage, so make sure to avoid it all costs—unless, of course, you’re doing an energy field attack. If a Wolfos isn’t directly in front of you, then move on to the next one. Mobility is the name of the game in this room.
Floor 27: Chus and Ghouls Rats
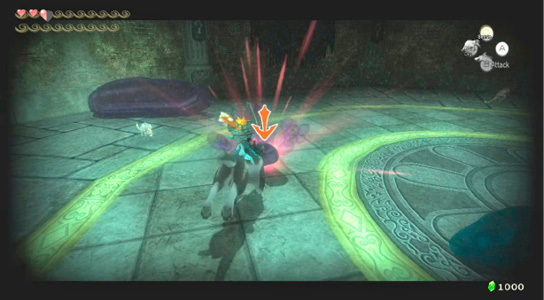
This room’s another gimme; just find a safe spot to defeat as many Ghoul Rats as possible, then pick off the Chus one at a time.
Floor 28: One Chilfos, Four Mini-Freezards and Six Ice Keese
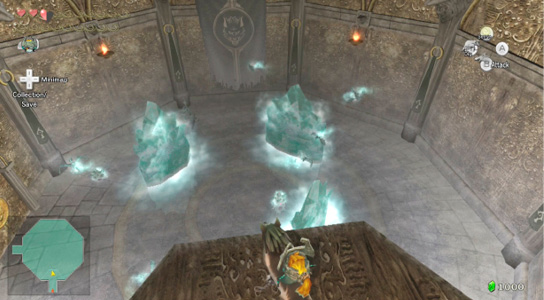
Focus on taking out the Chilfos in this room first. It can be quite a challenge ZL targetting it with all these other enemies around, but it’s definitely worth the effort. Chilfos is the equivalent of a super-powered Bulblin Archer, which means it will dole out the harshness while you’re trying to deal with the smaller enemies.
Once you have the Chilfos targetted, hold forward and mash that A button with a vengeance. You need to hit the Chilfos several times to defeat it and each attack will stagger it, preventing it from doing any follow-up attacks. Always stay aware of your surroundings, however; there are three giant ice blocks that’ll freeze you solid if you touch them.
Once you’ve dealt with the Chilfos, you can carefully take out each other enemy one-by-one to make this room as easy as possible.
Floor 29: Four Armos, Rats, Keese, Baby Gohmas
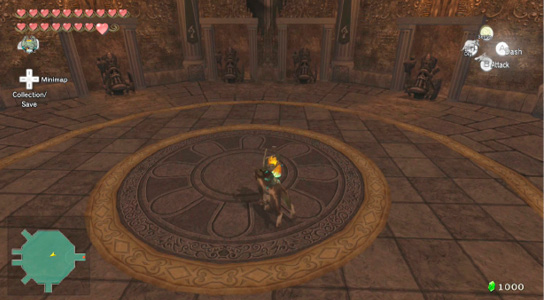
There are two dig spots with a yellow (10) and a red Rupee (20) here.
This room is a real monster. There are four Armos sitting along the west side of the room. Every time an Armos wakes up, the wall behind it opens up and a group of enemies rushes out toward you. There isn’t a strategy that makes this room less of a challenge, but we can tell you what will prevent it from becoming MORE of a challenge. Very, VERY carefully awaken an Armos. Waking up more than one will all but guarantee a nightmare only seen in old horror movies; Keese, Rats, and Baby Gohmas charging you like a stampede of antelope, but with more legs and fangs and a violent disposition.
Here is a list of all the monsters you can find behind each Armos:
Far right = Five Baby Gohmas
Second right = Three Keese, Three Rats
Second left = Seven Rats, Three Keese
Far left = Five Baby Gohmas
Floor 30: One Lizalfos, One Dinalfos, Two Bokoblins
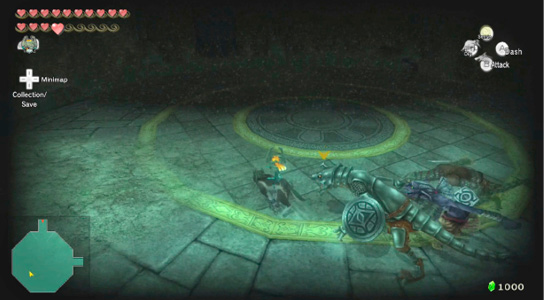
There is a dig spot with a single Heart in this room.
All of the enemies will chase you vehemently here. Circle the room and try to put some distance between you and your foes. Once you have a bit of breathing room, use an energy field attack, then start circling the room again. Pick off all of the enemies until only the Dinolfos remains. Continue circling the room to get the Dinolfos to chase you. After running for 5-10 seconds, quickly hit ZL to target the Dinolfos, then perform a jump attack. It’s not guaranteed, but Dinolfos often drop their guard when they are chasing their prey. If you can land a jump attack on it, you’ll have the opportunity to mash the A button for extra damage. It takes about three jump attacks in this form to defeat the Dinolfos.
Floor 31: Eight Ice Keese, Two Chilfos, Four Mini-Freezards
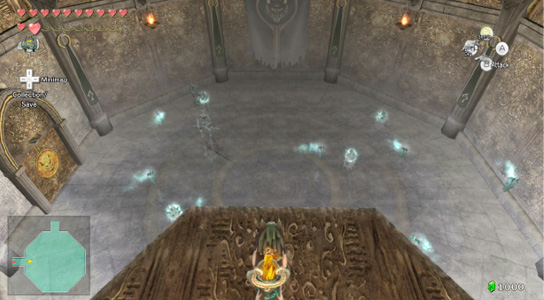
Jump down into this room and try to target a Chilfos immediately. Once you’ve got it ZL-targetted, attack the Chilfos relentlessly until it has been defeated. Now turn your focus toward the Ice Keese that have undoubtedly gathered around you. Defeat all of them, then move on to the final remaining Chilfos. Once you’ve defeated the second Chilfos, you’ll be clear to defeat all of the Mini-Freezards.
Floor 32: Chus, One Dinalfos, Three Lizalfos
Drop off the left or right sides of the room and immediately perform an energy field attack; release the B button as soon as an enemy enters your energy field. Repeat this until you’ve defeated all of the Lizalfos.
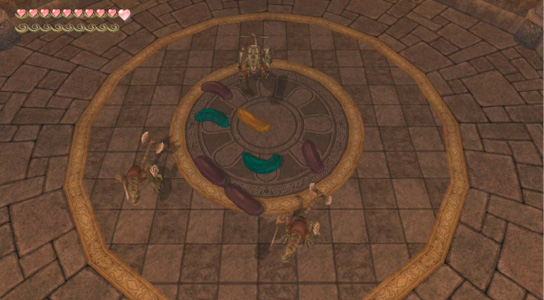
Ignore the Chus and circle around the room to make the Dinolfos follow you. After 5-10 seconds of running, hold ZL to target the Dinolfos, then perform a jump attack. Mash the A button when the prompt comes up during the jump attack. Once Link jumps off of the Dinolfos, start circling the room again. Repeat this about three times to defeat the Dinolfos, then focus on taking out the Chus.
Floor 33: Ten Keese, Two Helmasaurus, Five Deku Babas
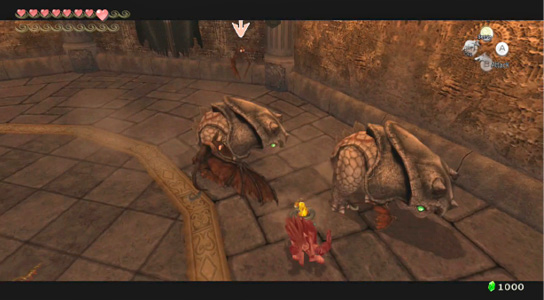
The Helmasauruses might look intimidating, but they are also terribly slow. Instead, focus on taking out all of the Keese in the room first. Once you’ve cleared them out, you can choose which enemies to take on next with little fear of taking damage.
Floor 35: Two Twilit Archers, Six Twilight Bulblins
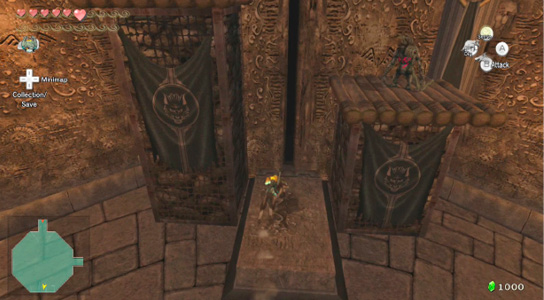
There are two Twilit Archers perched on platforms in the back of the room. An elevator is moving up and down in the center of the platforms that can take you up to the Archers.
Wait for the elevator to lower almost all the way before jumping off the balcony. Once it has nearly reached the ground, jump off the balcony, rush past all the enemies, and get on the platform. Take out the two archers with an energy field attack, then focus on the Twilit Bulblins.
The Twilit Bulblins won’t put up much of a fight. Just use an energy field attack to clear them out quickly.
Floor 36: Four Zant Masks, Five Twilit Keese
The floor of this room is covered in dark mist. Using your wolf sense here will help you see a lot better.
Once you jump off the balcony, circle the room and attack any Zant Masks that appear in front you. Get three attacks in and the Mask will disappear, which is your queue to take off running again. Keep this up until all four of the Zant Masks have been defeated, then focus on the Keese. Each Zant Mask takes six jump attacks to defeat.
The Keese won’t pose much of a threat while you’re circling the room. You can just attack them as they approach, provided you don’t stay still for more than a few seconds.
Floor 37: Three Bulbin Archers, Four Bokoblins
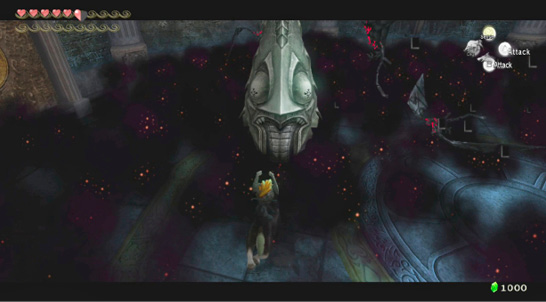
There is a dig spot with a single Heart in this room.
Circle the room and jump attack each of the Bulbin Archers. Only jump attack them once per circle, then move on and continue circling the room. Once the Archers have been defeated, you can safely take out the Bokoblins without fear of being skewered by flaming impliments of war.
The Final Floor
First phase: Two Dodongos, Four Baba Serpents
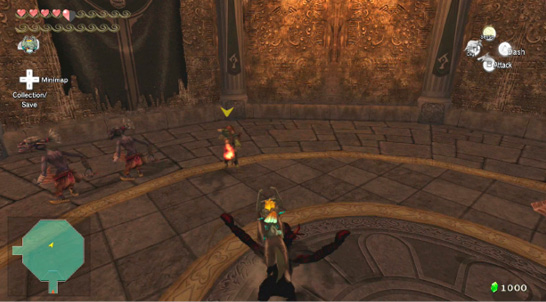
Focus on defeating the Baba Serpents before trying to tackle the Dodongos. If you defeat the Dodongos first you’ll make this a much more challenging room.
Second phase: Stalkin, Two Fire Bubbles, Two Ice Bubbles
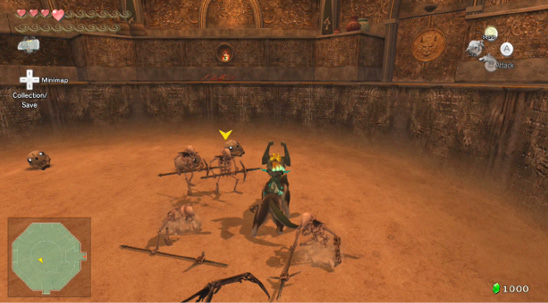
As soon as you defeat the Dodongos, the floor sinks and there are Stalkins and four Bubbles (one ice, one fire, two normal) in it.
Third phase: Three Zant Masks
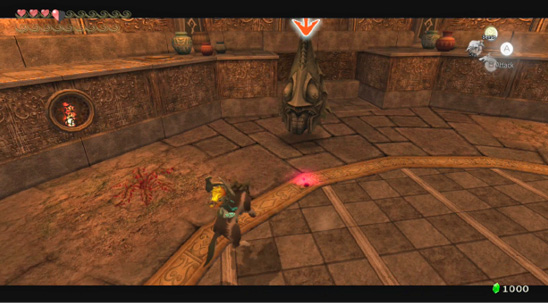
Once you defeat all of the Stalkin and Bubbles, the floor will raise again, but three Zant Masks will be waiting for you. Circle the room, attacking each one you cross three times, then continue to circle the room and repeat until all three Masks have been defeated.
Fourth phase: Baby Gohmas, Bokoblins, Dinolfos, Lizalfos, Keese, Helmasaurs, Skulltulas, Bulblins
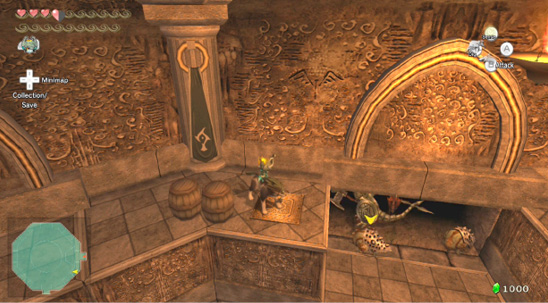
Platforms on the north, south and east sides of the room raise up. The platform on the north side is low enough for you to climb on. You will now have the ability to hit four switches that are on the platforms surrounding the outside of the room. Each switch lowers a gate and unleashes monsters that were imprisoned behind it. You’ll need to defeat the monsters from behind each wall in order to complete this room, and by extension, the Cave of Shadows. Read on to see what each switch has in store for you.
Southeast: Dinalfos, Two Helmasaurs, Four Keese
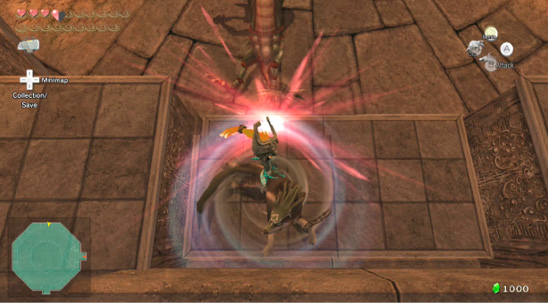
You can stay on the northern platform and draw the Dinolfos toward you. If you can get it to run against the lower platform, you can use your spin attack to hit him. The Dinalfos will get up and begin running at you again. Wait until it is against the lower platform, then spin attack again. It’s cheesy, we know, but this is a tough room and Dinalfos are undoubtedly the toughest normal enemies in the game. Better safe than sorry, right?
Southwest: Two Dinalfos and a Lizalfos
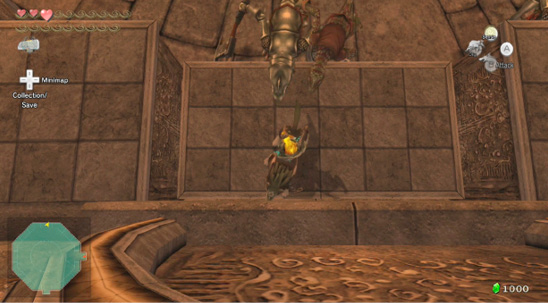
Use the same technique as we suggested for the southeast switch to defeat all three of these enemies.
Northeast: Three Bokoblins, Two Bulblins
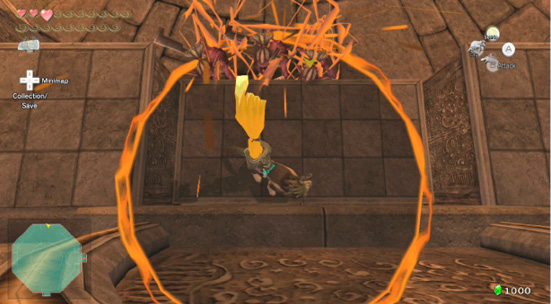
You can use the same technique as the Dinalfos fights, but instead of a spin attack, use an energy field attack to defeat them.
Northwest: Six Baby Gohmas, Two Skulltulas
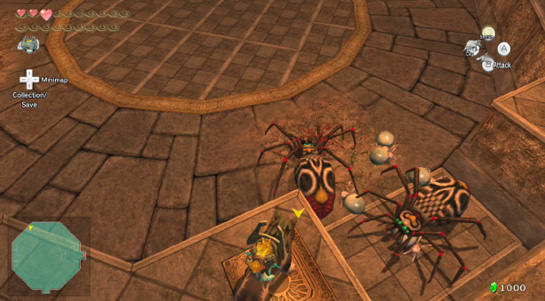
Be extremely careful around the Baby Gohmas if your Hearts are low. They don’t look like much, but they love to attack you whenever your back is turned. Focus on taking out any Baby Gohma that is near you before attacking the Skulltulas. The Skulltulas are slow to move and even slower to attack, so you’ll have plenty of time to get out of the way before the Skulltulas sink their fangs into you.
Prize 3: Colossal Wallet (Holds 9,999 Rupees)
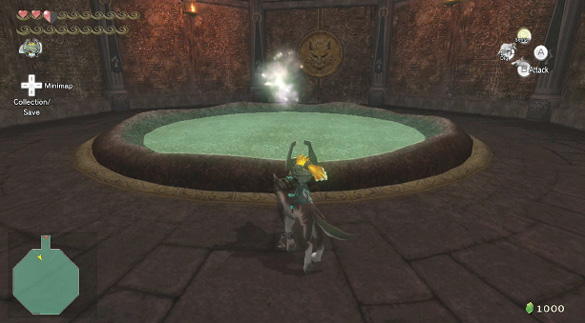
You’ve done it! Pat yourself on the back, pass out some free highfives to any nearby friends or family members (or give yourself a highfive—we can keep a secret). Once you’ve finished shouting a blood-curdling viking chant to honor the gods of battle, jump off the balcony into the next room and speak with the spirit in the center of the room to claim your prize. As a reward for your efforts you’ll be given the Colossal Wallet: a massive Rupee bag that can hold 9,999 Rupees! You can also find a silver Rupee (200) in the chest at the end of the hall.
As an added bonus, the powers that be have built a statue of Link and Midna to honor their power. The square plates in front of the statue allow you to see the statue at different angles, with exception to the left plate. The left plate allows you to call Midna and jump onto the Wolf Link Statue’s head. You’ll find a dig spot there with an Orange Rupee (100) in it.
The Rupee prizes will be here on any subsequent playthrough, so feel free to come back and visit the Cave of Shadows again—that Colossal Wallet isn’t going to fill itself.
As we mentioned at the start of this chapter, you can try challenging the Cave of Shadows with the Ganondorf amiibo active, or without using the Wolf Link, Sheik, or Zelda amiibo to heal. You won’t get any extra rewards for winning under these circumstances, but you can definitely tell all your friends that you’re the undisputed king or queen of Twilight Princess HD.