
The Legend of Zelda: Twilight Princess HD Guide Dungeon 2: Goron Mines
Task 3: Journey to the Mine Loading Docks
Chamber 4: First Return to Magnetic Pool
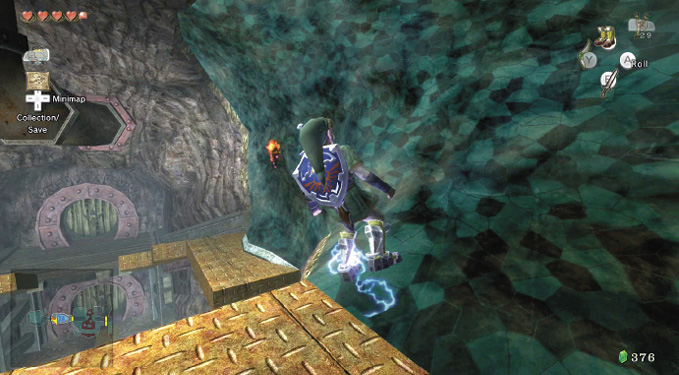
You’re above the lower entrance to Gor Amoto’s shrine room, and that rumble you hear is the magnet working. This allows you to scale the magnetic walls on either side of the chamber. Don your Iron Boots, and walk on either side of the wall!
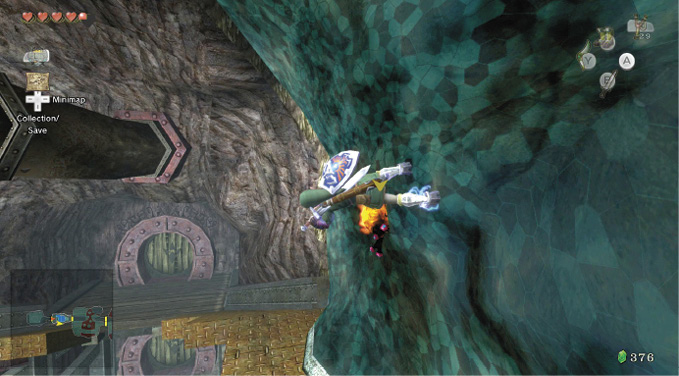
During your stride along the wall, keep the boots on, or you’ll fall into the pool and have to retrace your steps. One wall has two Torch Slugs, while the other has one; choose either. Target the first of these creatures, and hack it with your sword. Firing at it from range is ineffective; you’ll put the Torch Slug out for a few seconds with the Boomerang, and there’s no effect from the Slingshot.
|
To walk faster along the magnetic strips lining much of this dungeon, ZL target an enemy, and sword-swing. Unlike your walking, this doesn’t slow down, and you can move slightly faster. But only slightly! |
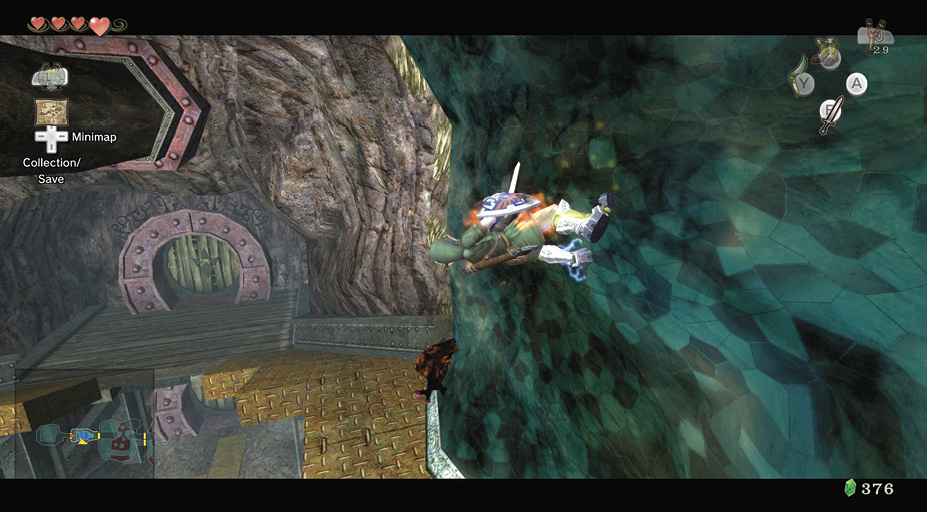
When you finish traversing the magnetic wall, put away your boots (make sure you’re on firm ground, or can slide there), and open the upper door.
Chamber 3: First Return to Domain of the Dodongos
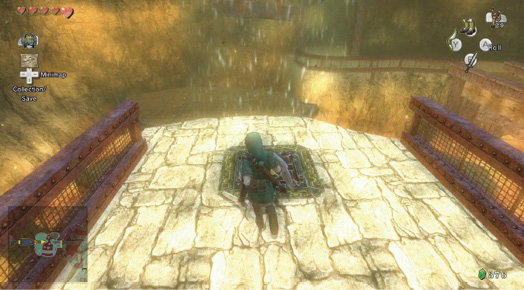
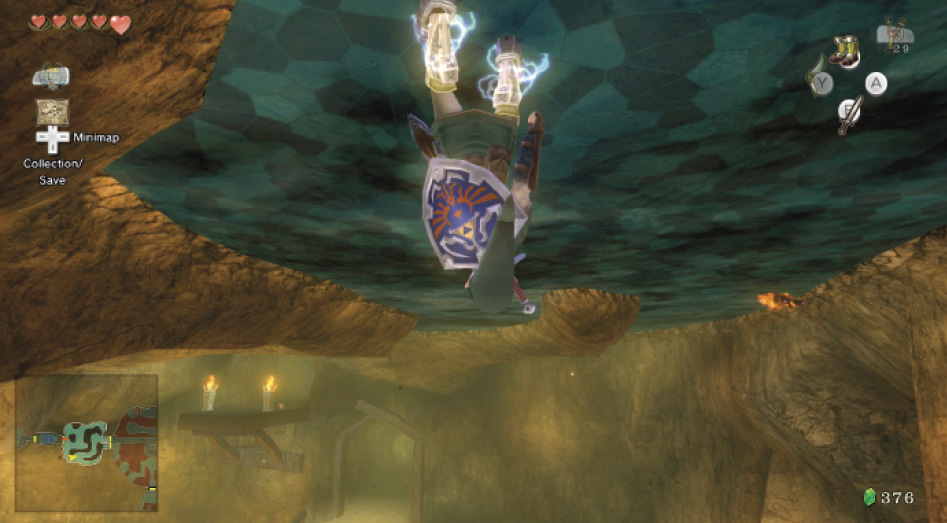
You’re on the roof of the corridor where you pulled the moving wall. Optionally break open a barrel for an additional Heart, then run forward to the roof’s end, where there’s a floor switch. Do not drop down, or you’ll have to journey back here! When you’re at the roof’s end, step onto the floor switch, use your boots, and you’re flipped upside down, onto the magnetic ceiling.
|
Keep those boots on! Don’t take them off until you reach the upper exit of this chamber, or you’ll fall. |
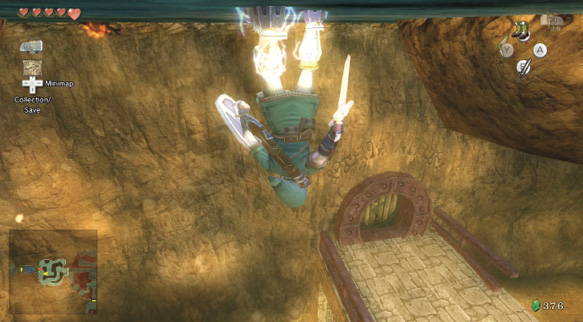
As you’re upside down, you may be disorientated, but don’t worry; target the Torch Slug and head for it with your sword waving! Head north, past the magnetic beam toward two more Torch Slugs, and give them a taste of cold steel.
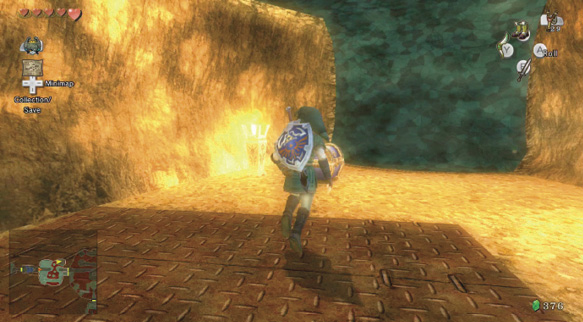
Treasure Chest: This trail of Torch Slugs is the clue to locating a chest, in the northeast alcove, accessible only via the magnetic ceiling. When you can drop onto the metal floor, do so. Then open that chest: the result is well worth it!
Treasure Chest #5:
Piece of Heart
 Piece of Heart
You got a Piece of Heart! Collect three more for another full Heart Container. Piece of Heart #7 of 45.
With the Piece of Heart stored, don’t make the mistake of dropping off this ledge! You must exit via the ceiling, so put your Iron Boots back on and walk up the wall next to the chest, around and onto the ceiling. Then swing the camera behind you.
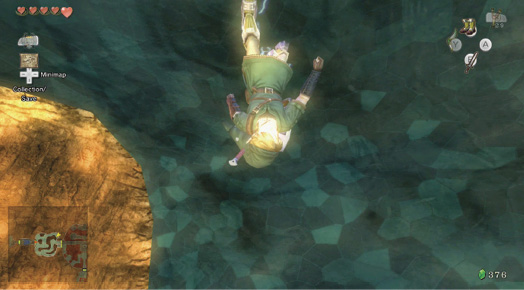
Slowly stomp to the magnetic beam in the middle of the ceiling, then past it, heading in a southwesterly direction. Any other route stops at a dead end. You’ll spot a Torch Slug in the corner; target and slice it!
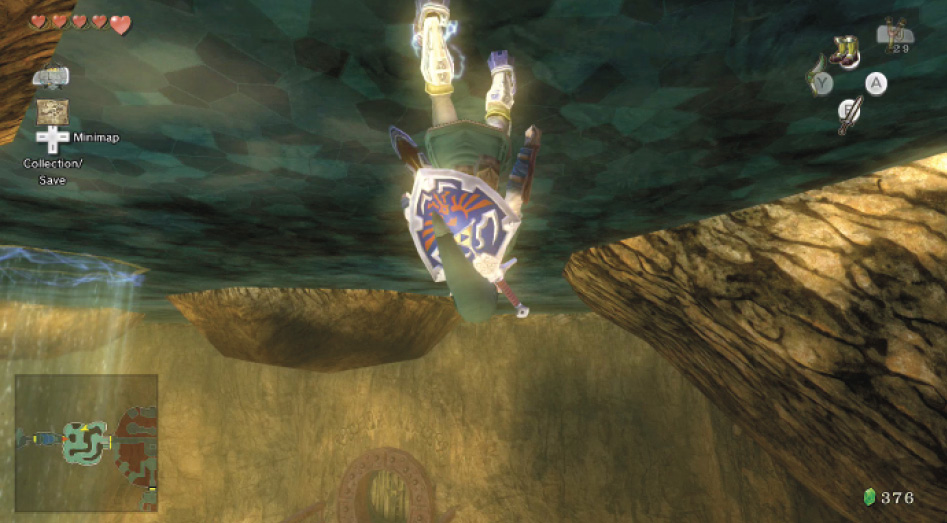
Continue around the corner until the path splits. Take the left heading in a curve toward the eastern middle exit; target a Torch Slug to slice, then keep your boots moving as you slowly curve to the left. You’re heading for a small platform with two bright torches burning. Slay the nearby Torch Slug first, if you wish. Steer yourself above and between the torches, and drop. Don’t do this too early and fall to the first floor! Now you can exit via the second floor door.
Chamber 2: First Return to Volcano Forge
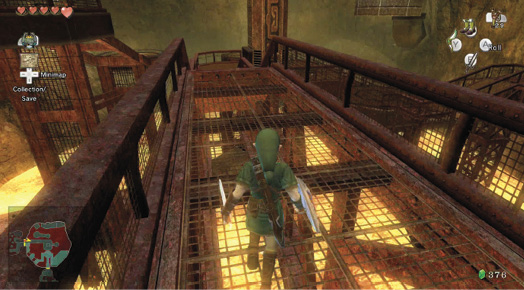
Although still counted on your map as being on the first floor, this is the upper section of the Volcano Forge you couldn’t reach earlier. Make short work of the barrels next to the entrance door (they are empty), then run forward, toward the gantry ramp and central magnet.
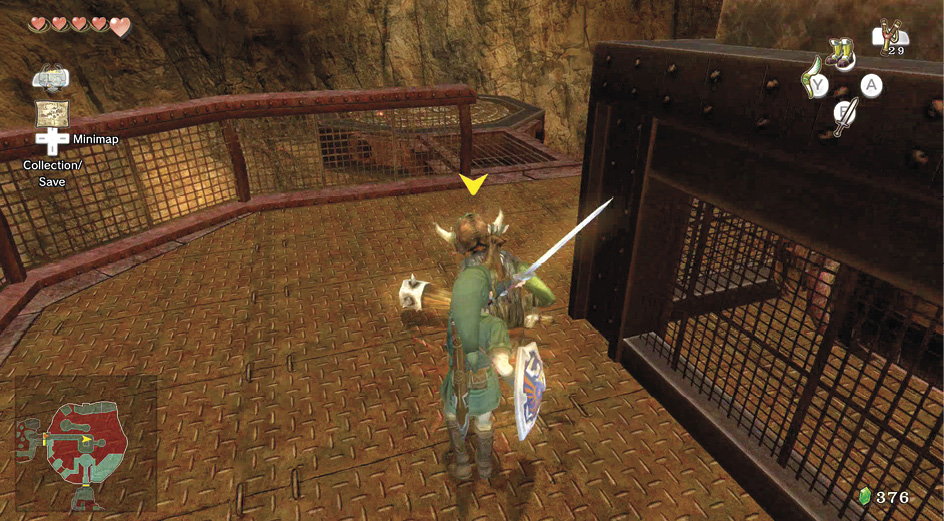
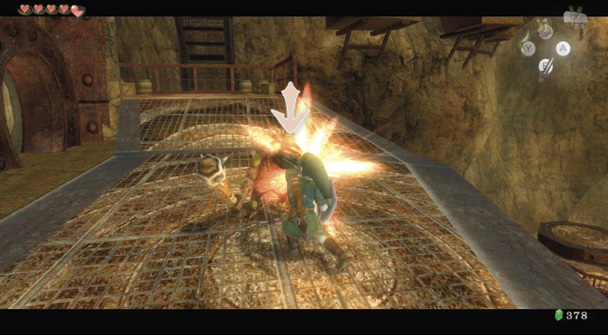
A massive spin slices into four Bulblin warriors at once! This is the only way to teach these fiends a lesson.
Head down the ramp and around to the floor switch guarded by four Bulblins. Bring out your sword and begin a frantic battle, remembering to block, and using that spin attack! Finish your foes with a leaping strike, then move over to the floor switch.
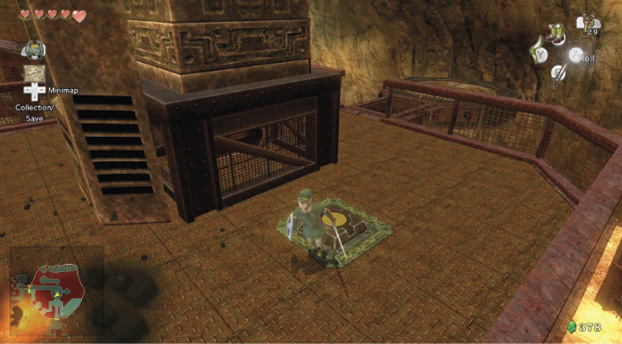
Don those Iron Boots and activate the floor switch. A massive magnet crane grinds into action above you, moving around the volcano interior in a half-circle. Take your boots off, and run east to the octagonal platform, then put your boots on again. The magnet swings around and picks you up. Don’t fall!
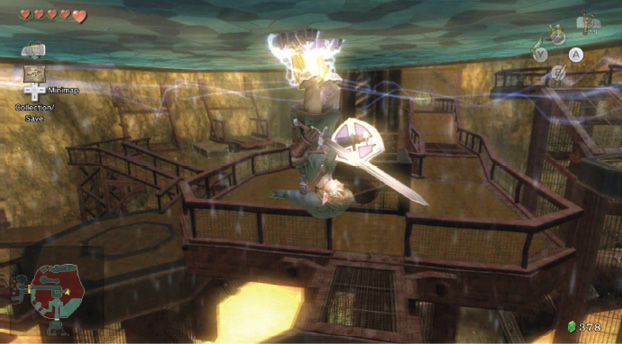
Face west and when the magnet swings to the north, lose your boots and drop onto the octagonal platform in the volcano’s north part. Draw your sword, and stride up the ramp.
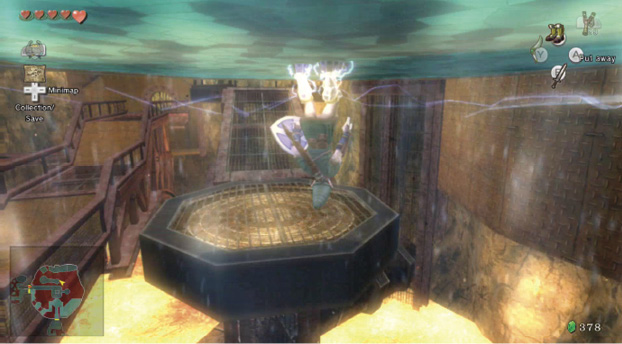
Two Bulblin warriors guard a large octagonal platform linked to the one you landed on; storm this area with your sword drawn, and make short work of them. A shield bash followed by a leaping skewering is another great way to finish these foes.
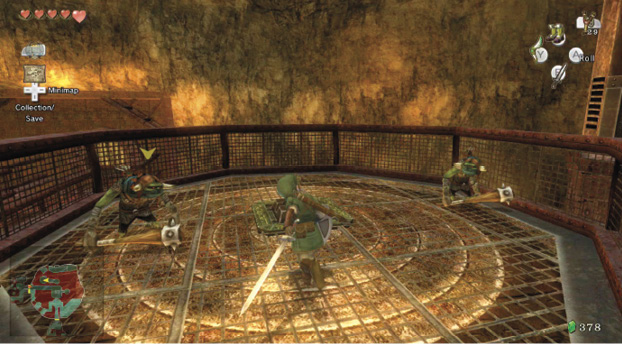
Fire Keese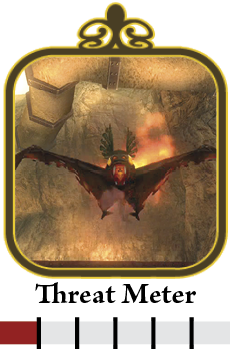
It’s easy for you to ignore or deal with the Fire Keese who are flapping about this chamber; the tactics are identical to defeating them as they were when you faced the non-fiery cousins in Faron Province; ZL target and slice, or shoot with a ranged weapon. 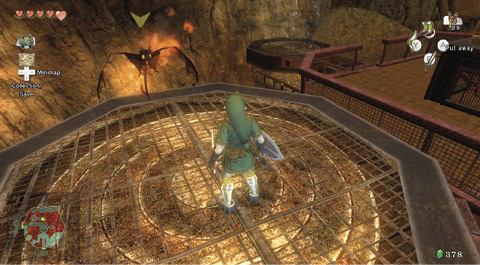
Attack the Keese along with the Bulblins; ranged combat or jumping slices are effective. |
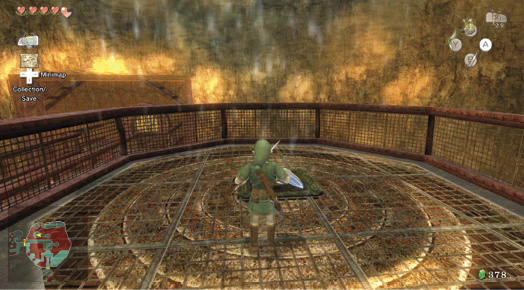
Stand on the floor switch the two Bulblins were guarding, and activate it with your Iron Boots. Another giant magnet crane rumbles into life. Stay where you are, and the crane lifts you upside down and swings around to this zone’s second floor part.
Chamber 2: Volcano Forge (Second Floor)
|
This is the same chamber as you were previously in. The difference is that you’re higher up, on the second floor. |
Drop on the north metal ledge, and face off with two more Bulblin warriors. Slash them to dispatch them, then optionally tackle the breakable scenery. Exit via the door in the north wall. There are still unexplored areas above you to access later.
Missing Links
1. Pots, Barrels, and Crate Smashing
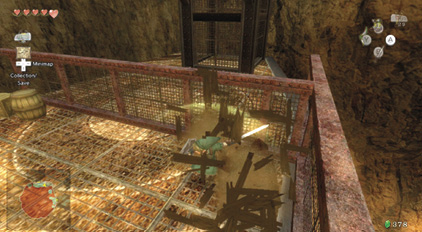
The various scenery hides useful items; mainly on the north gantry ledge near the exit. The barrel and pots to the left yield a Heart, while the cluster of objects on the other side give you a Heart and a blue Rupee (5).
Chamber 6: Diamond Switch Chambers
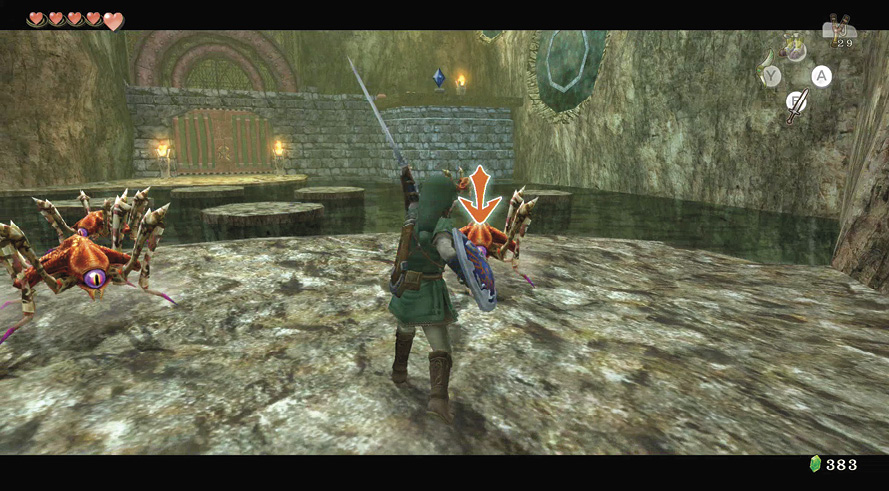
You enter one chamber split into two segments with a sealed door between them. Investigate the southern chamber first, which is waterlogged and features a series of stepping stone islands leading to a sealed door of metal and blue-gray stonework. First though, fend off a Tektite attack!
Tektite (Red and Blue)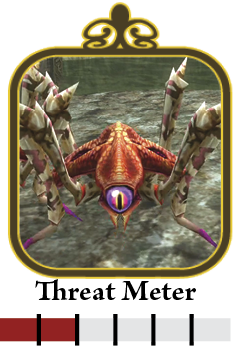
Tektites can skate across bodies of water despite their size, but they aren’t intelligent. They have only a single jumping attack that is damaging. Wait for the Tektites to congregate around you, and when the first jumps, execute the spin attack as it descends to knock it back and strike the nearby Tektites. One spin is all it takes to finish these foes! Expect blue Rupees (5) or Hearts from them. 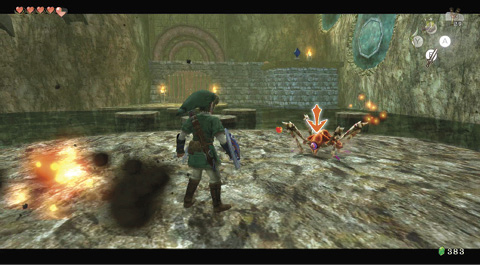
Avoid the Tektite’s dangerous leap that’s tricky to dodge, or counter it with your finest swordplay—the spin attack! 
|
|
Tektites in Hyrule Field are a good source of Heart-shaped energy if you run low. |
Treasure Chest: After you defeat the Tektite menace, check the room. The door ahead is closed, but there’s something interesting in the pond’s northeastern corner. Swim and drop using your Iron Boots to uncover a chest!
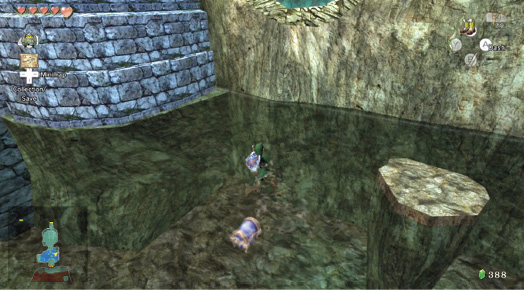
Treasure Chest #6:
Small Key
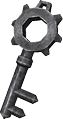 Small Key
You got a Small Key! This opens a locked door, but only in this area.
You can’t strike the diamond-shaped switch above and right of the door by your Slingshot or Boomerang, so stay in the water, and swim to the southwestern area, where a large mesh fence stops you. Drop using your boots, and swim through the hole. There’s no need to push the submerged metal crate; swim around the right side for a gap big enough to squeeze through. Then surface.
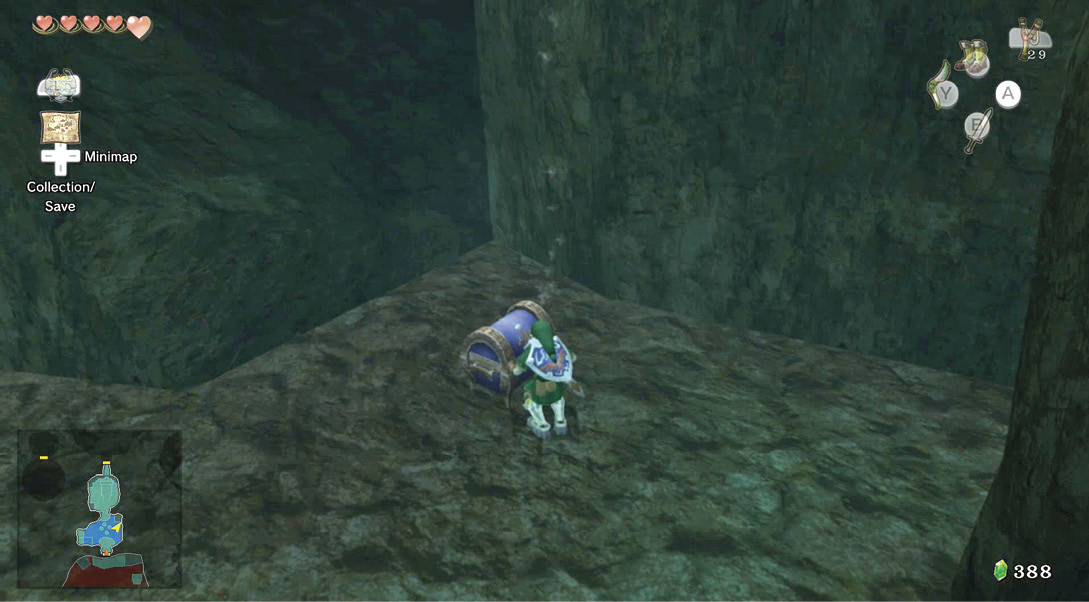
Try some barrel and crate smashing, then climb up onto the higher rock floor and stomp on the floor switch with your boots. A magnetic beam activates near where you surfaced. Stride back there, and head up onto the ceiling.
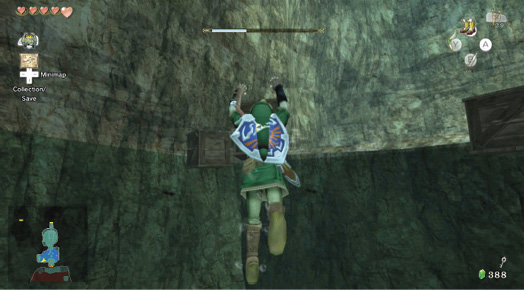
Stride northward while upside down and stuck to the ceiling, until you’re above the metal floor, then drop to land on it. Run to this floor’s edge, to the middle of the chamber, and activate a second floor switch near a small gantry plank.
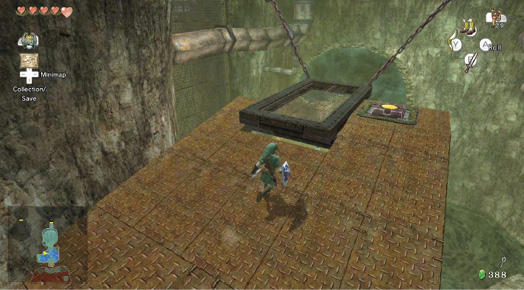
Author NoteWe attempted to hone our depth perception by dropping Link onto the upper metal floor as close to the edge as possible, and failed three times in succession. It’s always better to estimate where the floor is, then take three more steps forward, as we found at great cost. |
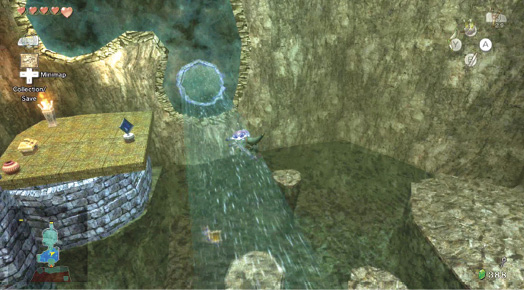
The second floor switch creates another magnetic beam, but this is different from the ones you previously encountered. It shoots horizontally from the east wall. The trick here is to move to the gantry plank’s edge, put your boots on, then fall off. The boots cause the beam to suck you into the wall, instead of falling into the water.
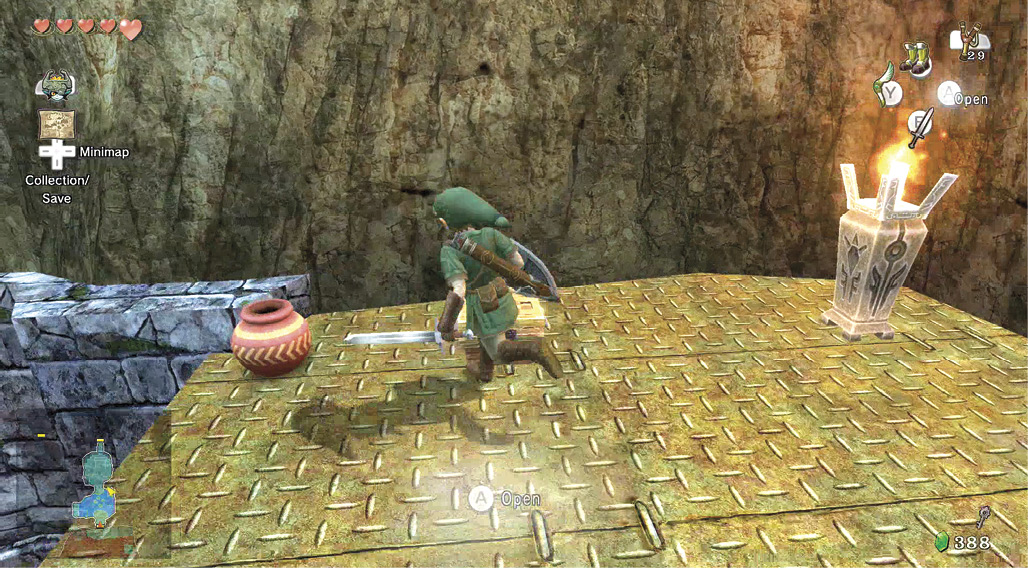
Treasure Chest: Walk left along the crescent-shaped magnetic wall area, and remove your boots to land atop the blue-gray stone wall, on a metal roof. Next to a torch is a small chest; open it to claim the red Rupee inside.
Treasure Chest #7:
Red Rupee (20)
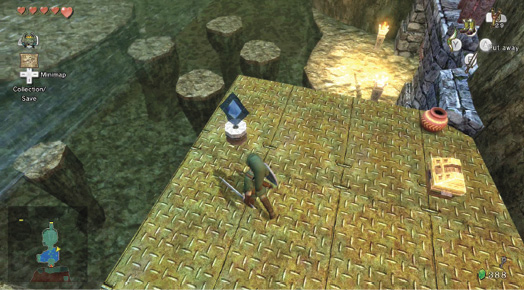
You can smash the adjacent pot, but the real point of taking this laborious path is to stand near the diamond switch, currently colored blue. Slash the switch with your sword, and it turns yellow, indicating the door in the north wall is opening. You have five seconds, so run!
Jump off the metal roof onto the rocky ground where the door has opened, and dash through. If you fall into the water, or stand around, the door closes after five seconds, and you must slash the diamond switch again, which could result in retracing your steps!
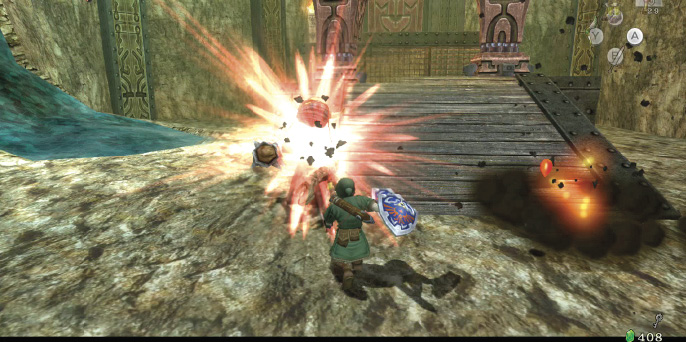
The door closes behind you, and you’re in this chamber’s northern part. There’s another diamond switch in the southwest corner if you wish to head back south, but that isn’t necessary. Instead, concentrate on slicing and dicing the two incoming Bulblin warriors.
Beamos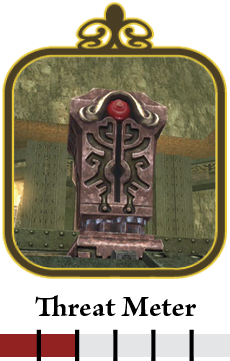
The two Bulblin warriors aren’t the real threat in this chamber. More worrisome are the rotating stone monoliths at the top of the ramp. These are guardian creatures called Beamoses. When the “eye” spots you, it launches a fire jet that can hurt and knock you off balance! Swords, Slingshots, and Boomerangs are all ineffective. Beamoses are currently indestructible. Don’t head up the ramp yet, and if you do, use your shield to block their attacks. Use this time to figure out how far the fire beams come out at you; around 10 feet. You’re safe if you stand beyond this range, or if the Beamos is looking away from you. 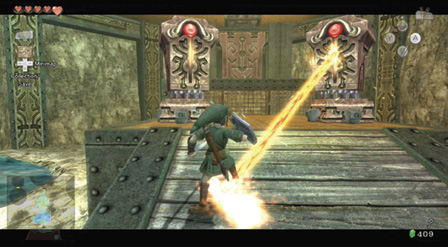
Currently, Beamoses are indestructible and fire a concentrated beam of fire at you. Block with your shield, and find some way to shut down those eyes! 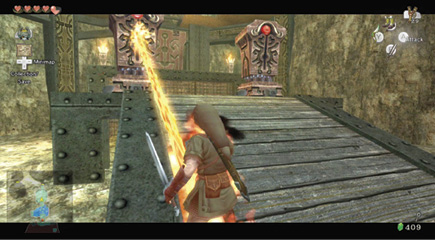
|
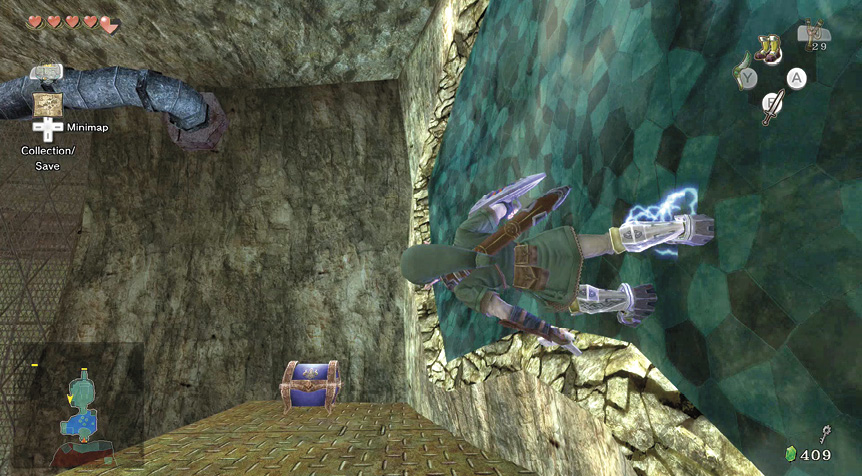
Treasure Chest: Ignore the Beamos duo and head west instead to the magnetic wall area. Don those Iron Boots, and trek up the wall, before making a left turn and striding south. You’re looking for a chest in the chamber’s corner, on a small metal ledge. The result is worth your slow stomping!
Treasure Chest #8:
Piece of Heart
 Piece of Heart
You got a Piece of Heart! Collect two more for another full Heart Container. Piece of Heart #8 of 45.
The time has come to escape! Drop to the ground, climb back up the magnetic wall, but turn right this time, and drop onto the metal ledge running along and above this chamber’s northern part.
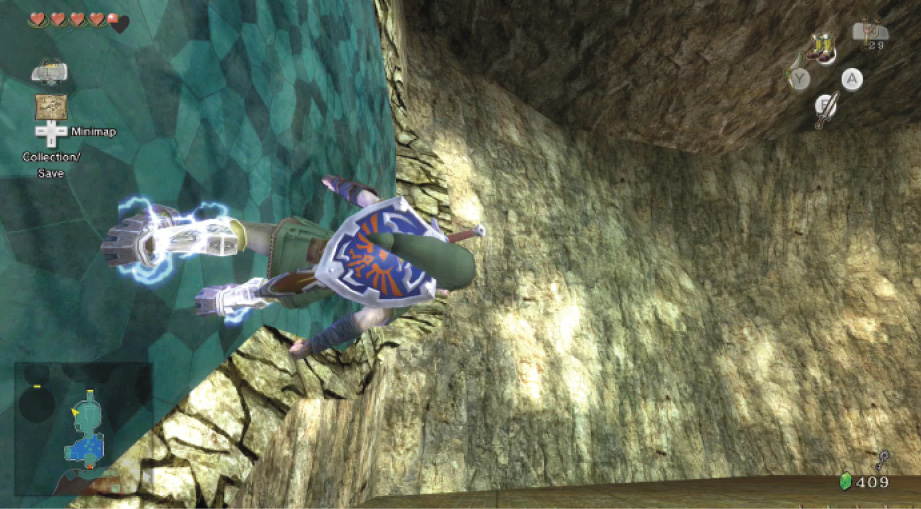
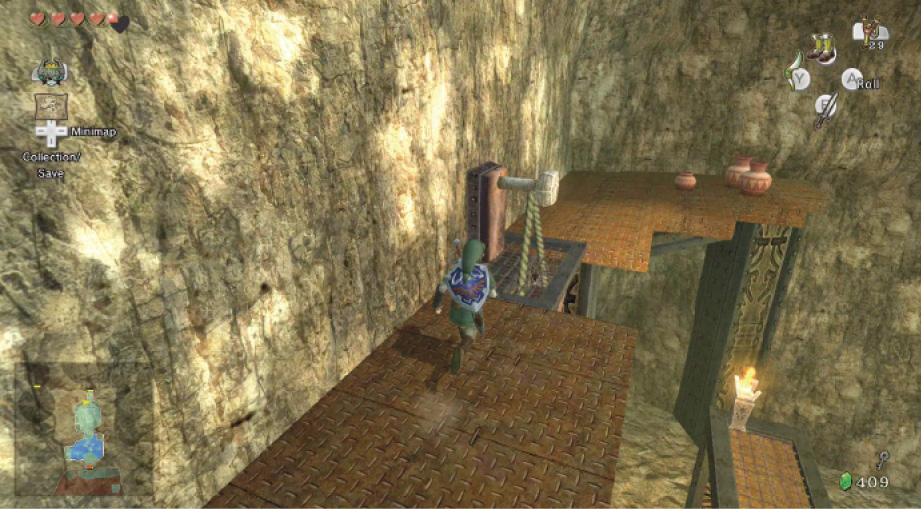
Jump the gap to smash the pots, then draw your sword and slice the ropes holding the drawbridge up. Drop, head over the drawbridge, and use the Small Key you found back in the water to open the door.
Missing Links
1. Bashing Barrels and Floating Crates
South room: the barrels under the magnetic beam are mostly empty, save one with a Heart. Two of the floating crates though, which you can shatter only with the Boomerang, hold blue and yellow Rupees!
2. North Chamber Pottery
North room: the second of the two chambers where the menacing Beamoses reside has a cluster of pottery in the northeast area; this contains some Rupees and a Heart. Above this, on the upper ledge, is a second cluster of Rupee-holding pots.